C1 Series Accessory Usage Guide
Install RA Mini Rotary Roller Kit for C1 Series
C1 Series now supports the RA Mini Rotary Roller Kit for rotary engraving on small cylindrical workpieces. This tutorial takes the C1 + RA Mini Combo Kit as an example, covering two major sections: machine hardware setup and software configuration.
Video Version
Written Version
Packing List
The image below shows the full packing list for the C1 + RA Mini Combo Kit.
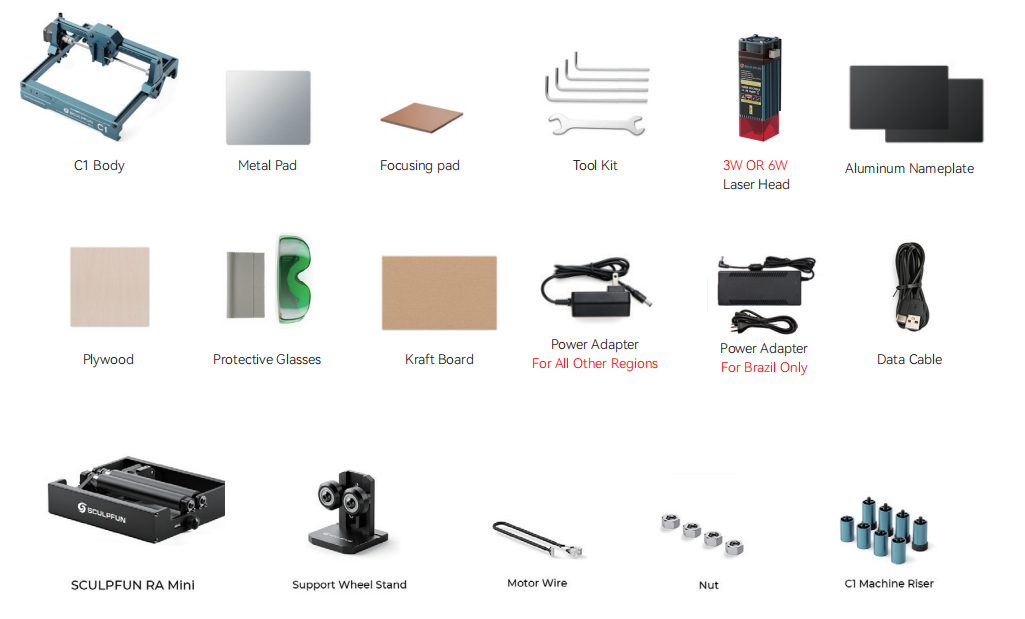
Figure: Packing contents of C1 + RA Mini Combo Kit
| Item | Quantity |
|---|---|
| Main Unit | 1 |
| Laser Module (3W or 6W) | 1 |
| User Manual | 1 |
| USB Data Cable | 1 |
| Power Adapter | 1 |
| Acrylic Focus Block | 1 |
| Tool Kit | 1 |
| Kraft Cardboard | 1 |
| Basswood Board | 1 |
| Aluminum Name Plates | 2 |
| Laser Safety Goggles | 1 |
| Microfiber Cloth | 1 |
| Metal Worktable Plate | 1 |
| RA Mini Rotary Roller | 1 |
| Support Roller | 1 |
| Motor Cable | 1 |
| C1 Riser Stand | 4 |
| Riser Nuts | 4 |
| Tailor's Measuring Tape | 1 |
Note: Rows with light background show exclusive accessories for the RA Mini Rotary Roller Kit.
1. Machine Hardware Setup
1Take out the C1 riser stands and nuts.
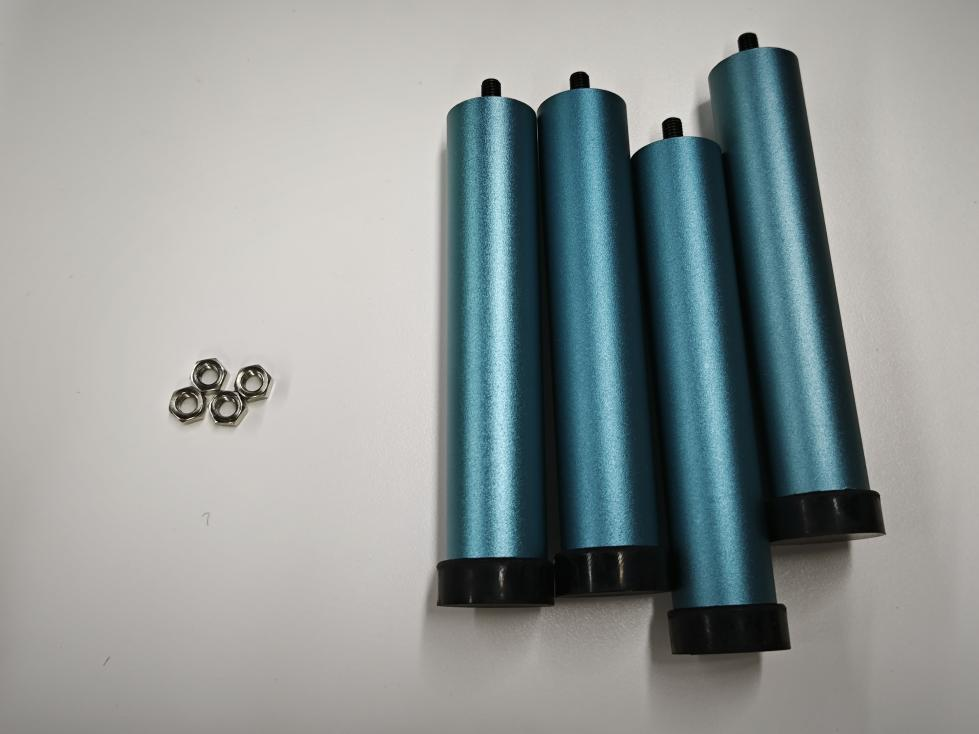
2Screw nuts onto the riser stands. Do not screw them all the way in, otherwise the risers cannot be locked tightly.
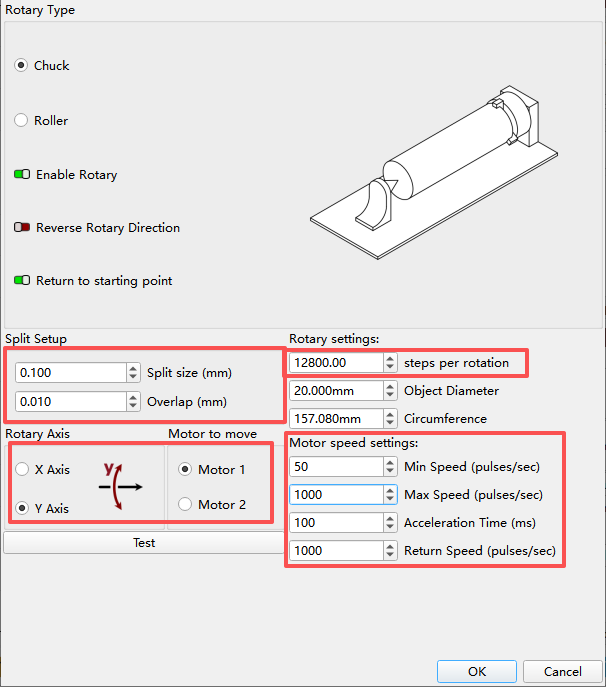
3Flip the C1 unit over and locate the nut mounting holes on the machine bottom.
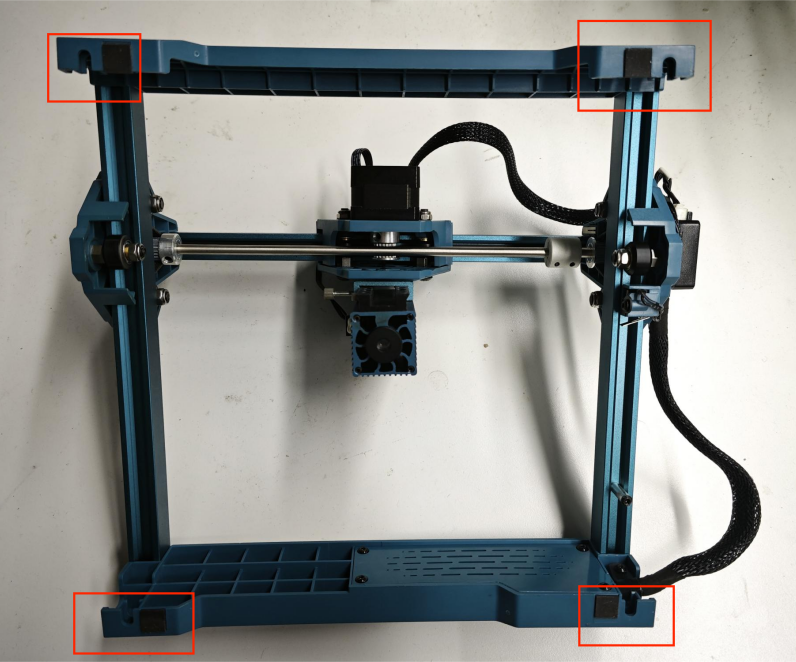
4Align with the nut holes and install the riser stands.
5Set the machine upright and place the RA Mini inside.
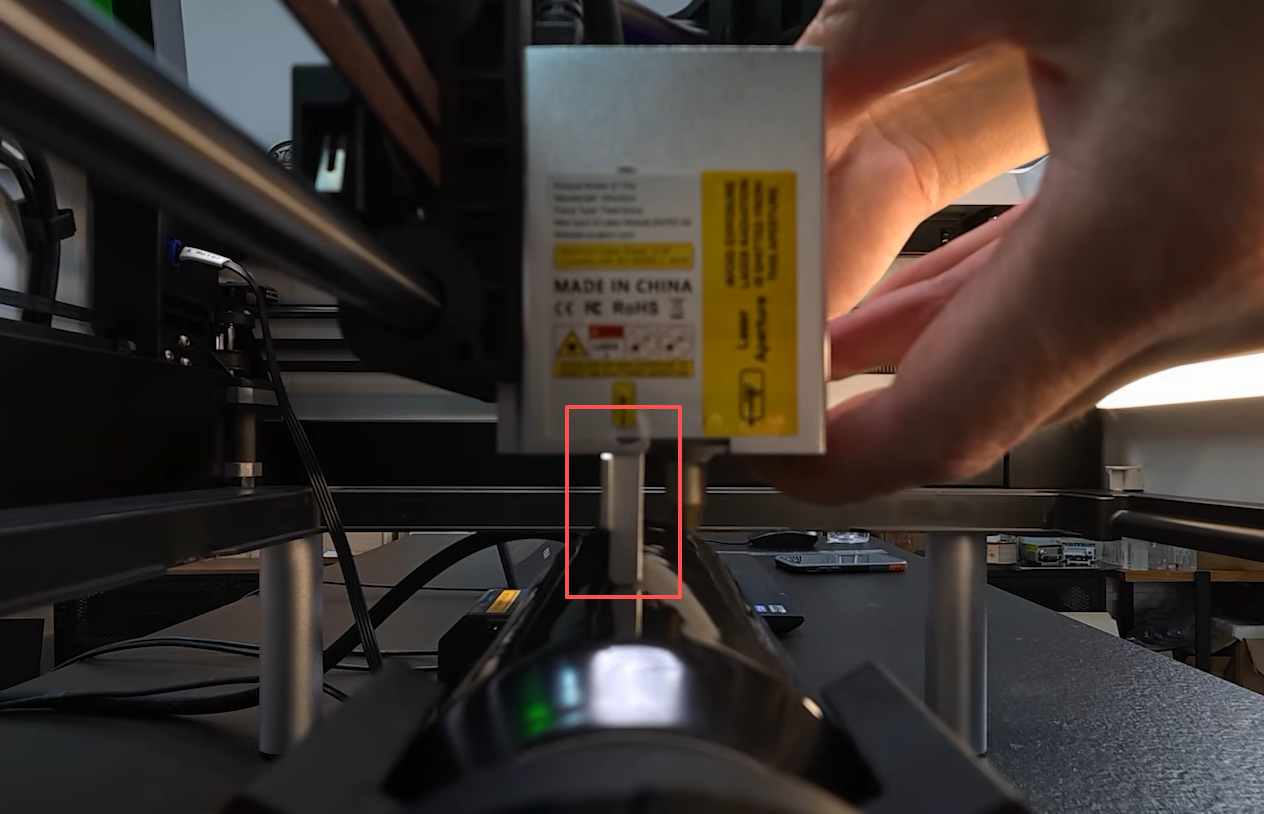
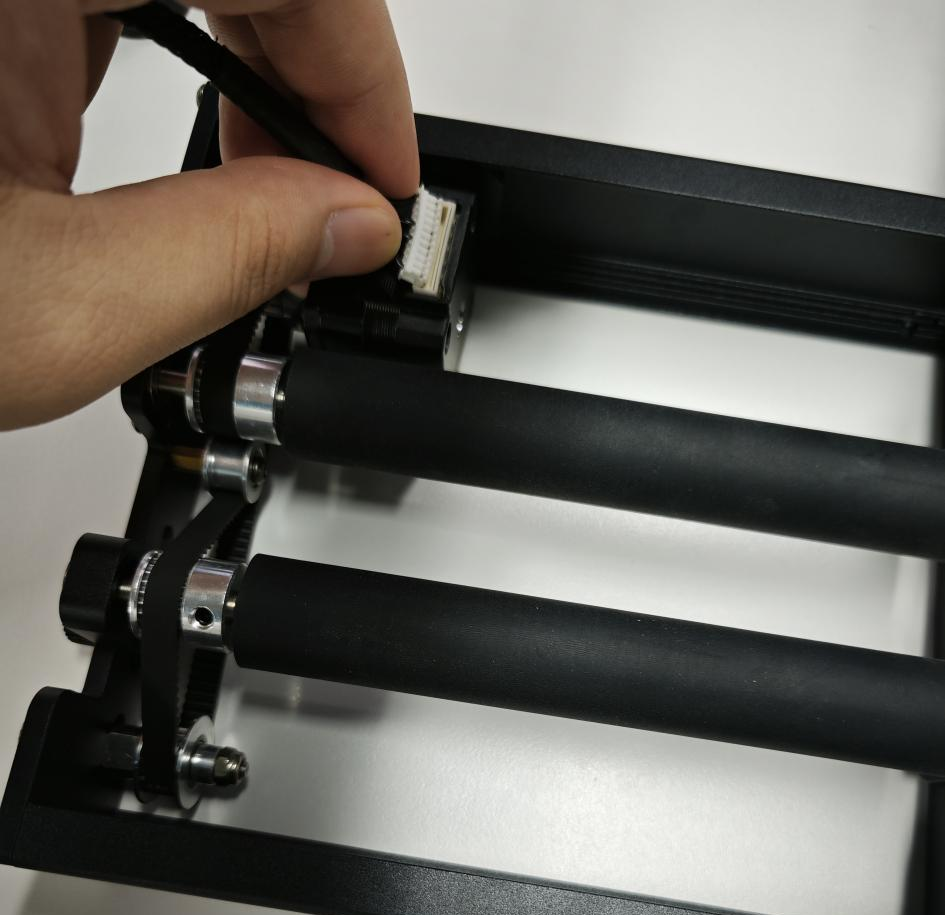
6Retrieve the RA Mini connection cable, plug the single-wire end into the rotary roller unit.
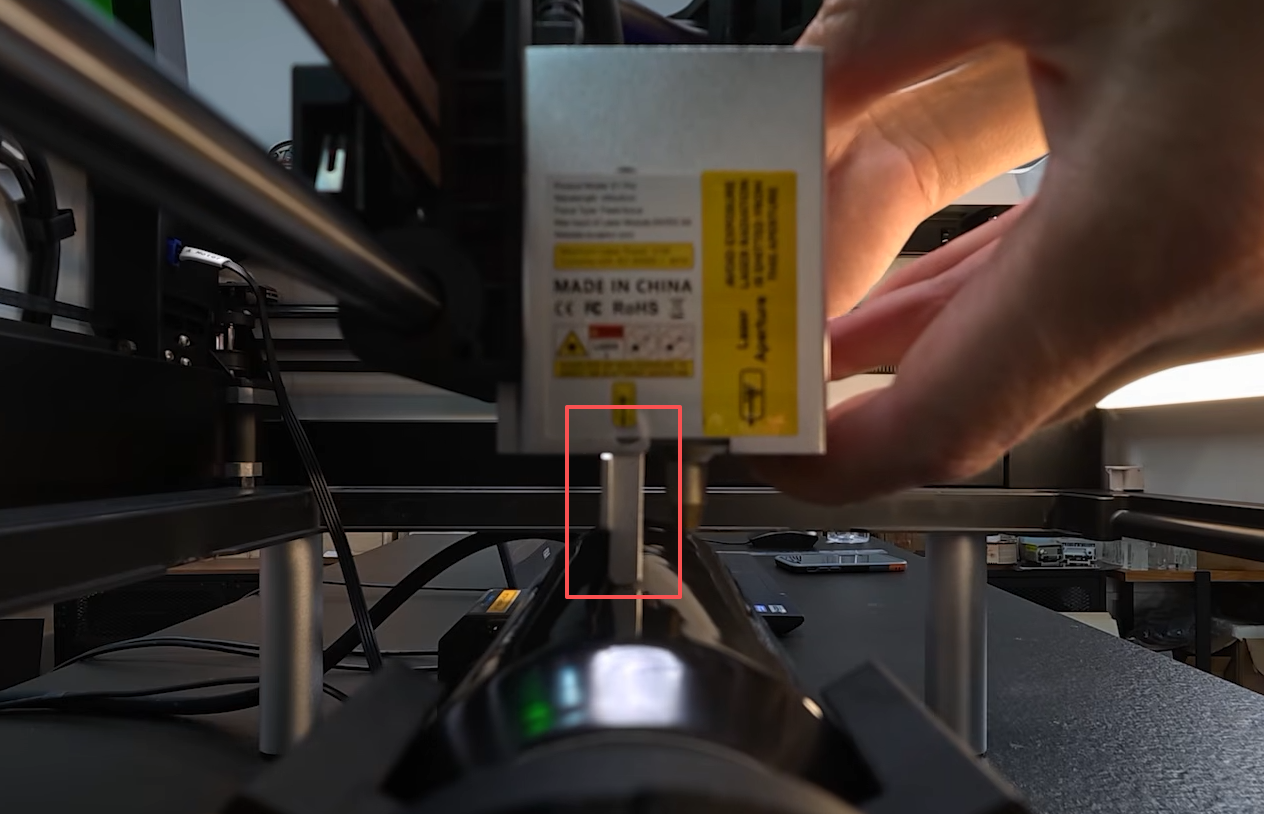
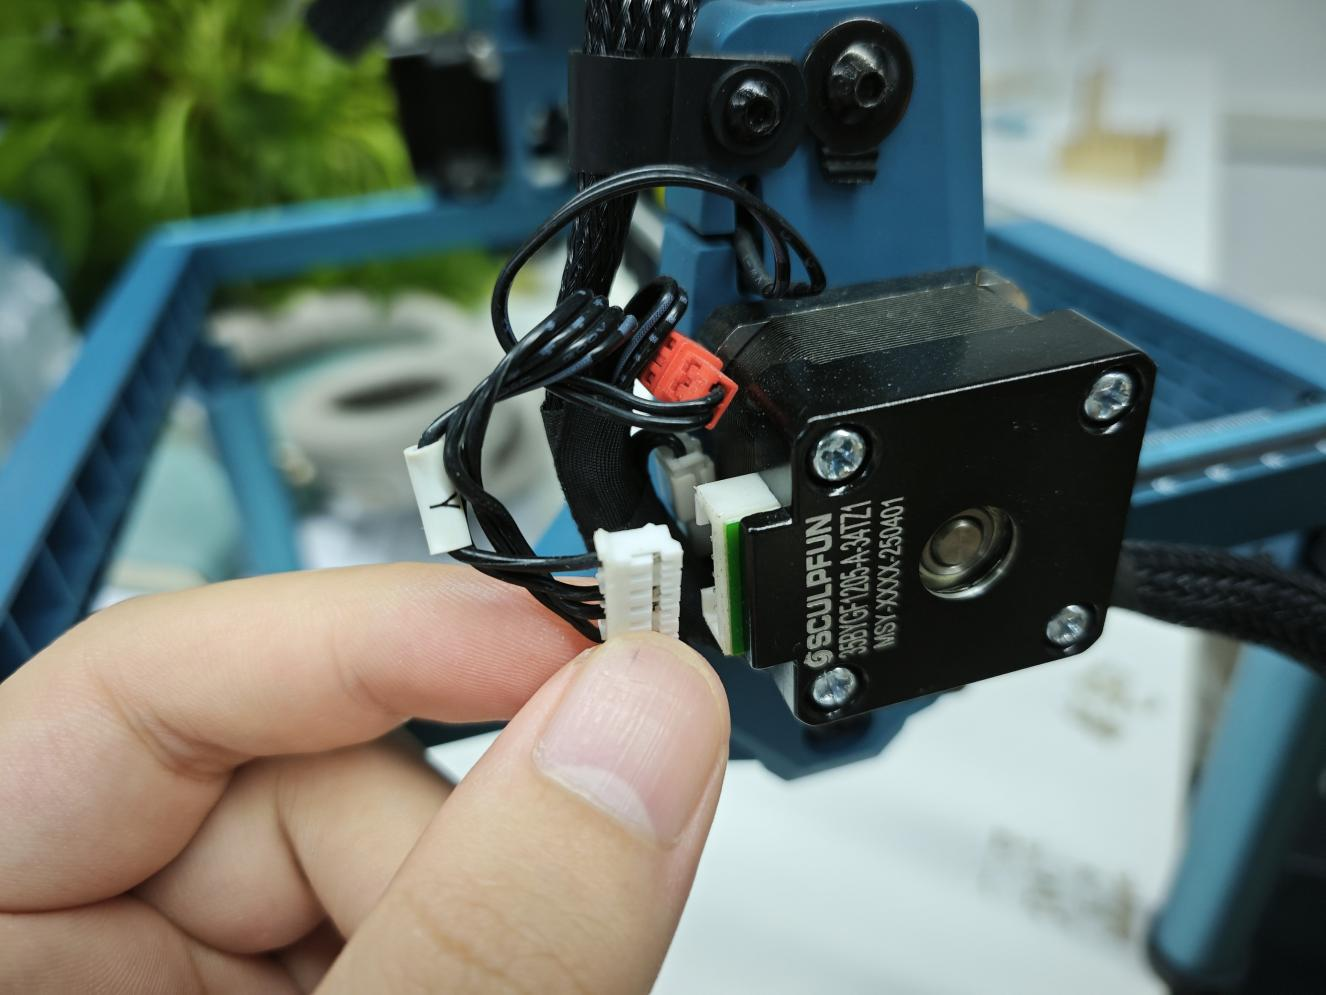
7Locate the C1 Y-axis motor (marked with a Y-axis label) and unplug its motor cable.
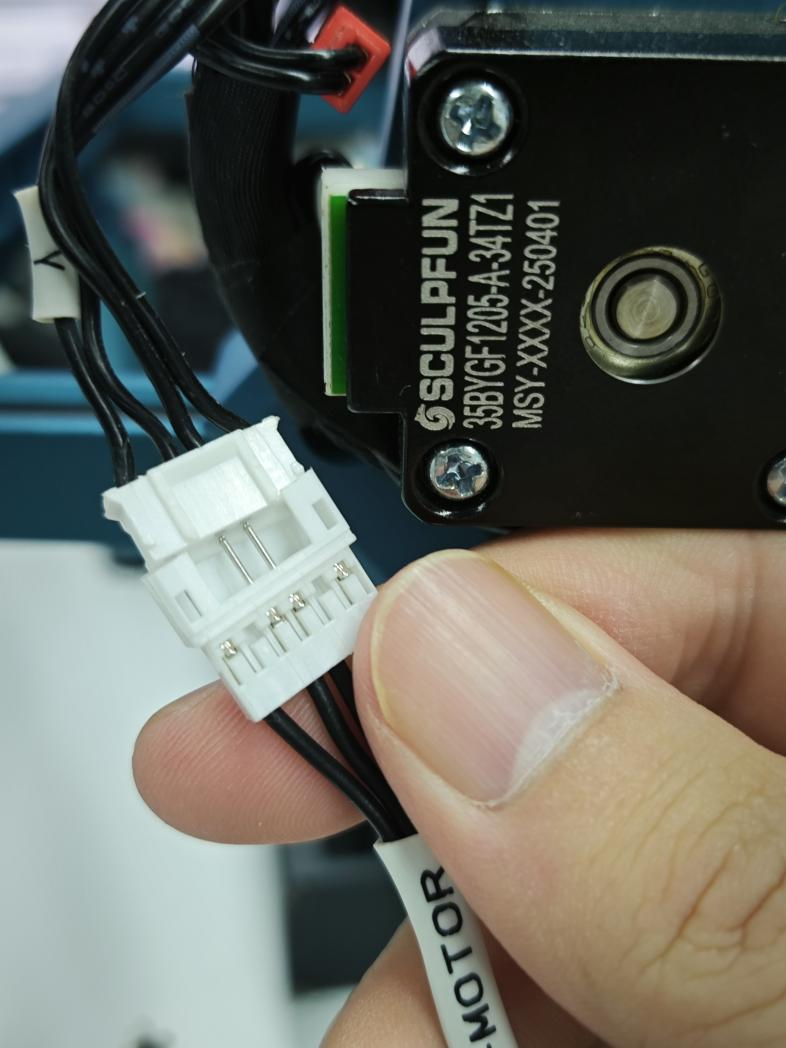
8Connect the female end of the RA Mini motor cable to the original C1 Y-axis motor wire.
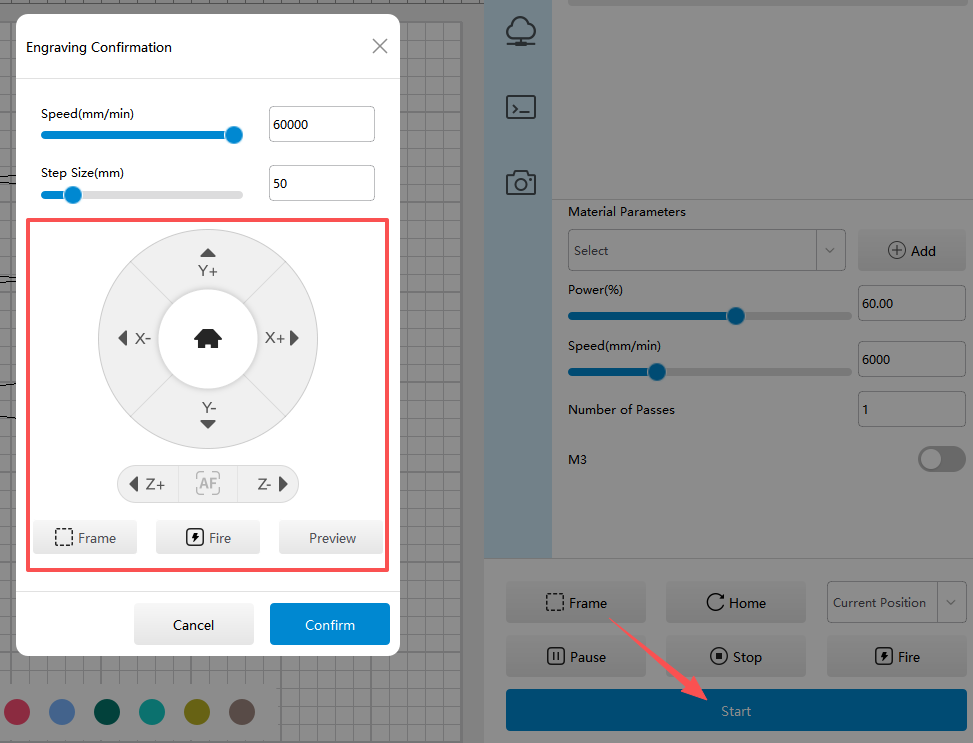
9Plug in the data cable and power adapter, then power on the machine.
2. Software Configuration
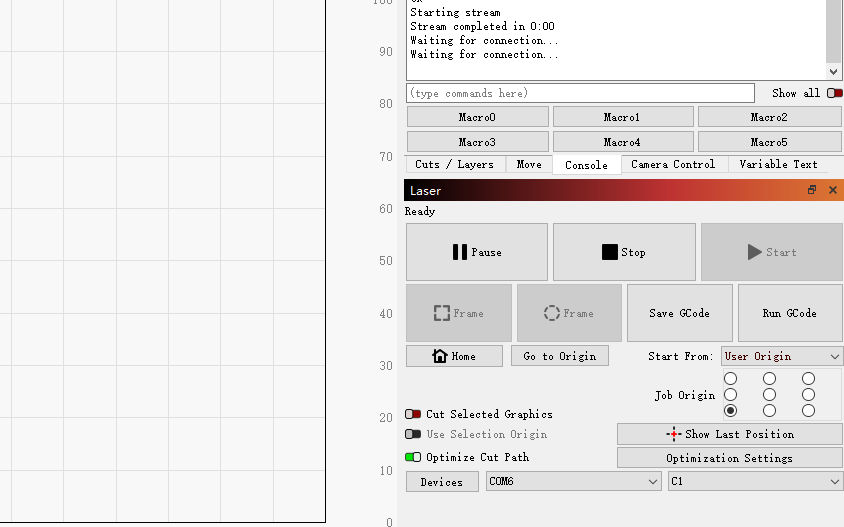
1Launch LightBurn and select your machine and COM port.
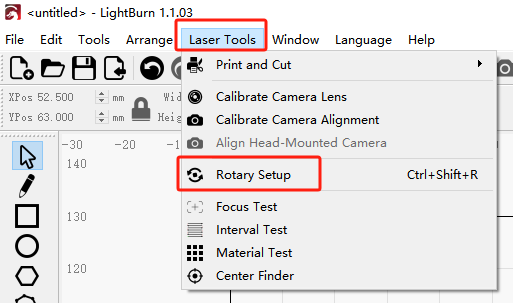
2Open Tools and select Rotary Setup.
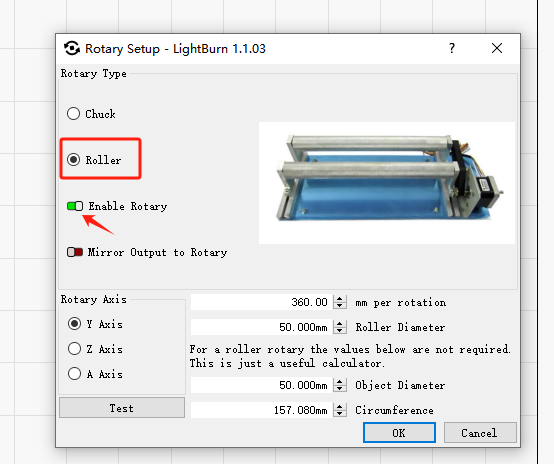
3Select Roller Mode and toggle on Enable Rotary.
4Set the following parameters: Rotary Axis = Y Axis; mm per rotation = 40.5 mm; Roller Diameter = 20 mm.
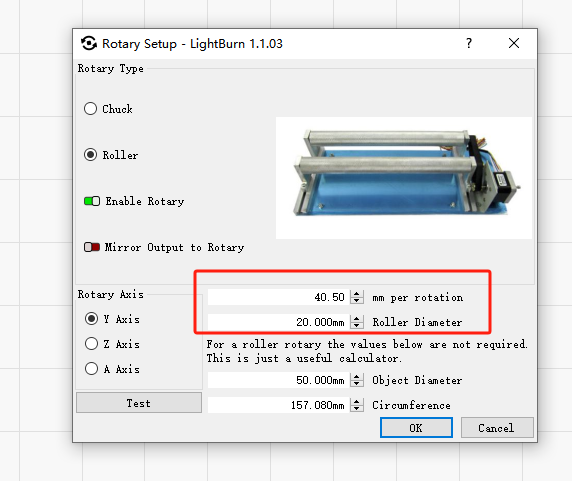
The values above are recommended parameters for the C1 + RA Mini combo. Refer to the dedicated parameter documents for other machine models.
5Draw your design and start engraving.
Important Notes
- Keep the C1 unit and RA Mini perfectly level to avoid distorted engraving patterns.
- Set the laser focus point to the highest surface of your workpiece for optimal engraving quality.