C1 Series Unboxing and Usage Guide
C1 Unboxing, Installation & Operation Guide
Video Version
Written Version
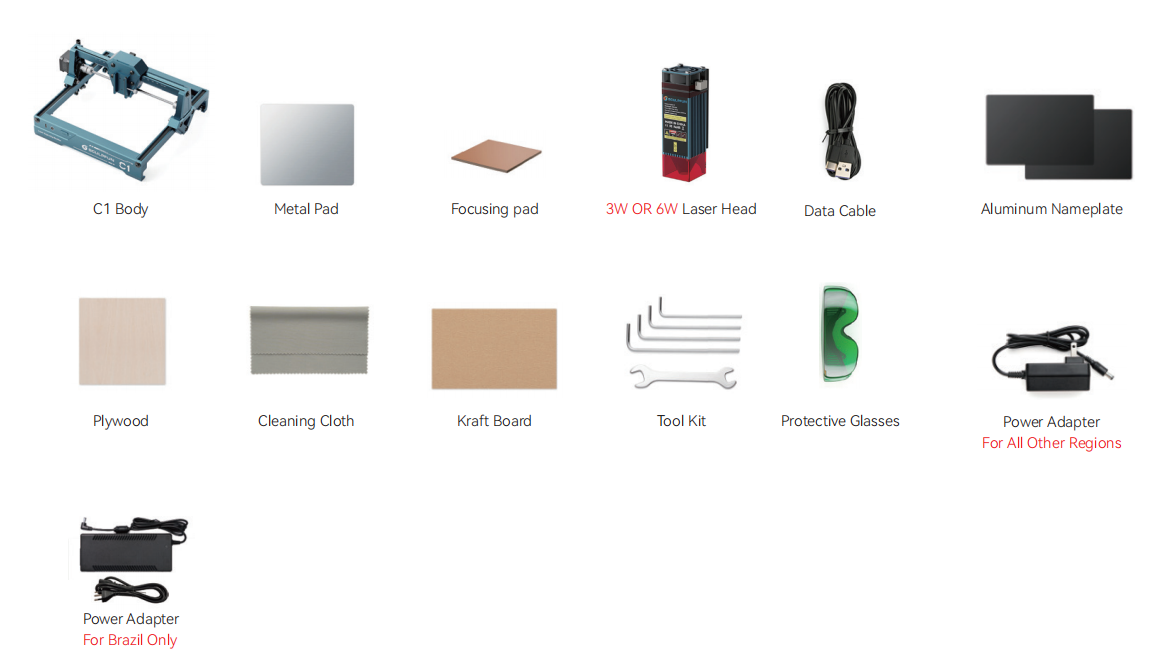
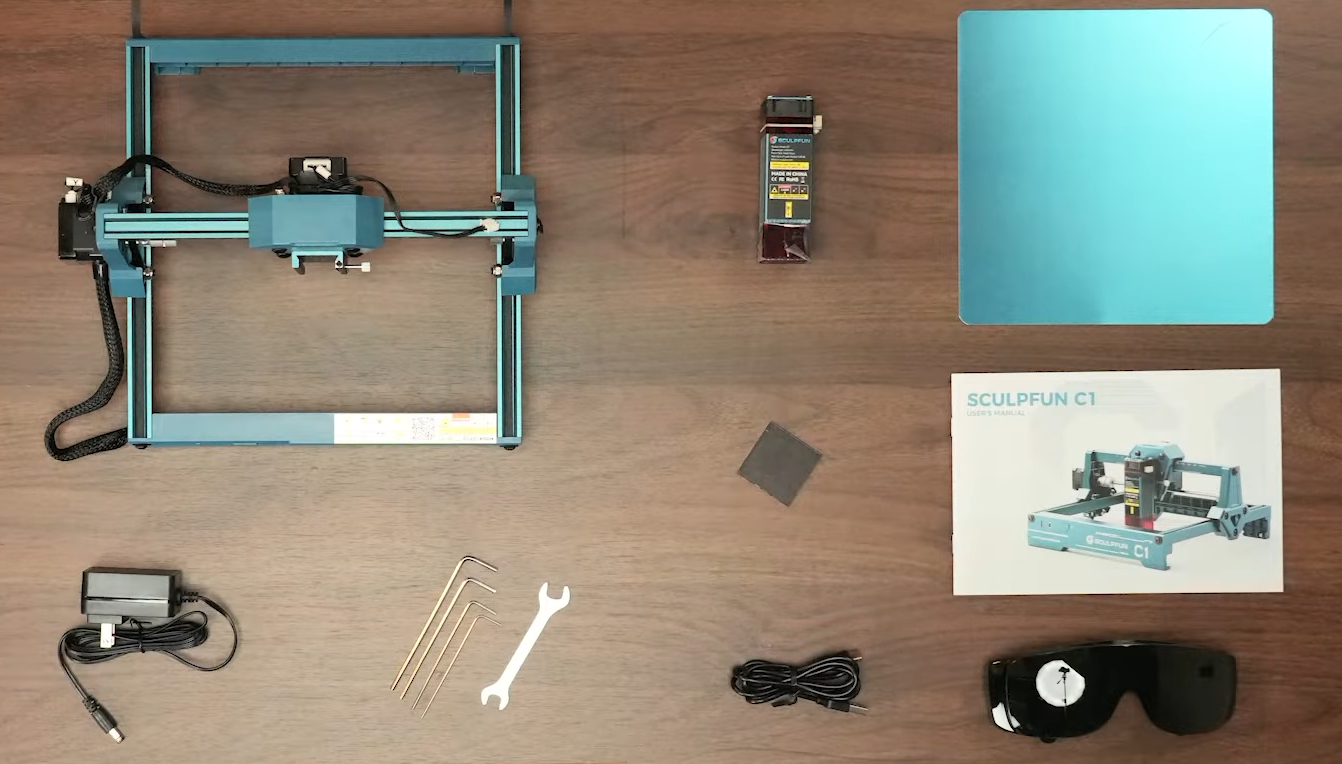
Packing List
| Item | Quantity / Remark |
|---|---|
| Main Unit | 1 |
| Metal Worktable Plate | 1 |
| Acrylic Focus Block | 1 |
| 3W / 6W Laser Module | 1 |
| USB Data Cable | 1 |
| Aluminum Name Plates | 2 |
| Basswood Board | 1 |
| Microfiber Cloth | 1 |
| Kraft Cardboard | 1 |
| Tool Kit | 1 |
| Laser Safety Goggles | 1 |
| 12V 2A Power Adapter | 1 (C1 3W Only) |
| 12V 4A Power Adapter | 1 (C1 6W Only) |
| User Manual | 1 |
Figure: Actual photo of packing contents
Machine Assembly
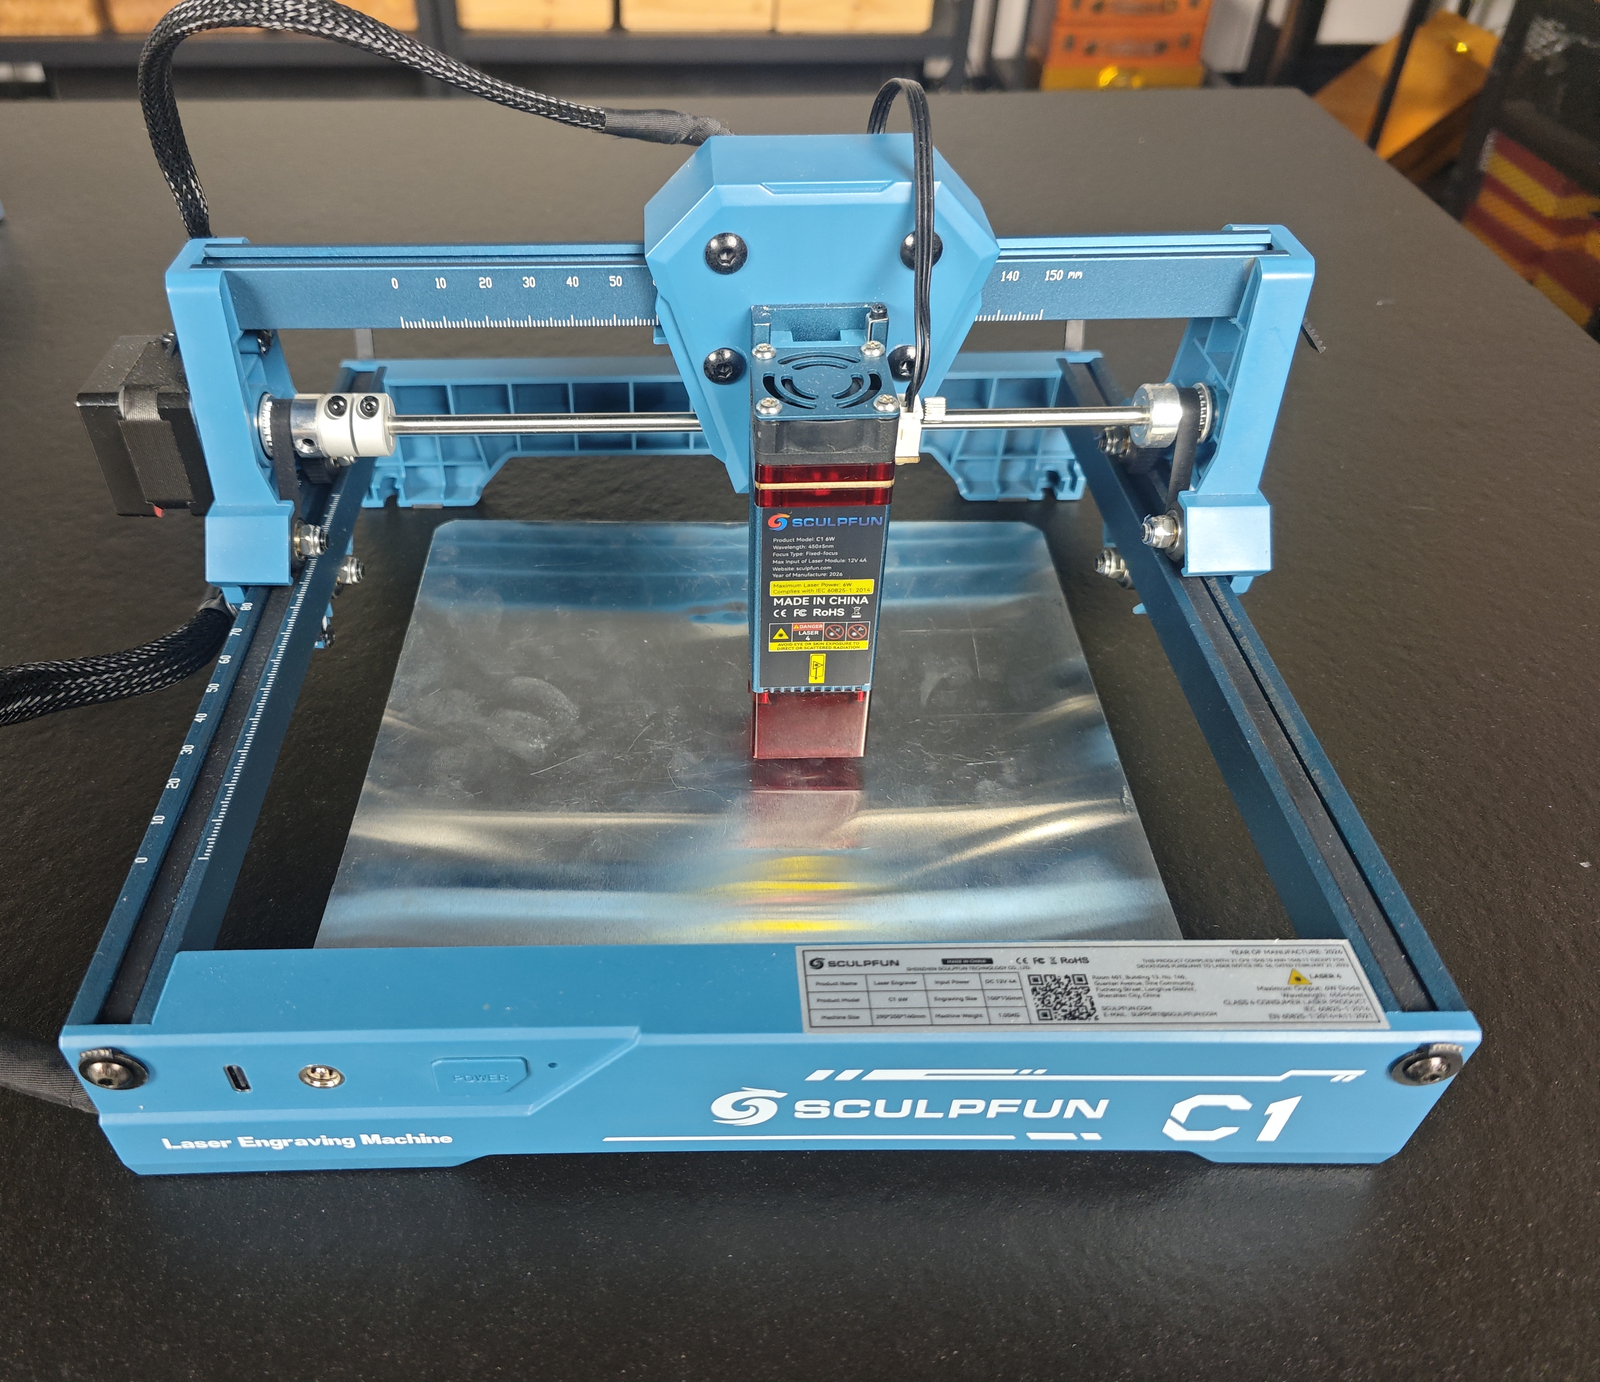
1Take out the main machine unit.
2Take out the laser module and mount it onto the machine.
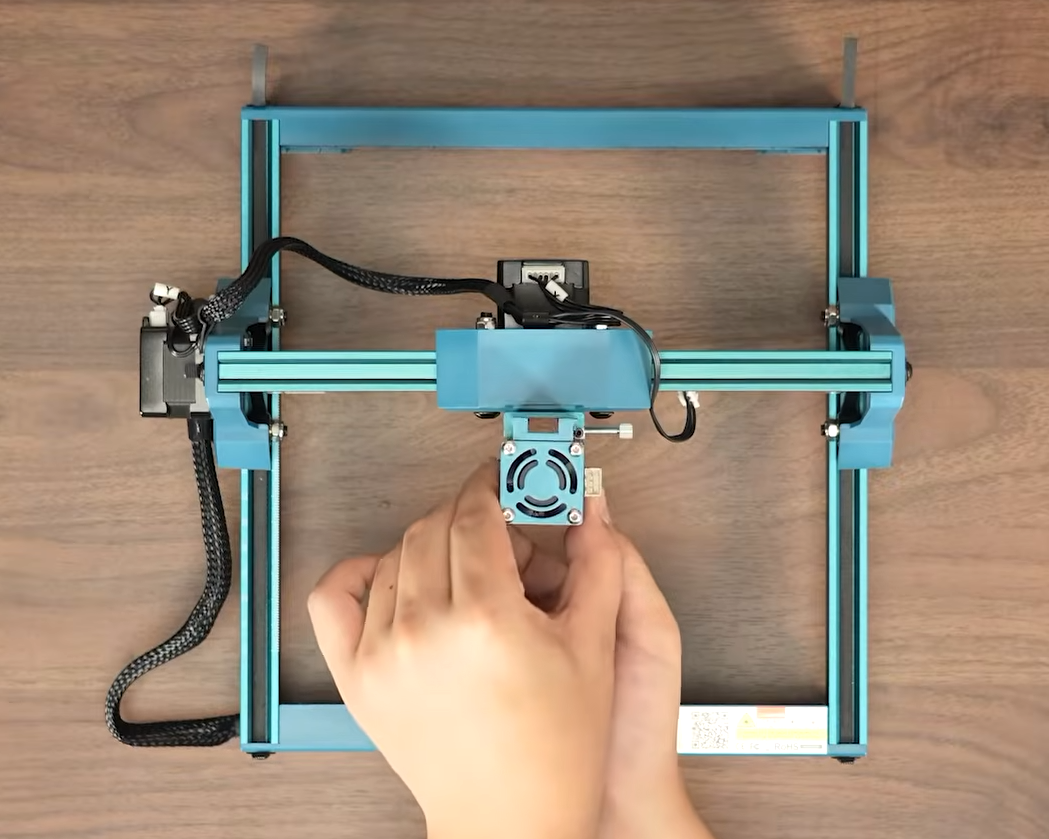
3Secure the laser module with hand-tight screws.
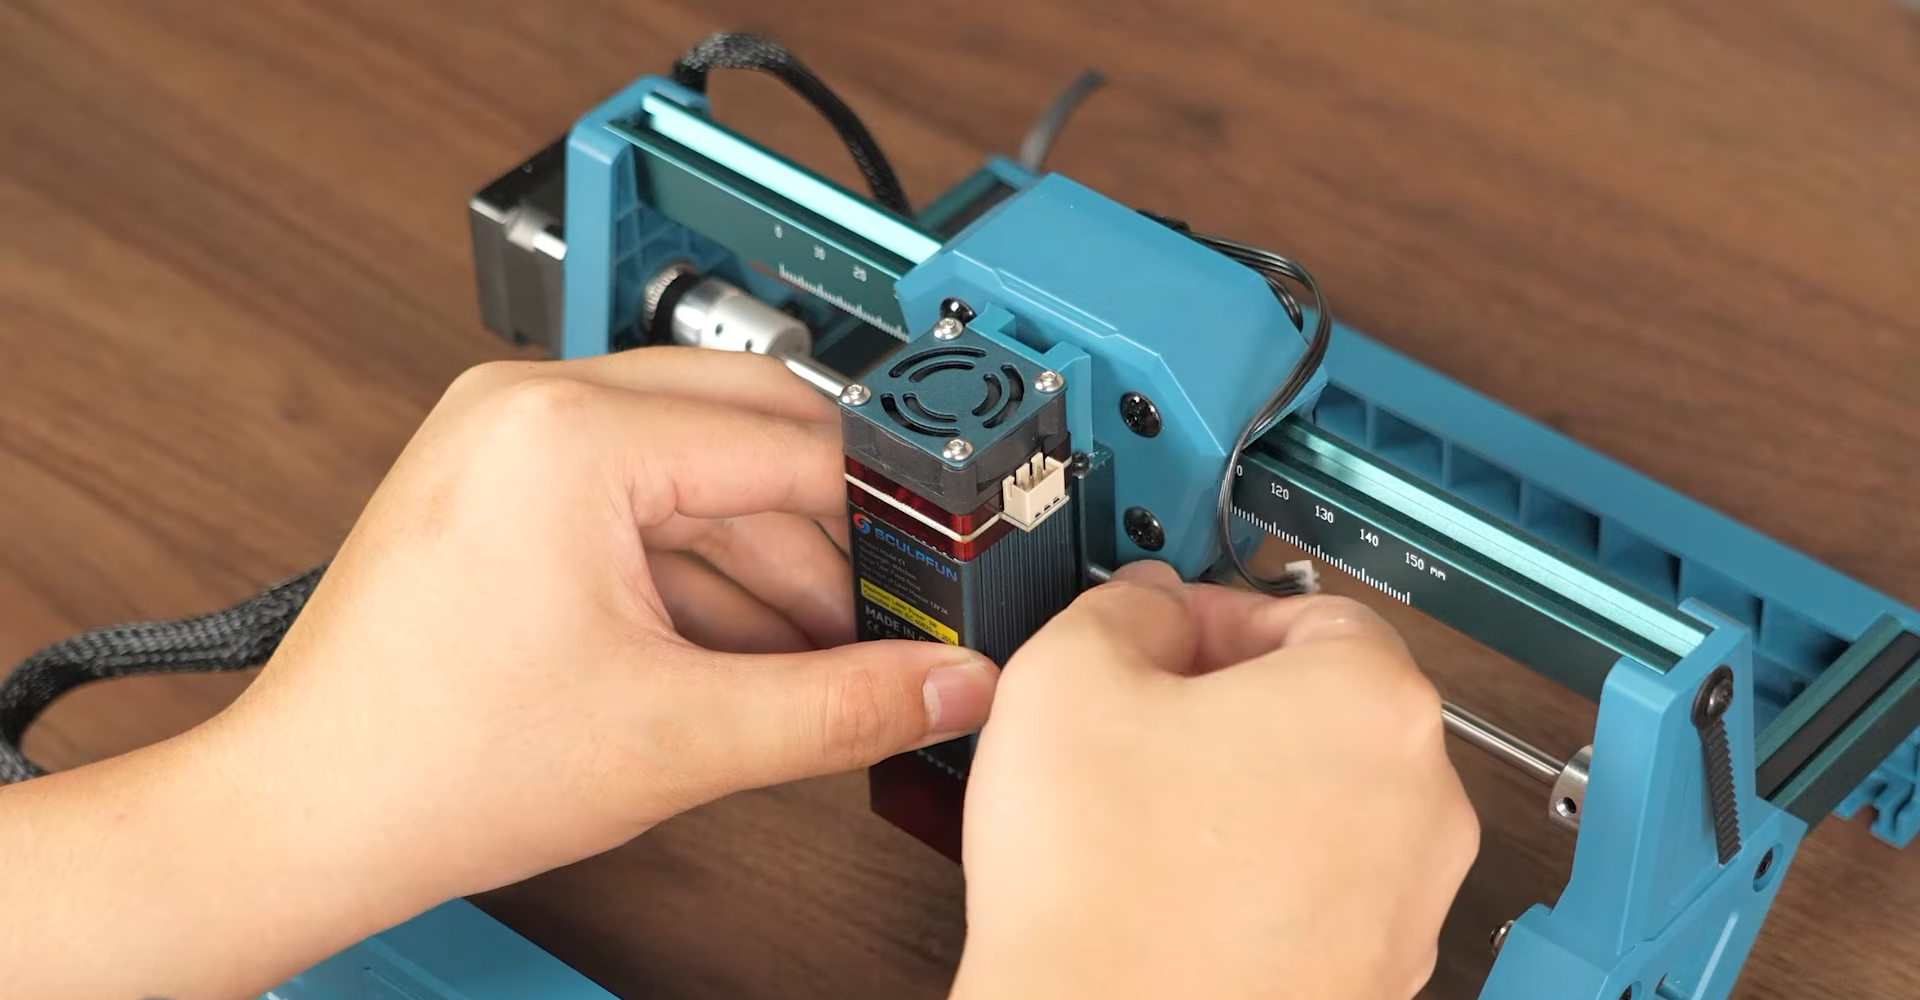
4Plug in the laser module cable to the machine port.
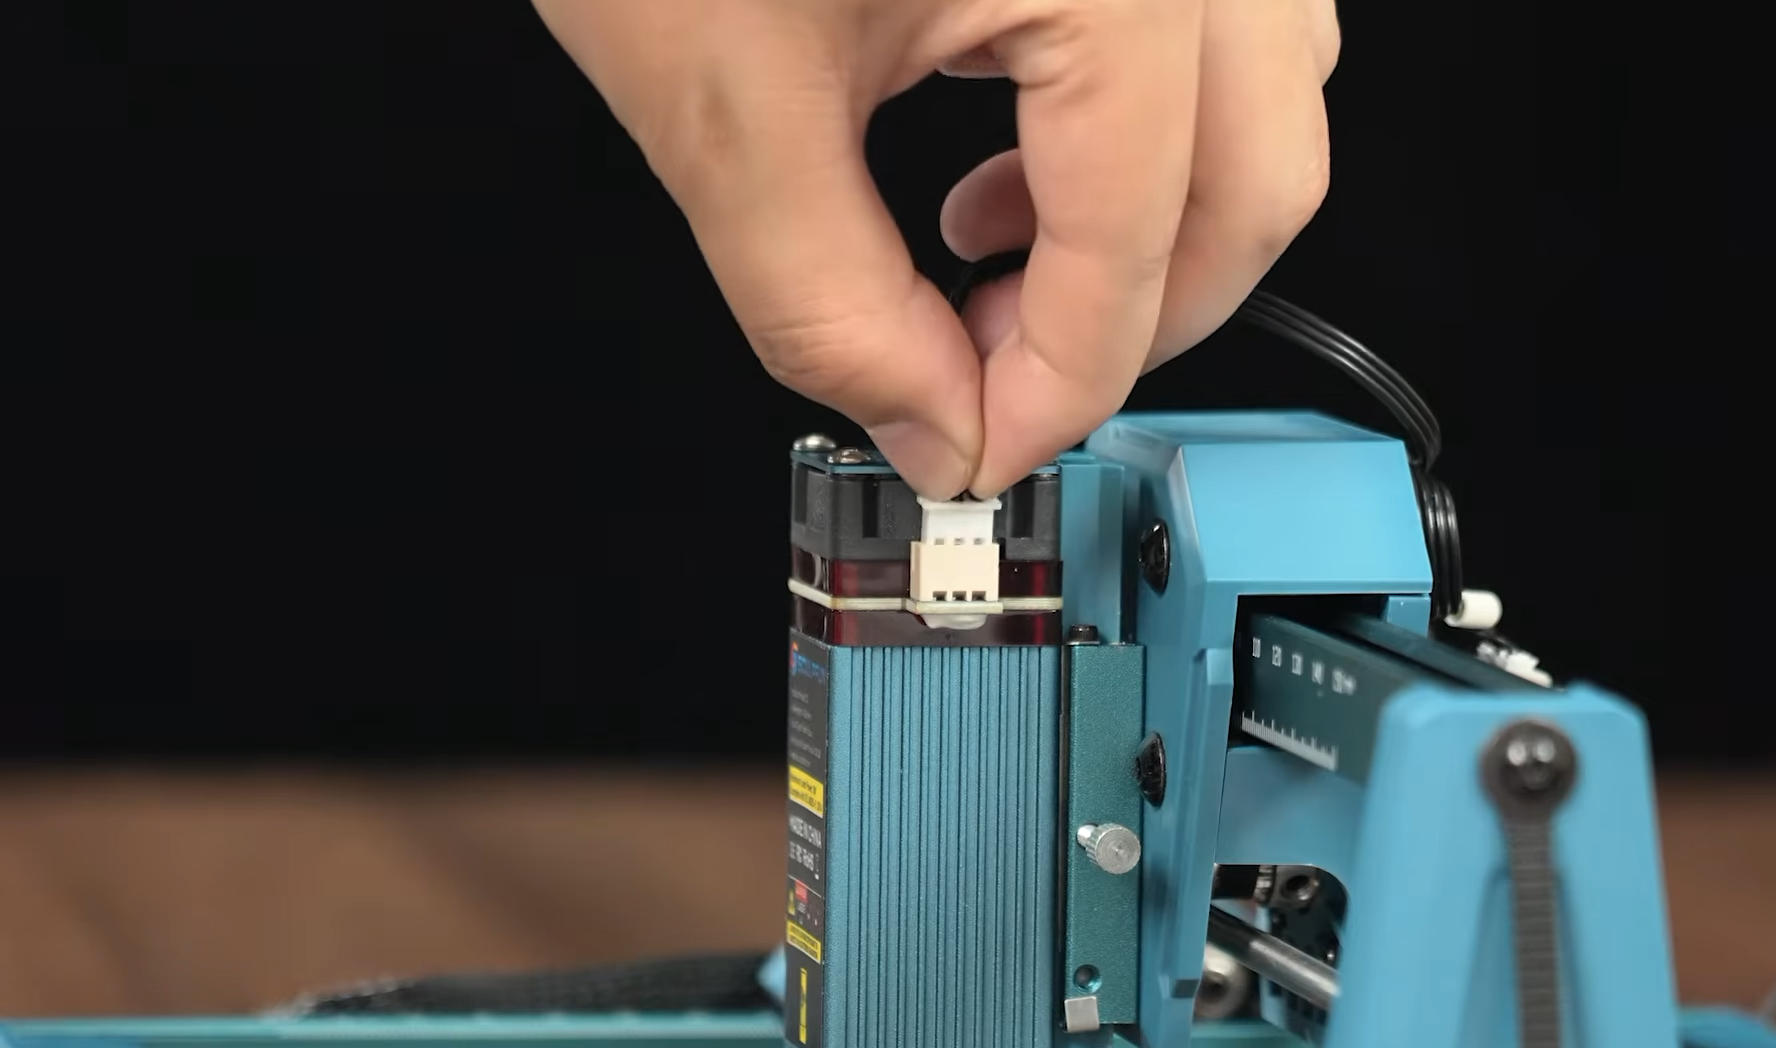
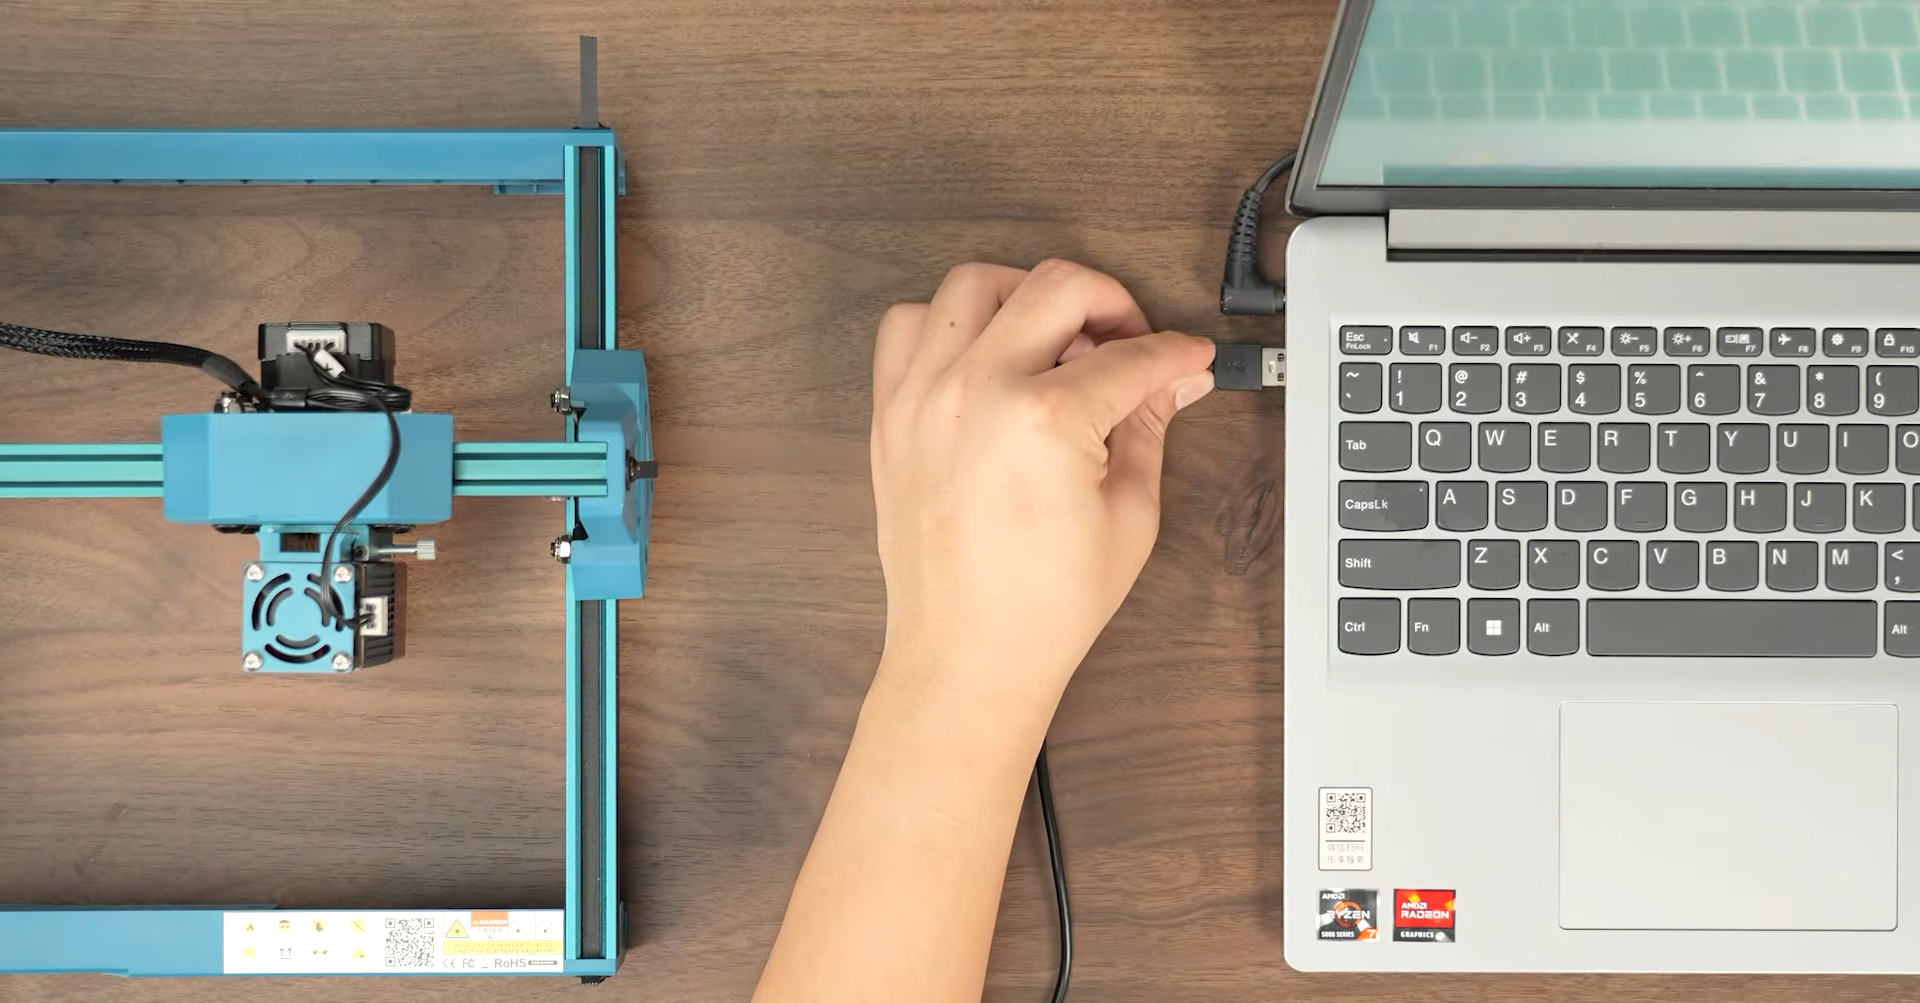
5Connect the power adapter and USB data cable.
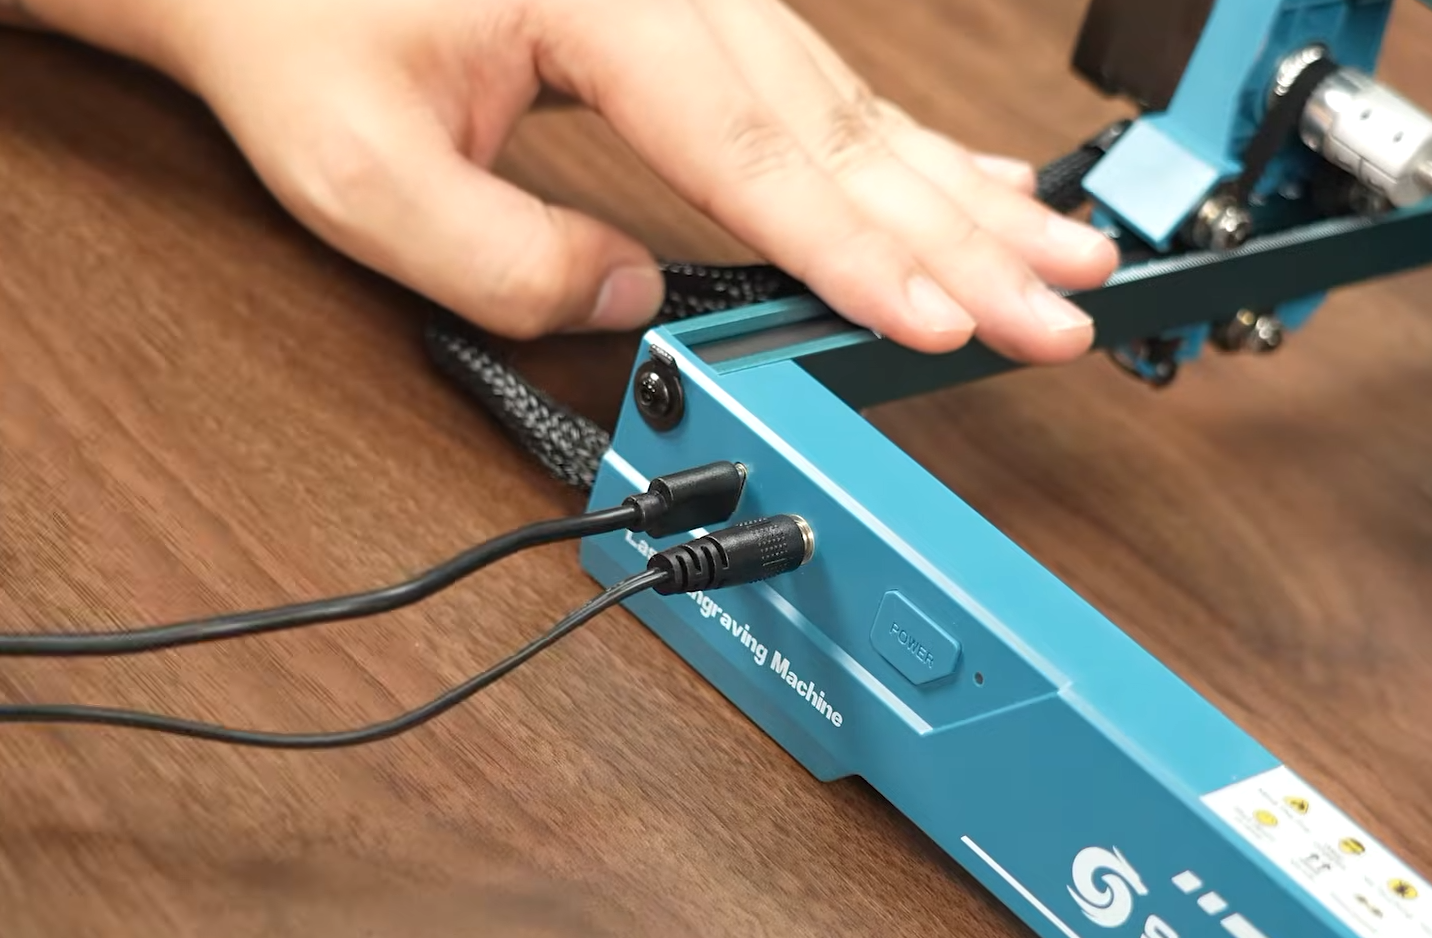
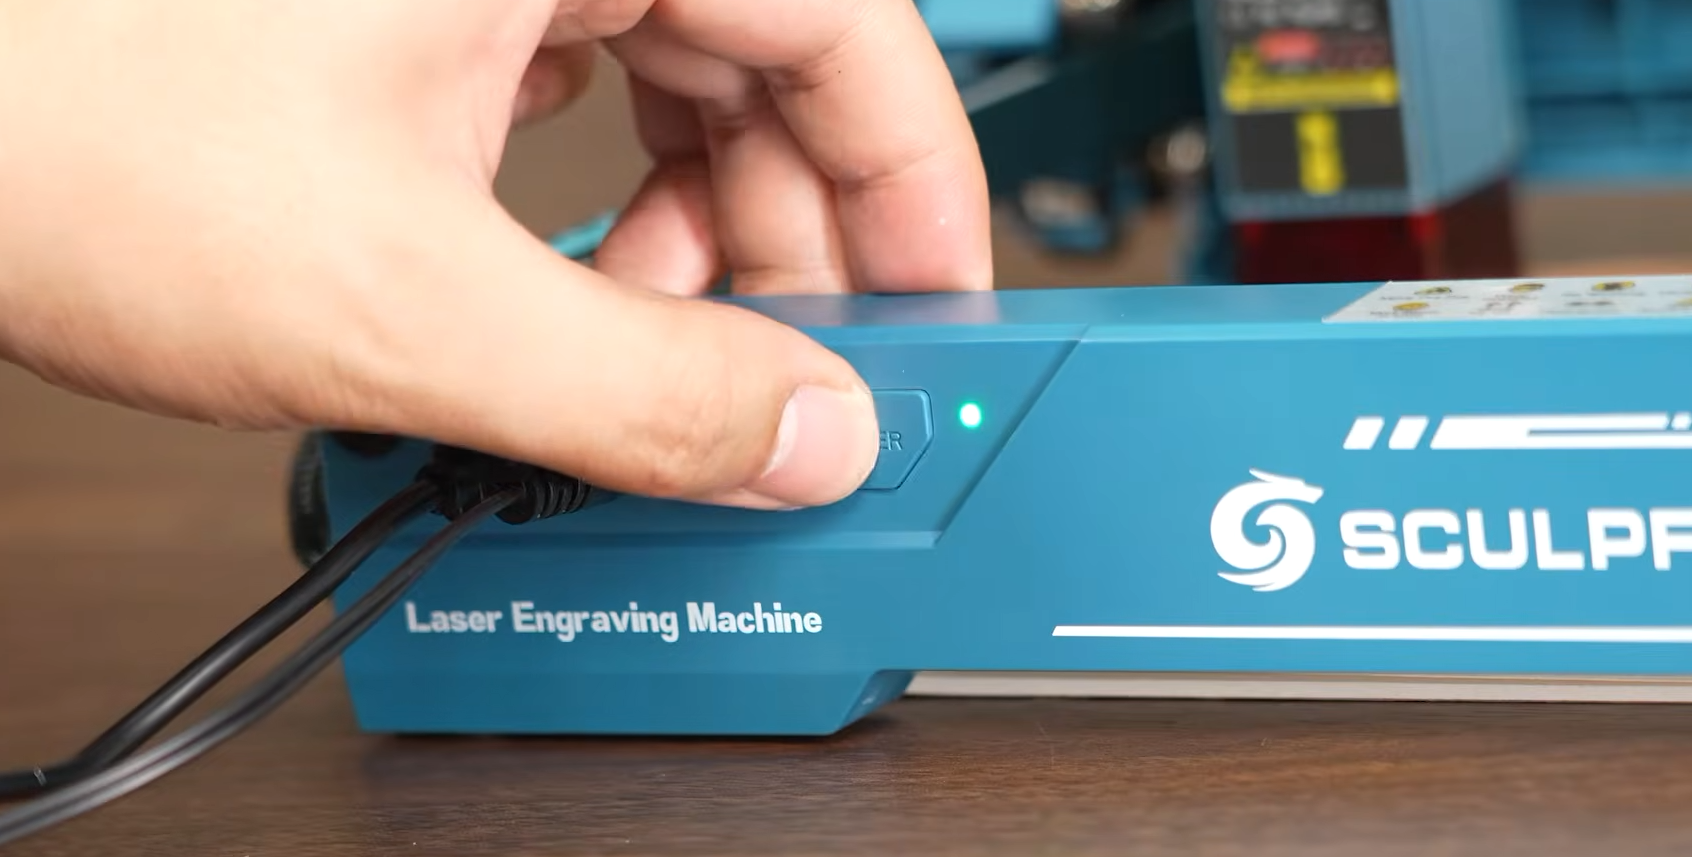
6Press the power switch to turn on the machine.
Machine Operation
Before first use, you must read the user manual and fully understand all safety instructions.
Scan the QR code shown below or printed in the manual to watch tutorial videos, download software and configuration files.

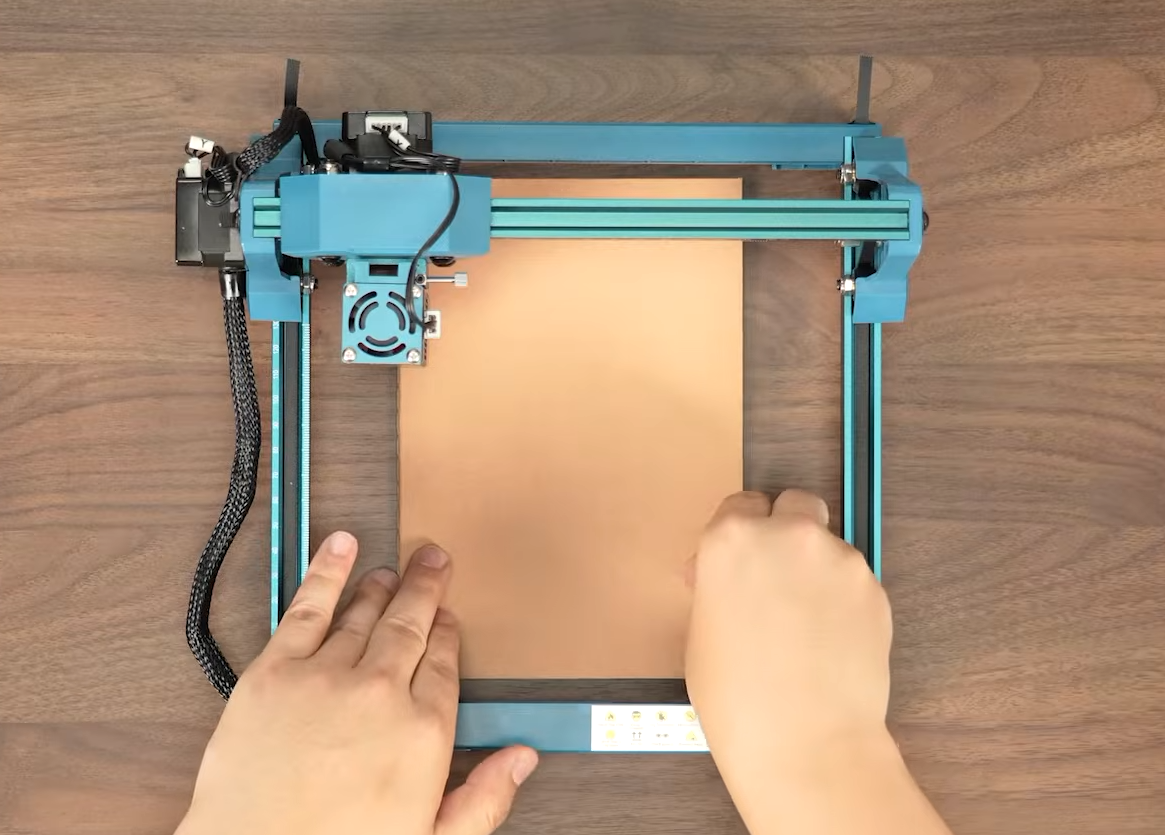
Always install the metal worktable plate before engraving to protect your desktop from laser damage.
Figure: Install the metal worktable plate
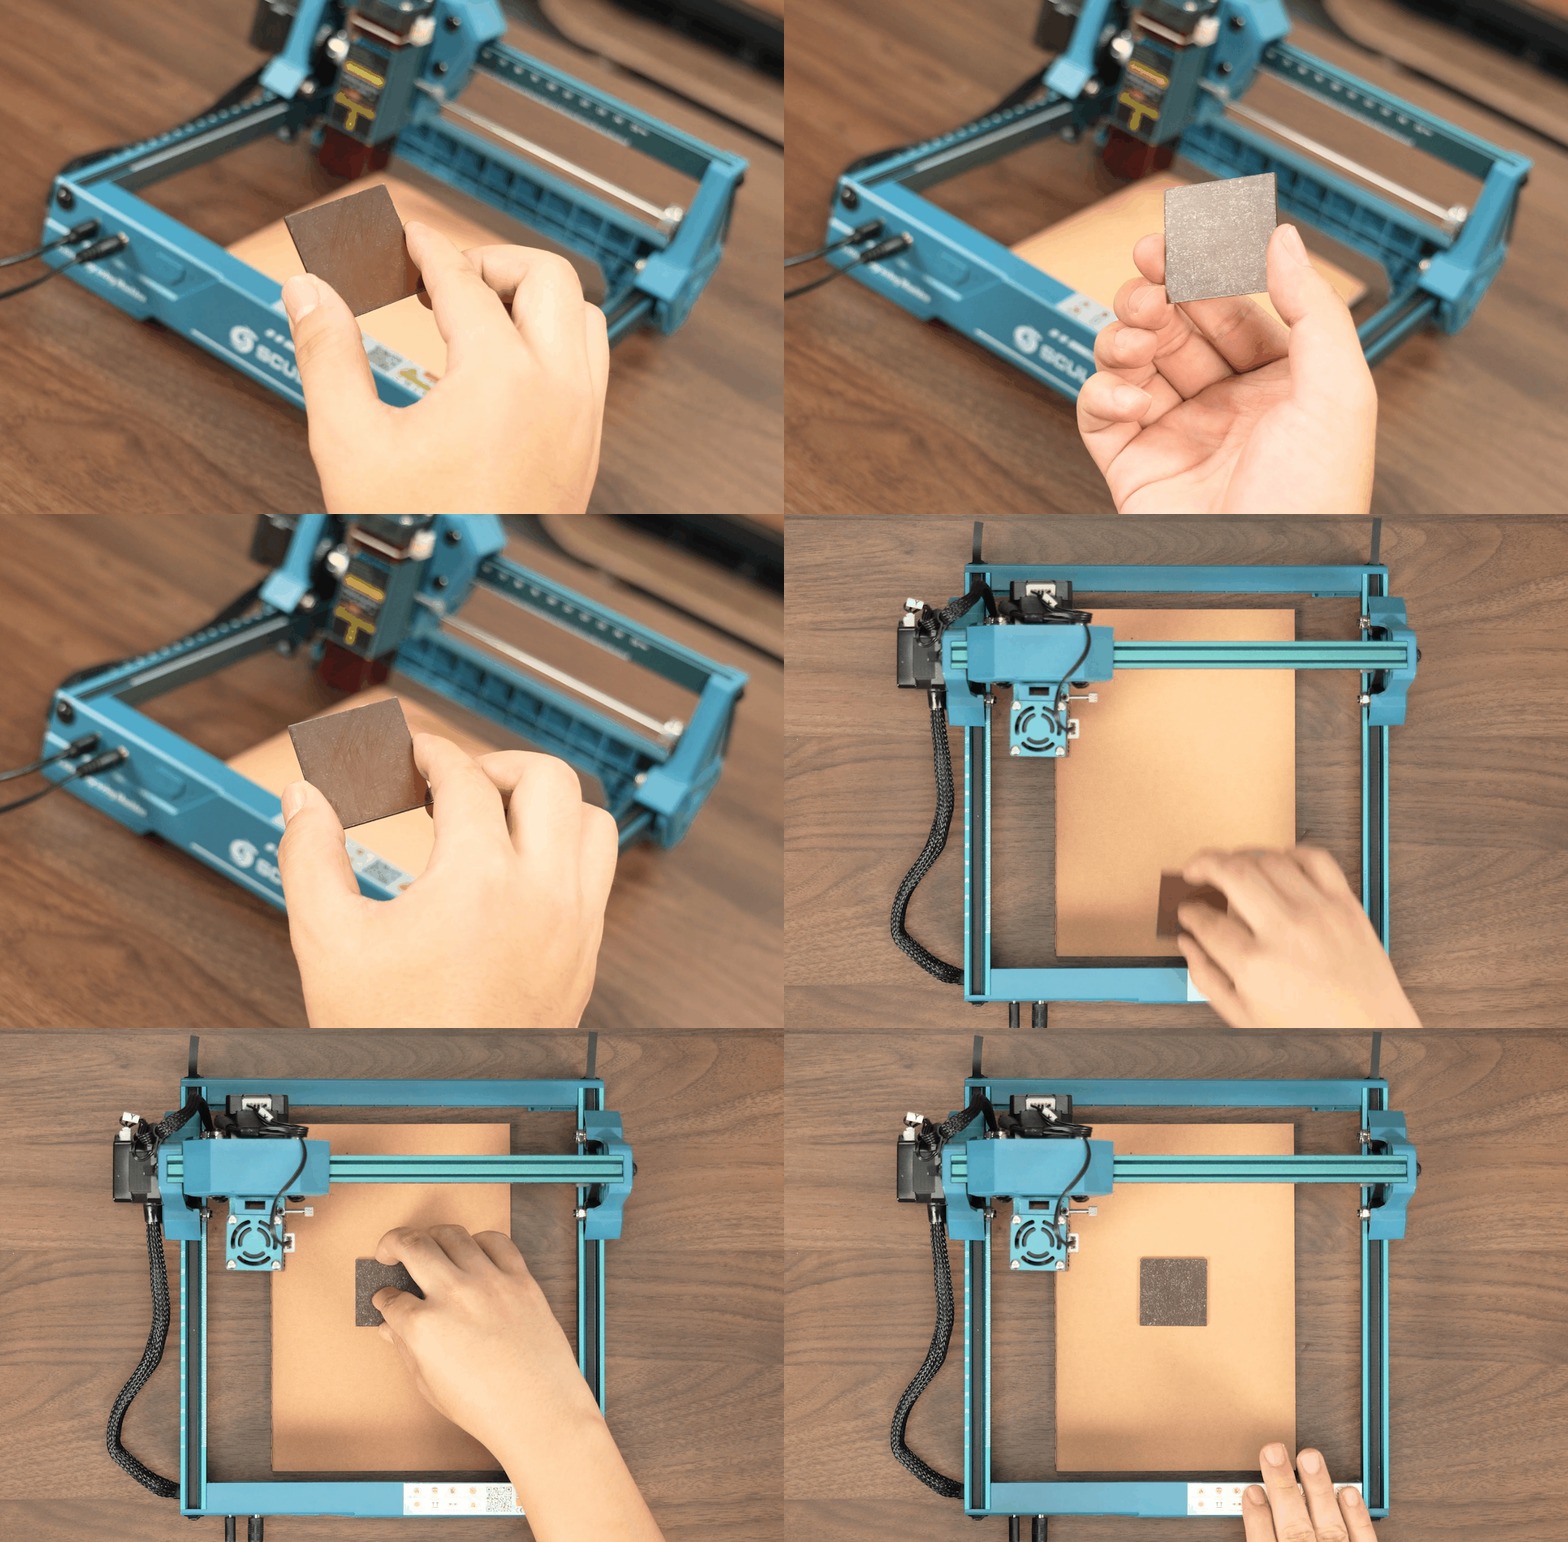
Focus Adjustment
1Place your workpiece inside the machine.
2Take out the acrylic focus block and lay it on top of the workpiece.
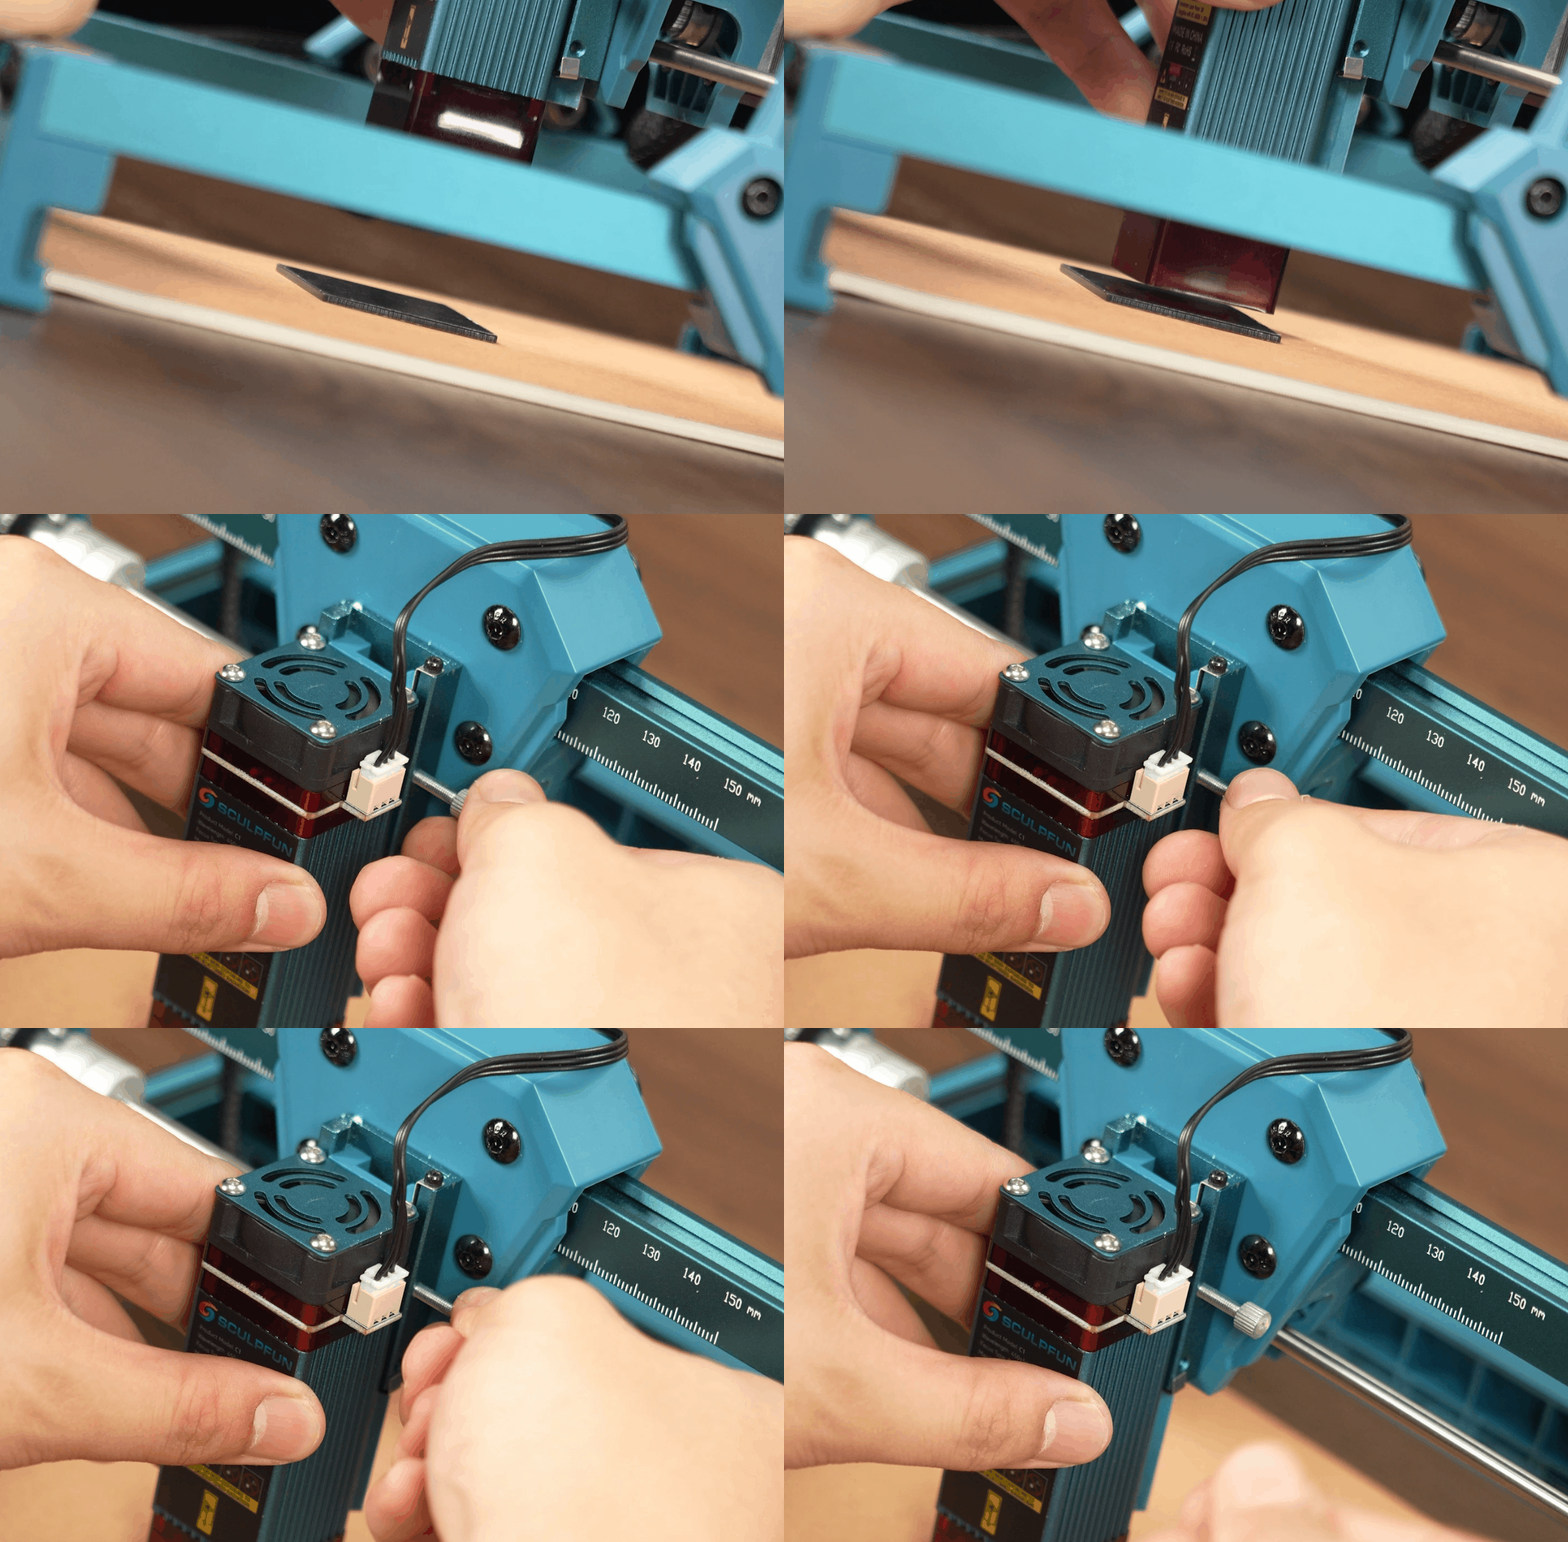
3Lower the laser module until it touches the focus block, then tighten the fixing screw. Focus setup completed.
Software
The iCube Ultra series supports LightBurn and Sculpfun Space. Click the links to access official software download pages.
LightBurn Tutorials: See LightBurn Official Documentation, LightBurn Installation Guide
Sculpfun Space Tutorial: See Sculpfun Space Operation Guide