E1 Series Unboxing Tutorial
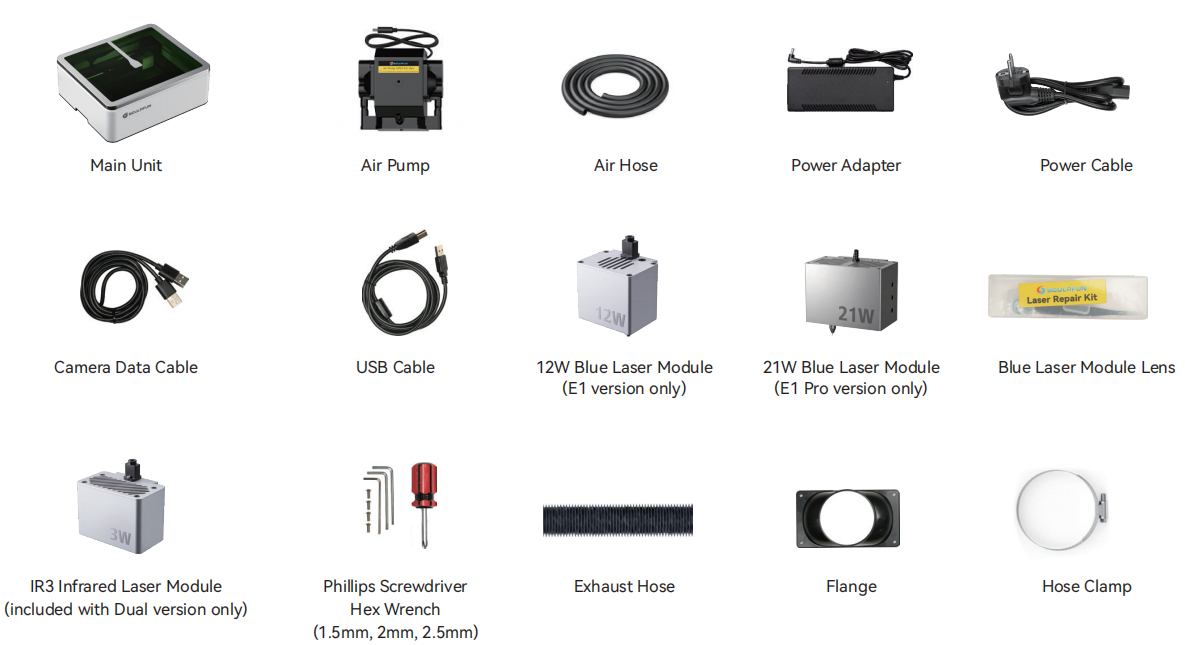
Package Contents
| Item | Qty |
|---|---|
| Machine | 1 |
| 455nm Laser | 1 (12W/21W, already installed on the machine) |
| 1064nm Laser | 1 (Dual version only) |
| Exhaust Pipe | 1 |
| Exhaust Pipe Flange | 1 |
| Clamp | 1 |
| Air Hose | 1 |
| Air Pump | 1 |
| Safety Goggles | 1 |
| 24V/4A Adapter | 1(E1/E1 Dual Version) |
| 24V/6A Adapter | 1(E1 Pro/E1 Pro Dual Version) |
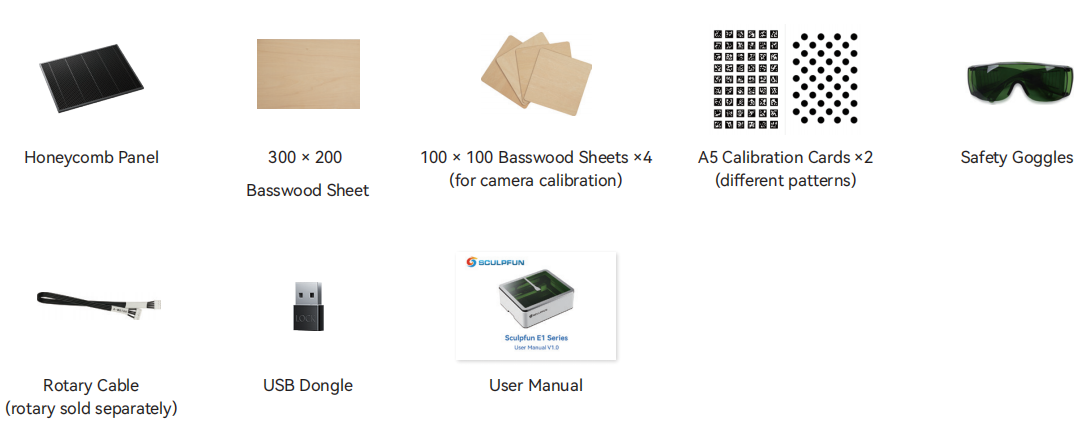
| Honeycomb Panel | 1 |
| Tool Kit | 1 |
| USB Security Key | 1 |
| Cable Pack | 1 |
| Camera Calibration Paper | 2 |
| Laser Repair Kit | 1 |
| 3mm Bassboard Boards | 5 |
| Instruction Manual | 1 |
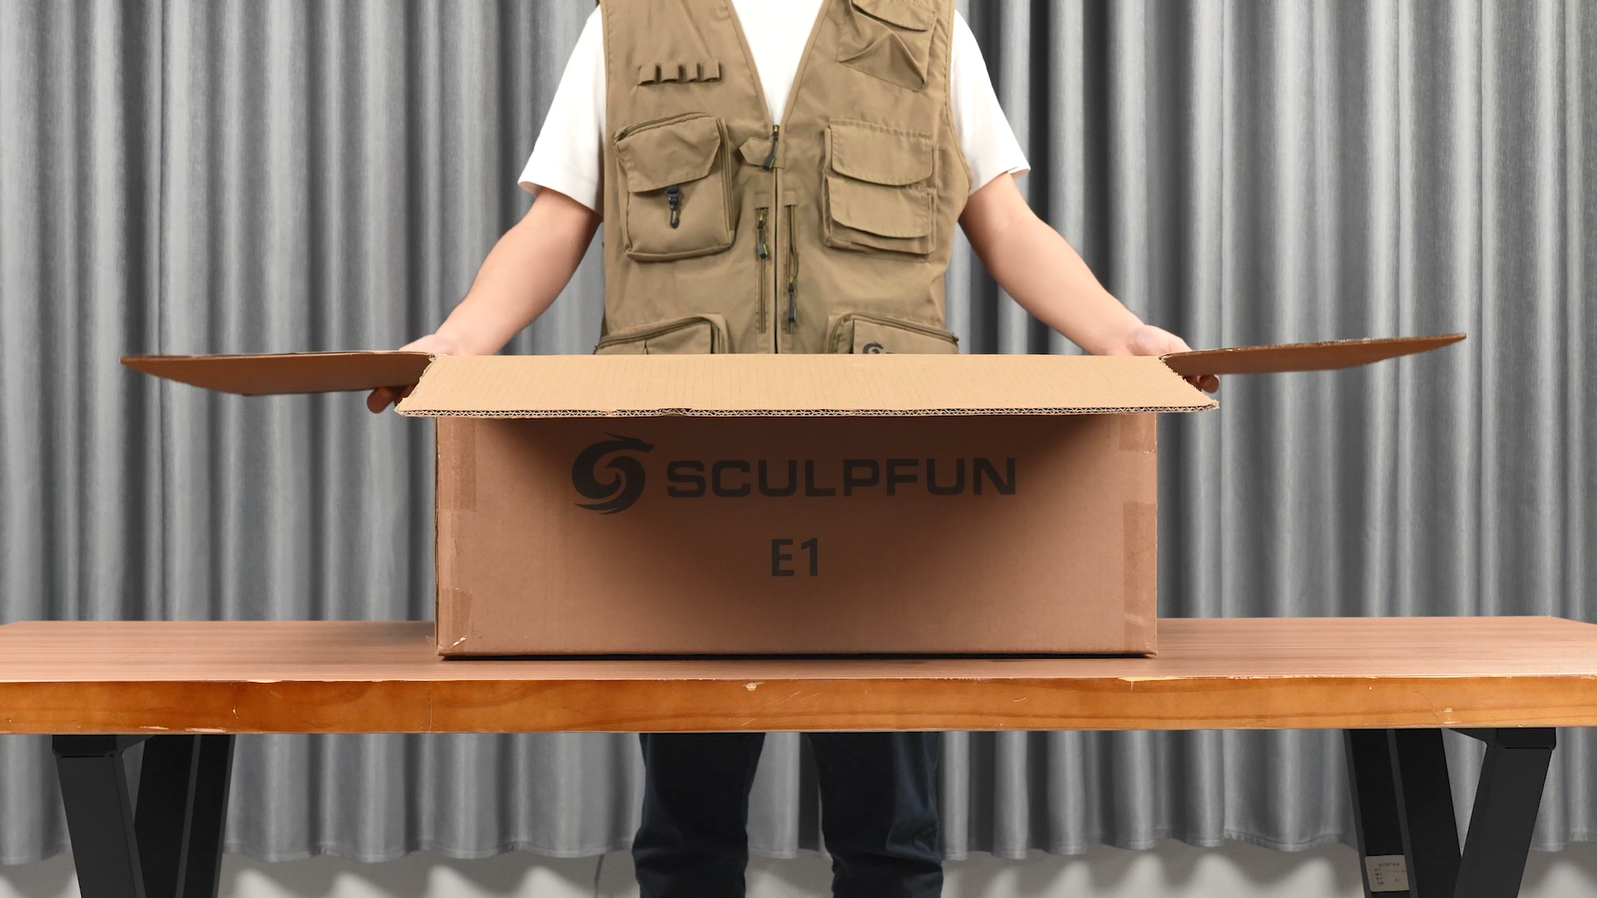
Unboxing
Remove the machine
Remove the top layer of foam. Inside, there are five basswood boards of two different sizes and two camera calibration papers.
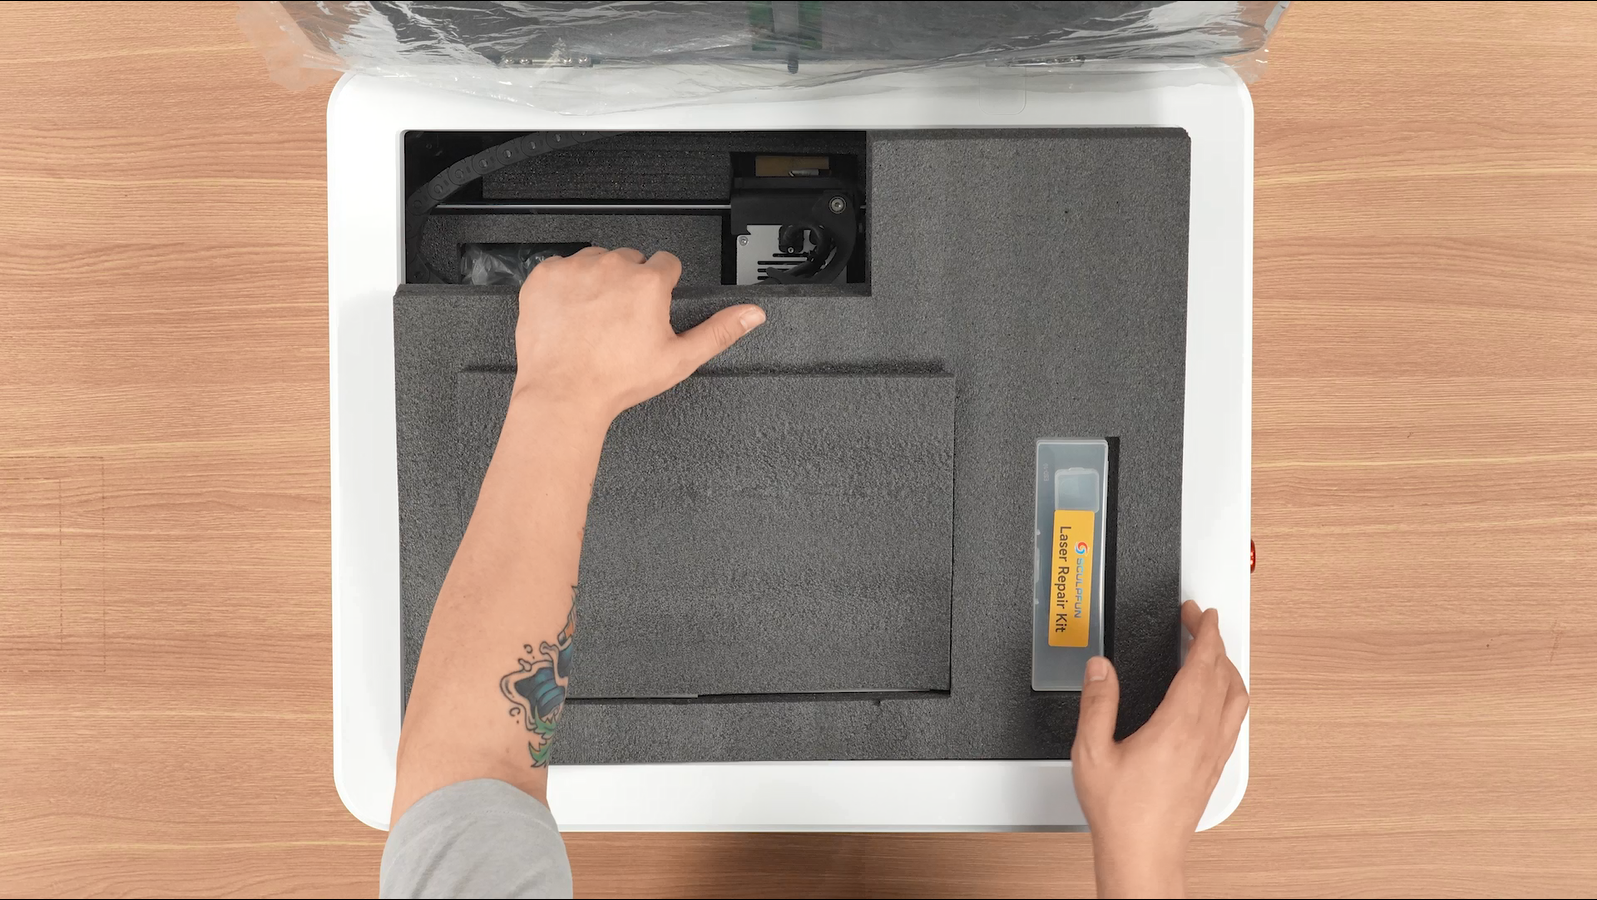
Remove the bottom layer of foam.
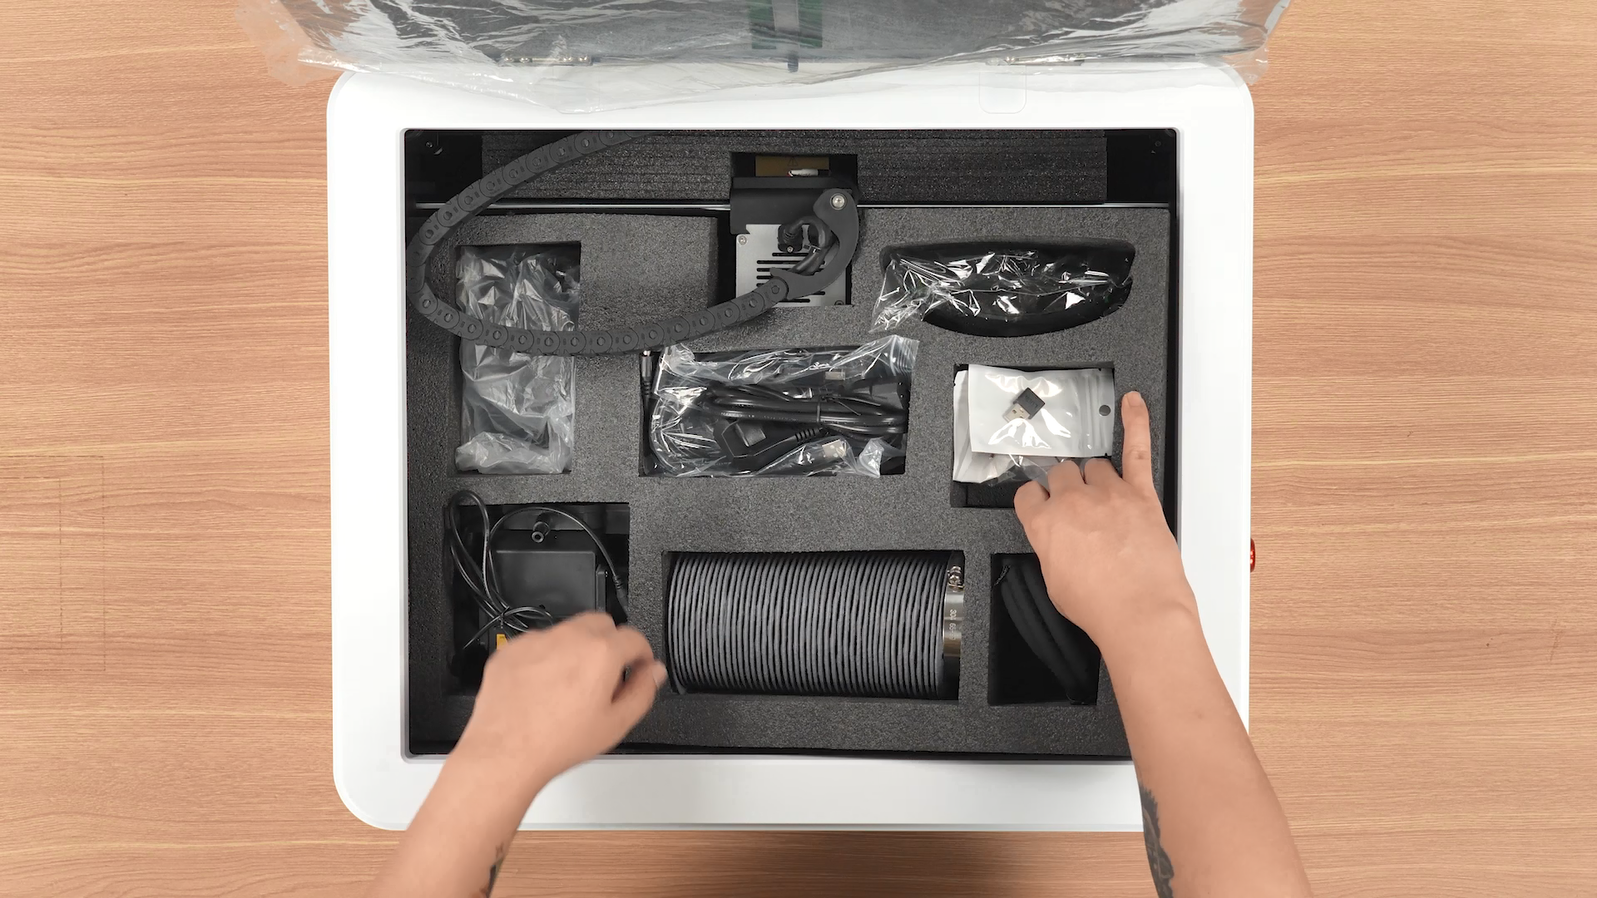
Move the laser and remove the front and back protective foam.
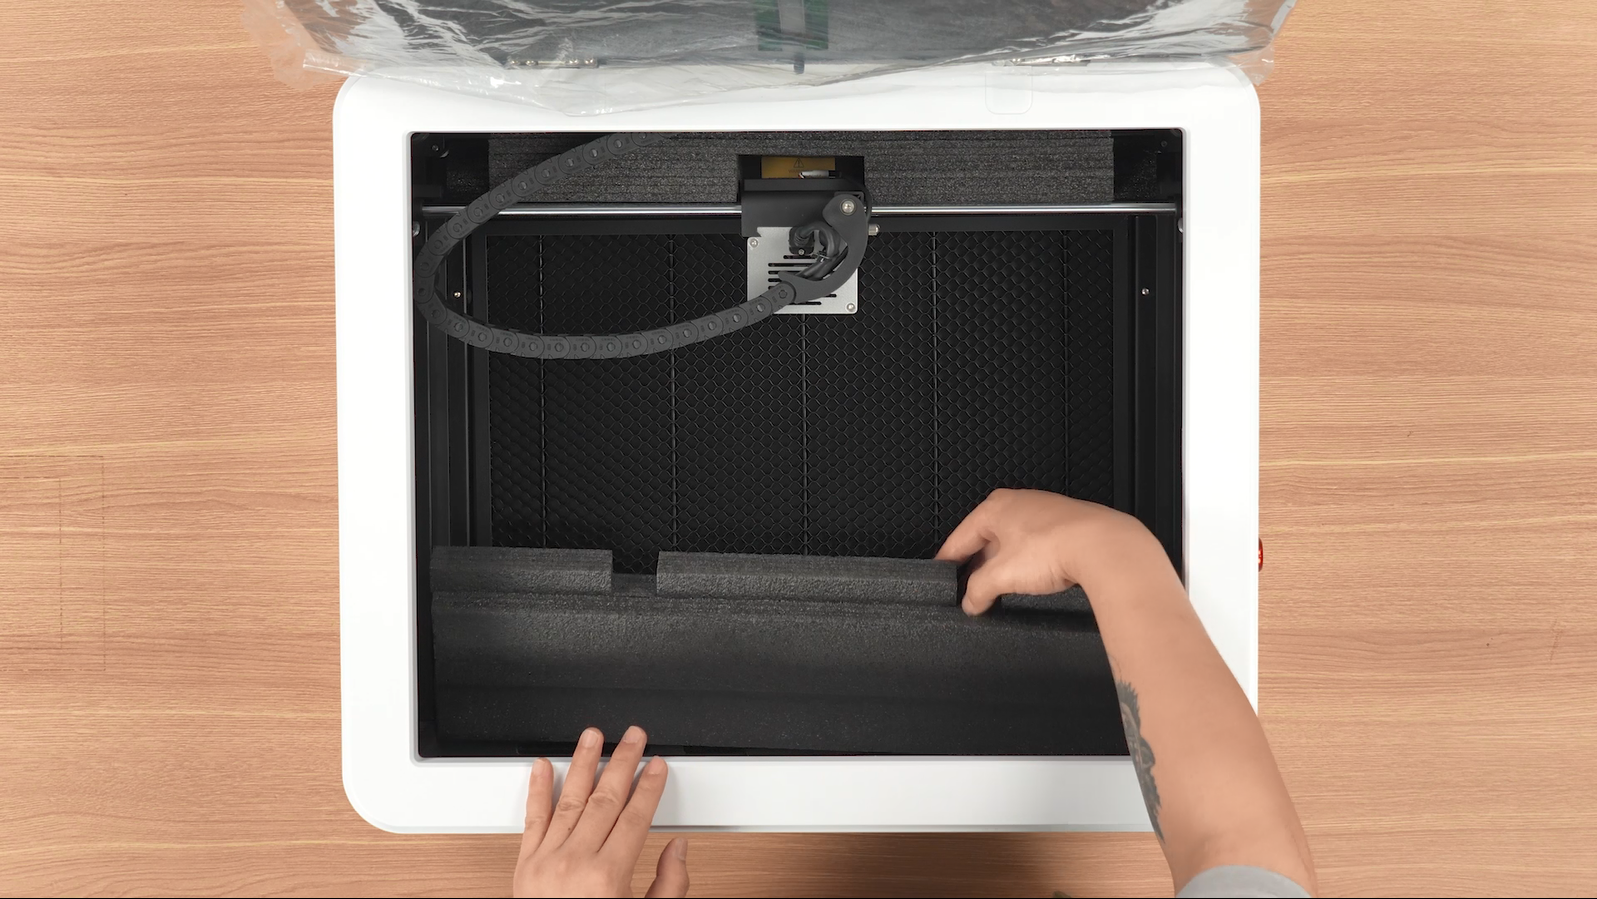
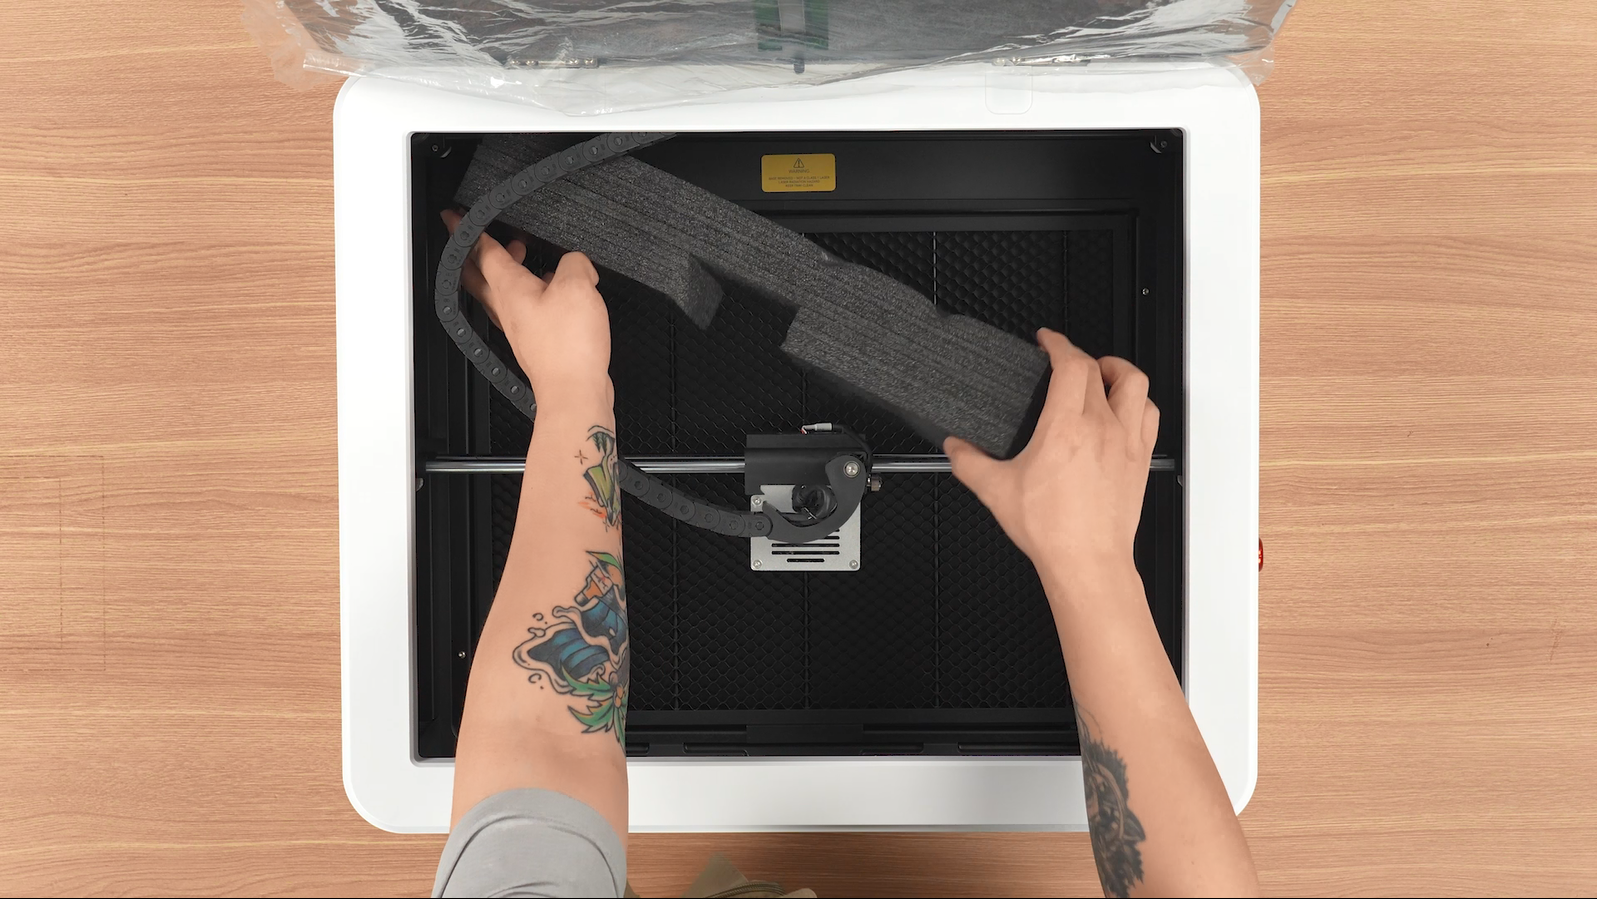
Remove the top cover foam.
Machine description
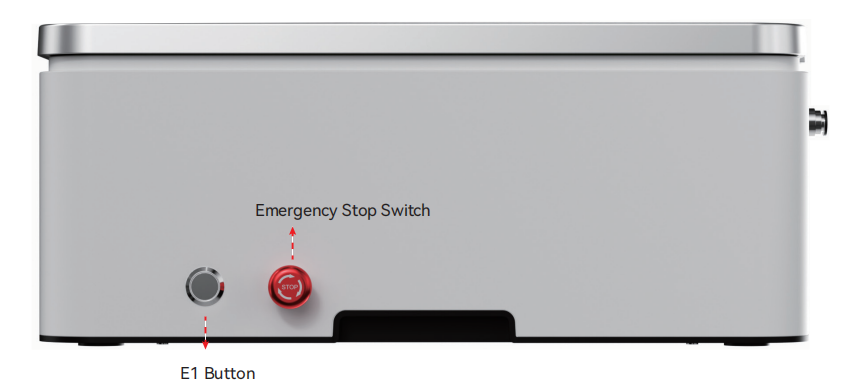
Multifunction Buttons Emergency Stop Switch
E1 Status Indicator Light Description
1. Green-Breathing: Standby / Engraving completed
2. Green-Solid: Engraving in progress
3. Blue-Breathing: Engraving paused
4. Blue-Solid: Safety door open
5. Red-Blinking: Error
6. Off: Machine powered of
E1 Button Function Description
1. Double-click: Return to home.
2. Single-click (during homing): Interrupt homing.
3. Single-click (during operation): Pause.
4. Single-click (during pause): Resume.
5. Single-click (after safety door closed): Release safety lock.
6. Long press (5 s): Toggle safety door enable.
7. Hold button when open the lid to trigger the
Safety Positioning Function*.
*Safety Positioning Function: When the safety door and safety
positioning function are enabled, opening the door will trigger
the safety positioning function. The laser module records its current
position and moves to the top-left corner. After closing the safety door,
the laser module will return to the recorded position.
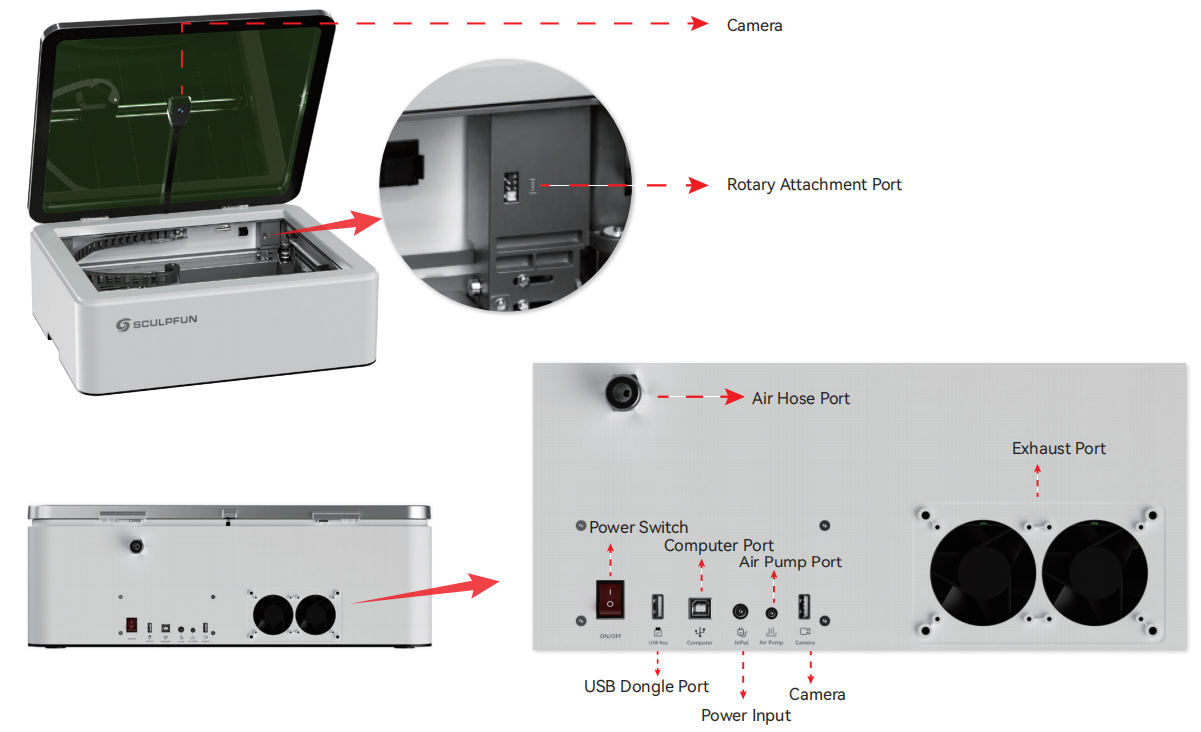
Installation
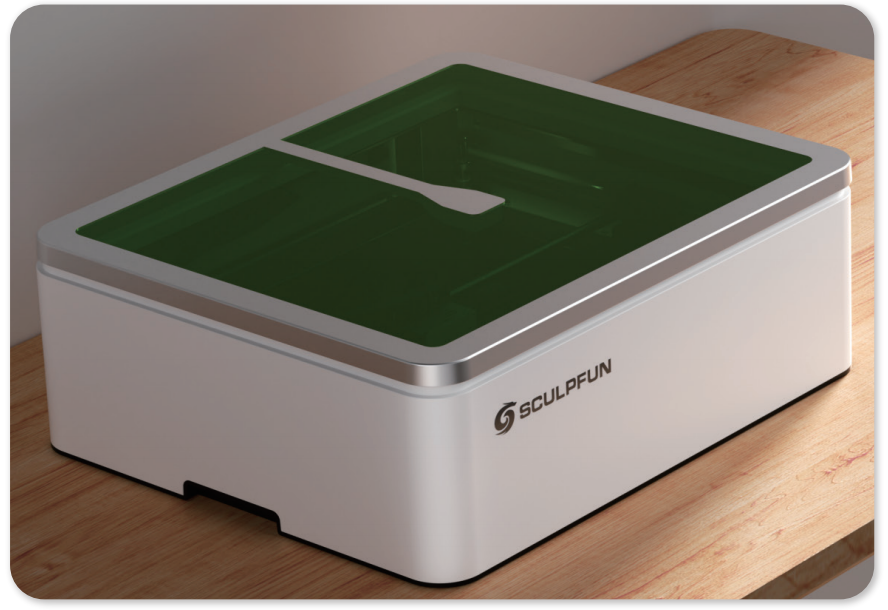
Follow the unpacking steps, remove the machine and take out all items.
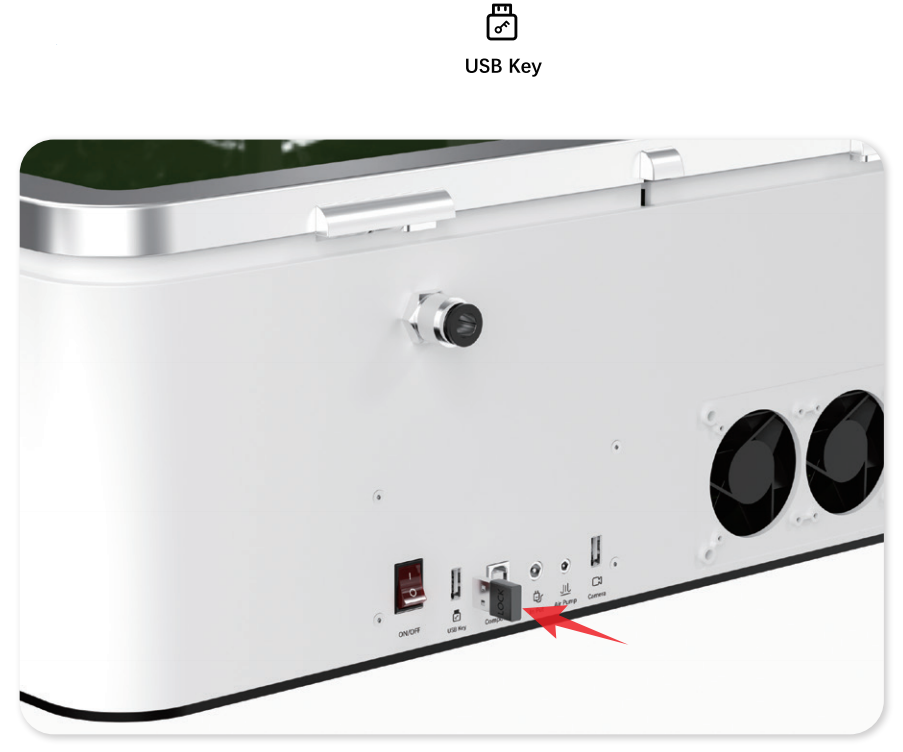
Take the USB dongle and insert it into the corresponding port on the machine.
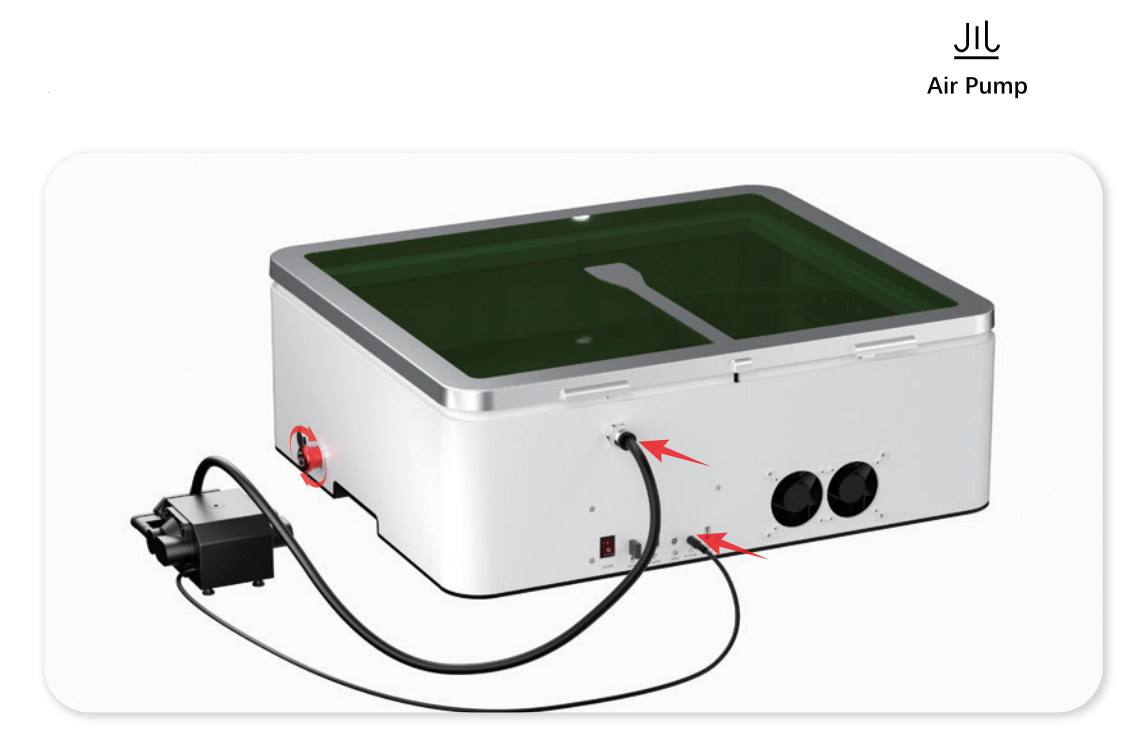
Take the air hose and air pump, and connect to the corresponding port on the machine.
Make sure to release the emergency stop switch.
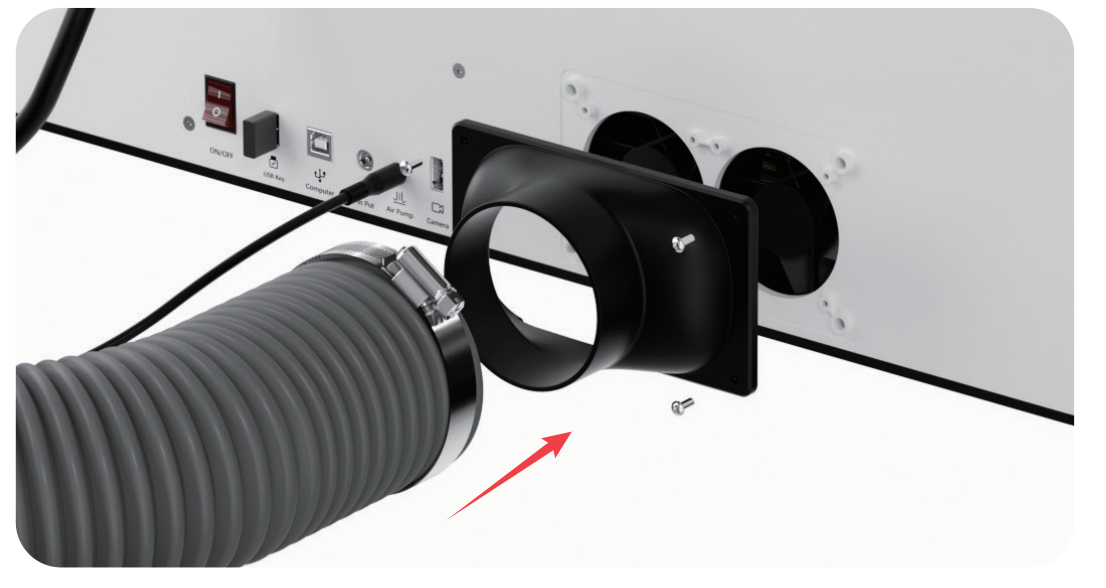
Attach the flange and tighten the four screws with a
screwdriver. Then install the exhaust hose and the hose clamp,
using the screwdriver to secure.
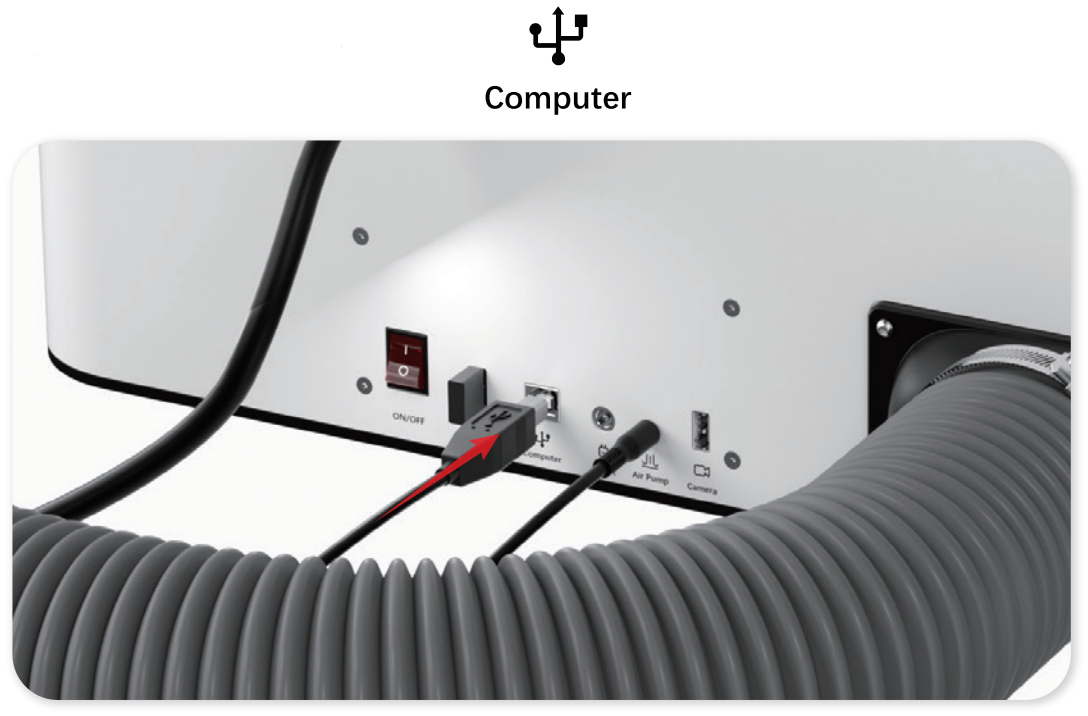
Insert one end of the USB cable into the machine and the other
end into your computer.
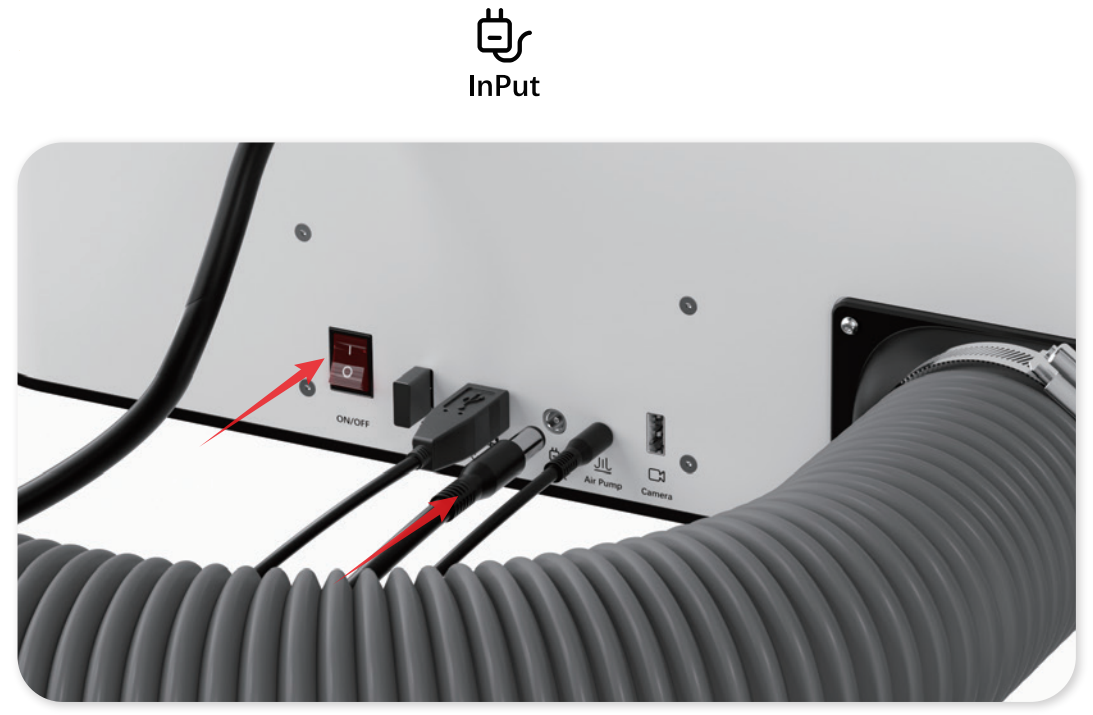
Plug the power cable into the machine and turn on the power
switch.
The installation is complete.