E1 Series User Guide
Safety Instructions
Software
PC
E1 supports LightBurn and Sculpfun Space software.
LightBurn Tutorial: See LightBurn Official Documentation
Sculpfun Space Tutorial: See Sculpfun Space User Guide
Mobile
E1 supports Sculpfun official mobile application: Sculpfun APP.
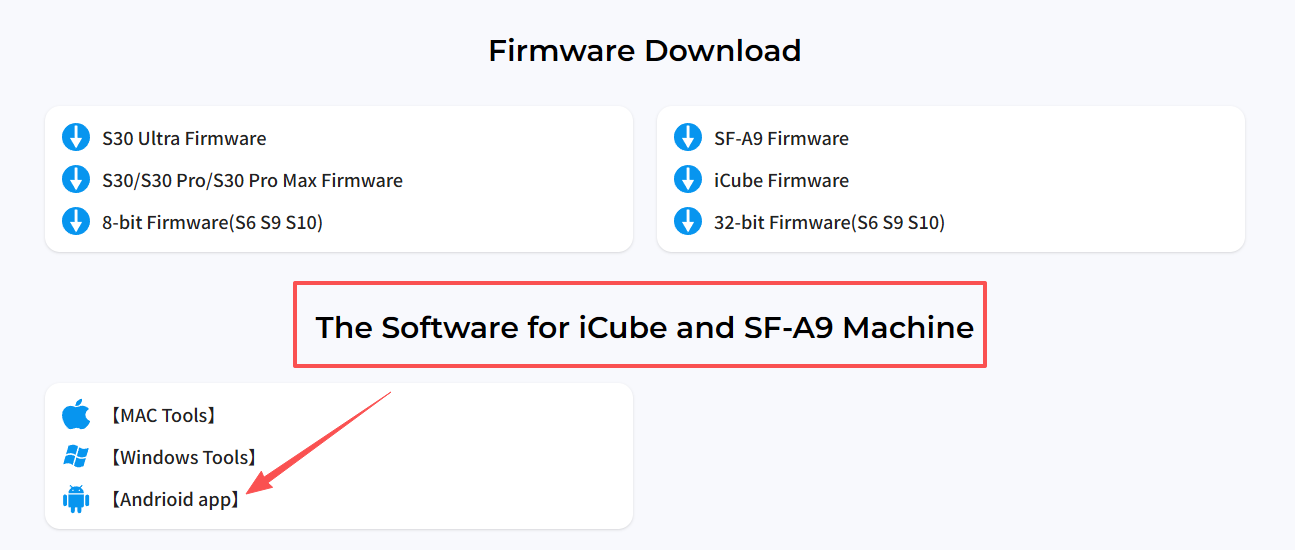
Click here to download the official mobile app. You can also download it from Google Play or Apple App Store.
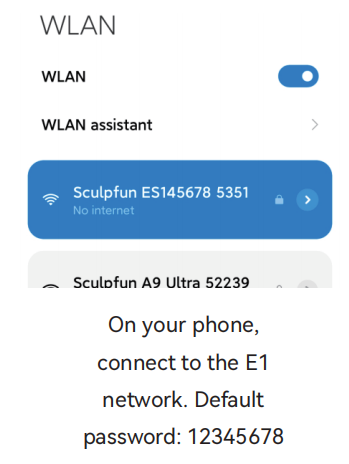
Turn on the machine. On your phone, open WiFi settings and connect to the E1 machine hotspot. Password: 12345678.
Note: This hotspot has no internet access.
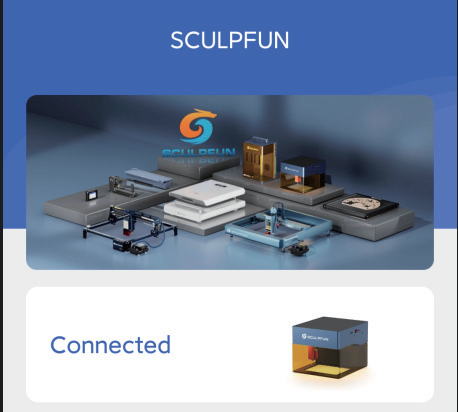
Launch the app and tap "Connect".
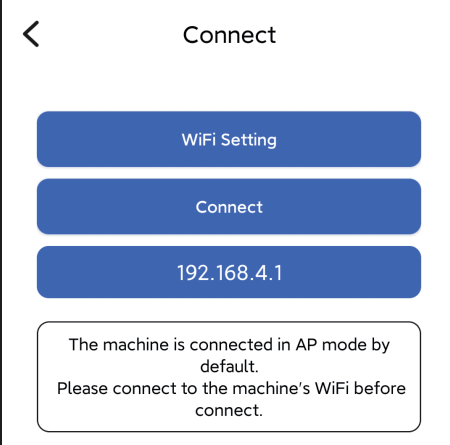
Enter IP address 192.168.4.1 and tap Connect to finish connection.
Accessories
Laser
The laser is pre-installed on the machine. Connect the laser communication cable to the laser using screws.
If you purchased the Dual version, or purchased an IR3 laser separately, the laser can be replaced.
Laser replacement
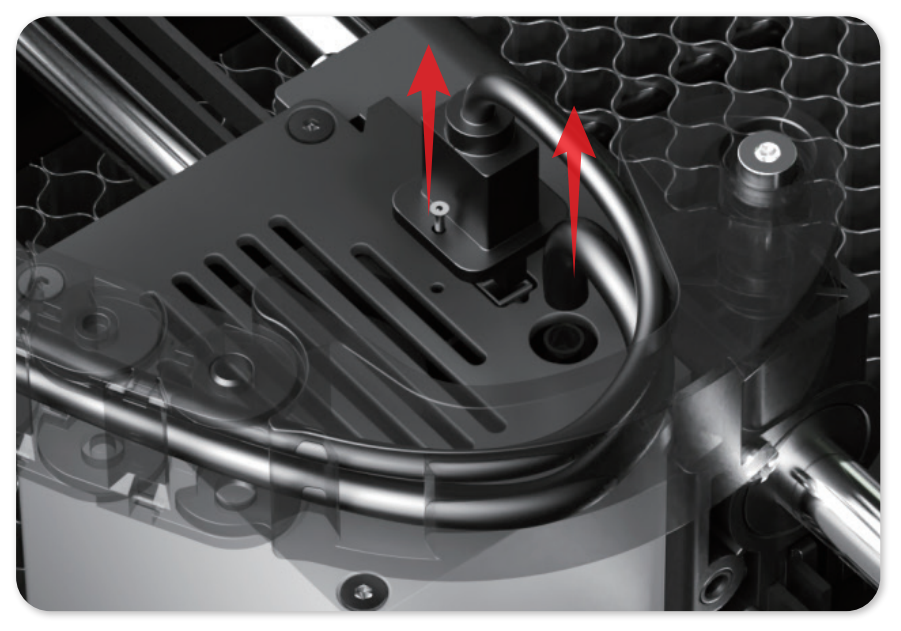
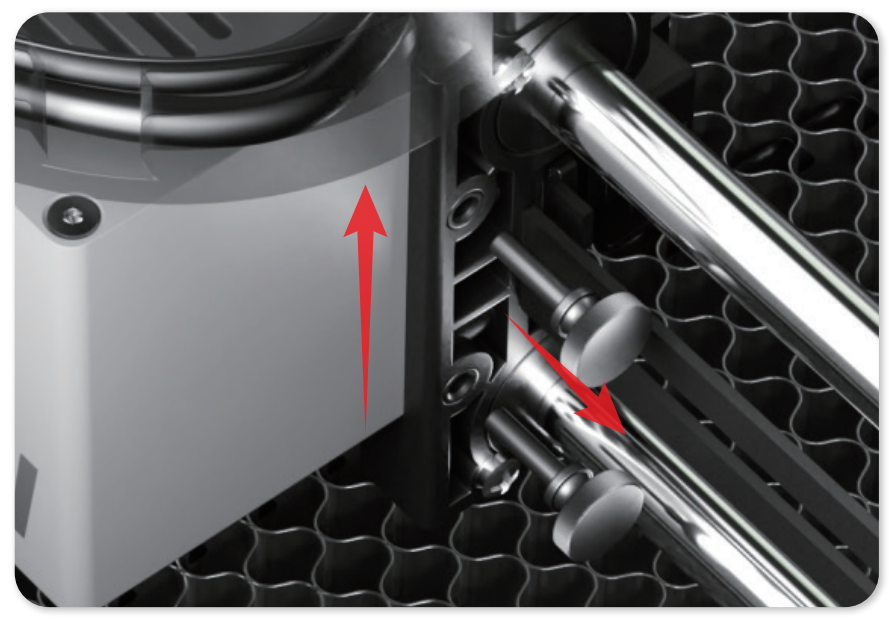
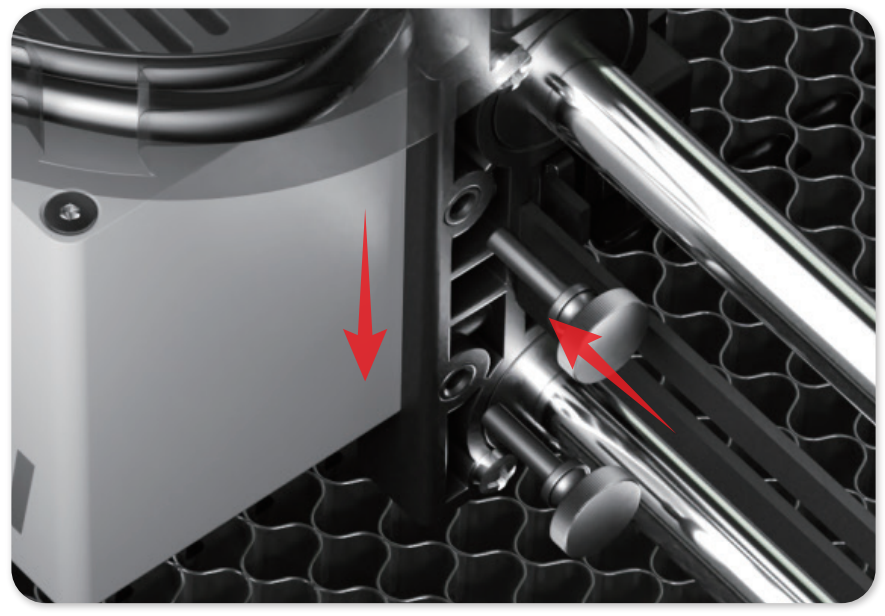
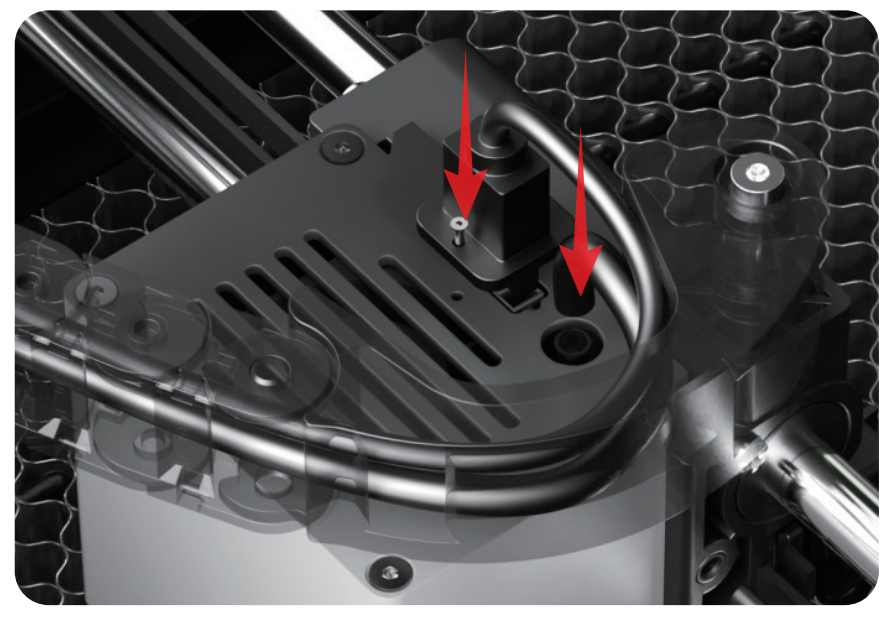
Replacement completed.
Laser Focusing
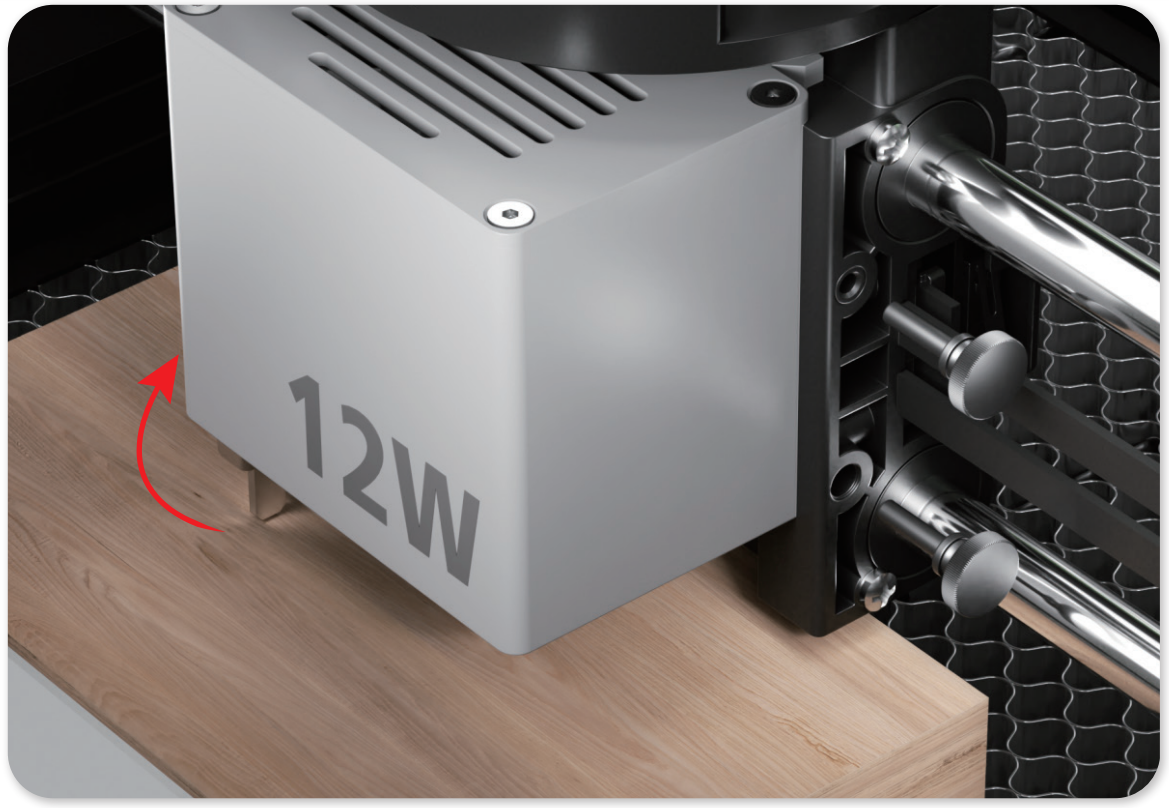
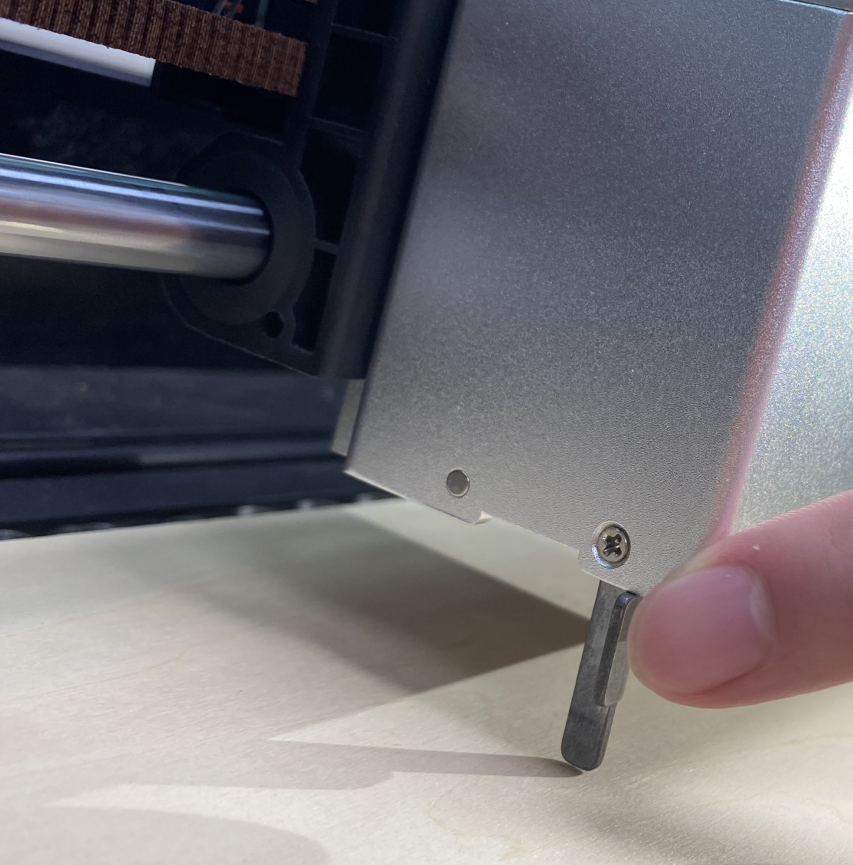
The E1's laser uses manual focus. The focus lever is located on the side of the laser.
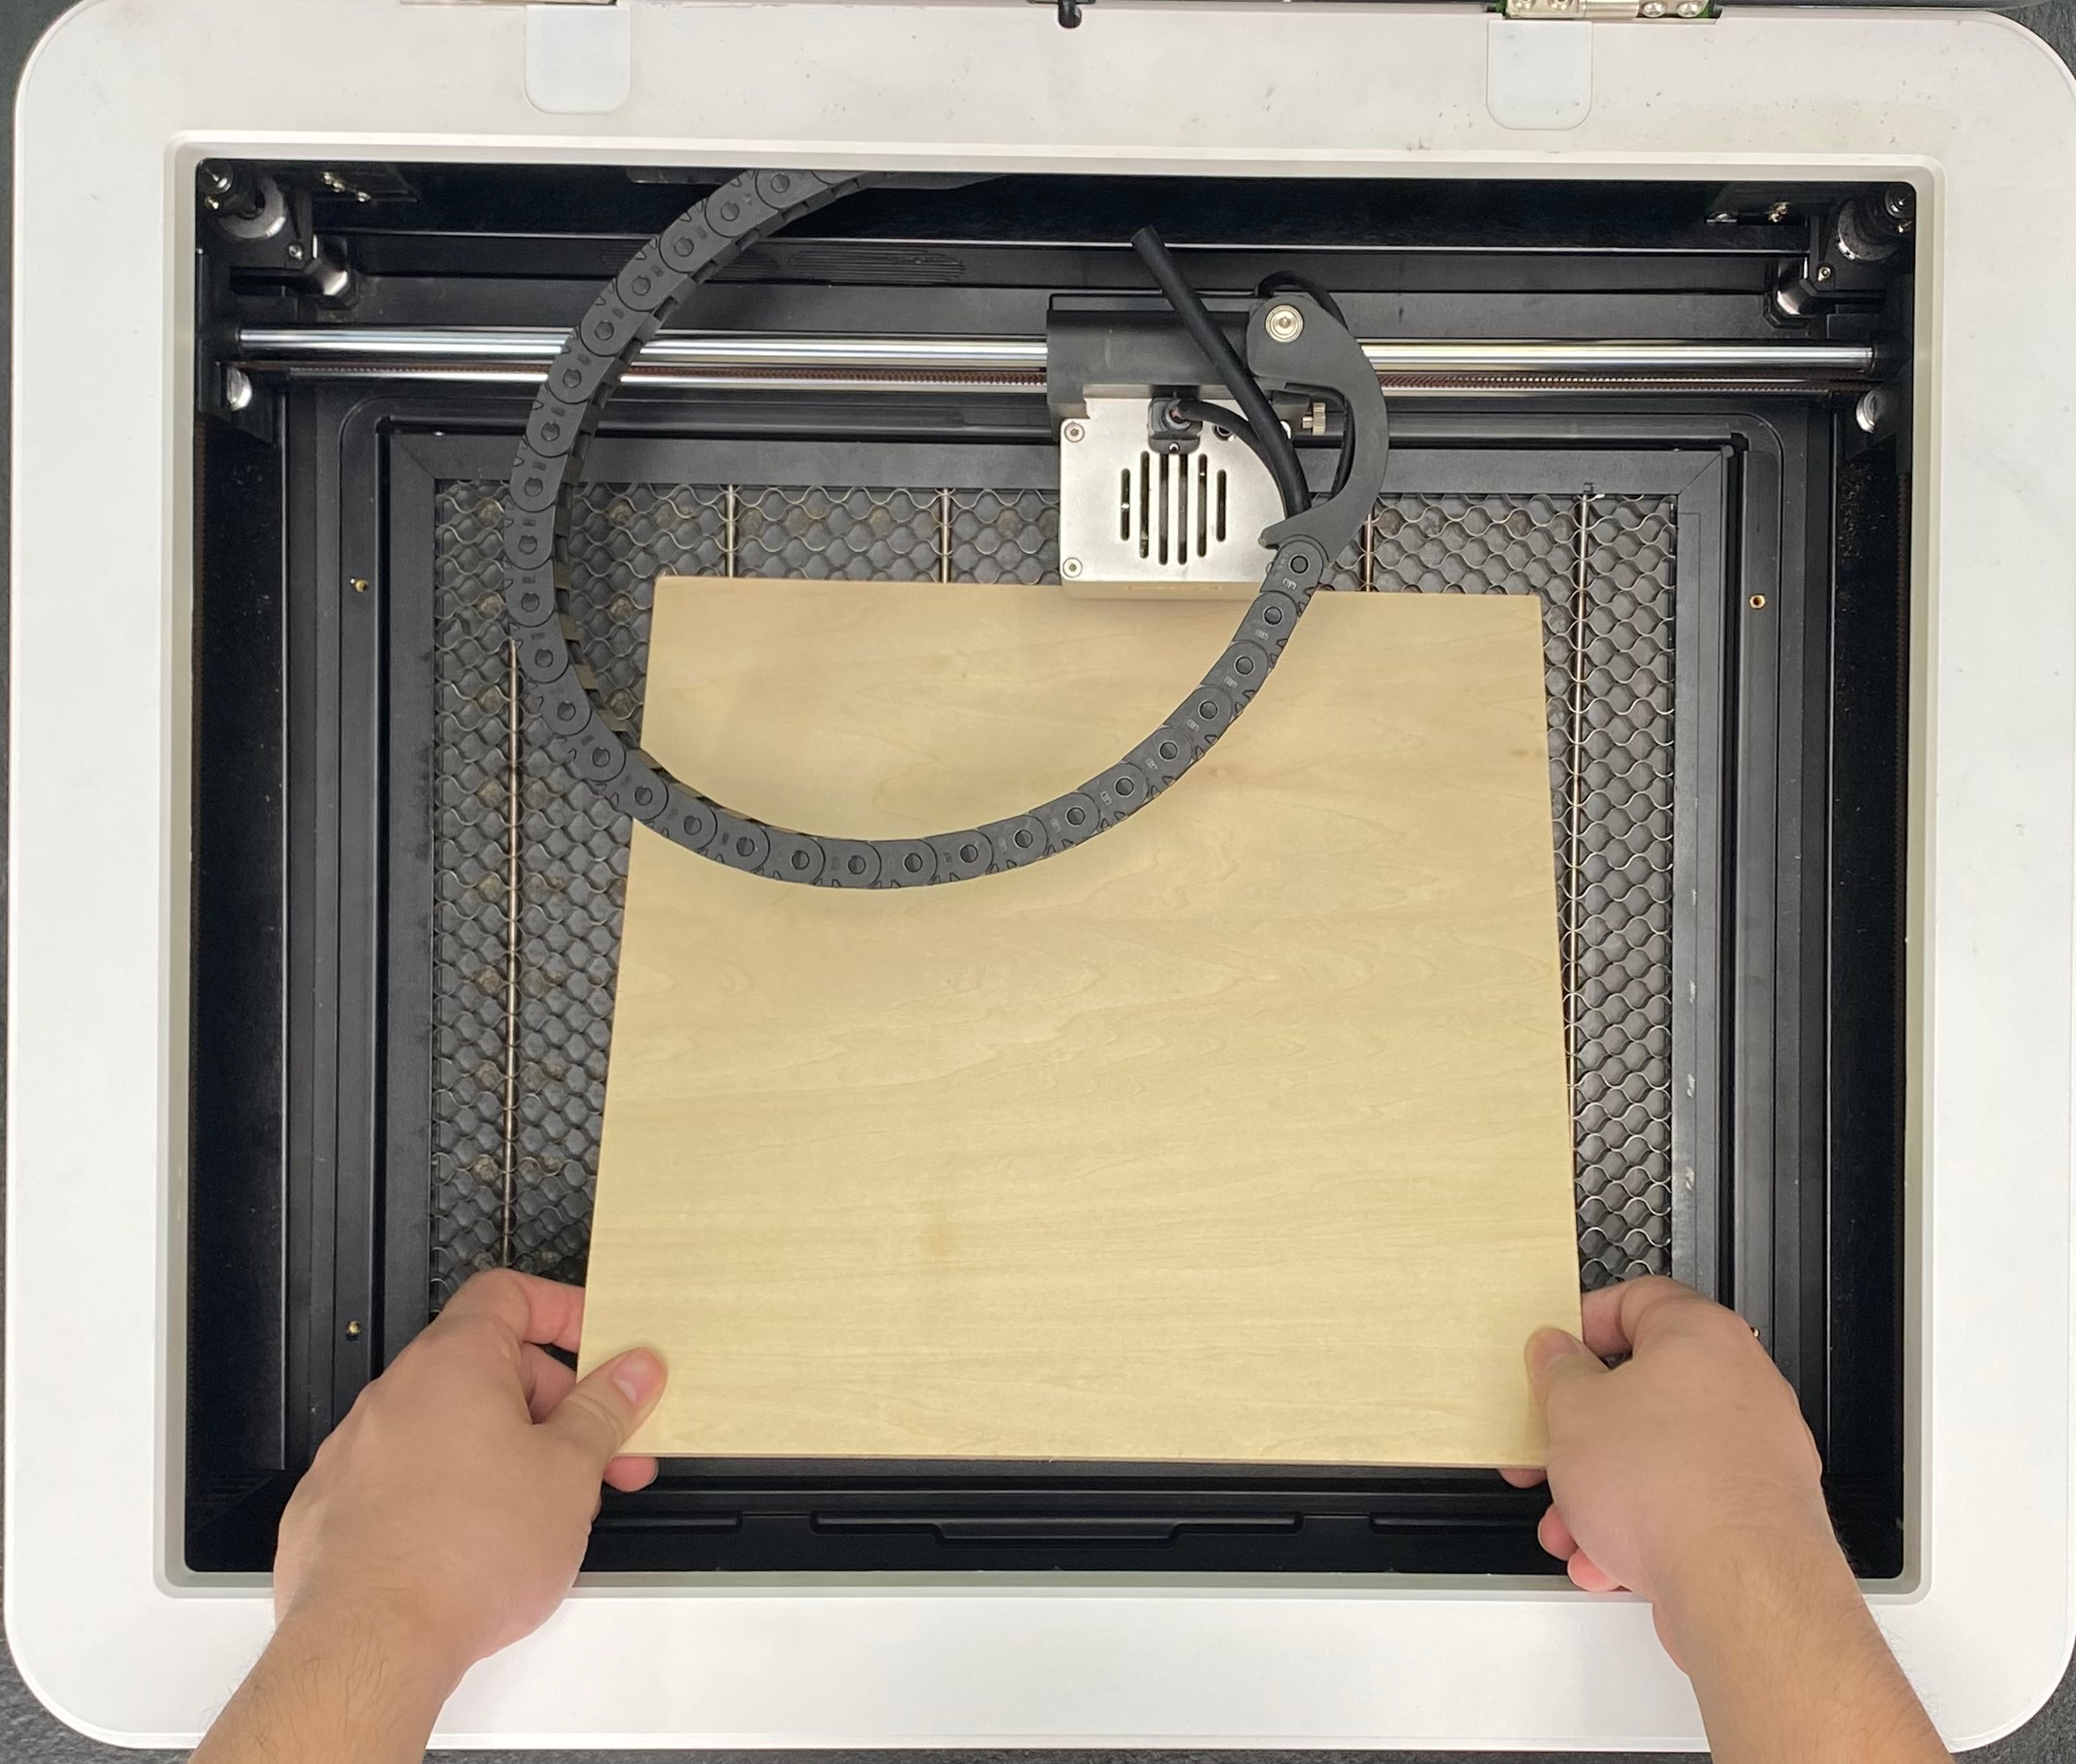
Place the material into the machine.
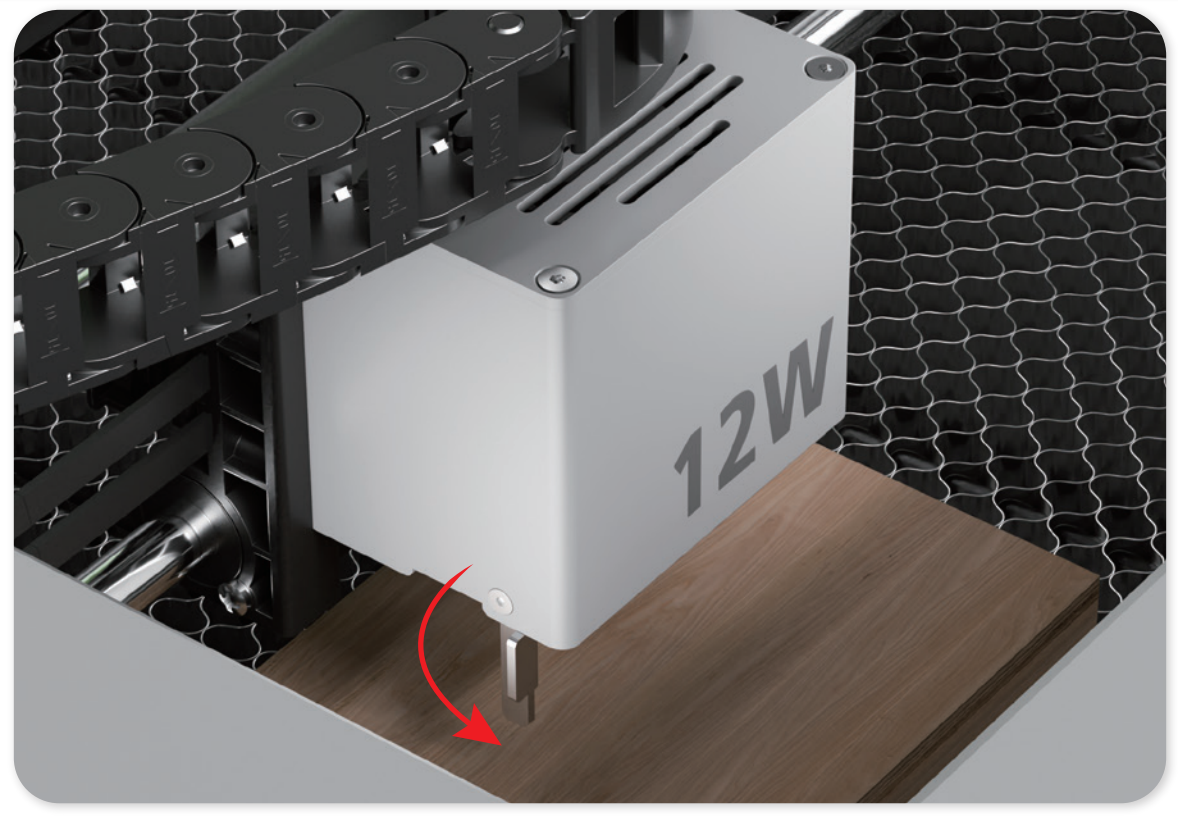
Hold the laser and loosen the screws.Lower the focus rod, move the laser so that the focus rod touches the material, and tighten the screws.
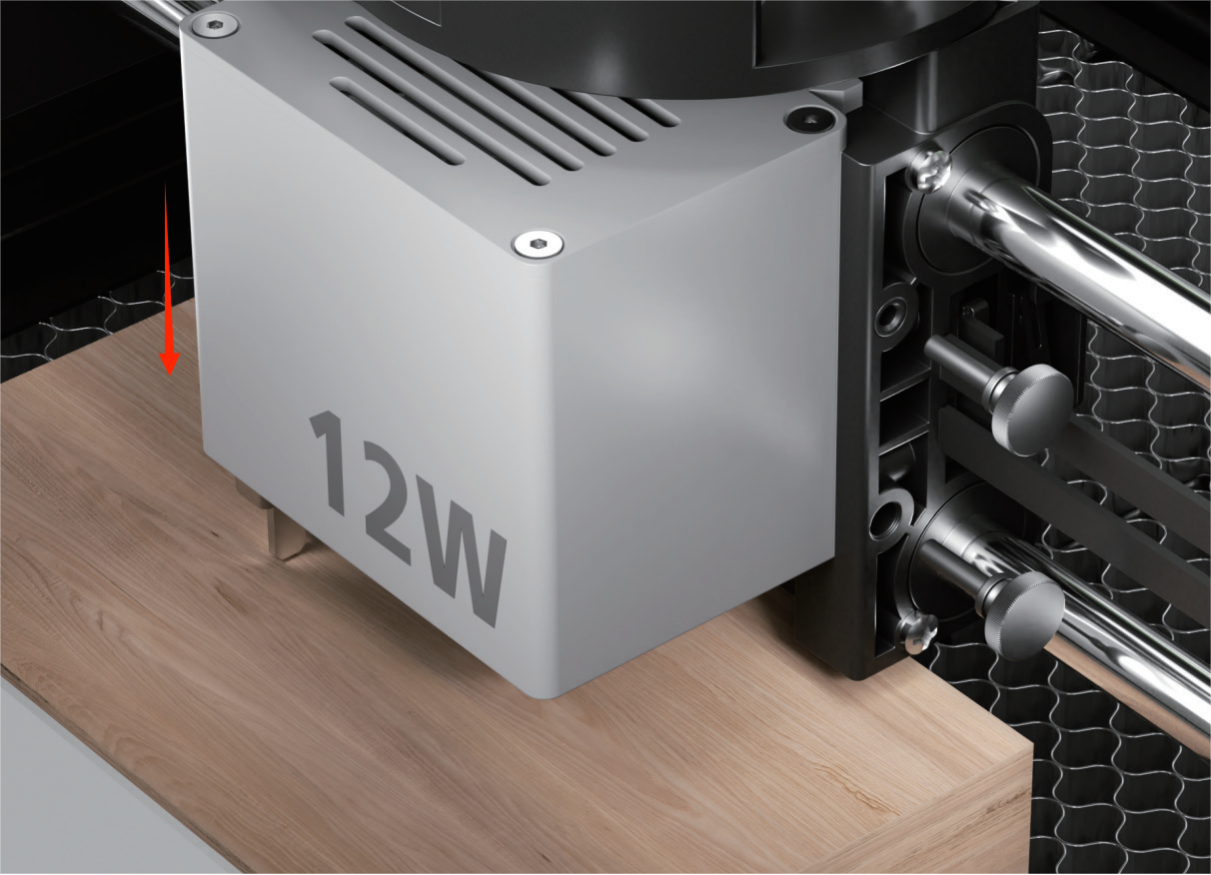
Retract the focus lever; focusing is complete.
Air Pump
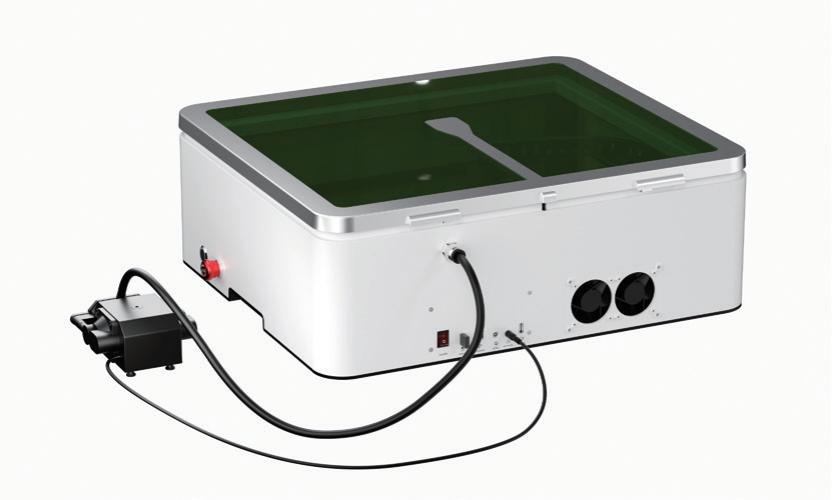
An air pump assembly is included with the E1 cabinet laser unit.
Place the air pump in a suitable position, remove the air hose, connect one end to the air pump, and the other end to the machine's air pump interface.
Connect the air pump power cord to the air pump power supply interface of the machine.
Honeycomb Panel
The E1 cabinet laser comes with a honeycomb panel to effectively prevent material from being blackened during cutting. When using the honeycomb panel, the material placement height is reduced from 42mm to 30mm.
Camera
The E1 cabinet-type laser comes with a pre-installed camera.
Initial calibration is required.
Take the USB-A to A cable from the cable package and connect it to the camera's communication interface on the computer.
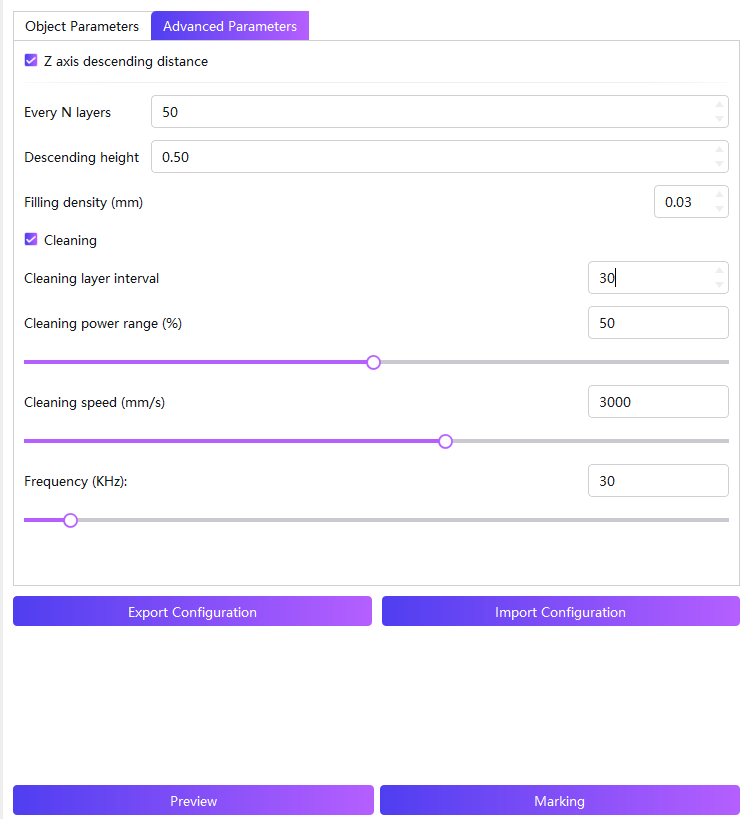
Different software requires separate calibration.
For LightBurn, please refer to LightBurn Calibrate Camera Lens and LightBurn Calibrate Camera Alignment.
For Sculpfun Space camera calibration tutorial, please refer to the Sculpfun Space tutorial.
NoteCalibration paper is included with the machine; AprilTags calibration mode is recommended.
Select the standard lens for calibration.
The internal lighting may cause overexposure of the camera, making the calibration paper or calibration pattern unclear. You can control the light brightness by entering `$light/duty = (0-1000, corresponding to 0%-100%)` on the control panel.
When using different lasers, the camera capture position needs to be adjusted or recalibrated because the laser output port positions are different. Offset parameters:E1 Series Frequently Asked Questions
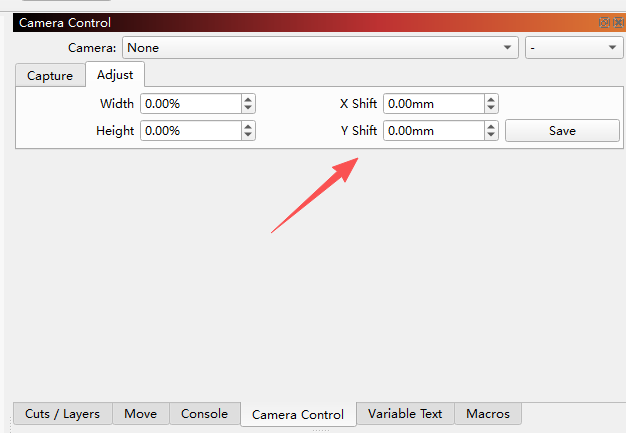
Machine use
After turning on the machine, place the material inside.
Focus.
Draw the shape on the software and set the relevant parameters. The required parameters can be confirmed through testing.
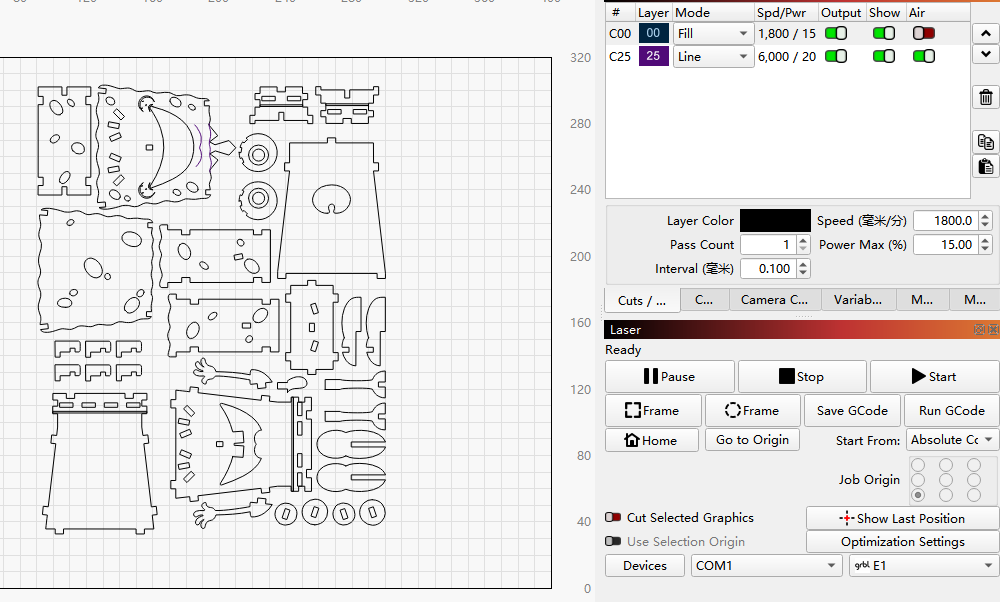
Preview using the camera or moving laser to confirm the processing position.
Click "Start Processing" to mark the area.

Complete.