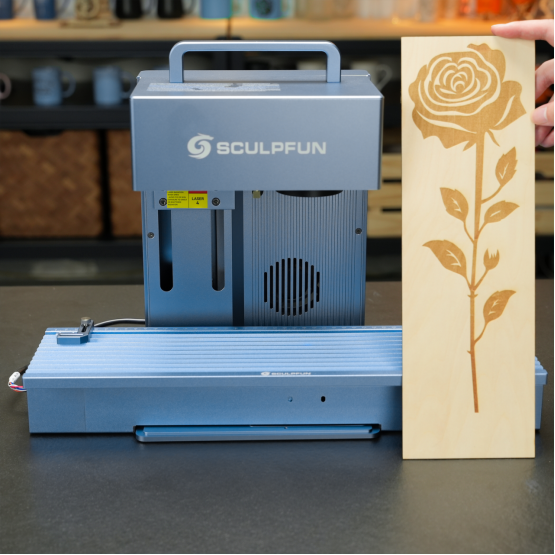
G9 SE Extension Kit Accessory User Manual
G9 SE Expansion Kit User Guide
The G9 SE Expansion Kit currently only supports G9, V5 and other galvanometer laser modules, and compatibility with more machines will be added in future updates.
The G9 SE Expansion Kit is exclusively designed for SGD Laser software and incompatible with other engraving software such as LightBurn.
1. Software Configuration
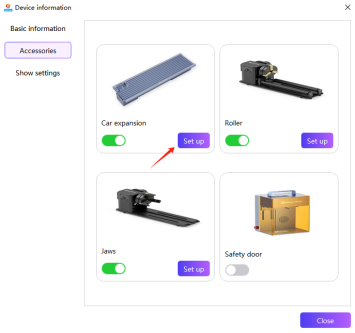
Launch SGD Laser software, connect the machine to your computer via USB and confirm successful connection. Open Device Information to view basic device info, modify accessory settings and adjust display preferences.
Safety Reminder: When using the sliding expansion carriage, complete accessory configuration and close the safety door. Hot swapping is prohibited for G9 paired with SE expansion kit; power off the machine before connecting the kit.
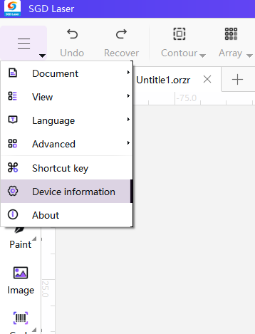
Device Information Interface
Admin Password: sculpfun001
Reference parameters are listed below:
Expansion Kit Parameters
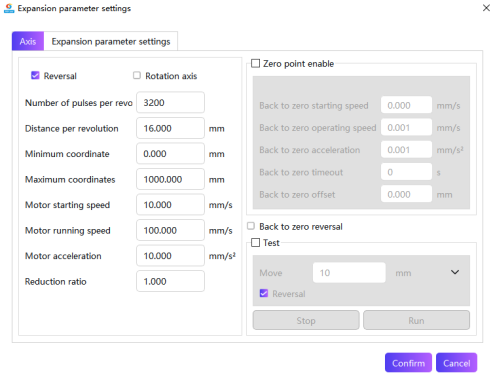
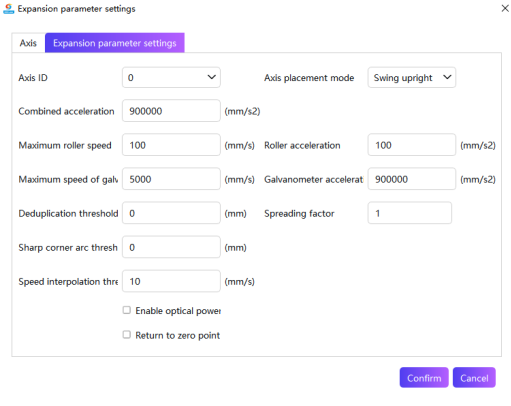
2. Accessory Installation
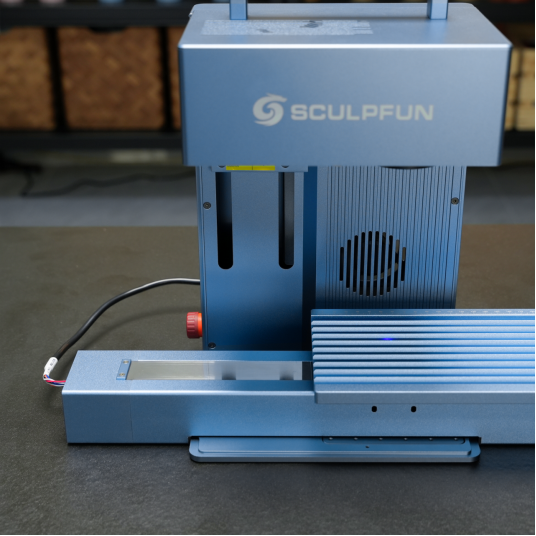
Take out all kit components. Secure the work platform onto the base with the supplied screws.
Installation Orientation: Correct mounting position is with the Reset Button on the left and the platform ruler facing upward.
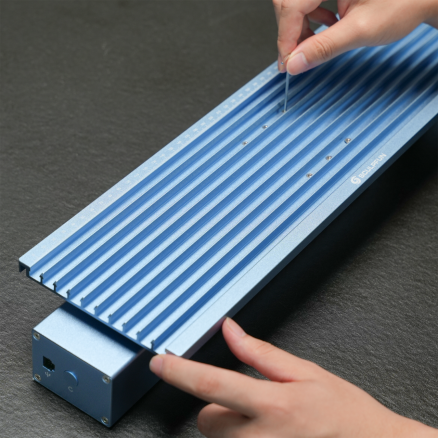
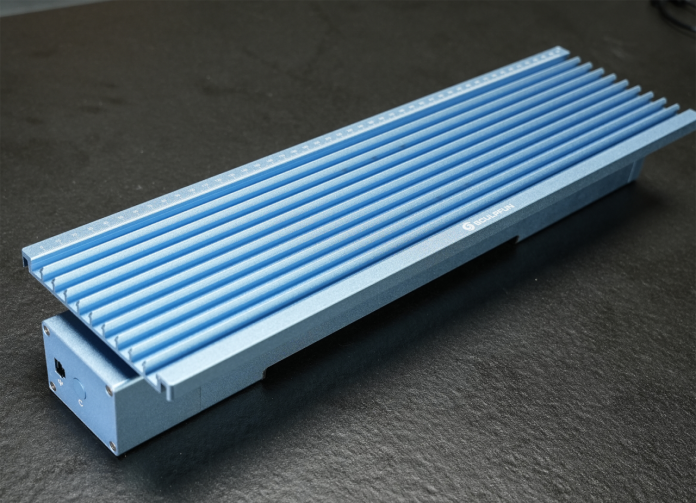
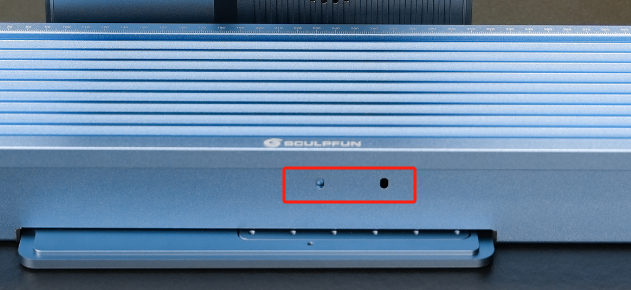
If the work platform wobbles excessively, tighten it via the two screw holes on the front platform panel.
Note: Over-tightening screws will restrict platform movement.
3. Operation Procedures
Step 1: Preparation
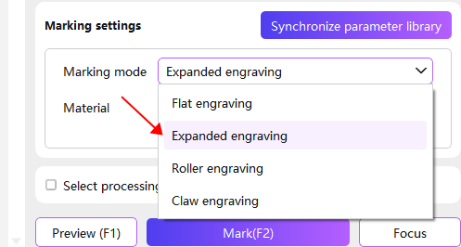
Create a new canvas. Navigate to the bottom-right corner of the SGD Laser interface and switch mode to "Extended Engraving"; the canvas size will auto-adjust to match the working area of the expansion kit.
Step 2: Mount the Kit
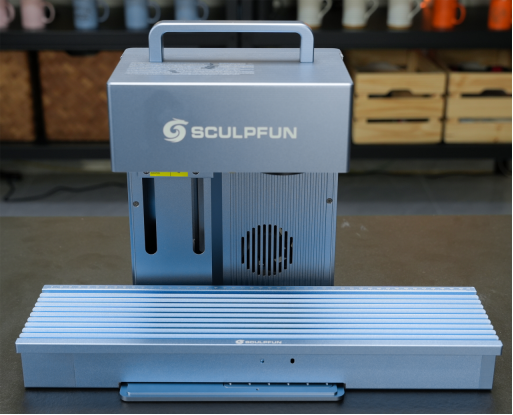
Place the expansion kit onto the machine’s original worktable. The following pictures demonstrate installation on G9 machine.
Note: Correct placement is with the Reset Button and connection port facing left.
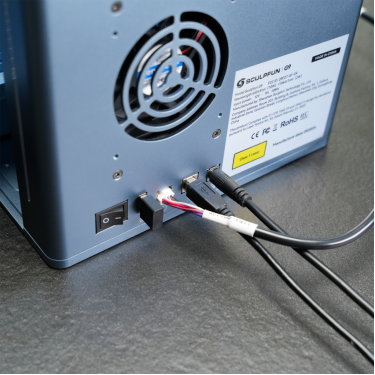
Step 3: Cable Connection
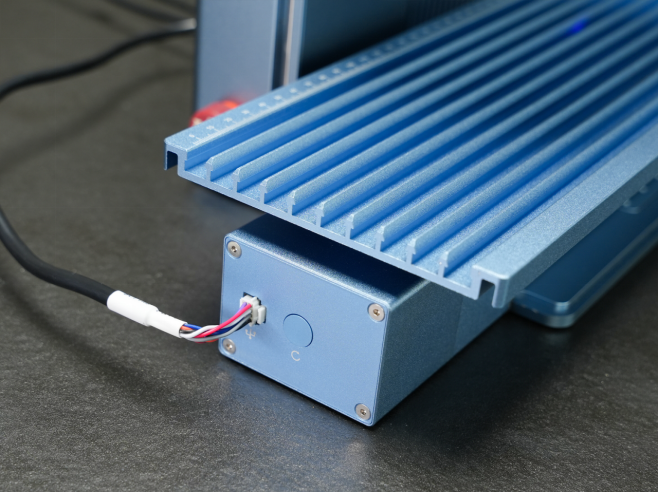
Connect the expansion kit to the G9 machine with the supplied communication cable. Power on the machine once connection is finished.
Step 4: Engraving Workflow
4.1 Focus Adjustment
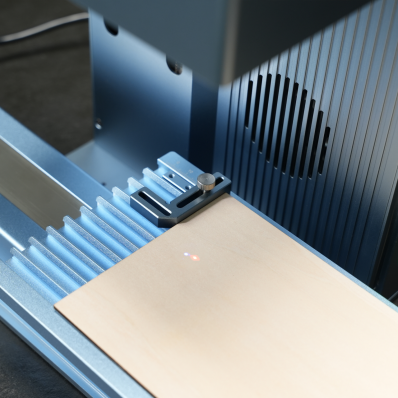
Place your workpiece on the extended sliding work platform, then click Focus. A red dot and a blue dot will project onto the material. Use the electric lift buttons to align the two light spots into one to complete focusing.
4.2 Parameter Setup
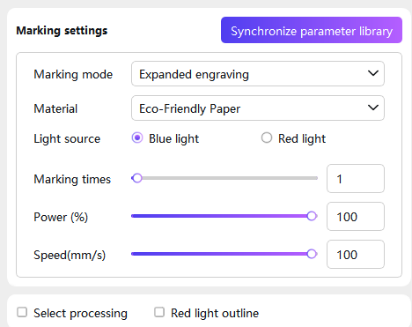
Edit patterns or text on the canvas, and select appropriate laser parameters according to your design and workpiece material.
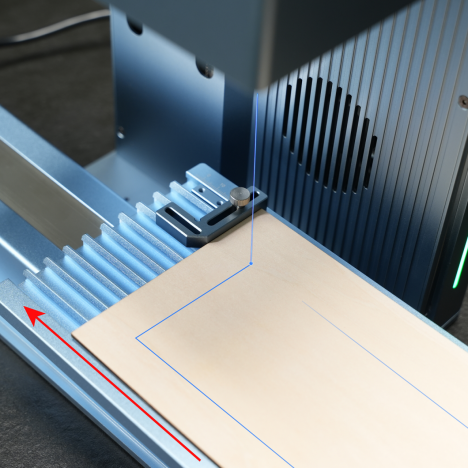
4.3 Frame Preview
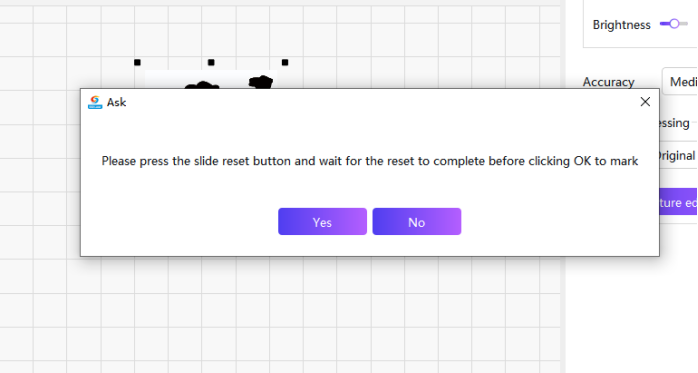
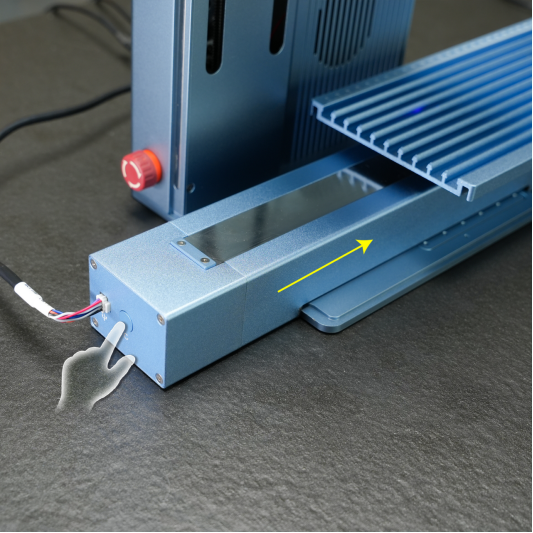
Press the Reset Button to return the sliding carriage to origin before previewing. After clicking "Preview", the software will prompt you to reset the carriage. Complete reset and click "Yes" to view the full working boundary of the expansion kit.
4.4 Start Engraving
Press the Reset Button to send the extended sliding carriage back to origin before engraving. Click "Mark", the software will pop up a reset reminder. Finish carriage reset and click "Yes" to launch the engraving job.