iCube Ultra Series iCAM Camera Kit
iCAM Camera Kit
Video Version
Text Version
Packing List
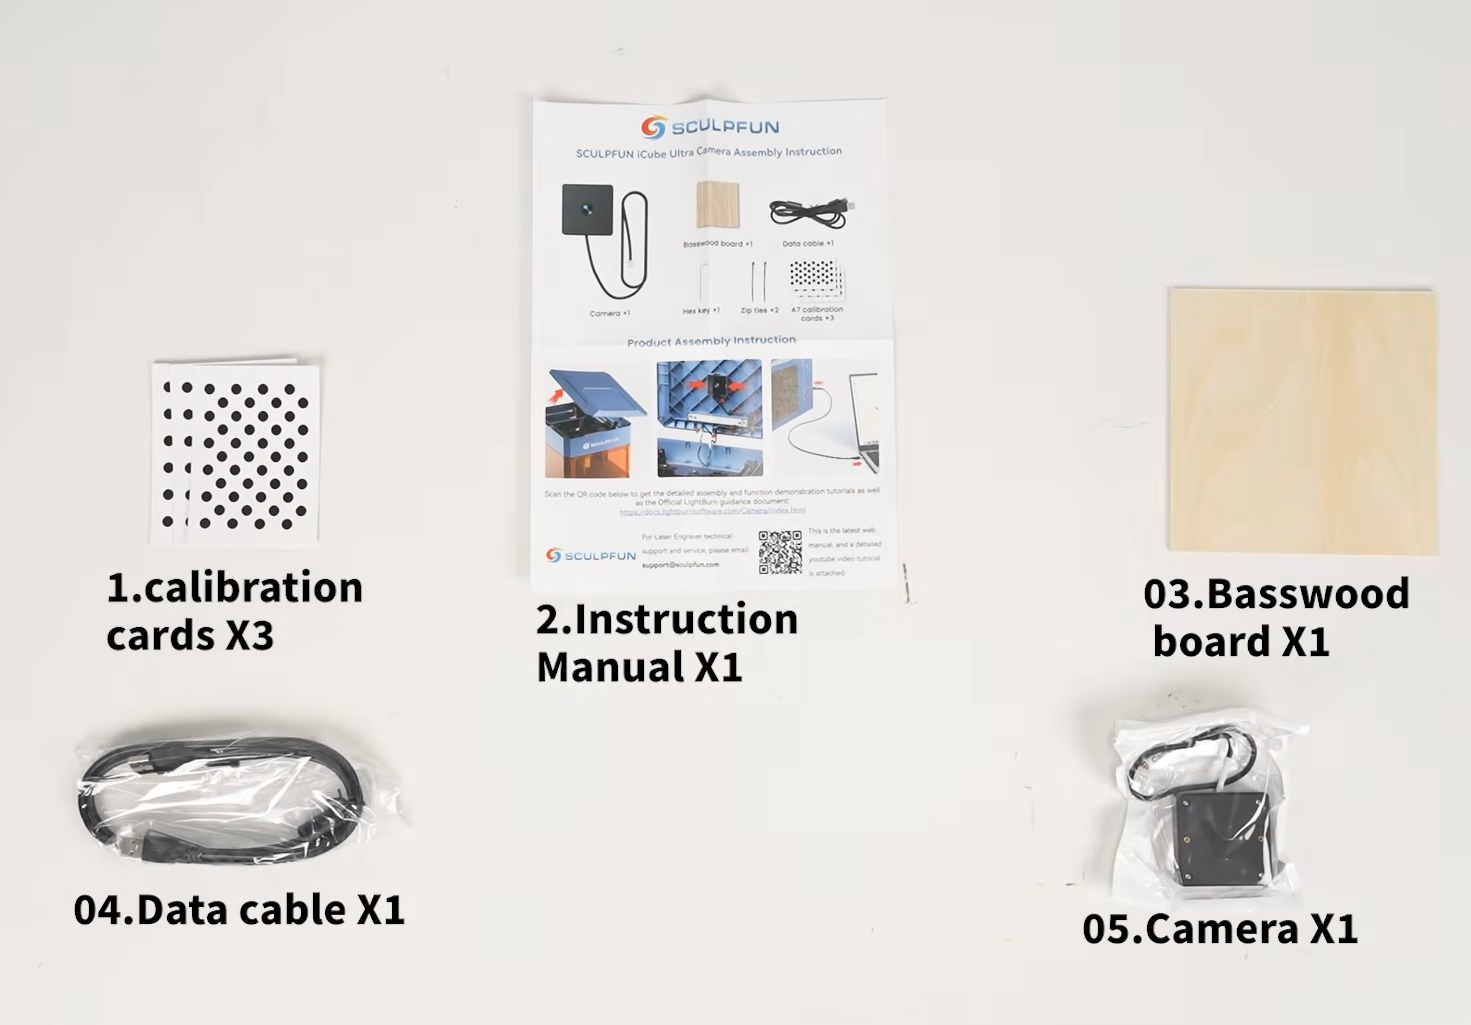
| Item | Qty |
|---|---|
| Calibration Paper | 3 |
| User Manual | 1 |
| Wood Board | 1 |
| Data Cable | 1 |
| Camera Module | 1 |
Installation
Take out the iCube Ultra machine, unscrew the screws and open the top cover.
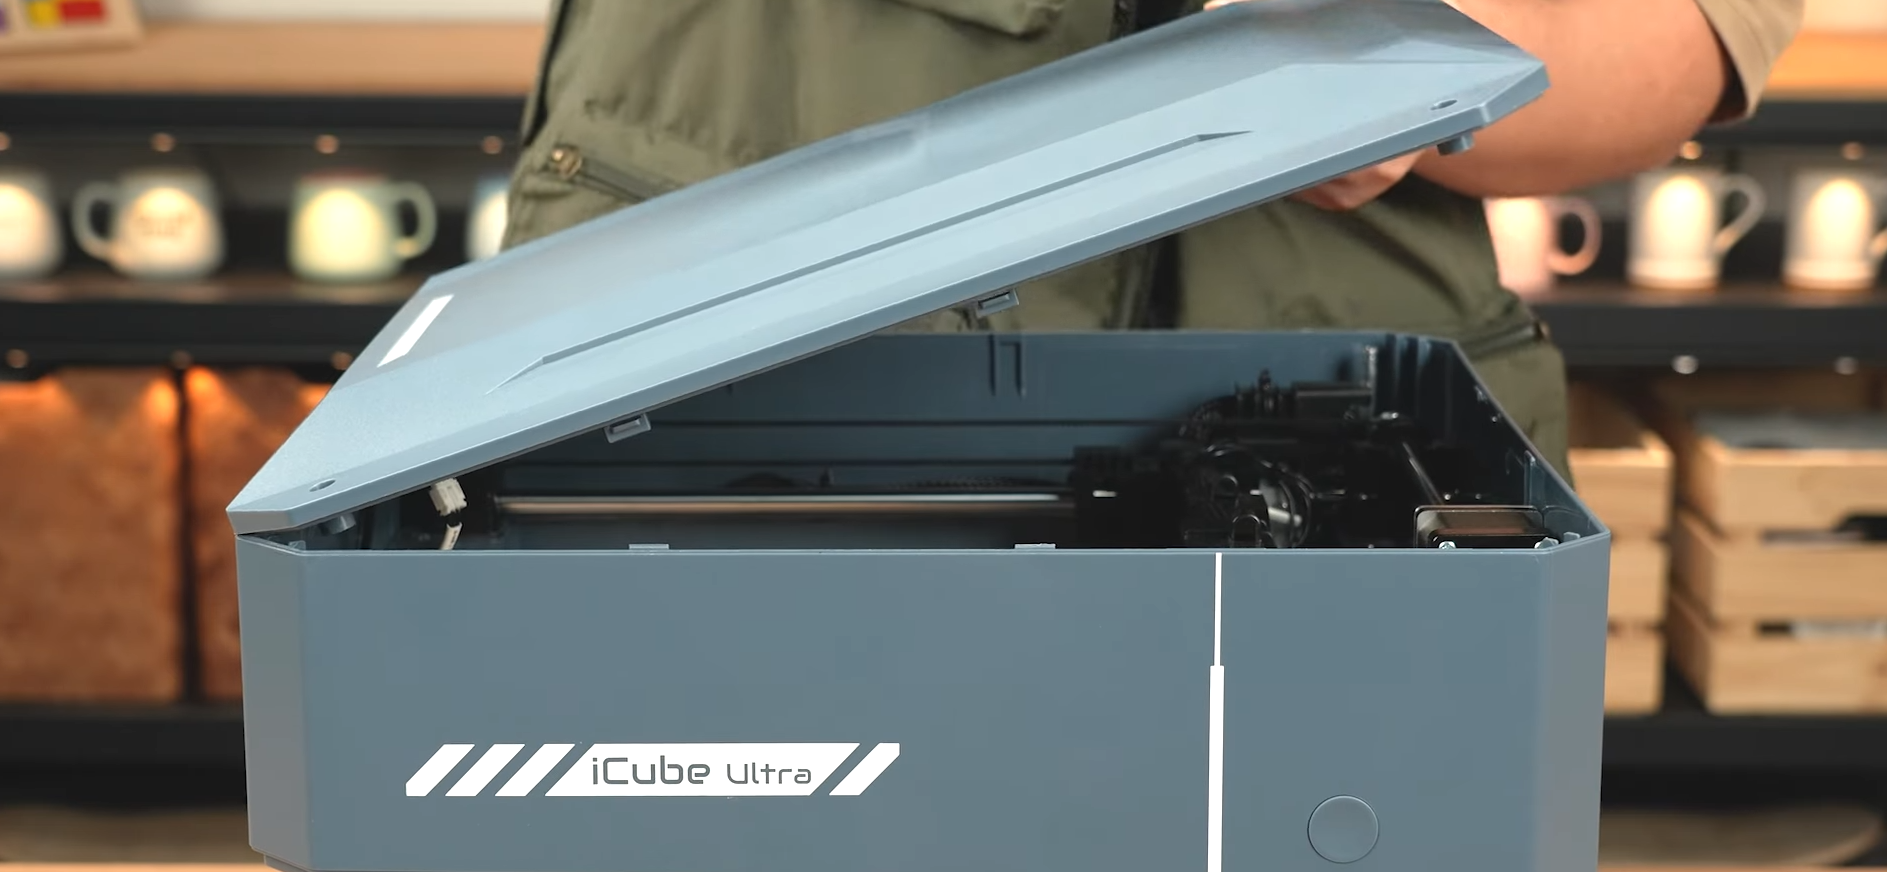
Caution: Internal wiring runs along the front side of the housing. Always open the top cover from the rear to avoid tearing internal cables.
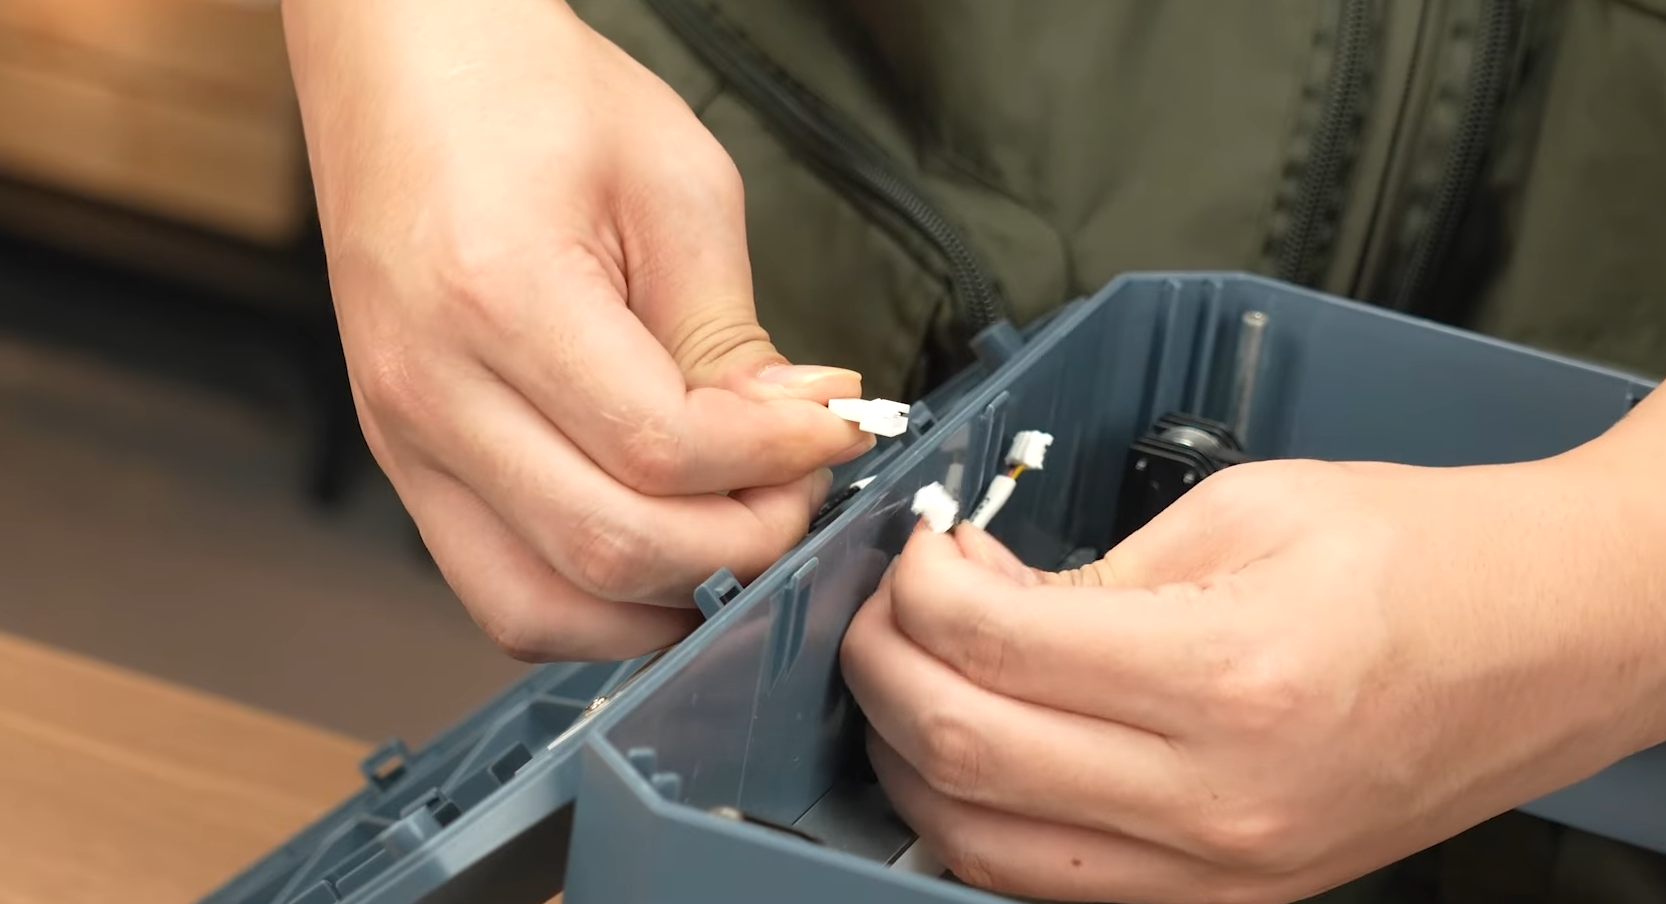
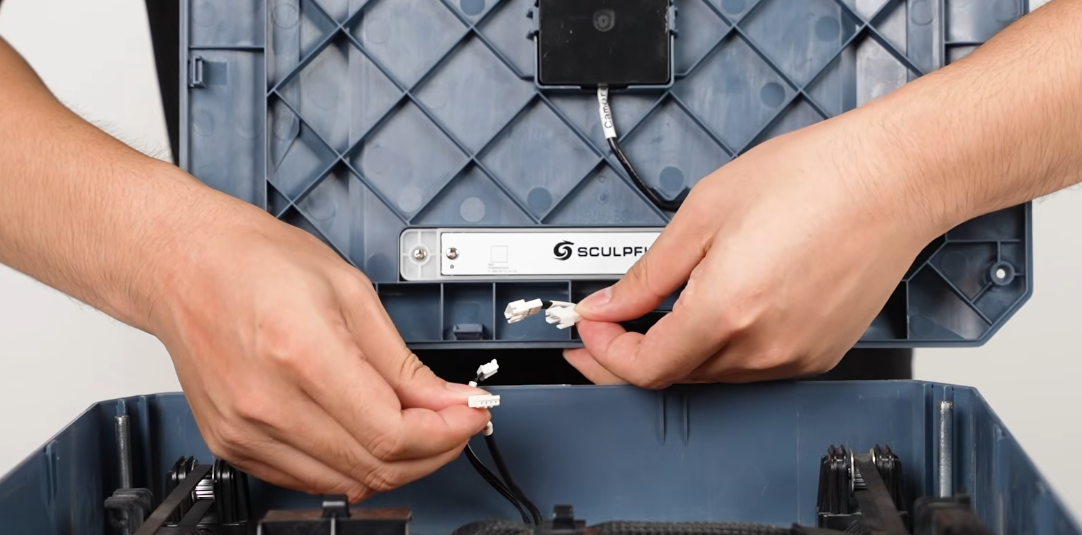
Disconnect internal cables and remove the top cover.
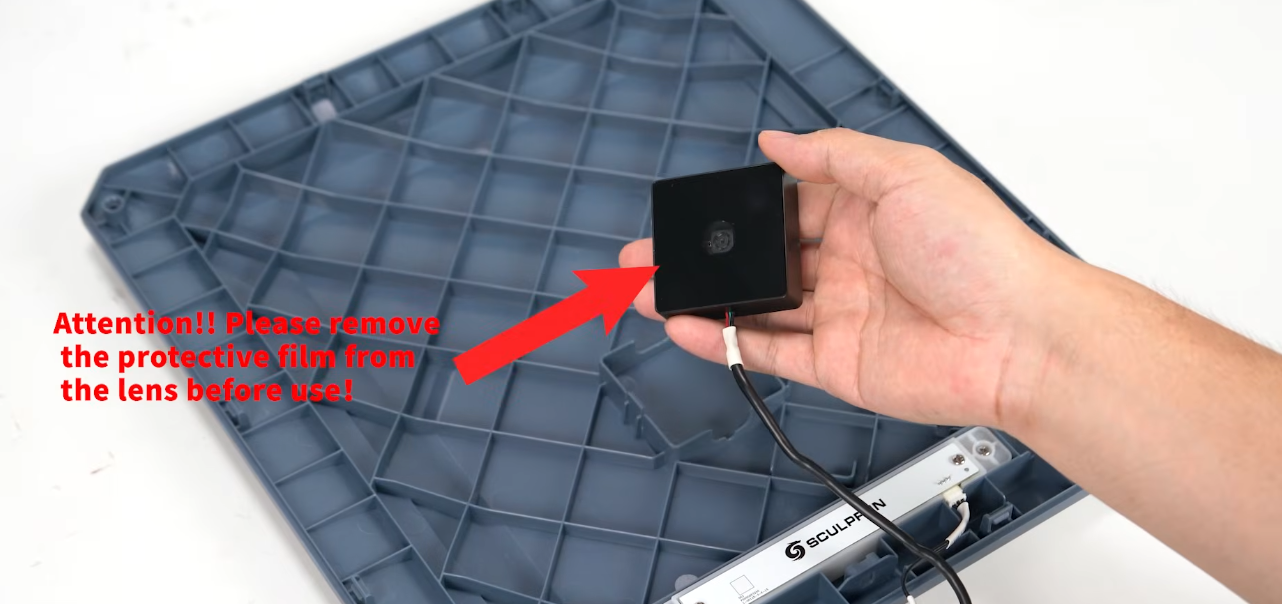
Take out the camera module and peel off the protective film on the lens.
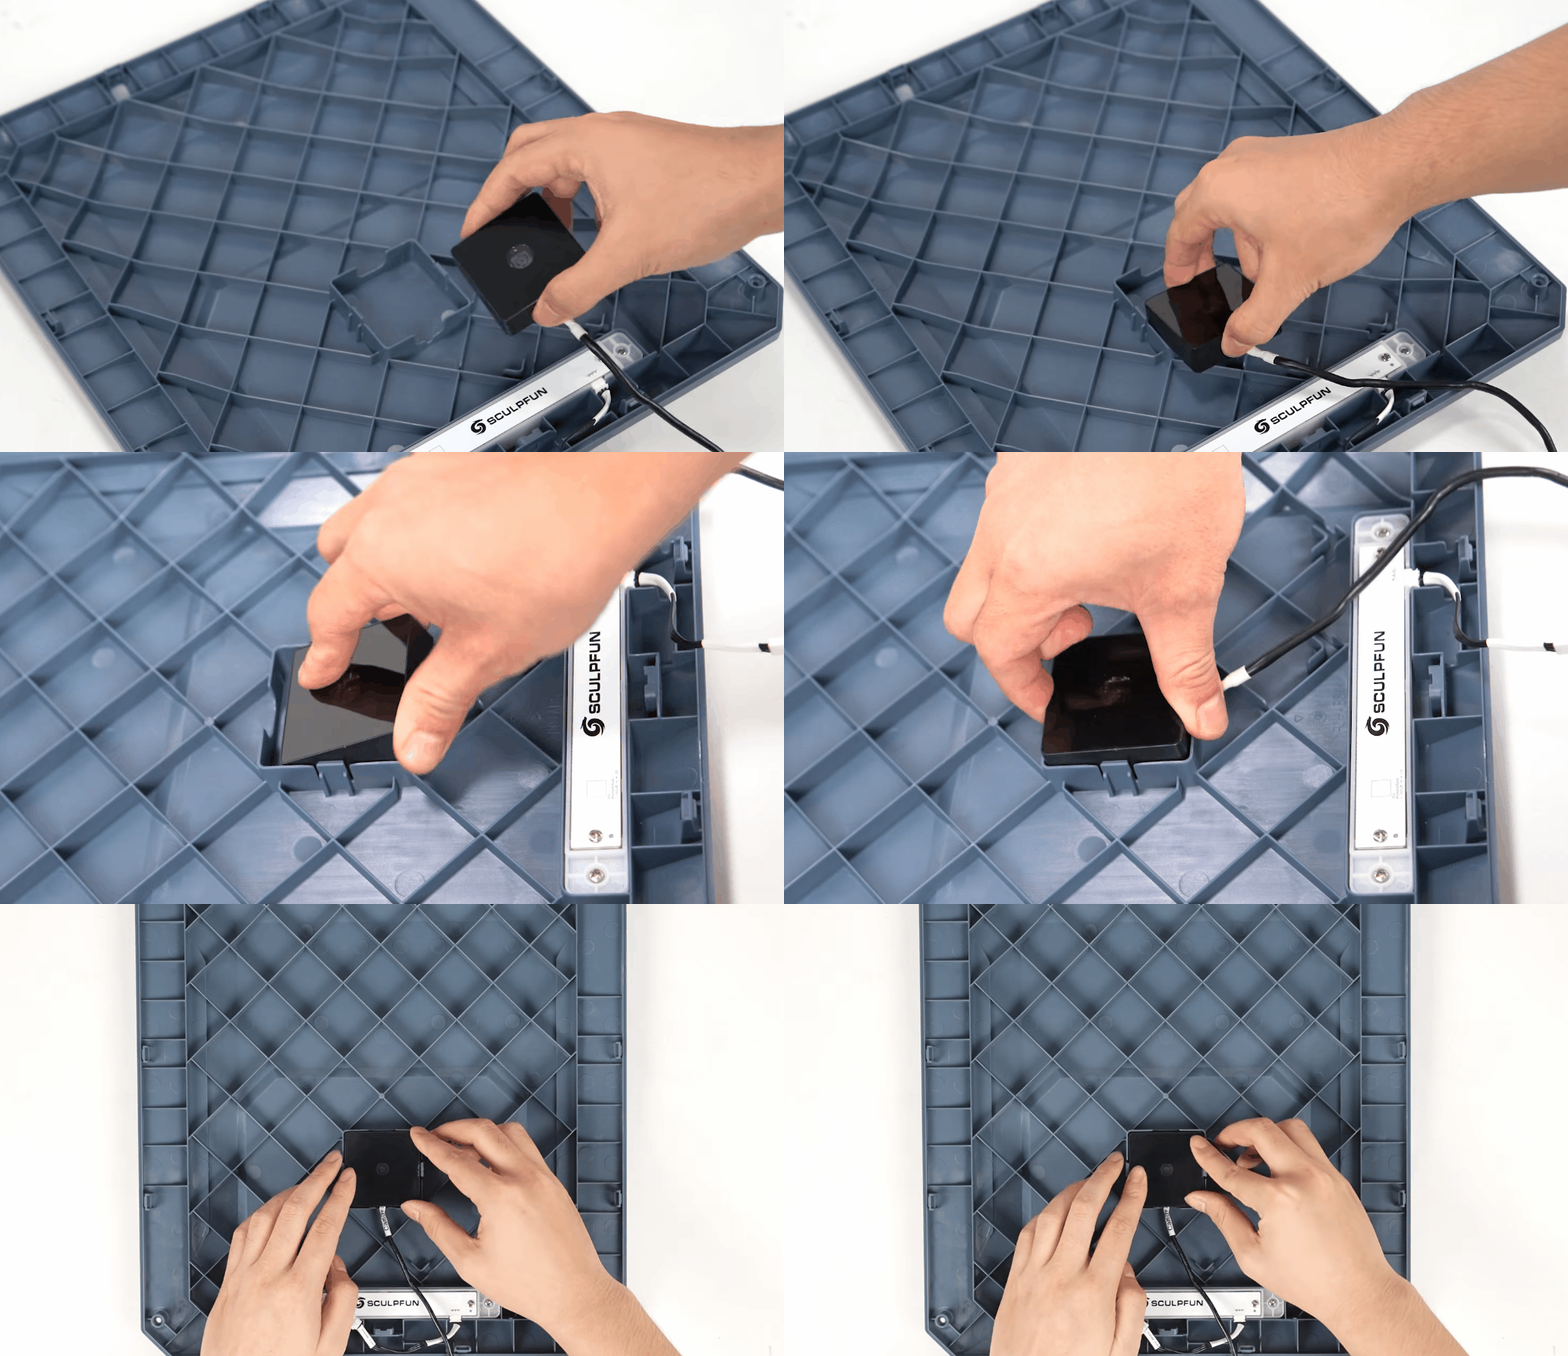
Mount the camera into the reserved slot.
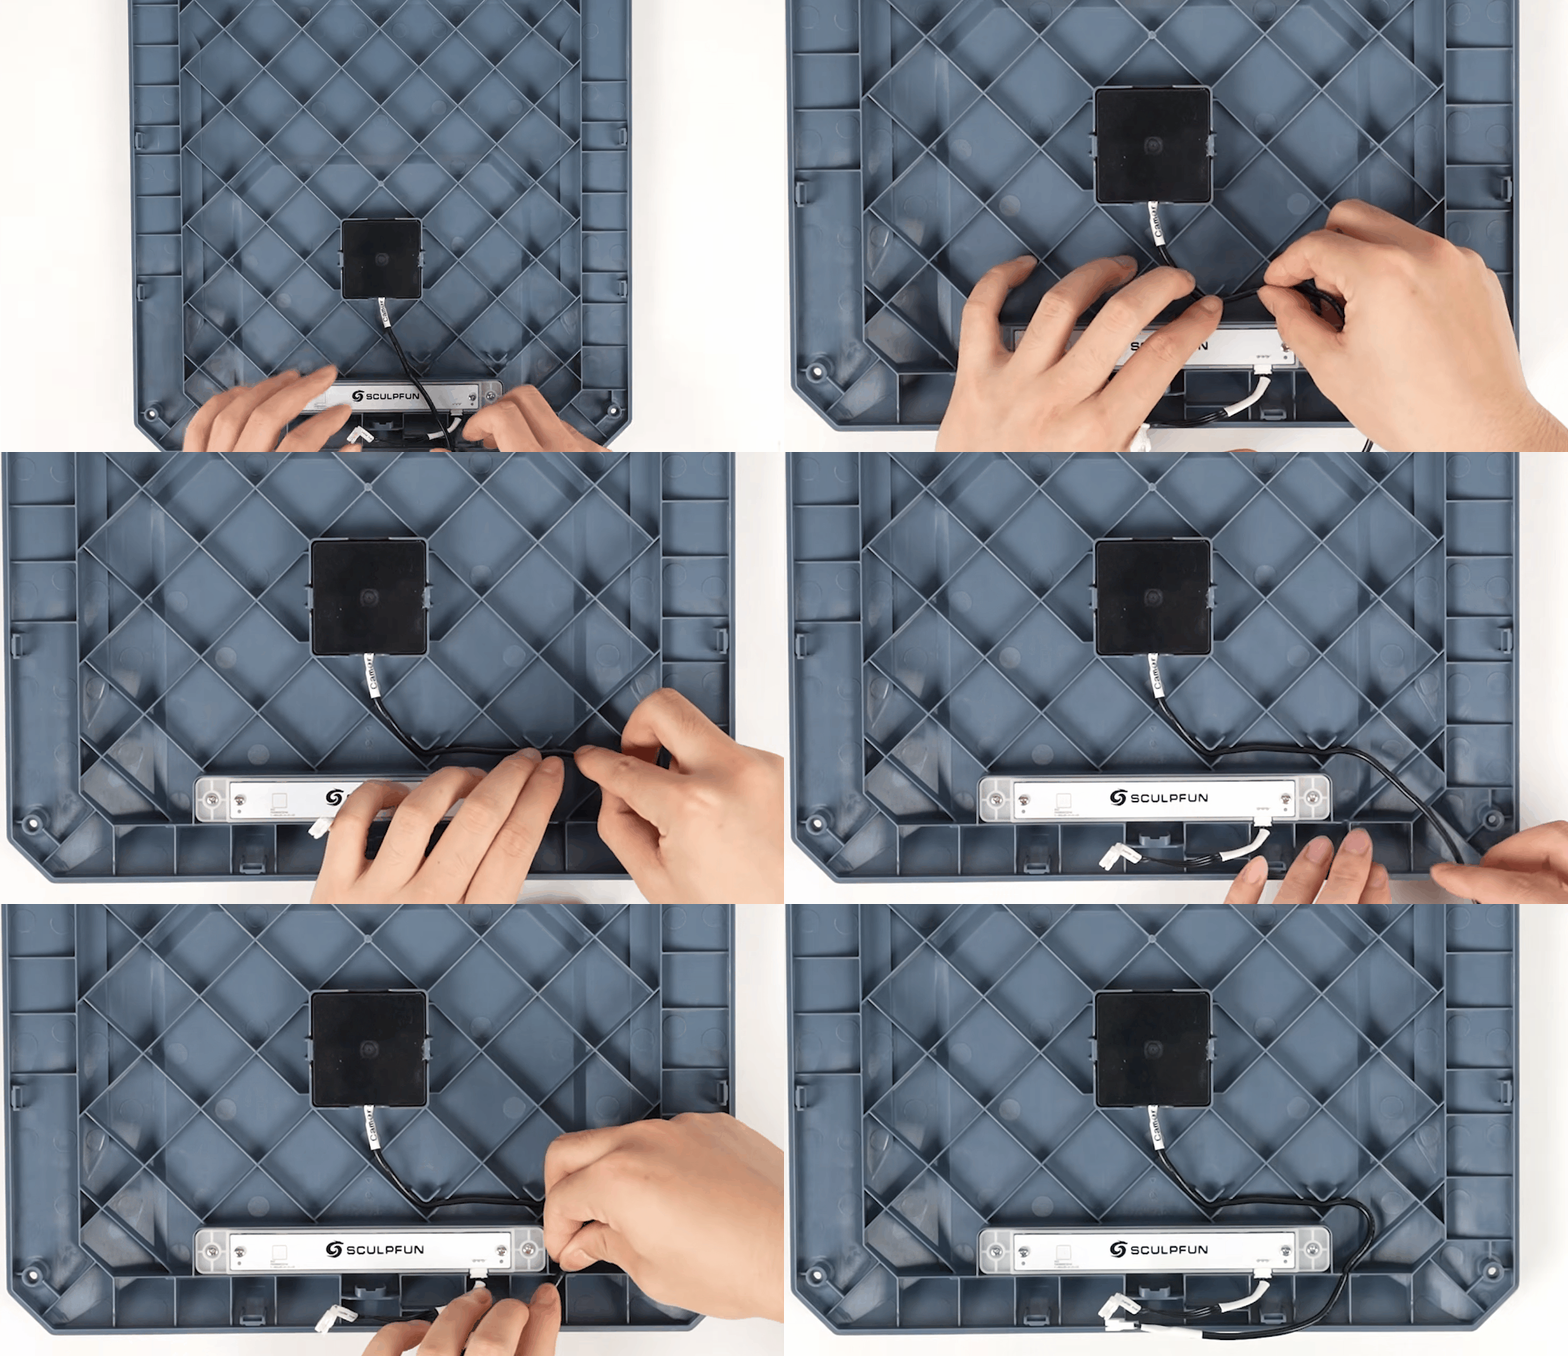
Route all wires neatly along the internal cable troughs.
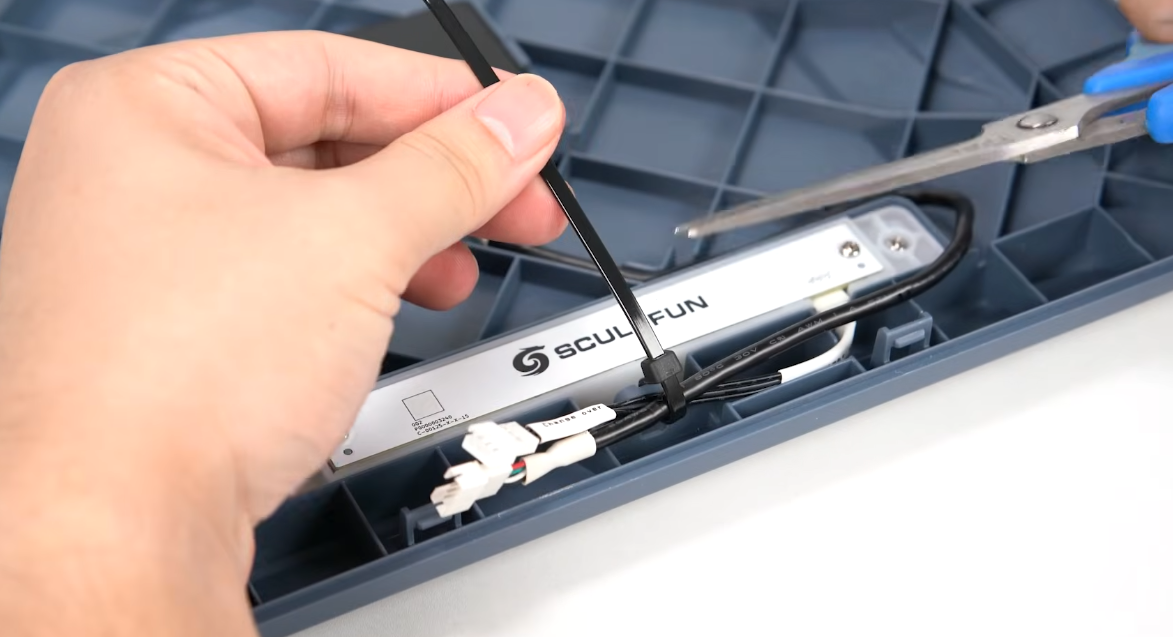
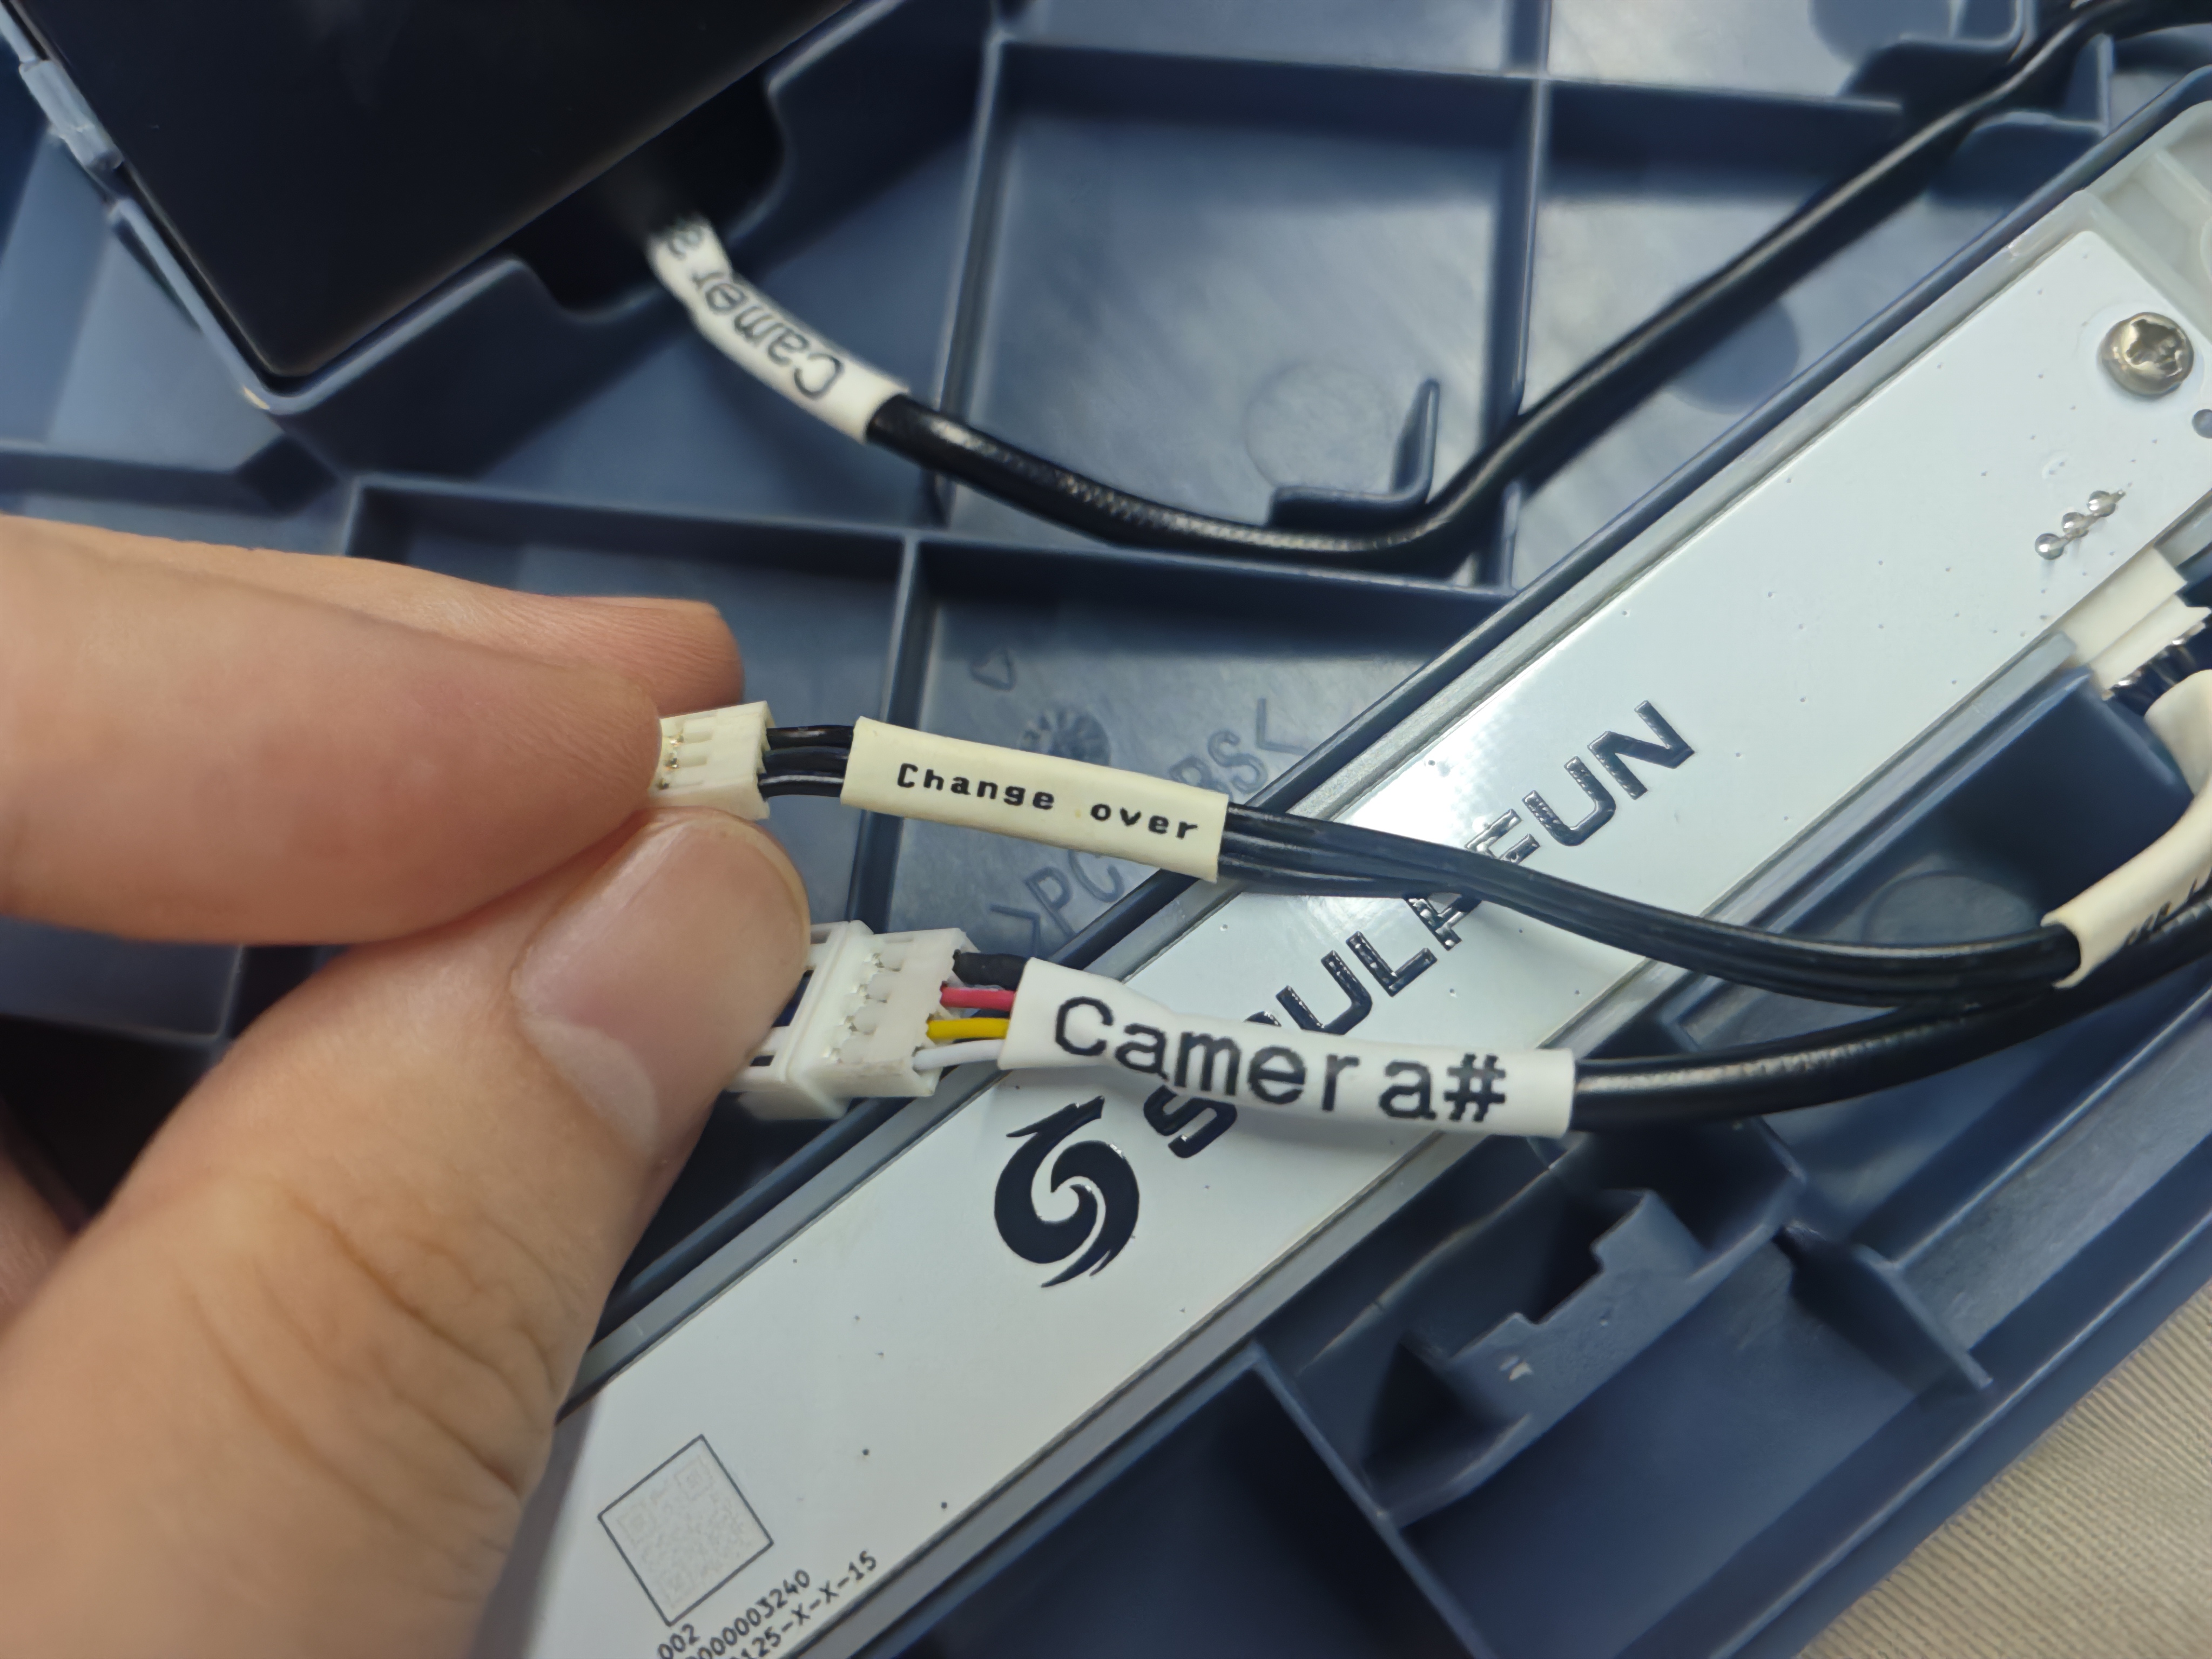
Reconnect all cables, match each plug to its designated port.
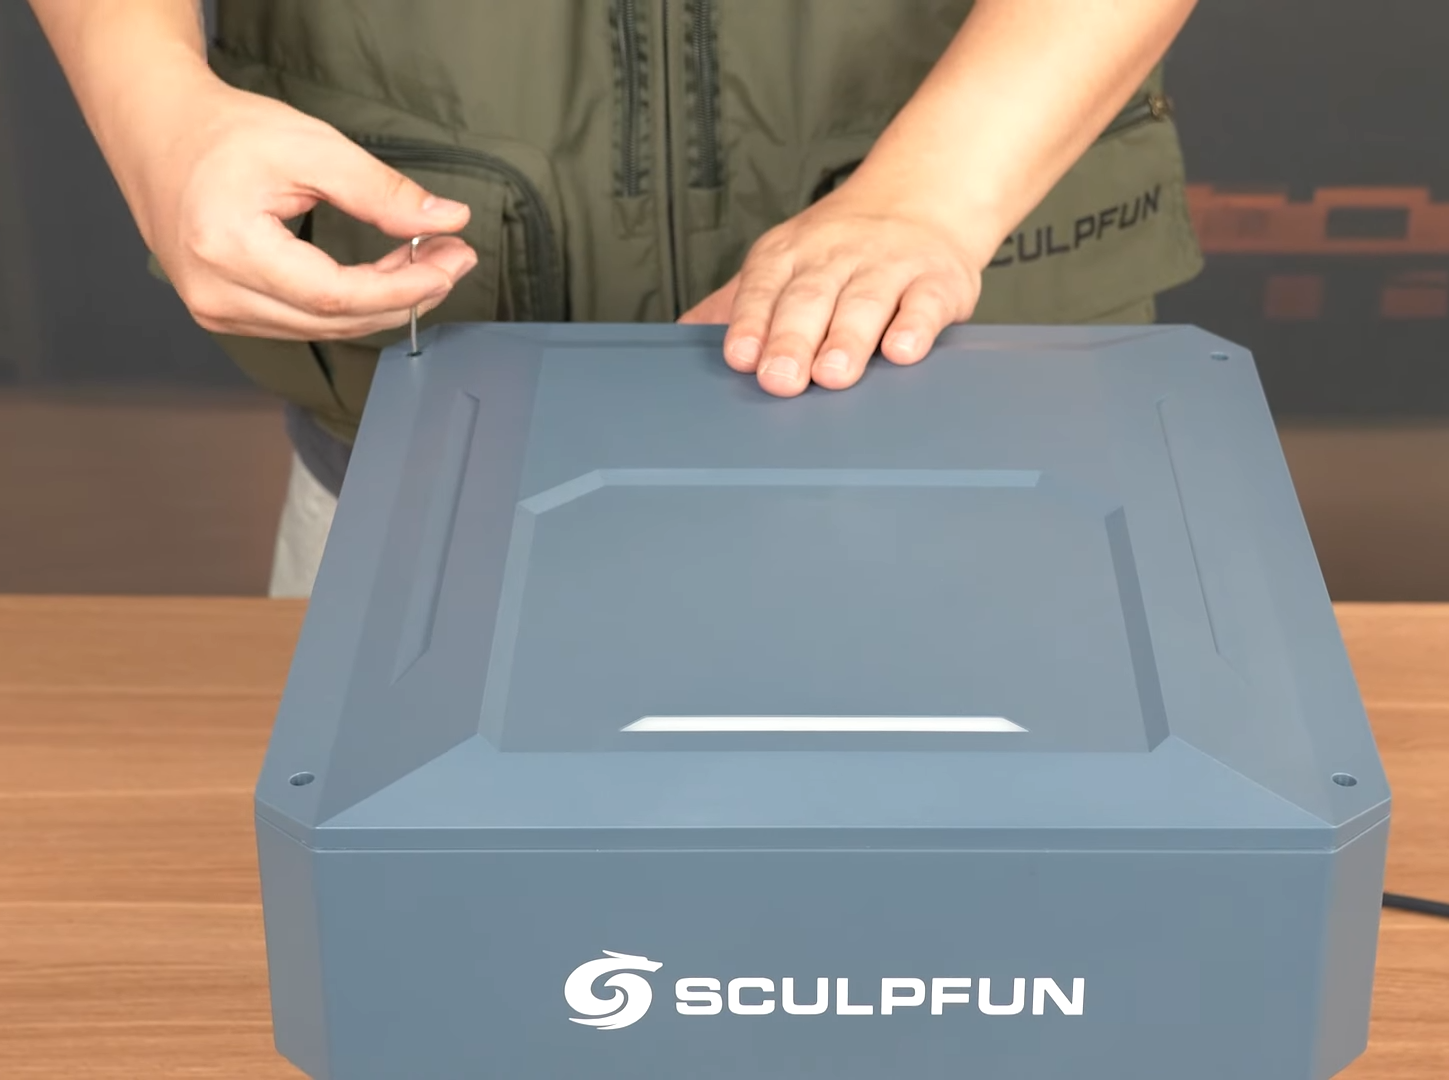
Refit the top cover and fasten all screws back in place.
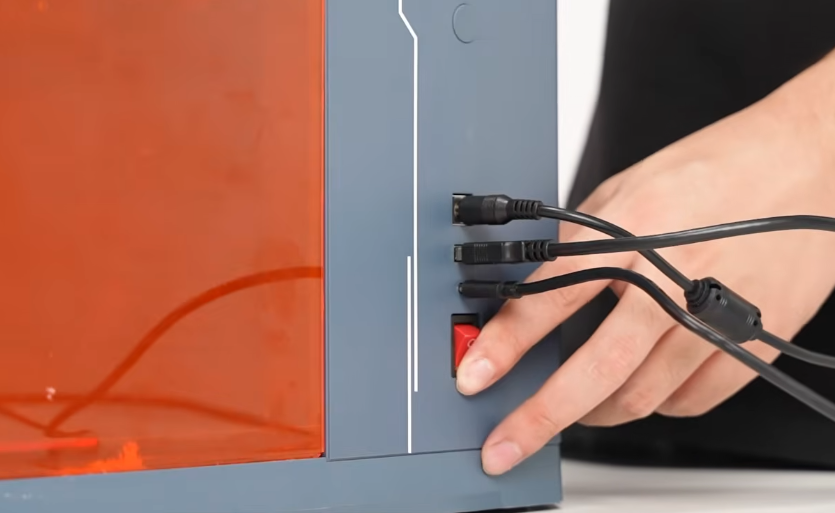
Connect the machine communication cable, camera data cable and power supply cable.
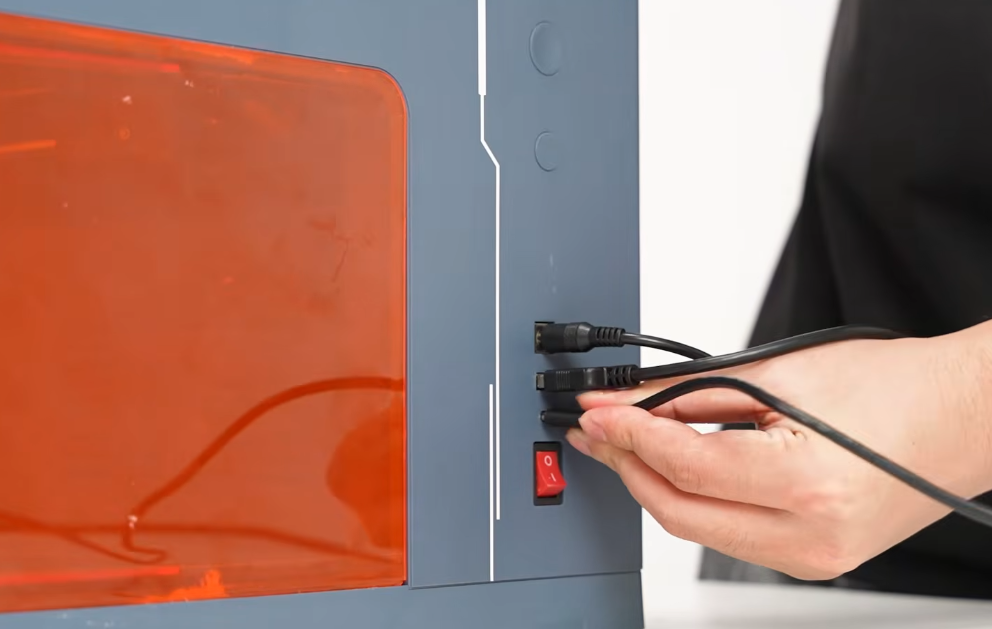
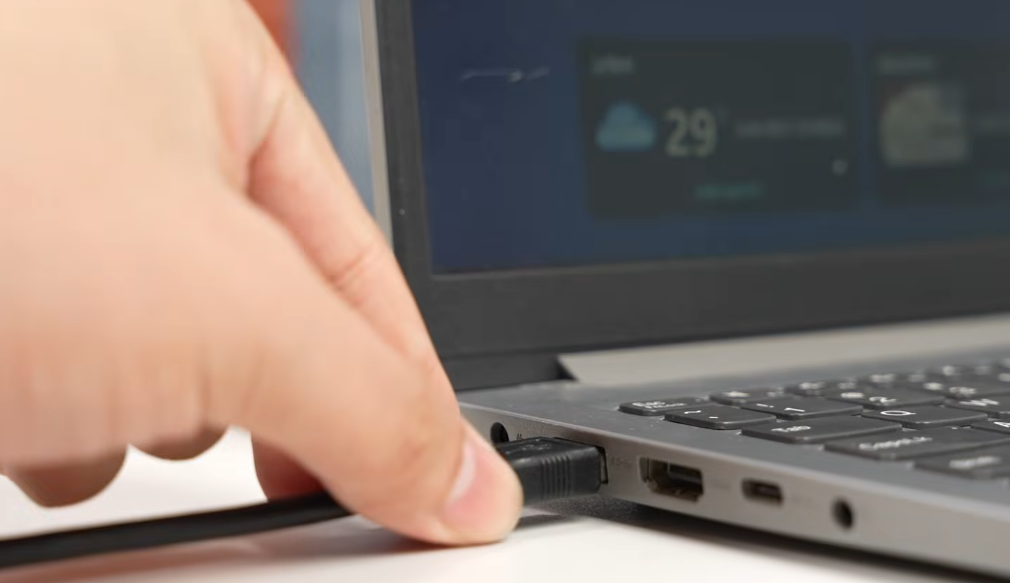
Plug the free end of the data cable into your computer.
Power on the machine.
Operation Guide
This tutorial uses LightBurn as demonstration software. For Sculpfun Space setup, refer to Sculpfun Space Camera Calibration Guide
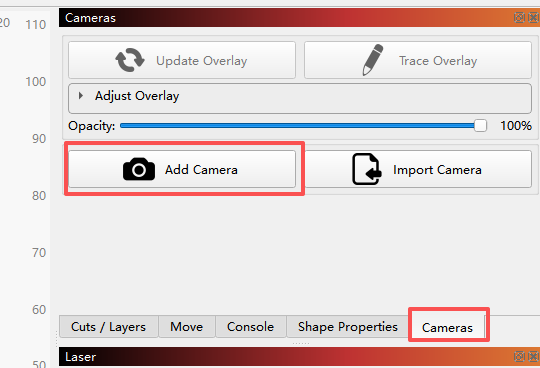
Launch LightBurn, navigate to the Camera panel and click "Add Camera".
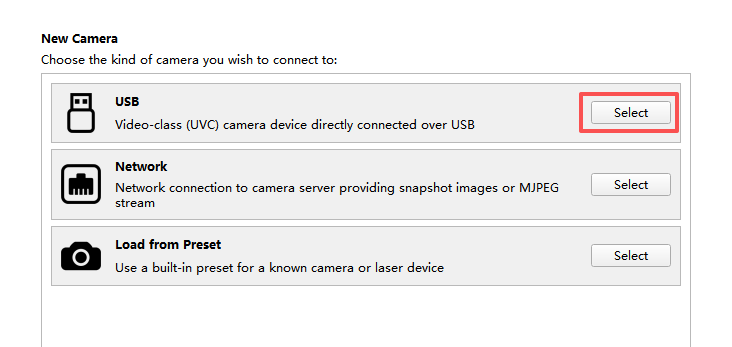
This camera connects via USB; select USB connection type.
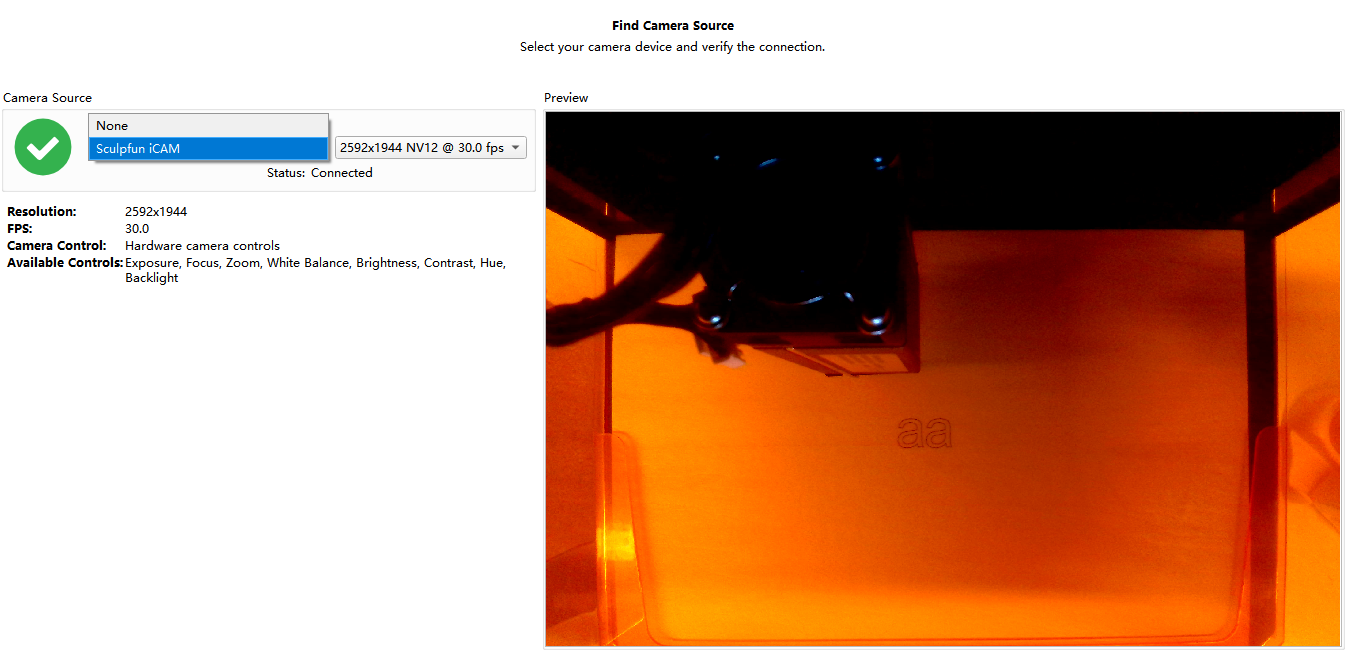
Select "Sculpfun iCAM" from the dropdown menu; the live camera feed will appear on the right preview window.
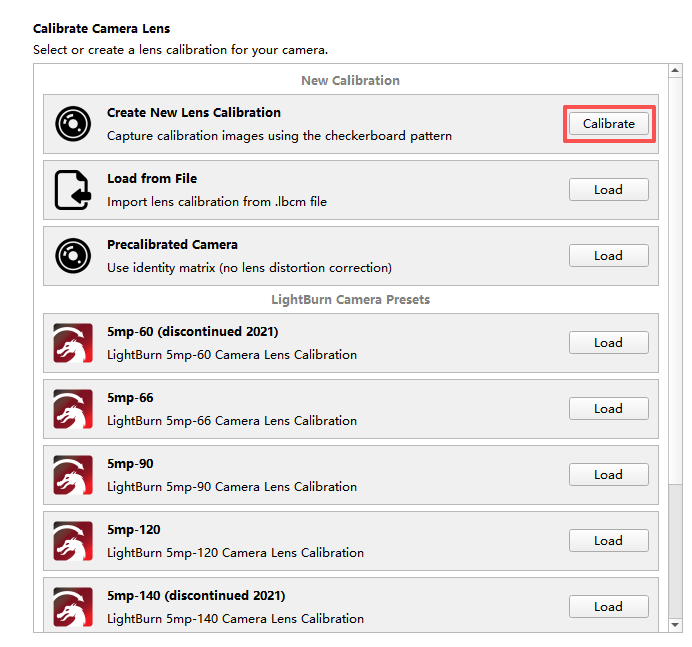
Click Next to start lens calibration, select "Create New Lens Calibration".
The new calibration workflow requires dedicated AprilTags patterns; the dot-pattern calibration paper included in the kit is not compatible. Scan the QR code to download the PDF file. 📄 CalibrationTags.pdf
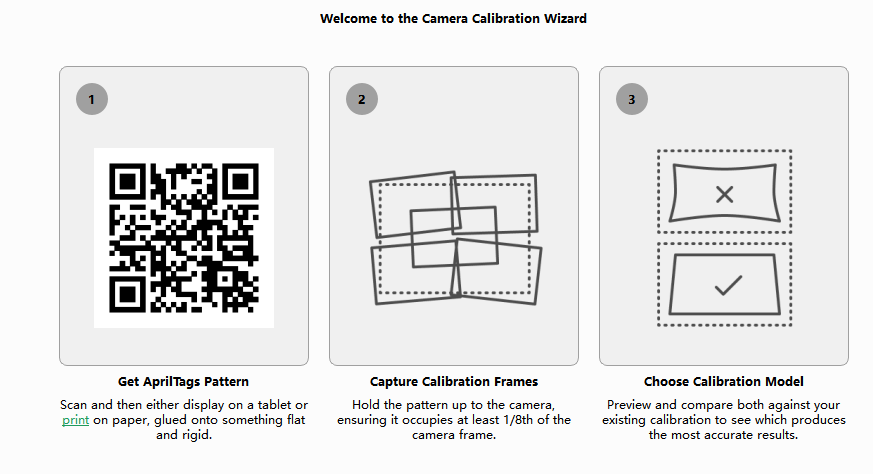
Print the downloaded pattern and proceed to the next step.
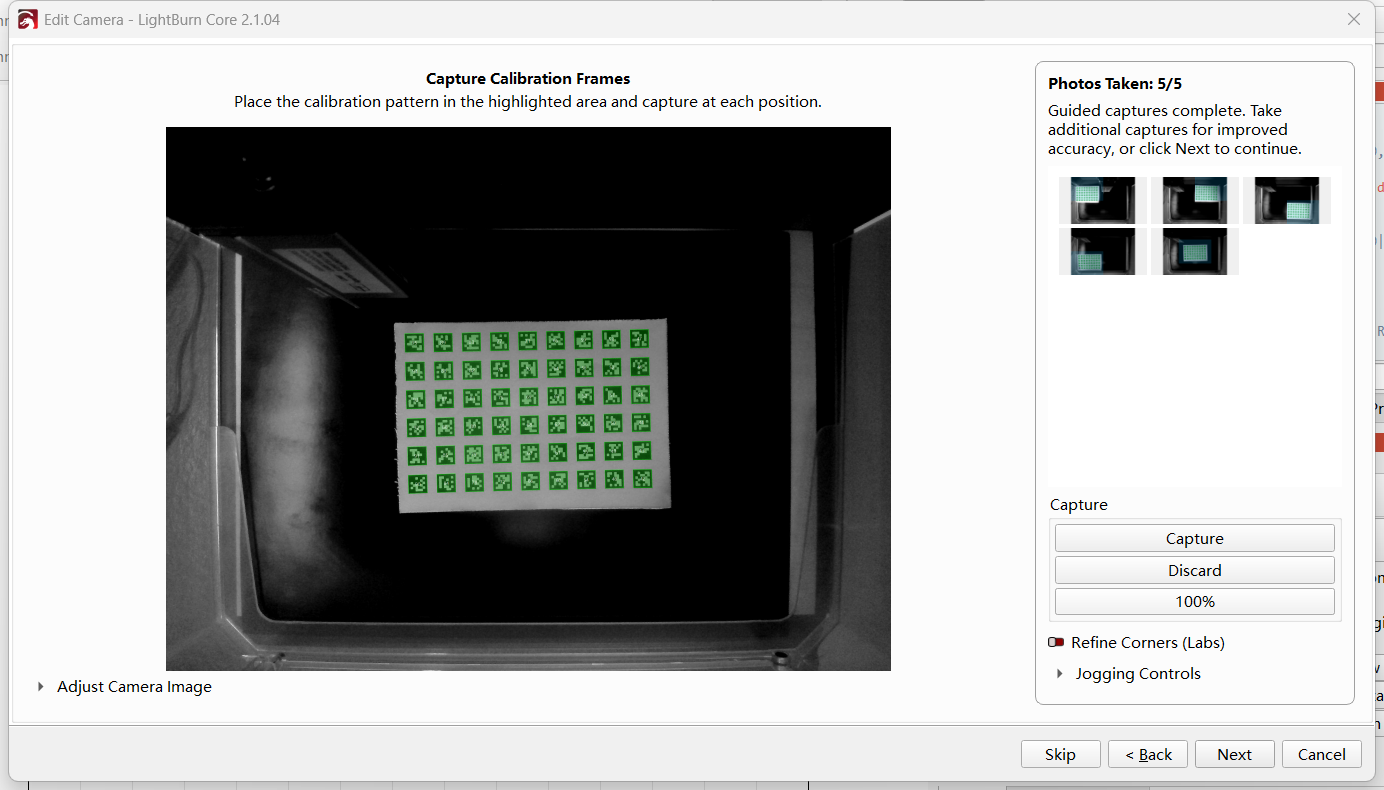
Place the printed calibration pattern on a prominent spot within the work area. The software will automatically detect the tags; aim for the highest recognition score shown at the bottom-right corner, then click Capture.
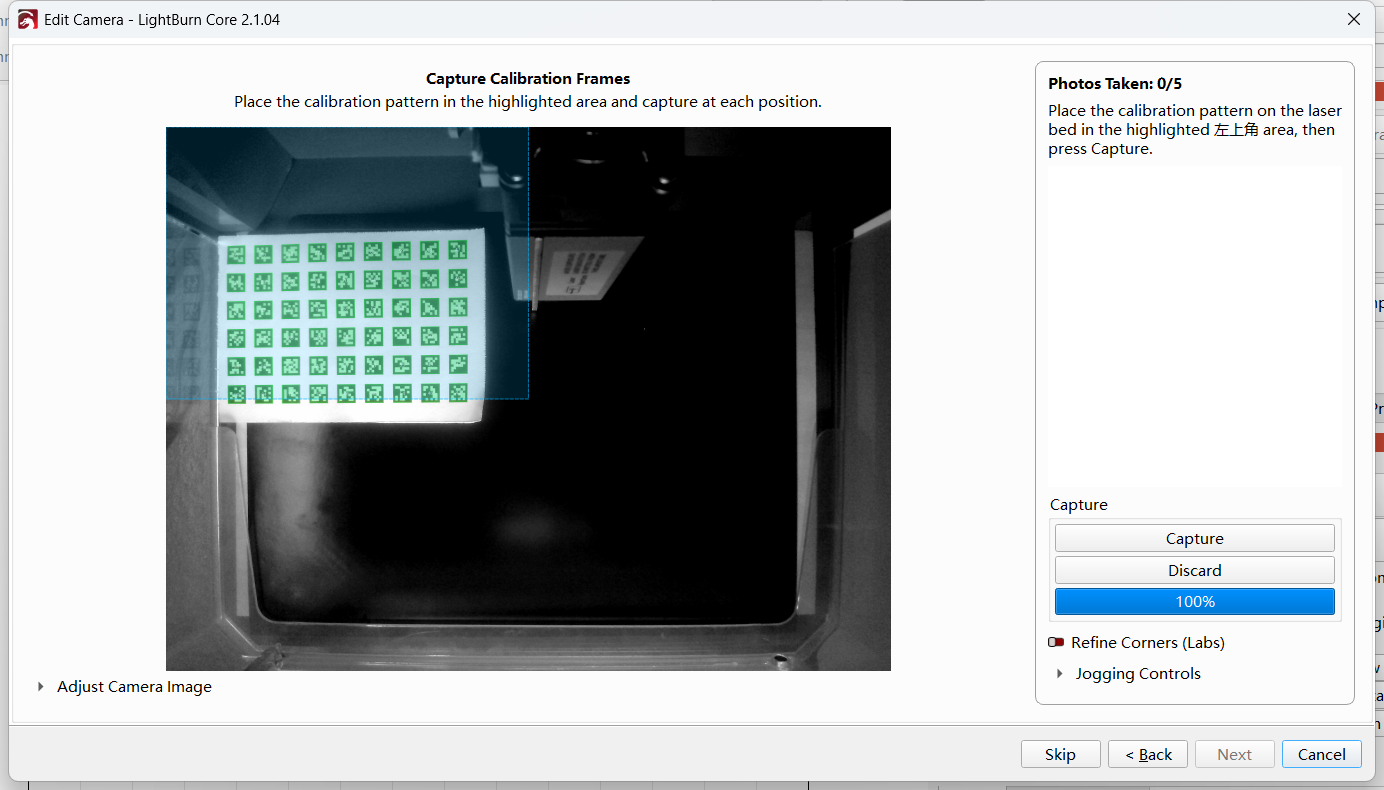
Reposition the calibration pattern and laser head to capture frames from top-right, bottom-left, bottom-right and center positions respectively. Click Next once all captures are complete.
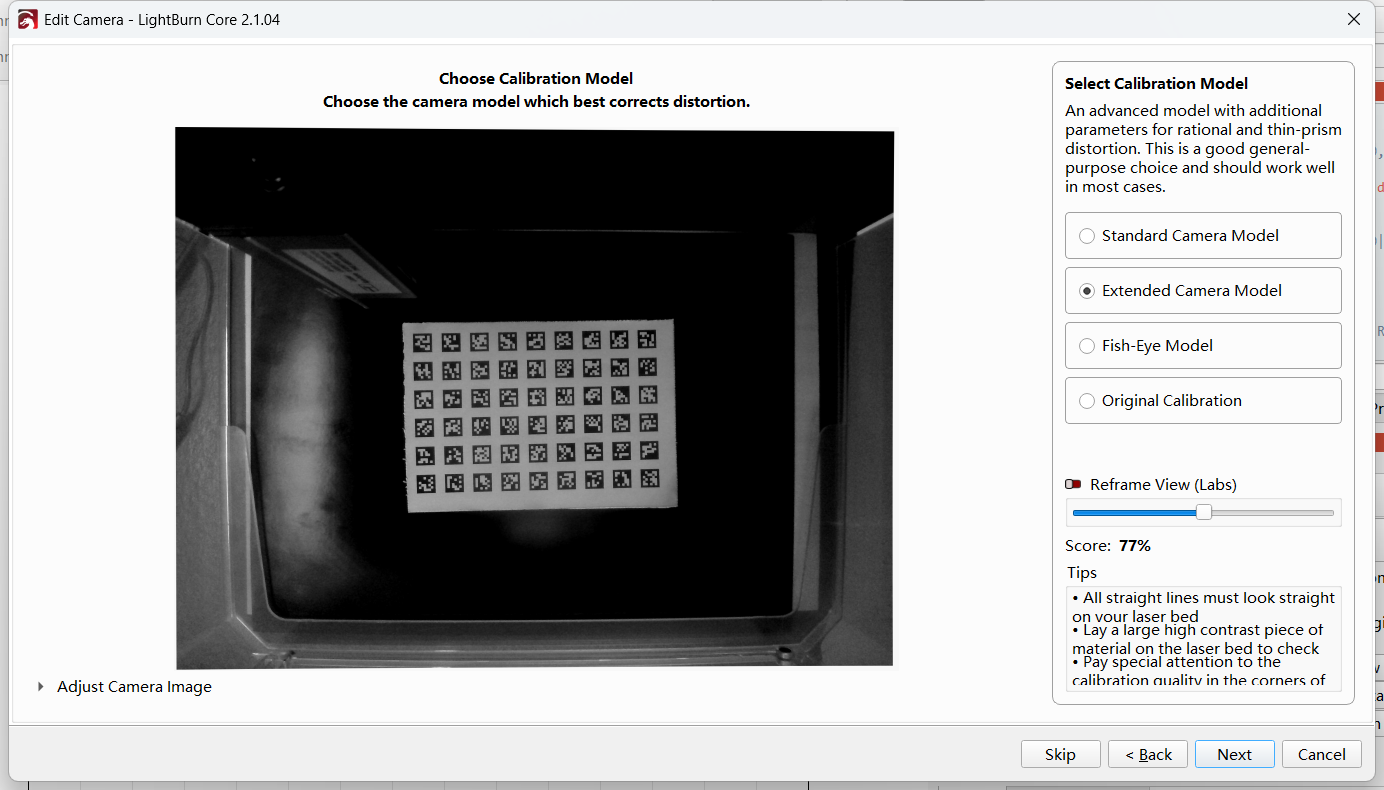
Select a calibration model that corrects lens distortion. You may visually check vertical straightness of lines in the preview or refer to the distortion score at the bottom-right to pick the optimal model.
Lens calibration finished. Click Finish to proceed to camera alignment.
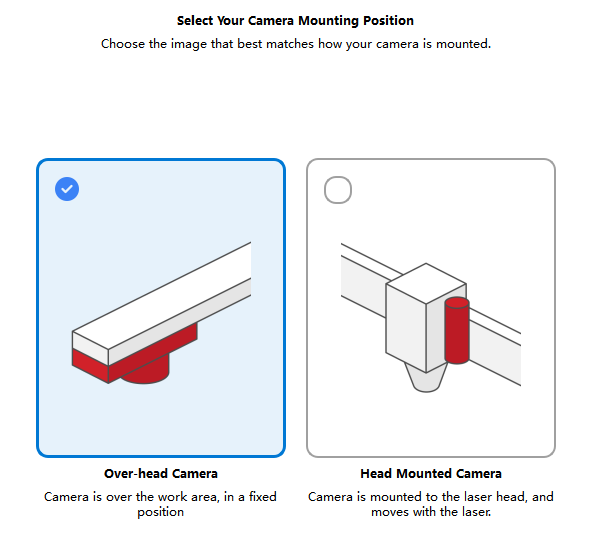
Select camera mounting type: choose Top-Mounted Camera for this kit.
Prepare your workpiece before alignment: use basswood boards with blue laser modules, or white plastic sheets with red laser modules. Official material recommendations are shown below.
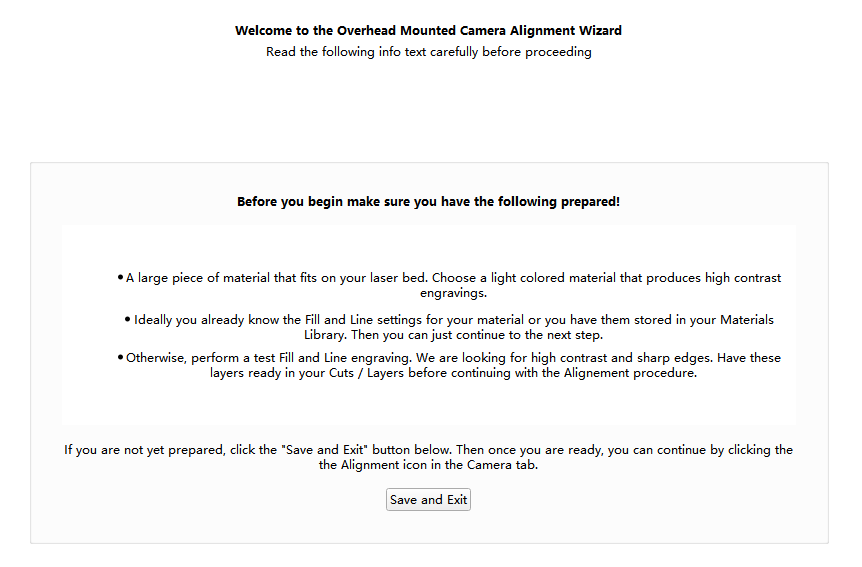
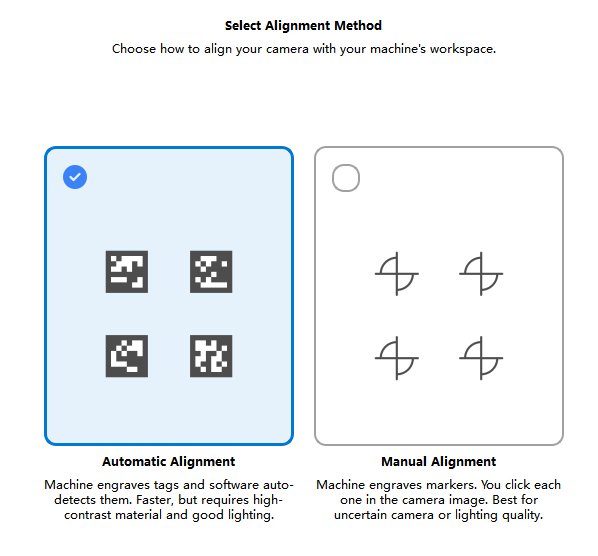
Click Next and pick alignment mode; this guide uses Automatic Alignment as example.
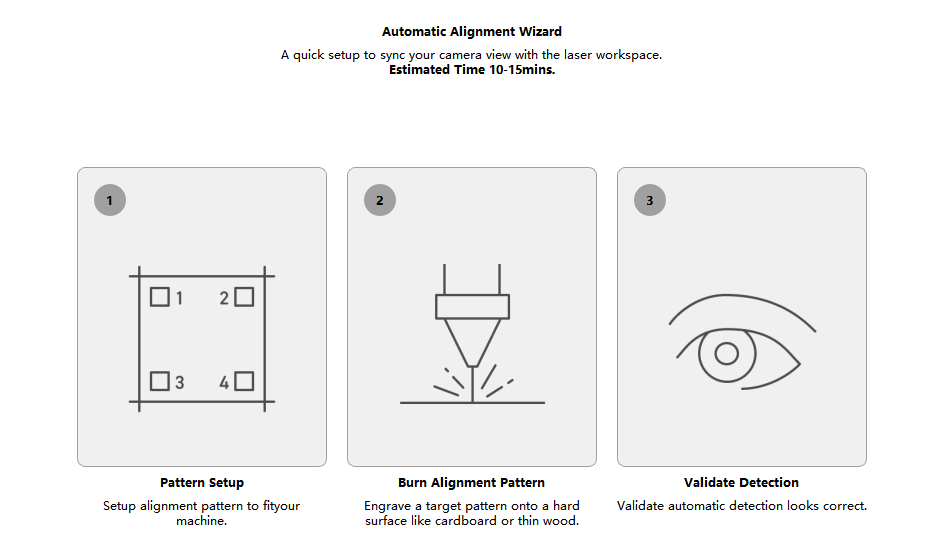
Create a test engraving pattern sized 150*130mm.
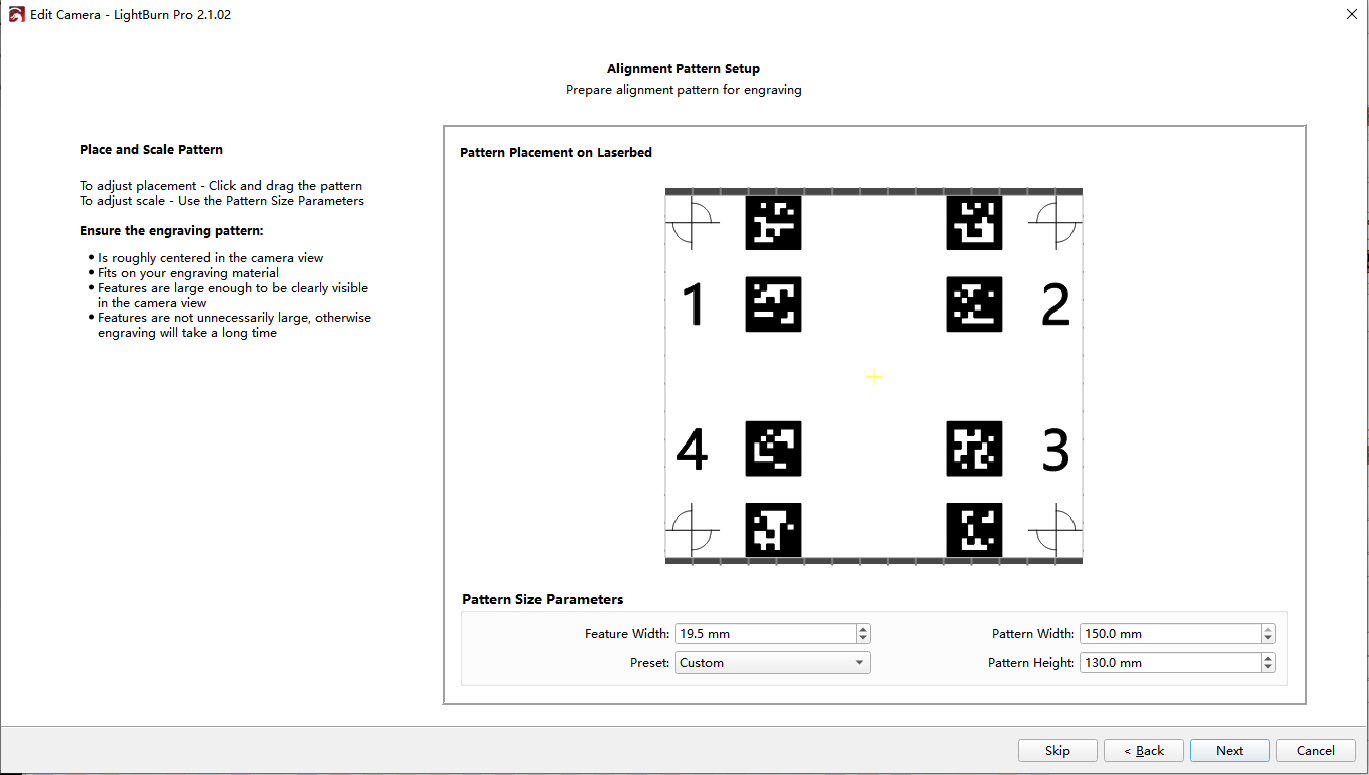
Click Next to configure engraving parameters. Adjust values according to your material; run small test engravings first if you are unsure of suitable settings.
For this demo (blue laser engraving on wood board): Line parameters set to 6000mm/min, 60% power; Fill parameters set to 6000mm/min, 60% power.
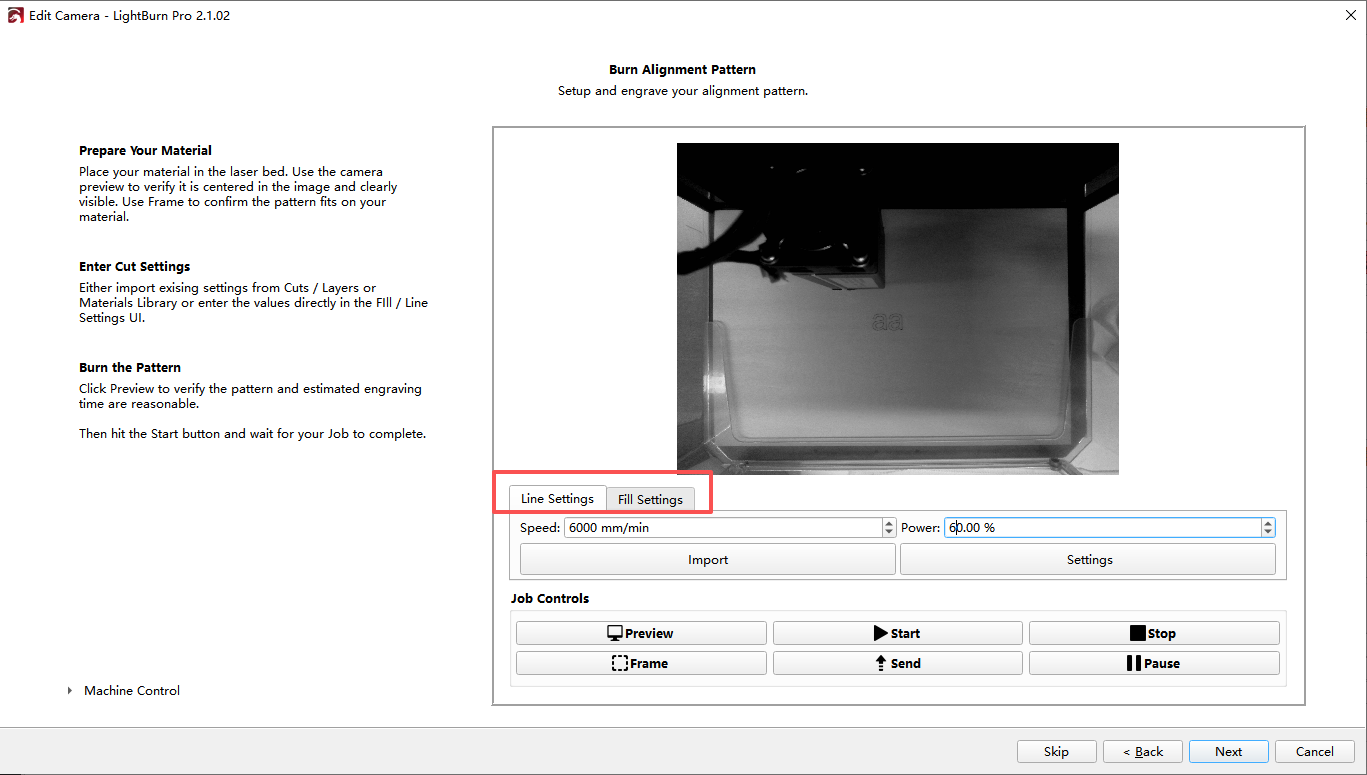
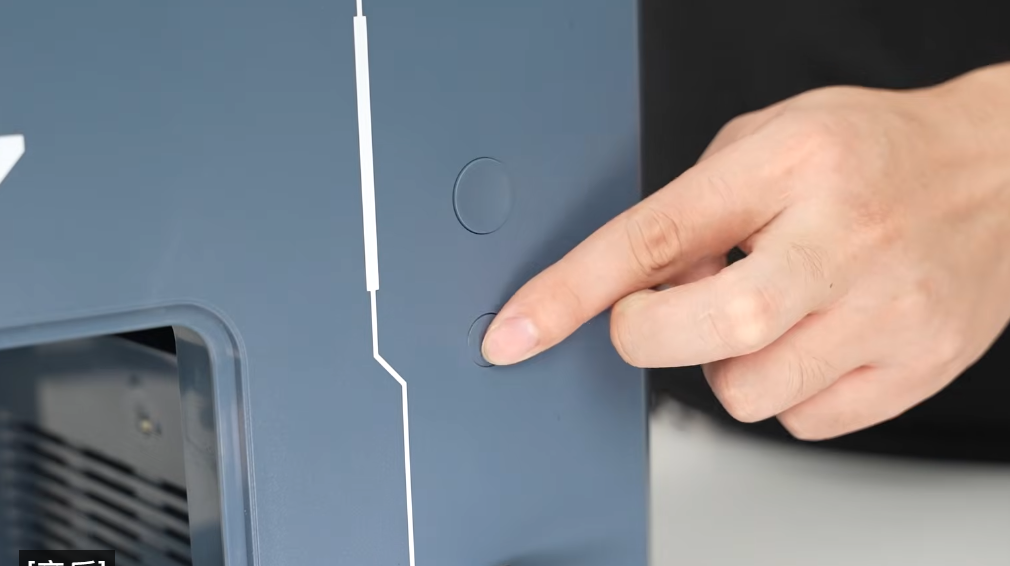
After parameter setup, focus the laser head. Tap the Auto-Focus button on the left side of the machine for automatic Z-axis focusing.
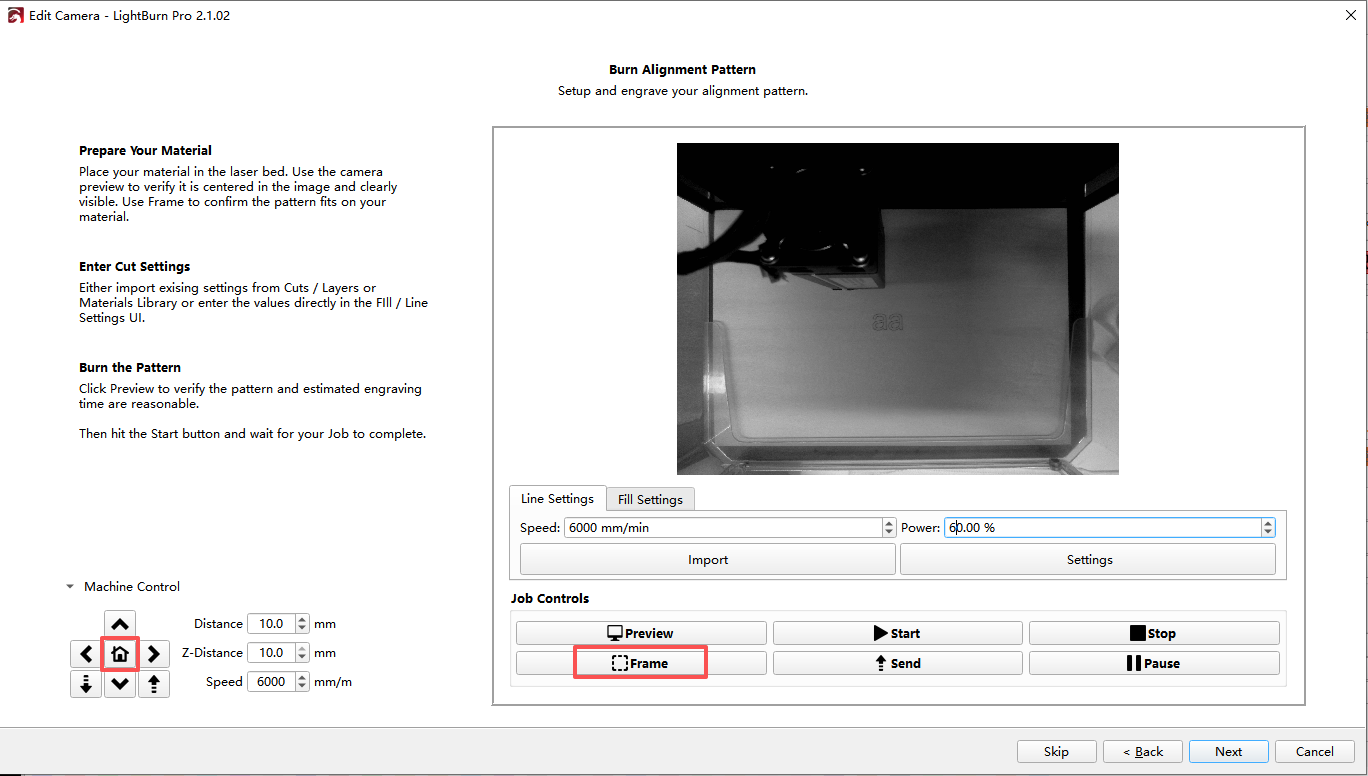
Click the Reset button at the bottom-left to send laser head back to machine origin. Click Frame Preview to verify engraving coverage.
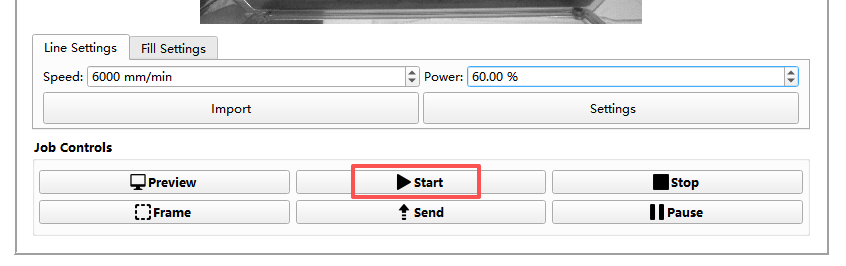
Click Start to engrave the alignment tag pattern.
Once engraving completes, click Next to run automatic alignment.
The software will auto-detect the engraved AprilTags. If detection fails, click Discard and recapture.
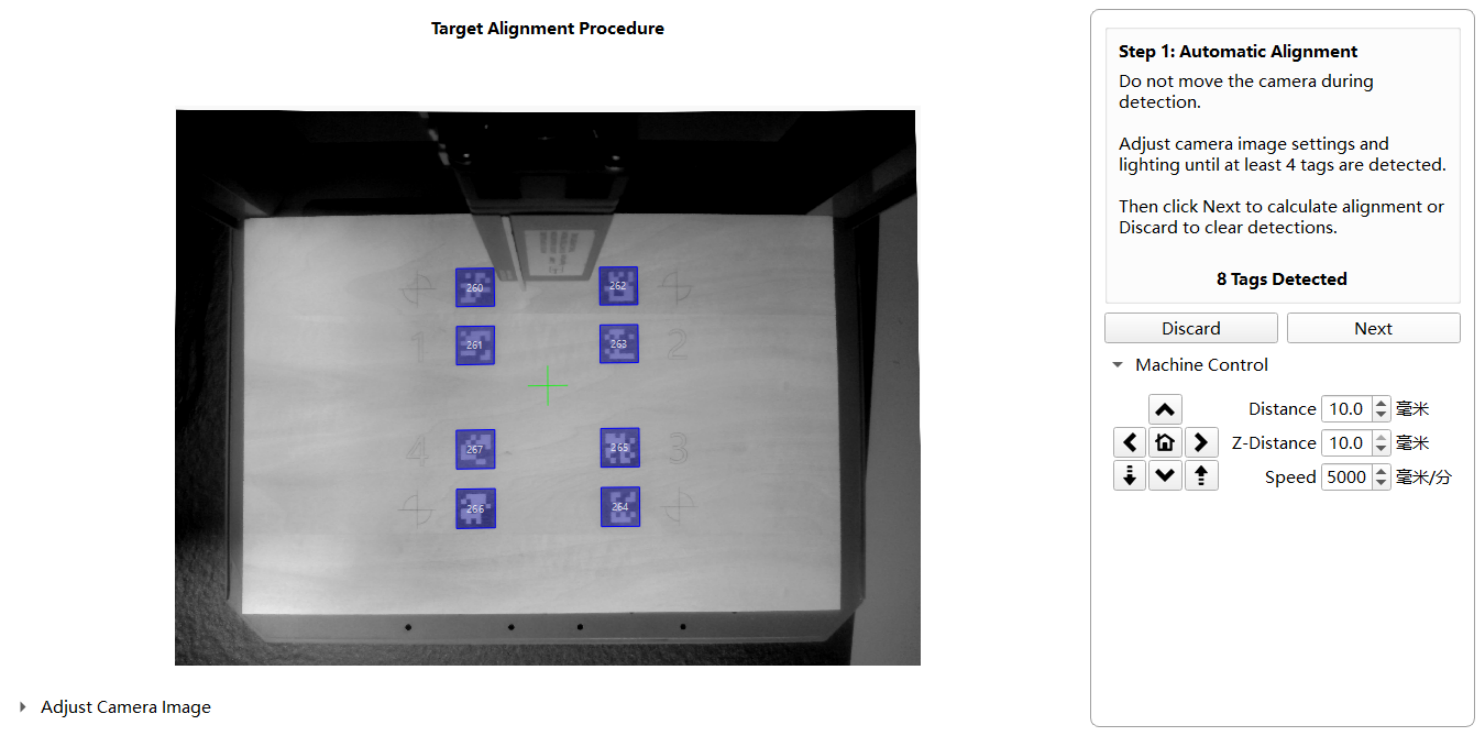
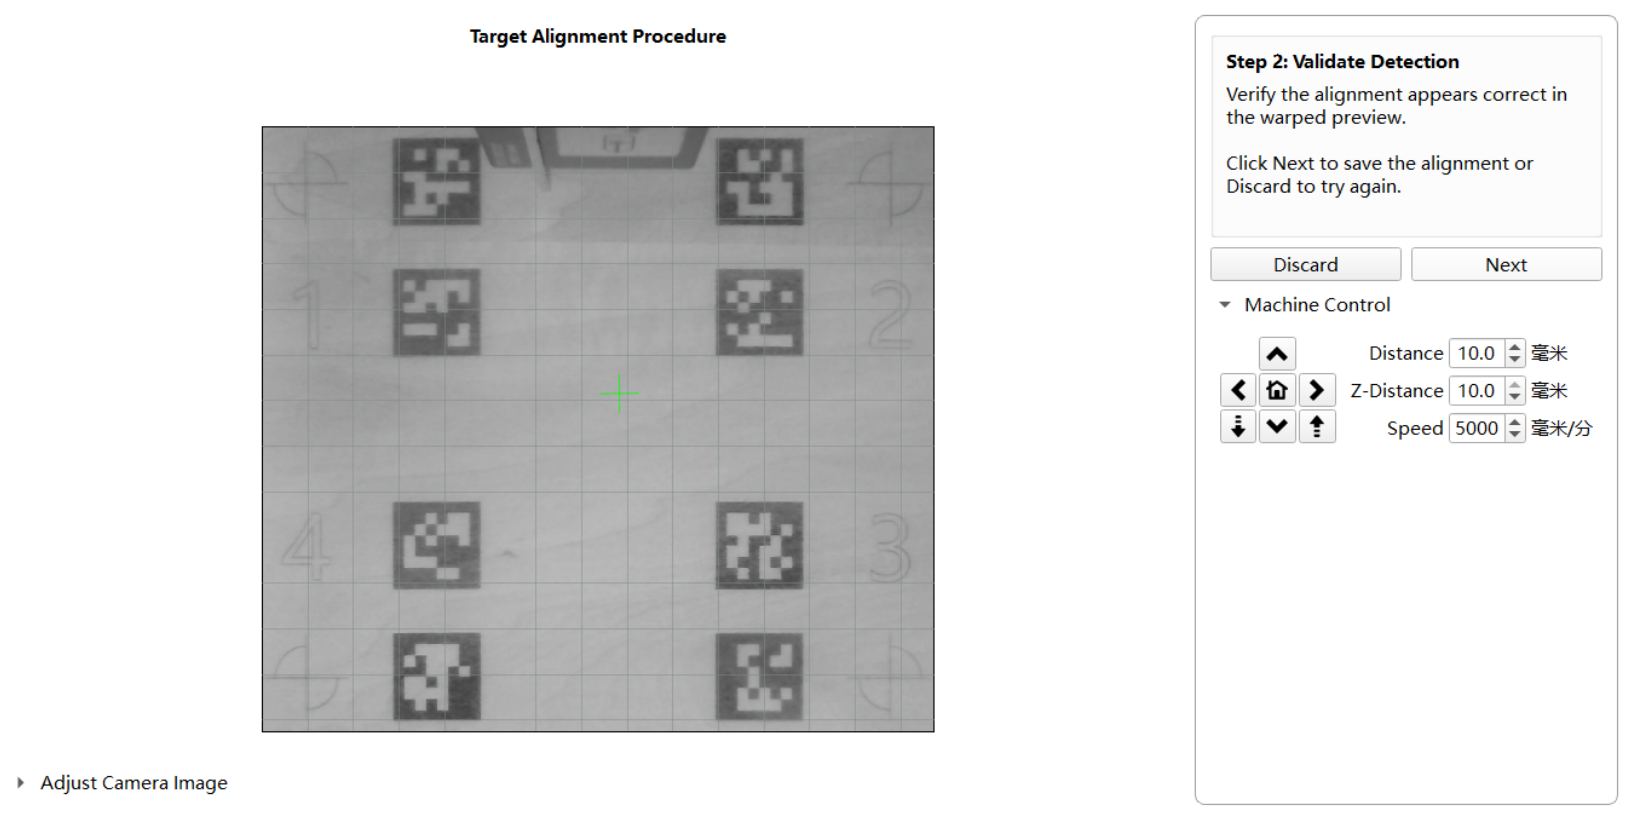
Click Next to validate alignment results. Confirm no pattern distortion and accurate mapping.
Camera alignment procedure fully completed.
Return to the main LightBurn interface; the live camera feed will function normally.
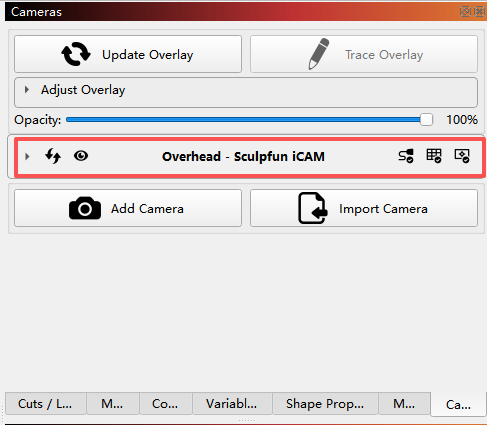
Click Update Overlay to capture a photo from the camera and set it as your workspace background canvas.
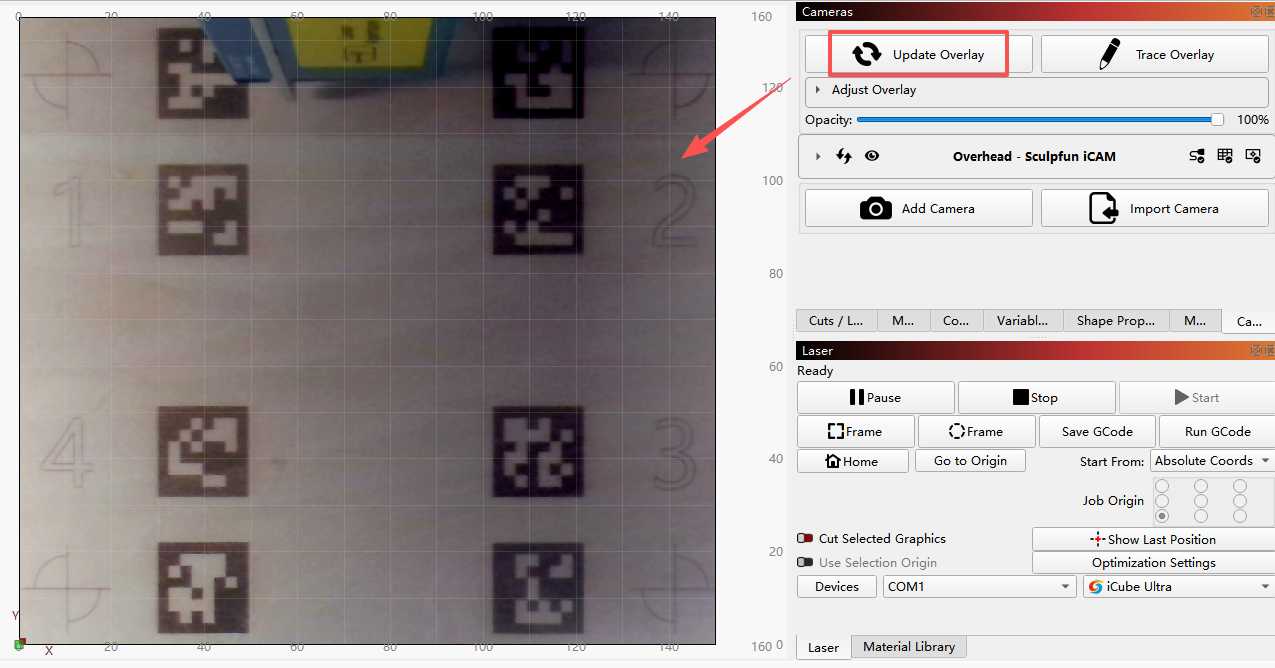
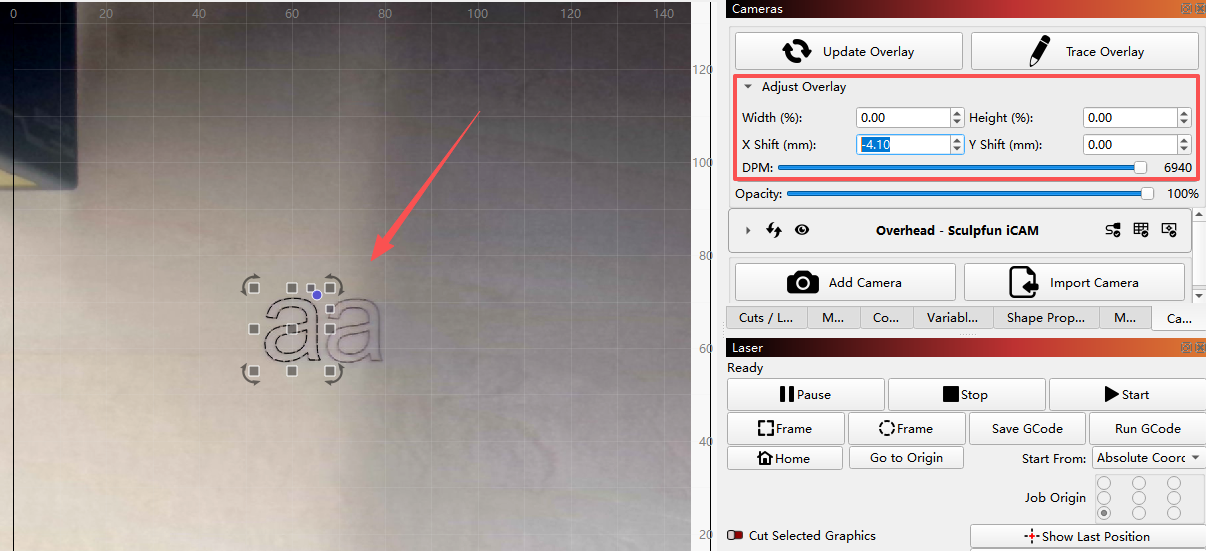
Import and edit your design files for engraving. Severe positional offset can be fixed by adjusting camera offset values or re-running full calibration.