iCube Ultra Series Unboxing and Installation Guide
Video Version: (0:00-1:10)
Text Version:
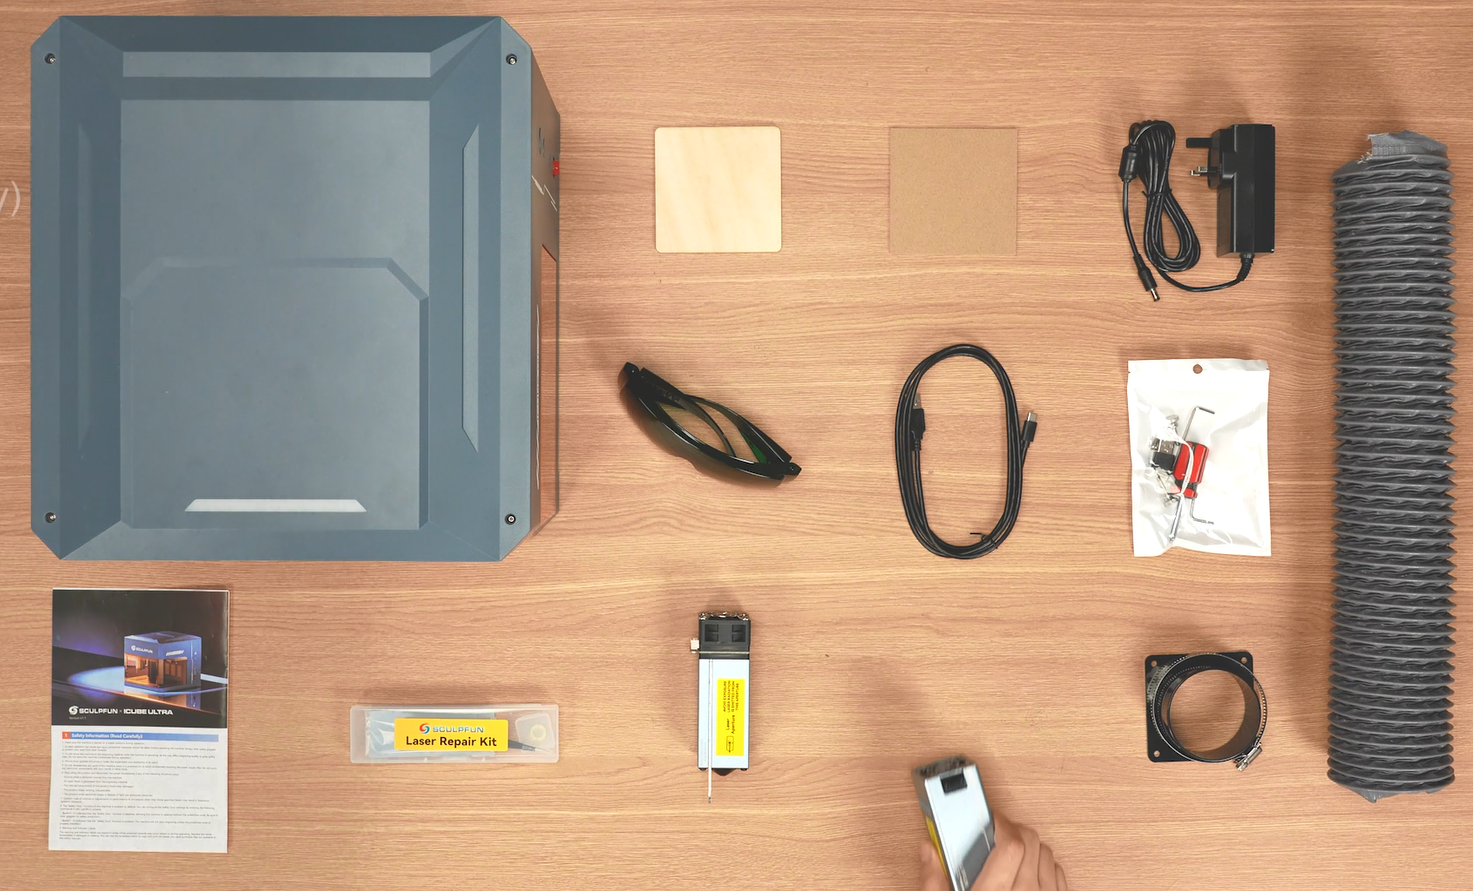
Packing List
iCube Ultra Main Unit ×1 12W Blue Laser Module ×1 1.2W Red Laser Module ×1 (Dual Light Version Only) Data Cable ×1 Power Adapter ×1 Tool Kit ×1 Lens Maintenance Box ×1 Laser Safety Goggles ×1 Wood Board ×1 MDF Board ×1 Smoke Exhaust Pipe ×1 Exhaust Pipe Flange ×1 Hose Clamp ×1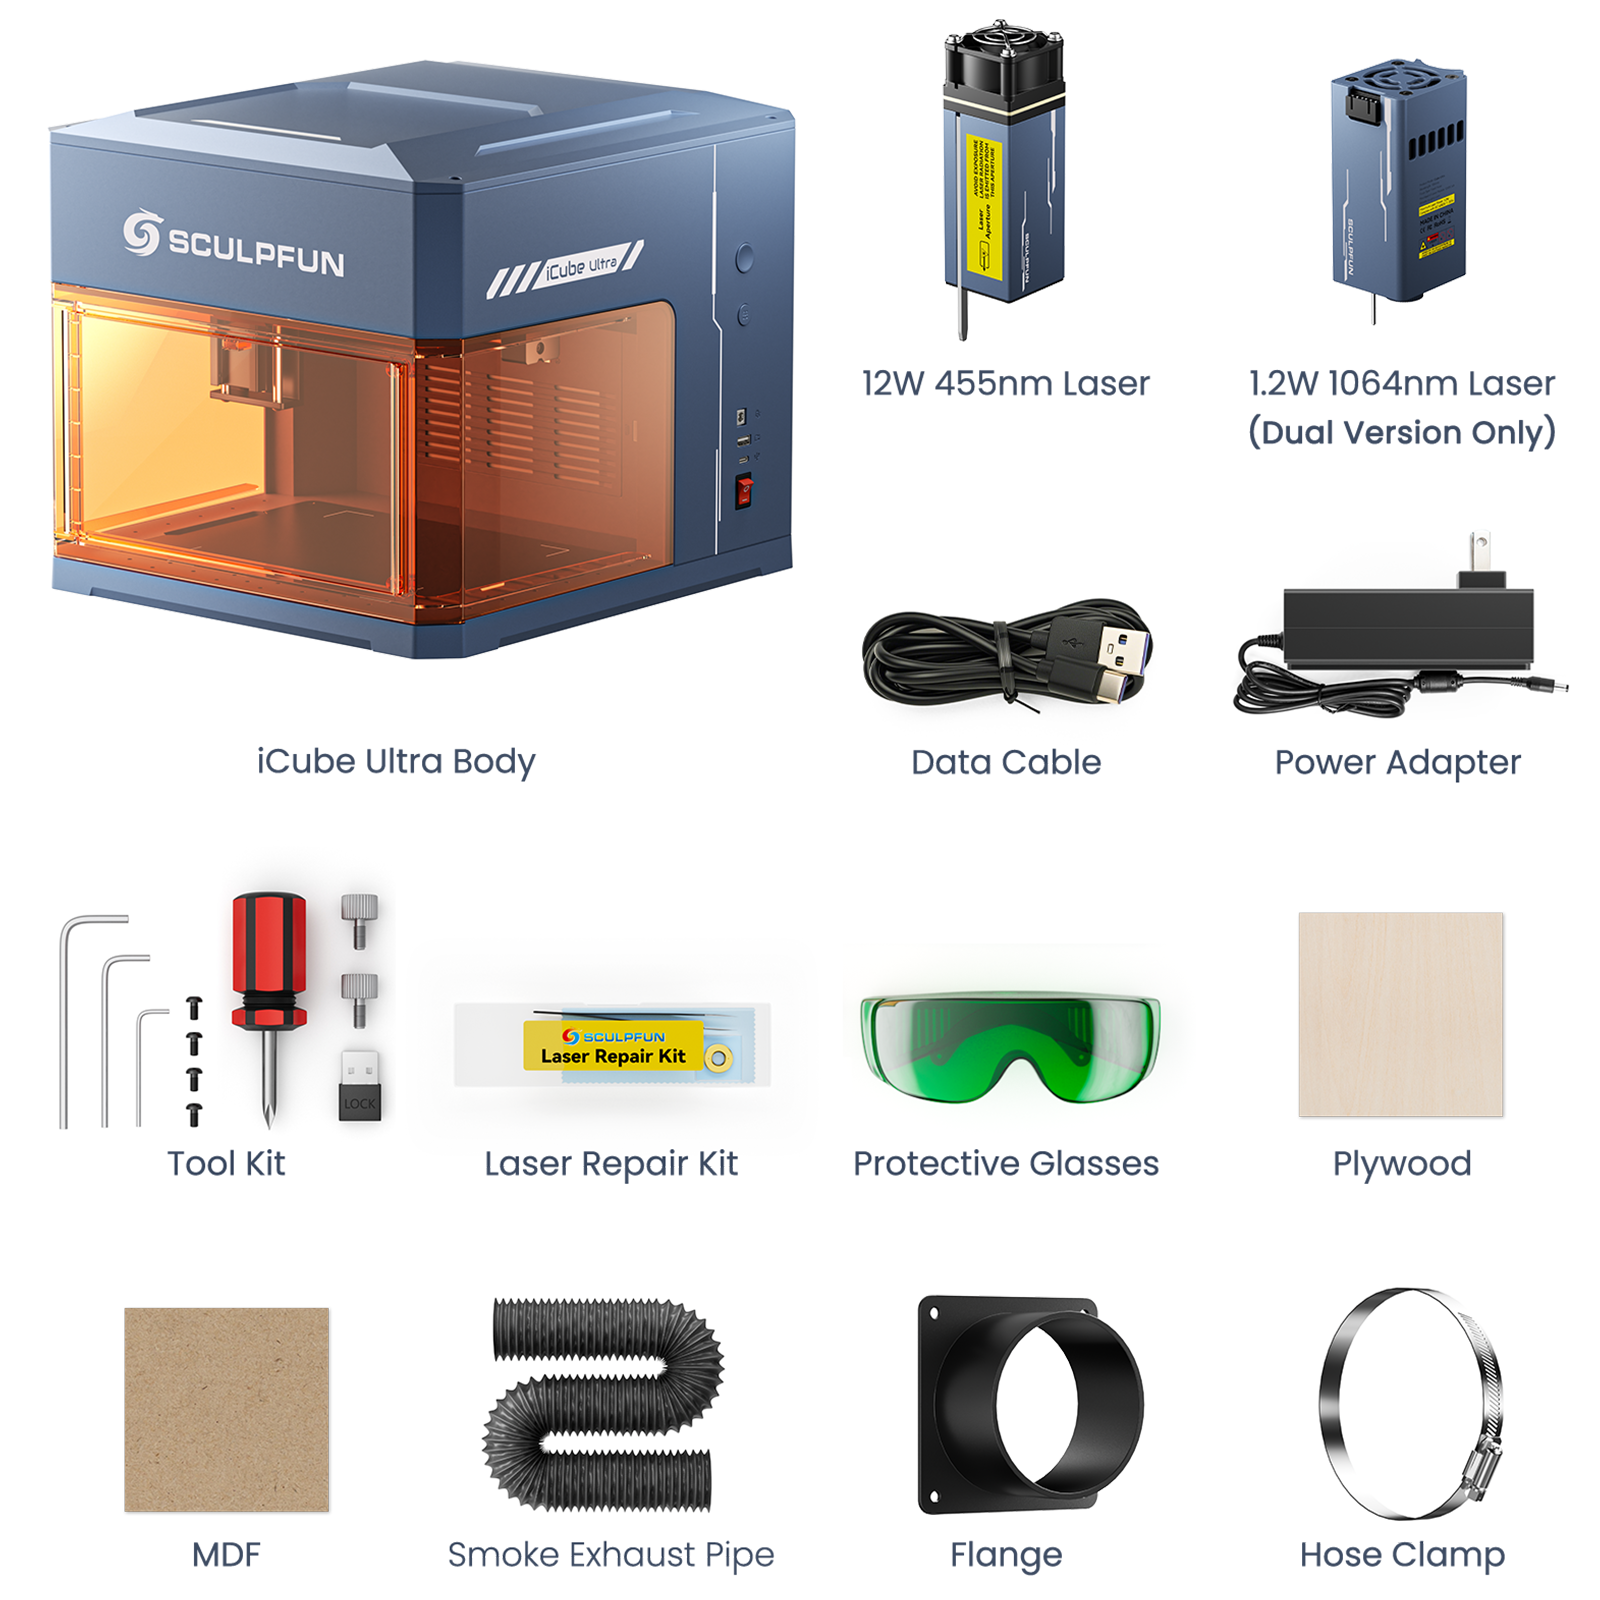
Unboxing
Open the package and remove the top cover.
Note: Please read the user manual and instruction slips before use.
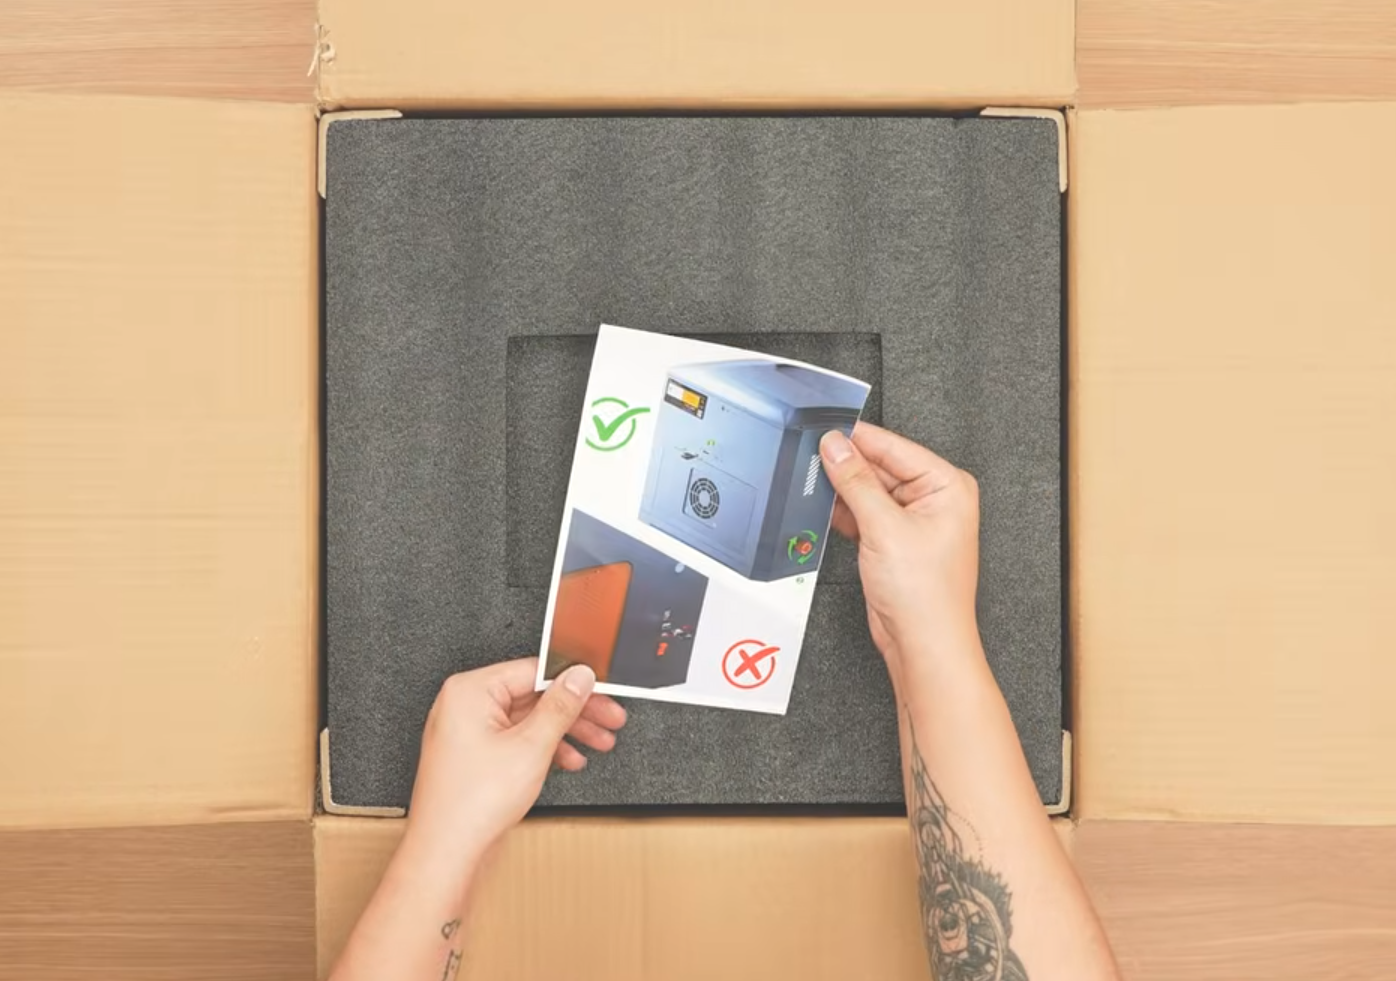
Take out the machine and all accessories inside the package.
Button & Port Introduction
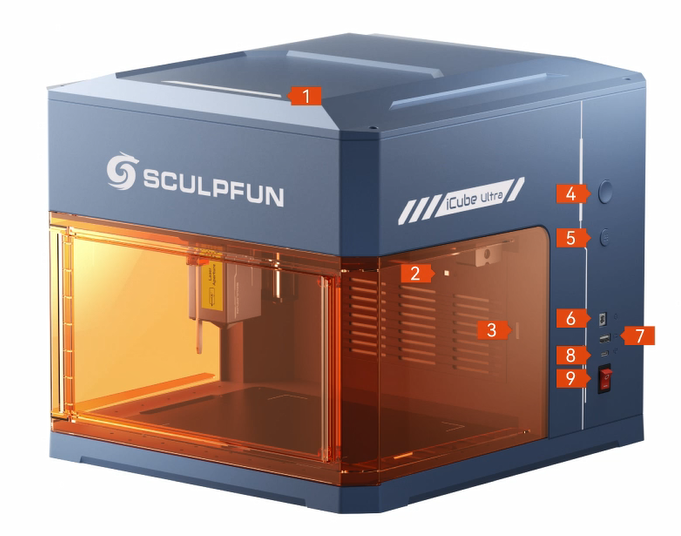
2. Temperature Alarm Sensor
3. RA Mini Rotary Roller Interface
4. Multi-function Button Tap during engraving to Pause / Resume. Press and hold for 3 seconds under standby mode to reset. 5. Auto Focus Button Tap to lower Z-axis for automatic focusing. Press and hold for 3 seconds during processing to stop engraving.6. Power Input Port
7. Camera Port (Camera sold separately)
8. Type-C PC Port
9. Power Switch
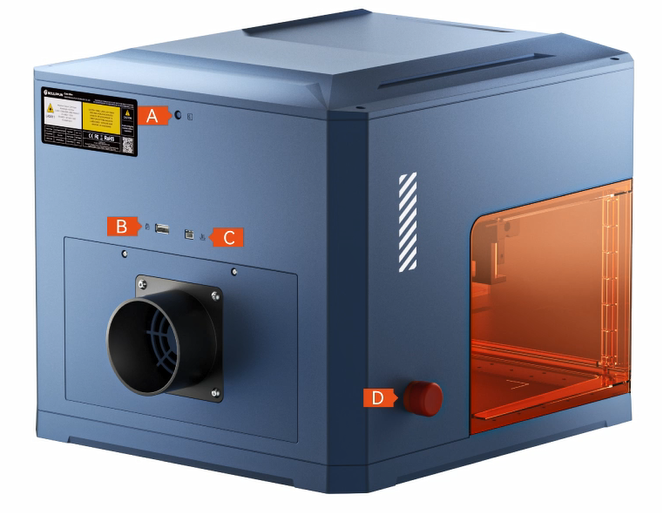
A: Air Assist Tube Hole
B: USB Security Dongle Port
C: Auto Air Pump Interface
D: Emergency Stop Switch
Installation & Startup
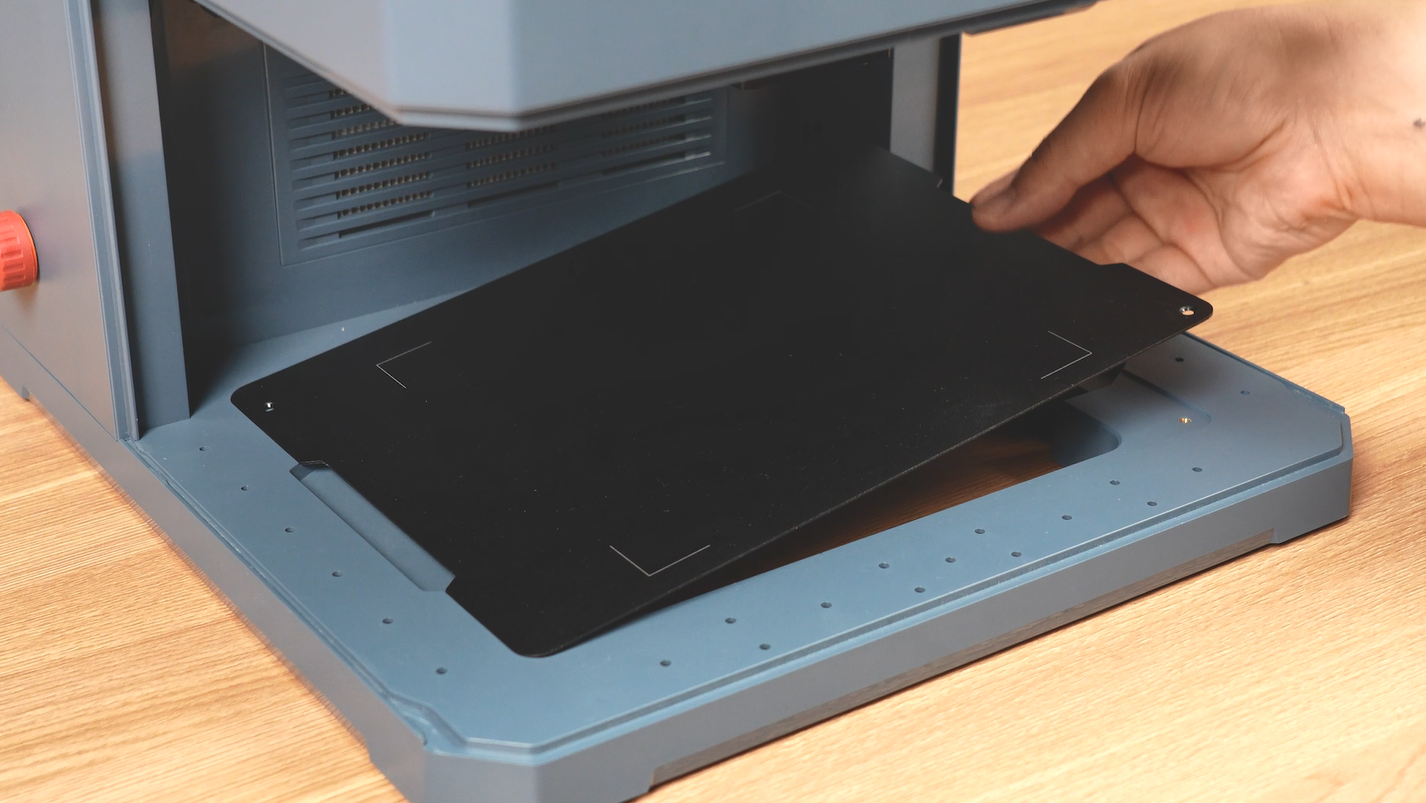
Remove the safety door, unscrew the base plate screws and take out the base plate.
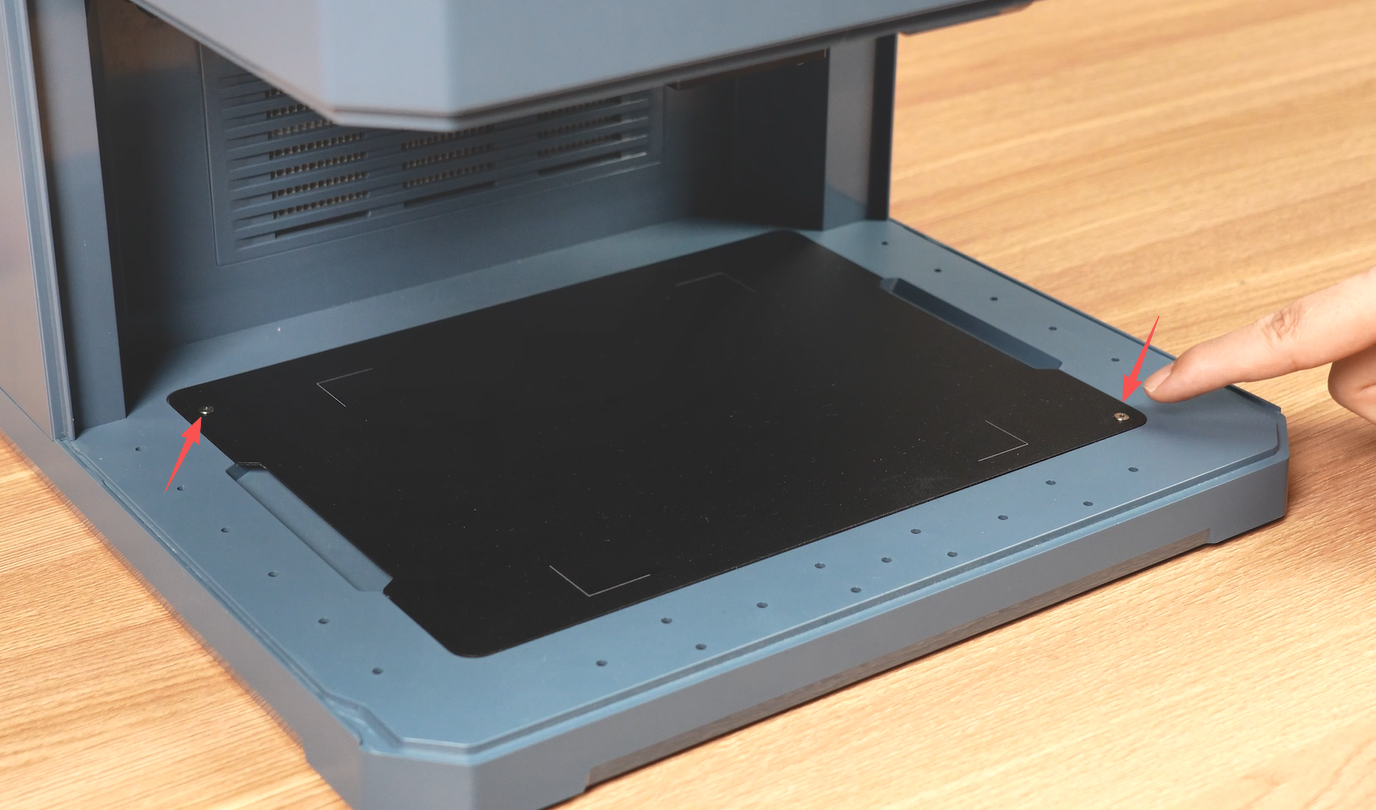
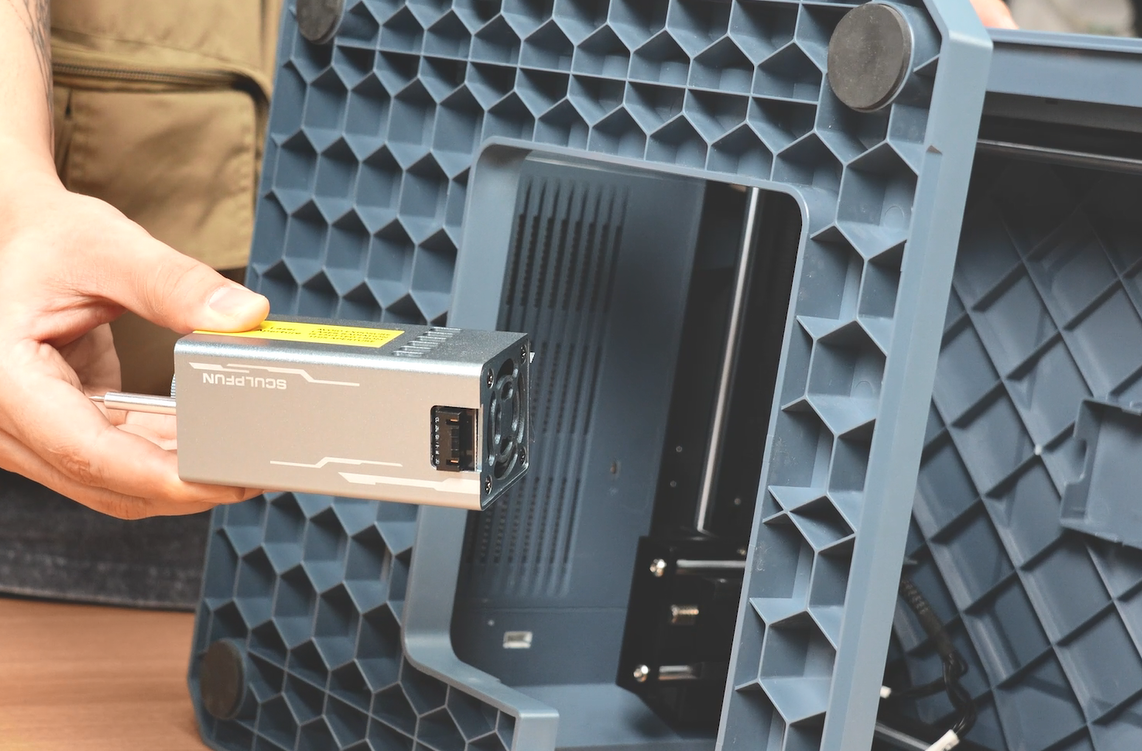
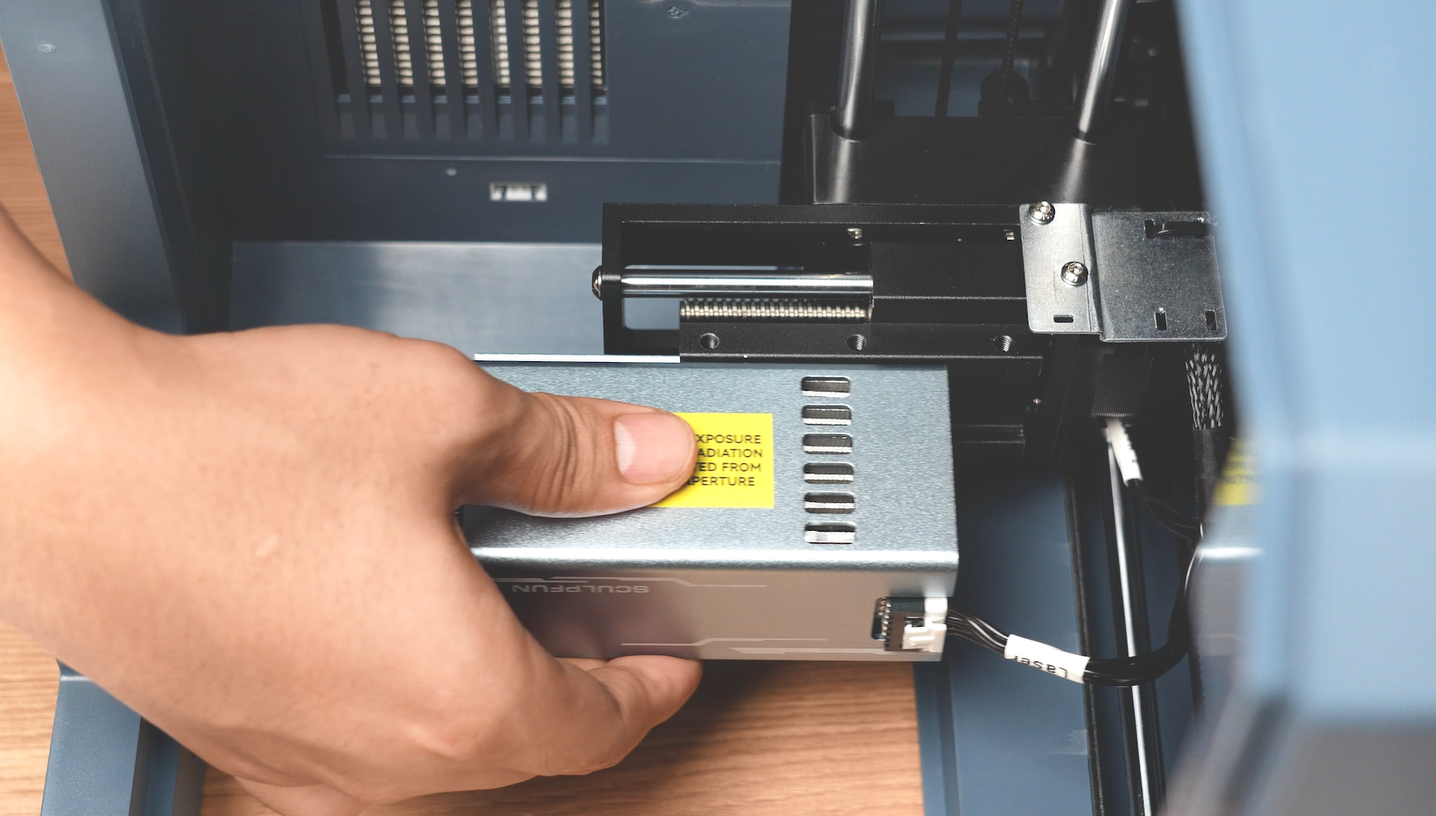
Lay the machine on its side, install the laser module through the bottom opening.
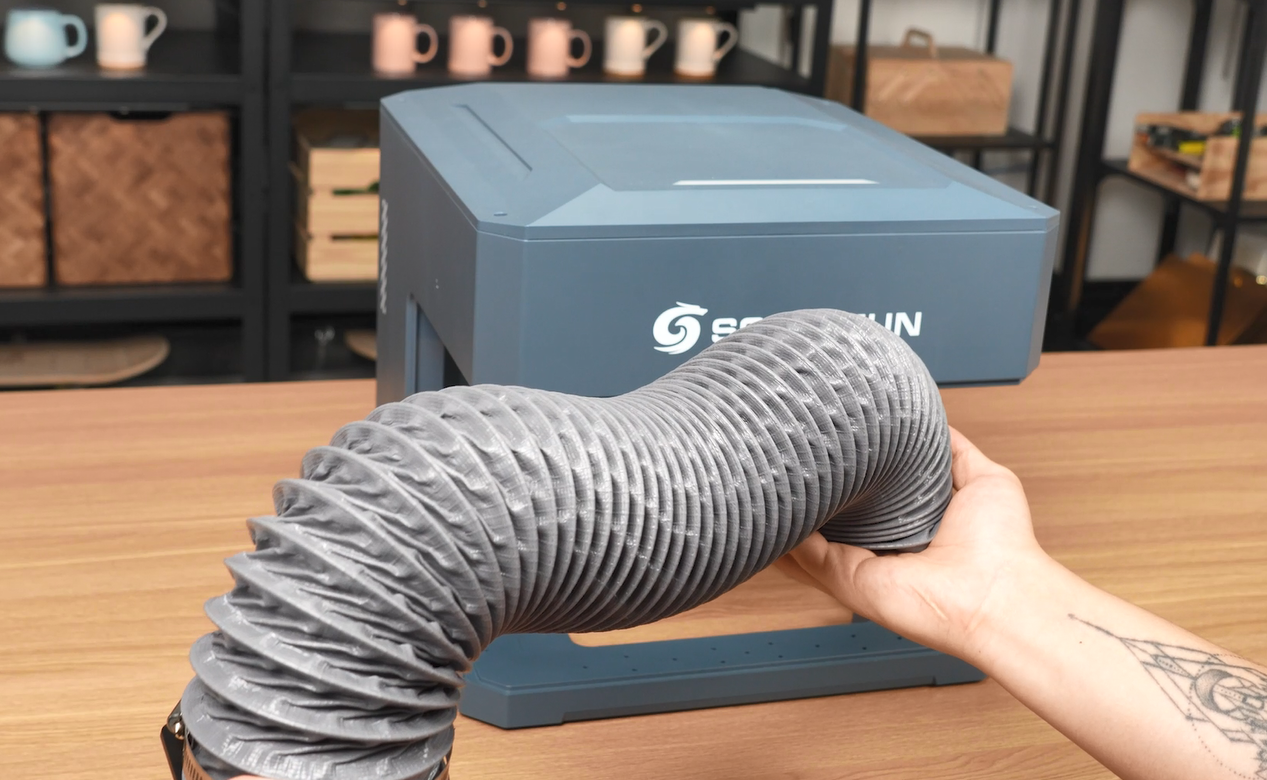
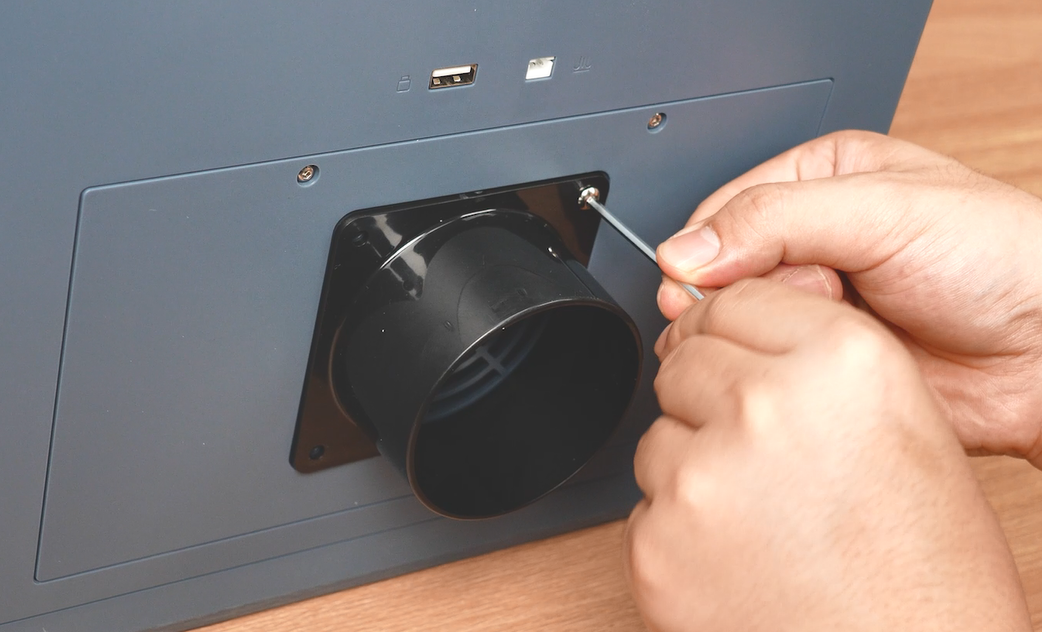
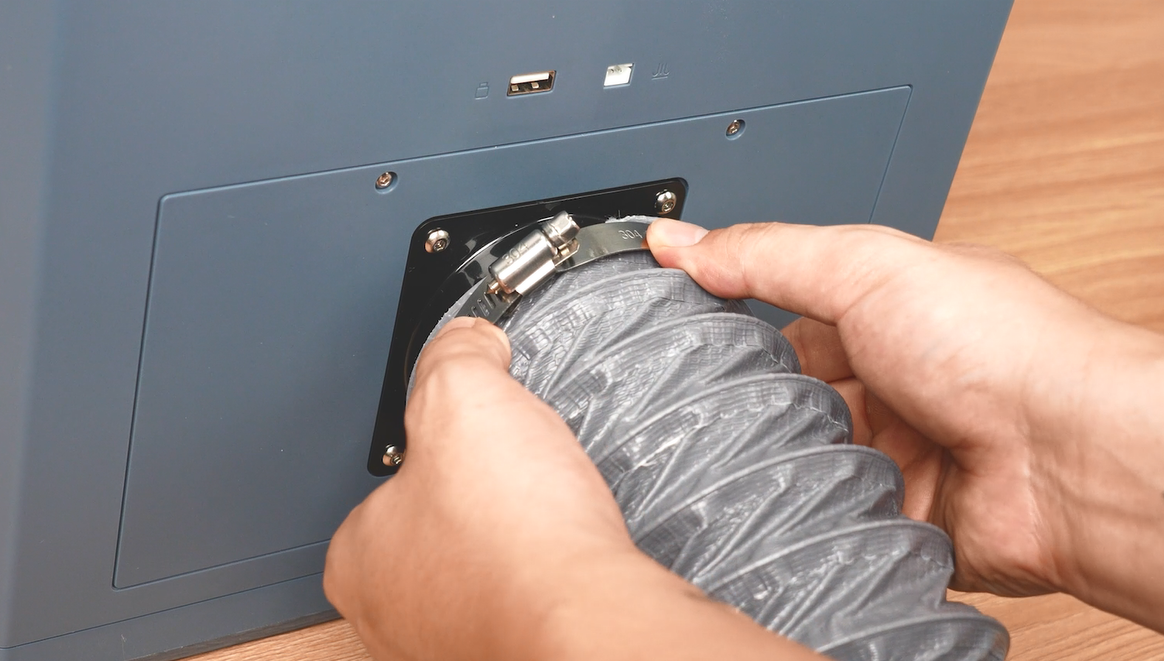
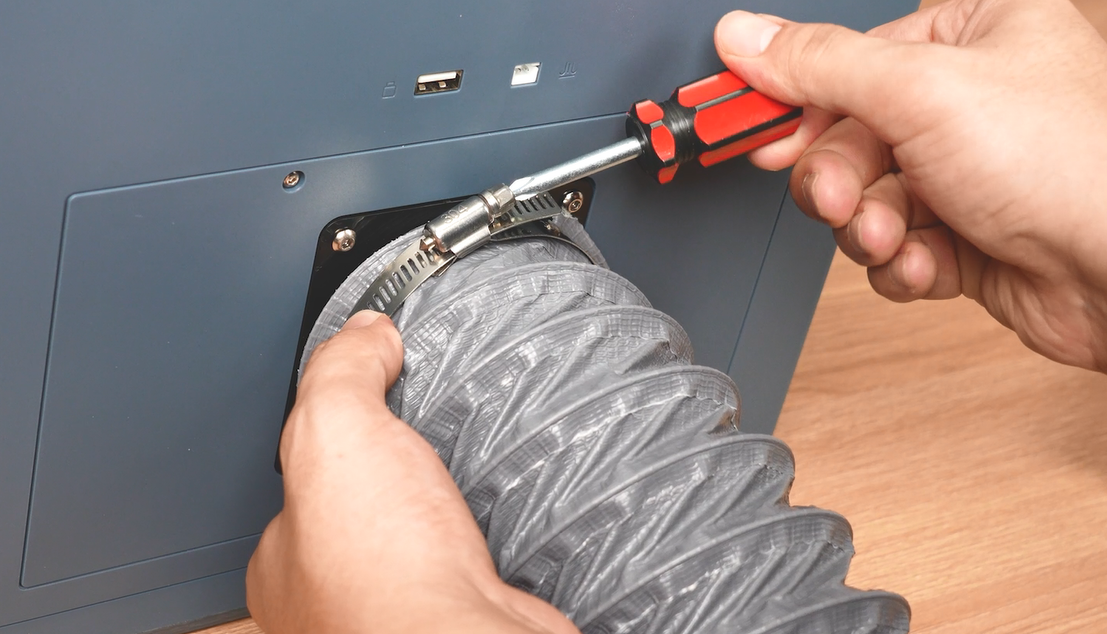
Stand the machine upright, take out the smoke exhaust pipe, flange and hose clamp, then mount them on the machine rear panel.
Take the USB security dongle and plug it into the port on the machine back.
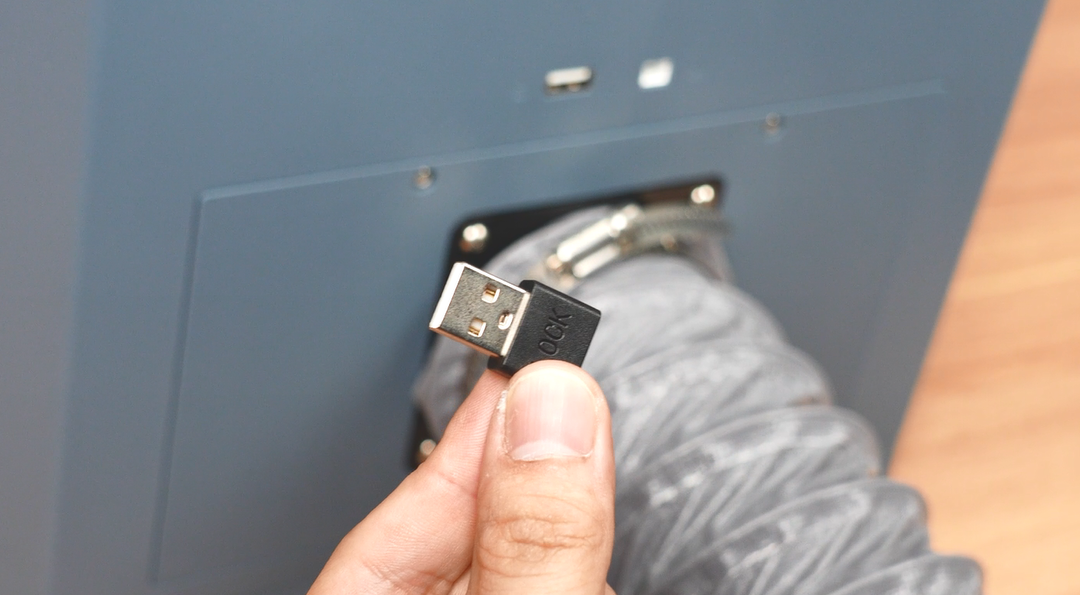
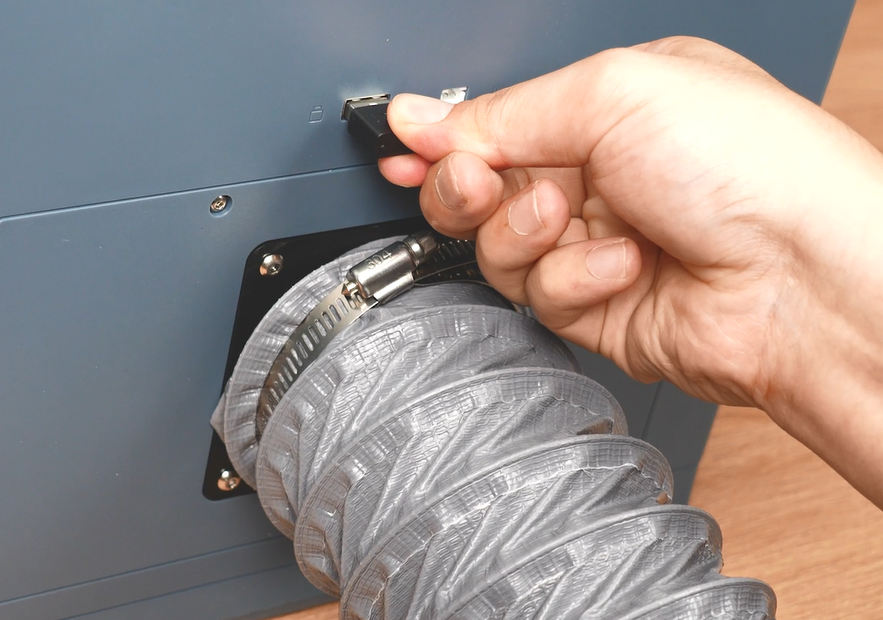
Note: The side port is for camera communication. Do not insert the USB security dongle here.
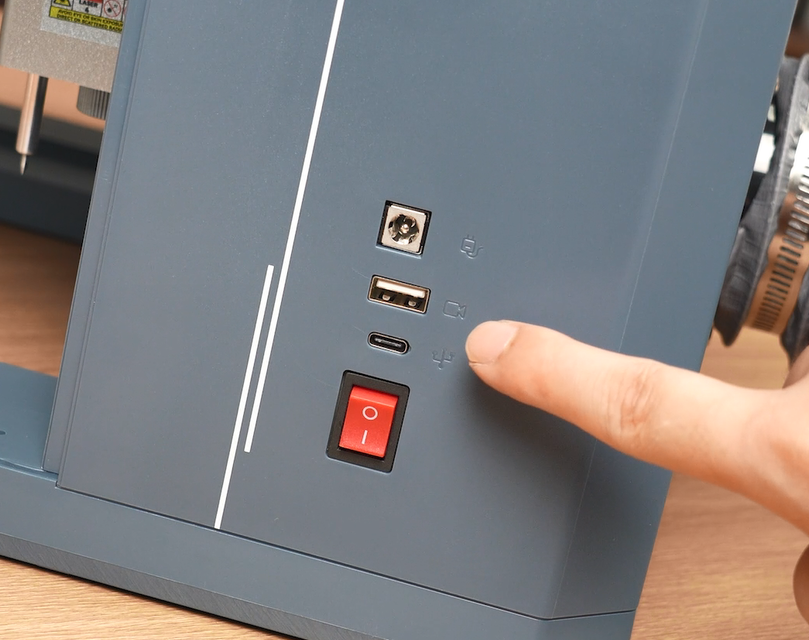
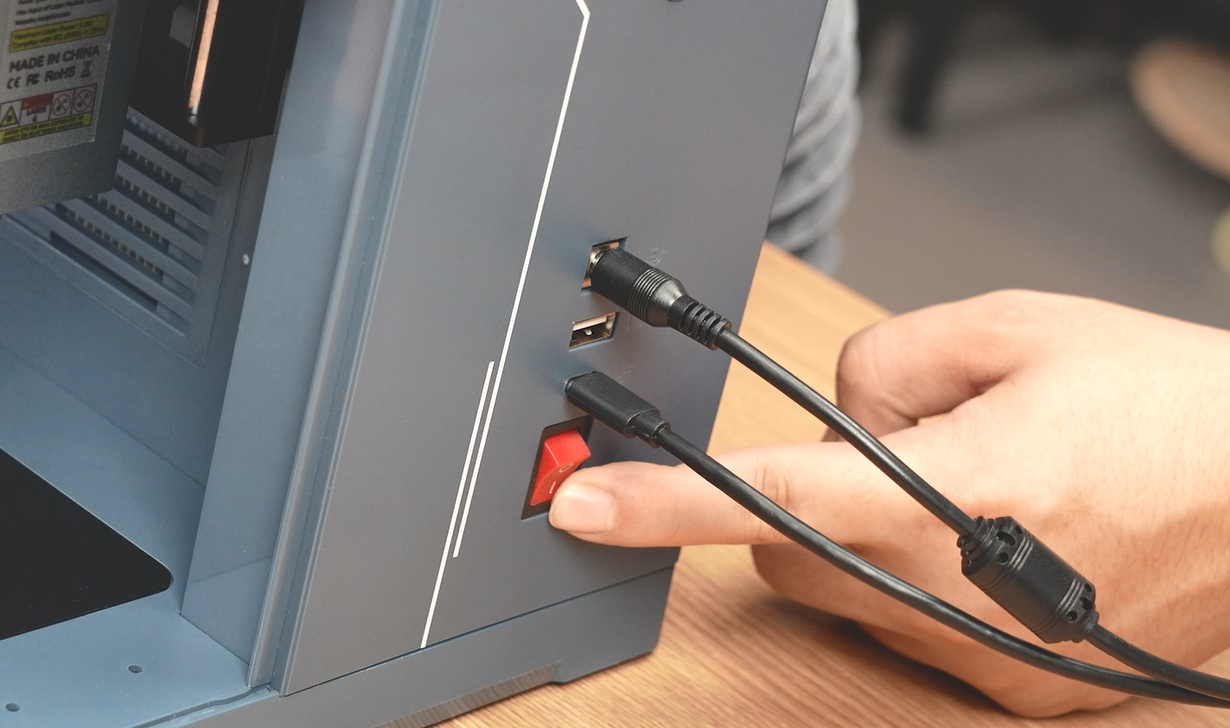
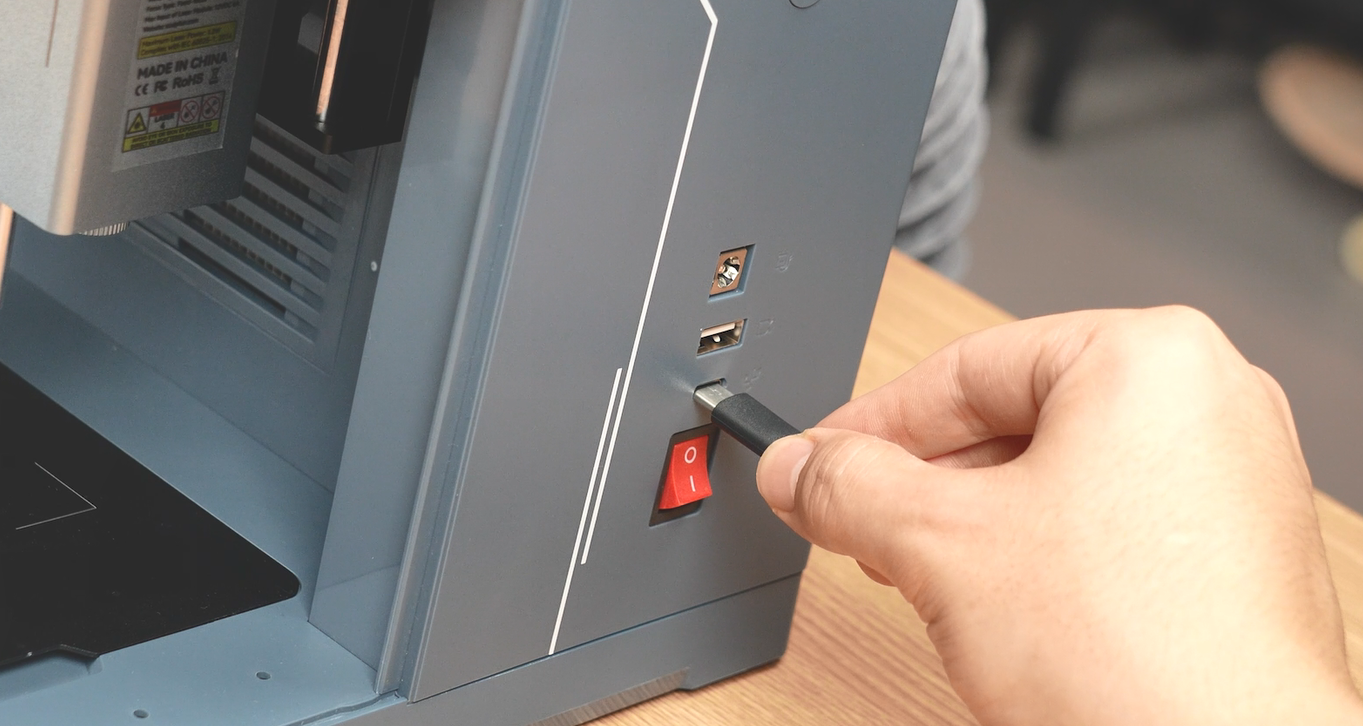
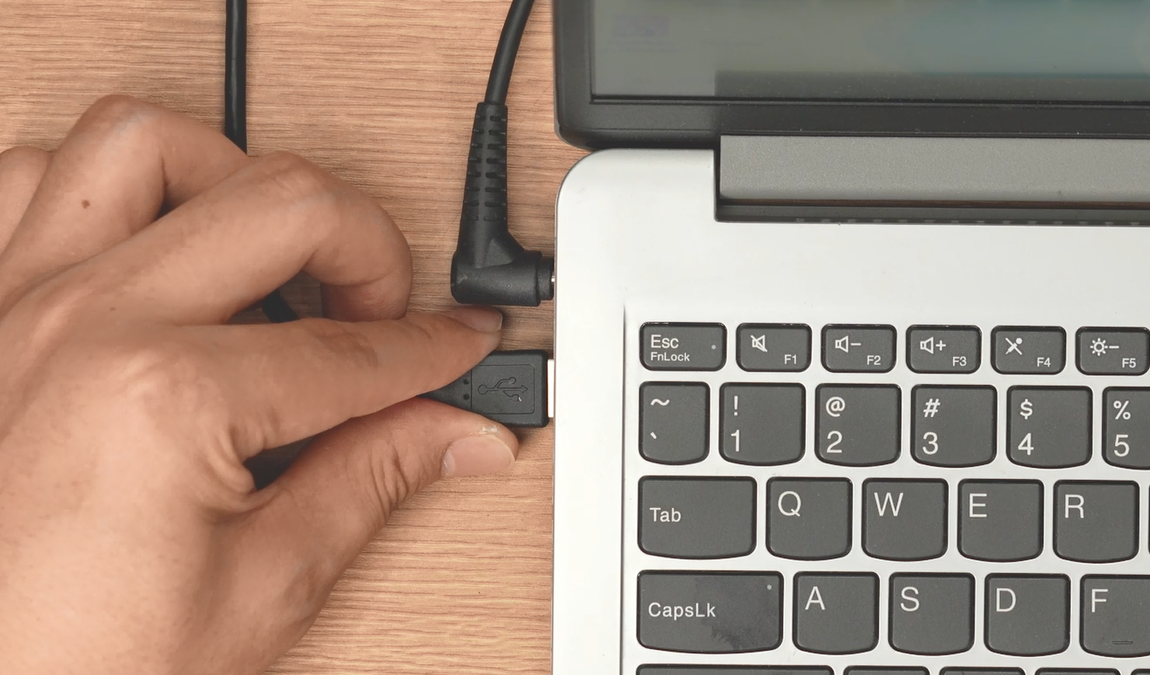
Take the Type-C data cable, connect one end to the machine and the other to your computer.
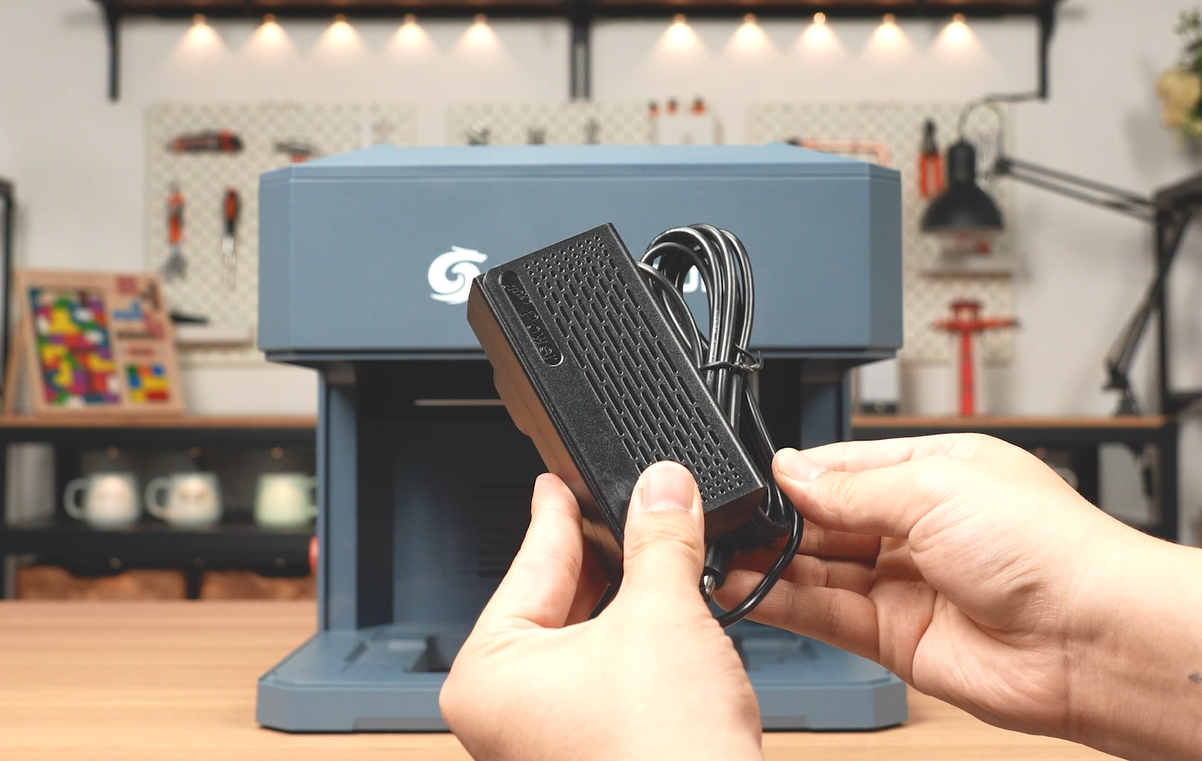
Connect the power adapter to the machine.
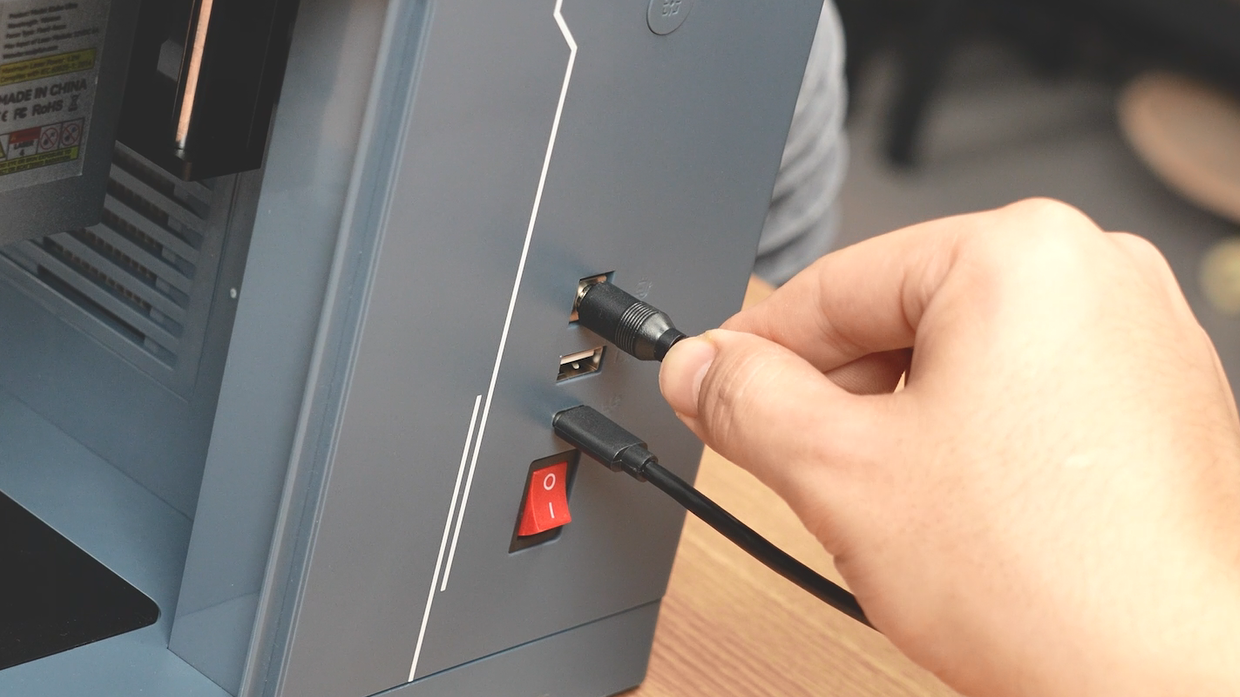
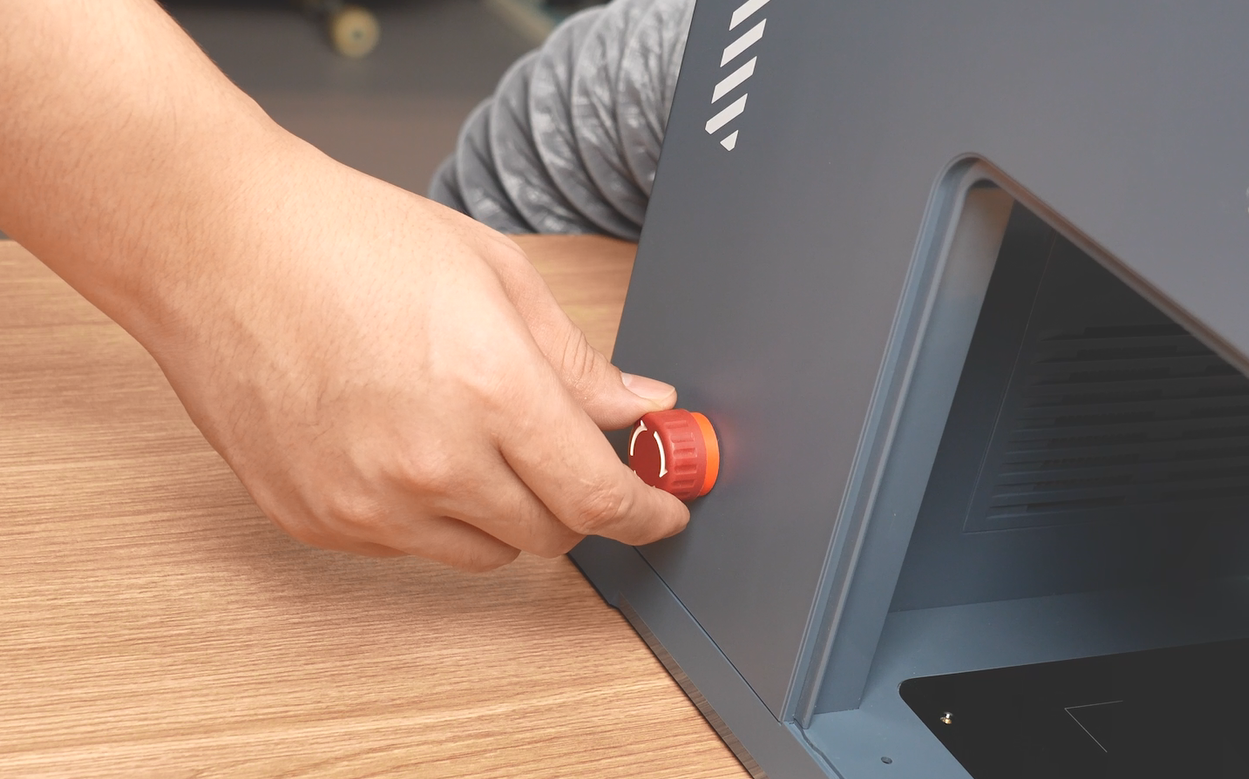
Twist to release the emergency stop switch, flip the power switch to turn on the machine.