LightBurn Software Installation Tutorial
Configuration File Collection: Click to jump
Download and install
Visit the LightBurn official website (https://lightburnsoftware.com/) and select download.
If you are a new user, you will have a 30-day free trial period.
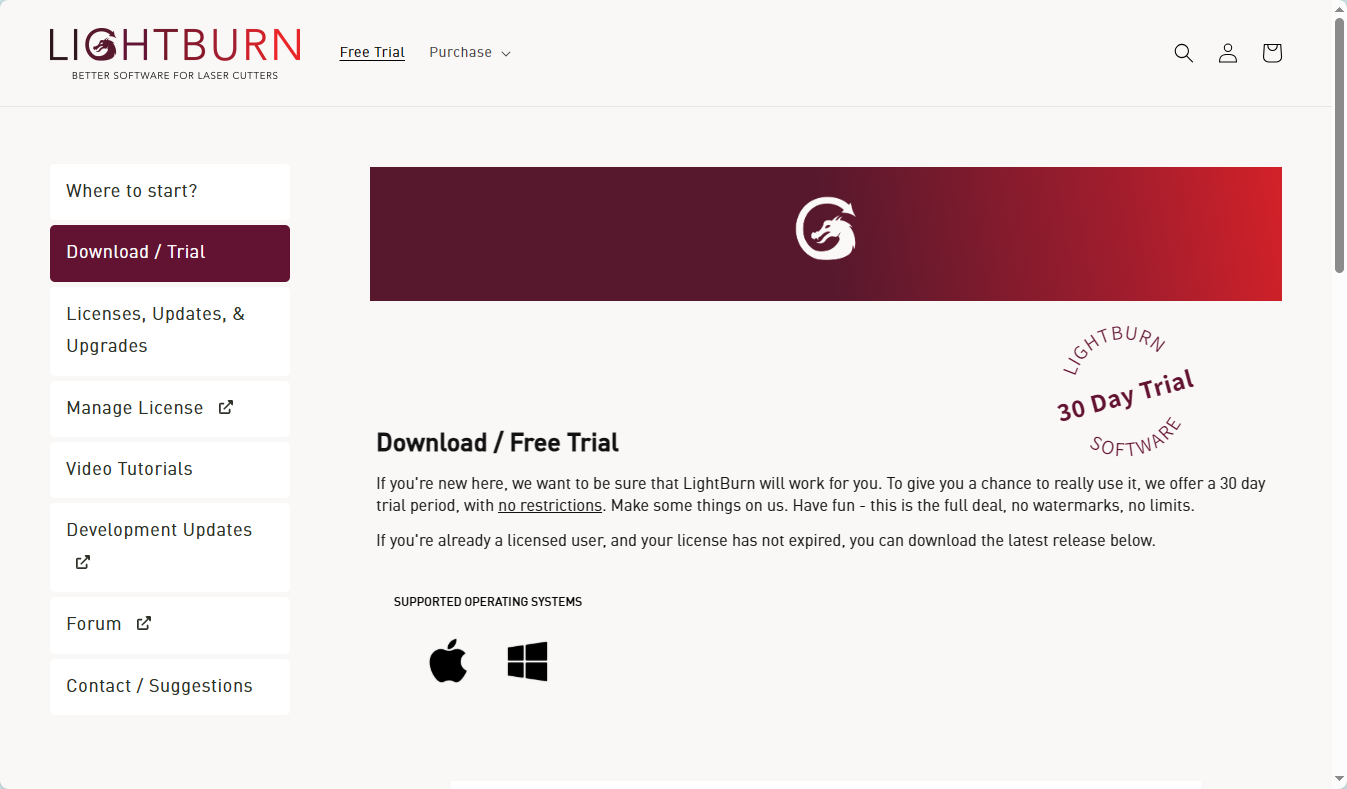
Choose the software to download based on your usage environment.
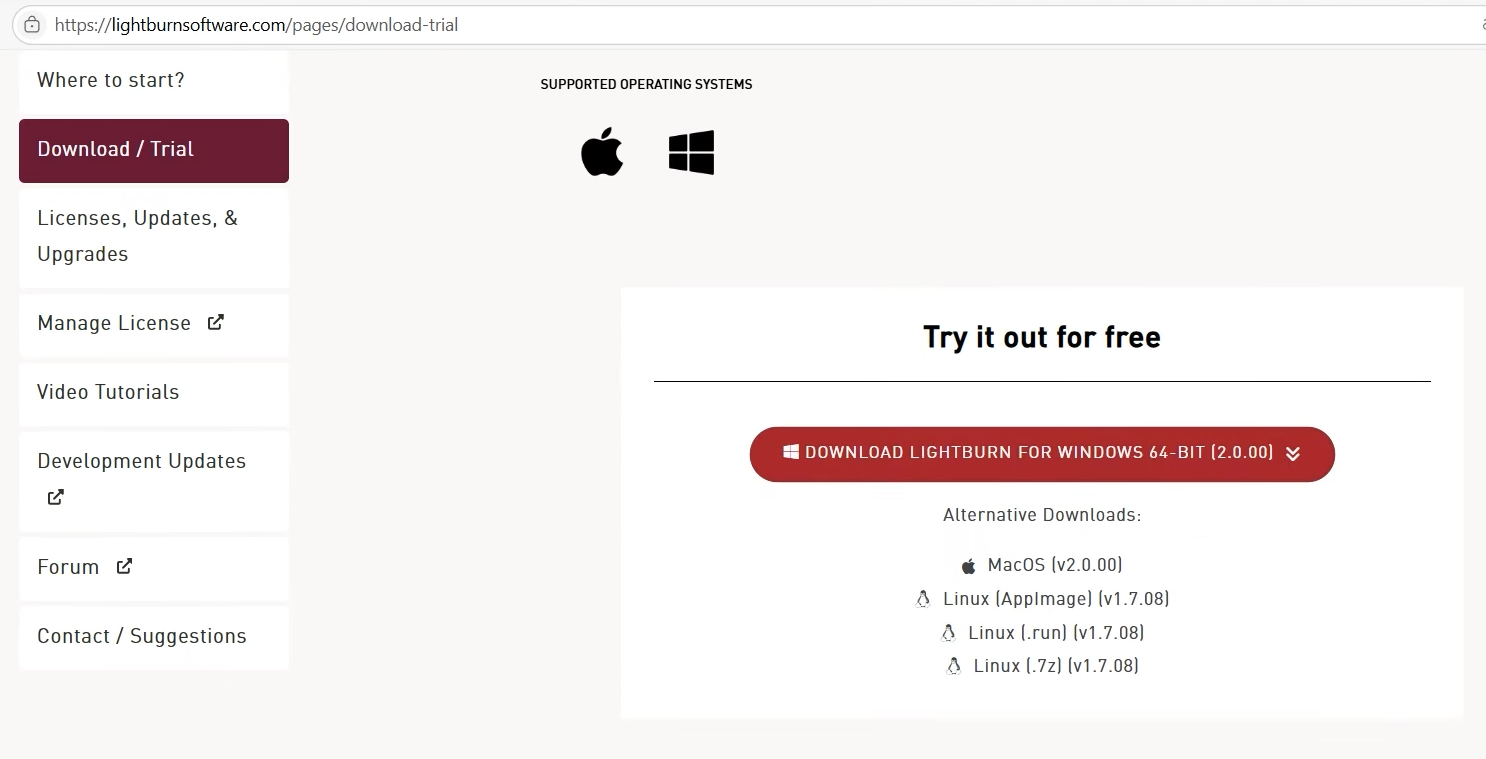
Windows
Open the installer and begin the installation.
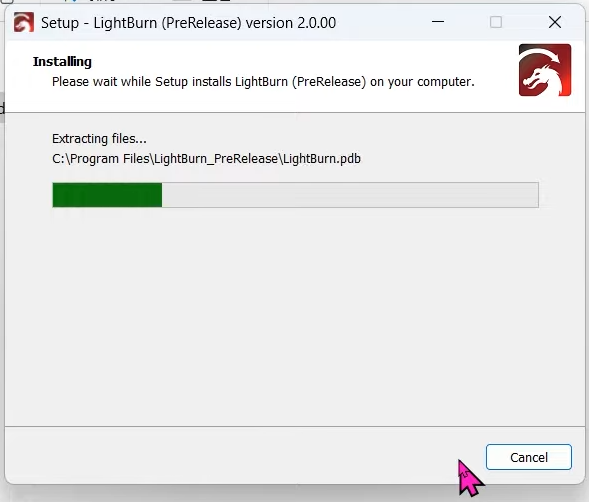
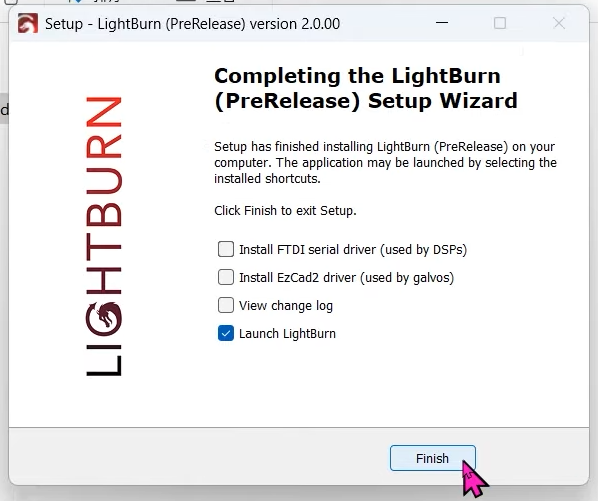
If you have never installed LightBurn on this computer before, you may need to install the driver (CH340).
The driver (CH340) is usually included in the QR code found in your machine's instruction manual; you can also search for and download it yourself.
After downloading, be sure to connect your device to install. Open the installer. Click Install to complete the process.
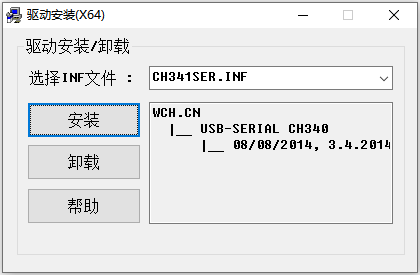
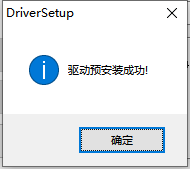
If the machine is not connected, it will show that the pre-installation was successful, but the driver will not take effect at this time.
macOS
The installation process is the same as most macOS software. After downloading the DMG file, open it and drag LightBurn into your Applications folder.
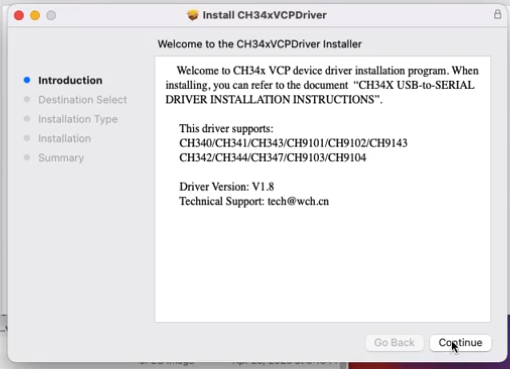
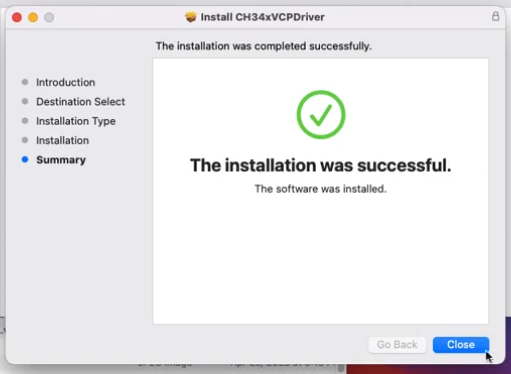
The Mac version also requires a driver file. This driver (CH340) is usually included in the QR code found in your device's manual; you can also search for and download it yourself. After downloading the file, open the installer and follow the steps to install.
Configuration software
Open the software. If you haven't purchased a LightBurn license yet, please click "Start Free Trial".
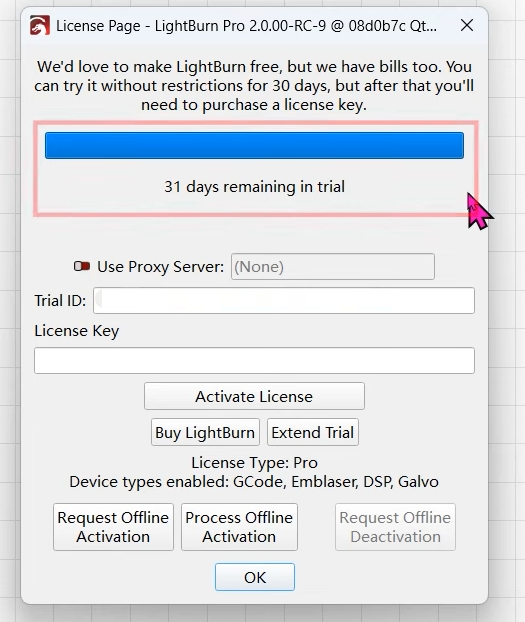
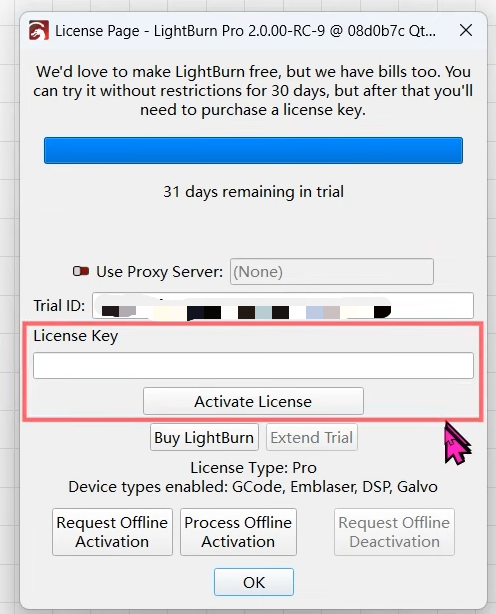
If you have already purchased a license, you can verify it here.
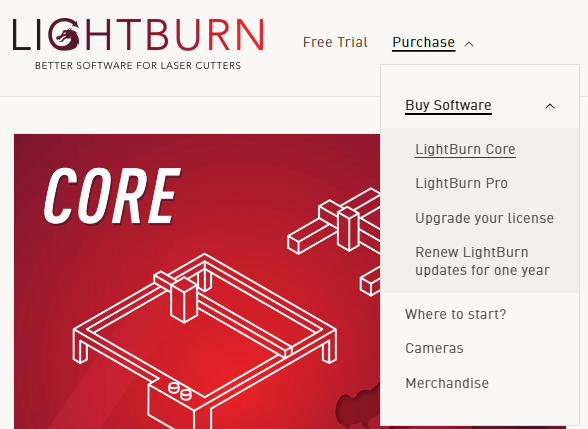
Note: You can purchase the LightBurn Core version and the LightBurn Pro version as needed.
The Core version is for users of the GCode controller; the Pro version covers all supported controllers. Please refer to the official website purchase page for details.
After entering the software, it will prompt you to create a machine configuration file.
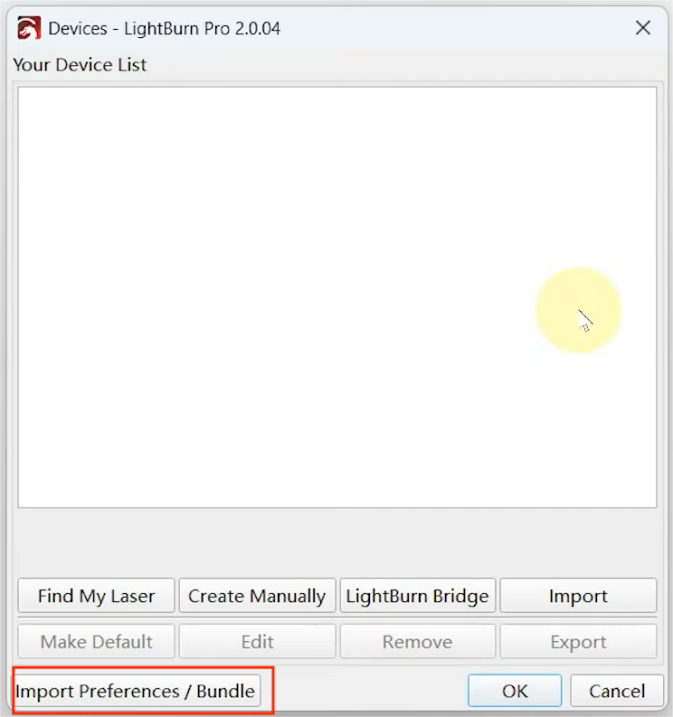
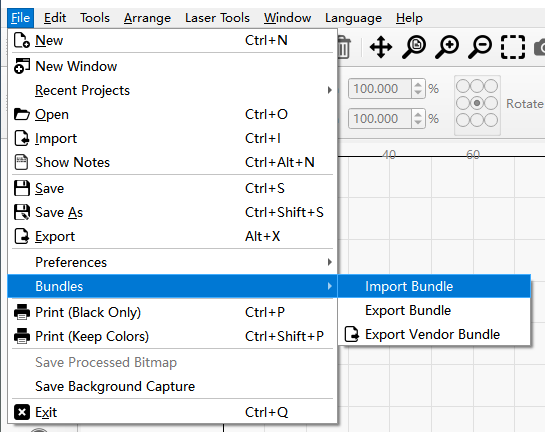
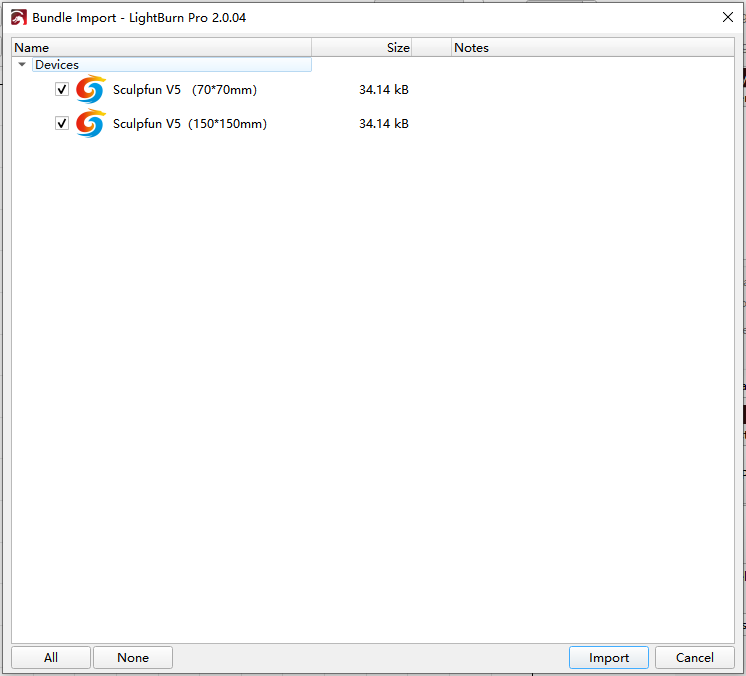
Some of our machines have configuration files (See the pinned collection) , which you can find in the QR code in the instruction manual or on the USB drive that came with the machine. Select "Import" in the bottom left corner. You can also import them through File - Bundles - Import Bundles.This example uses V5.
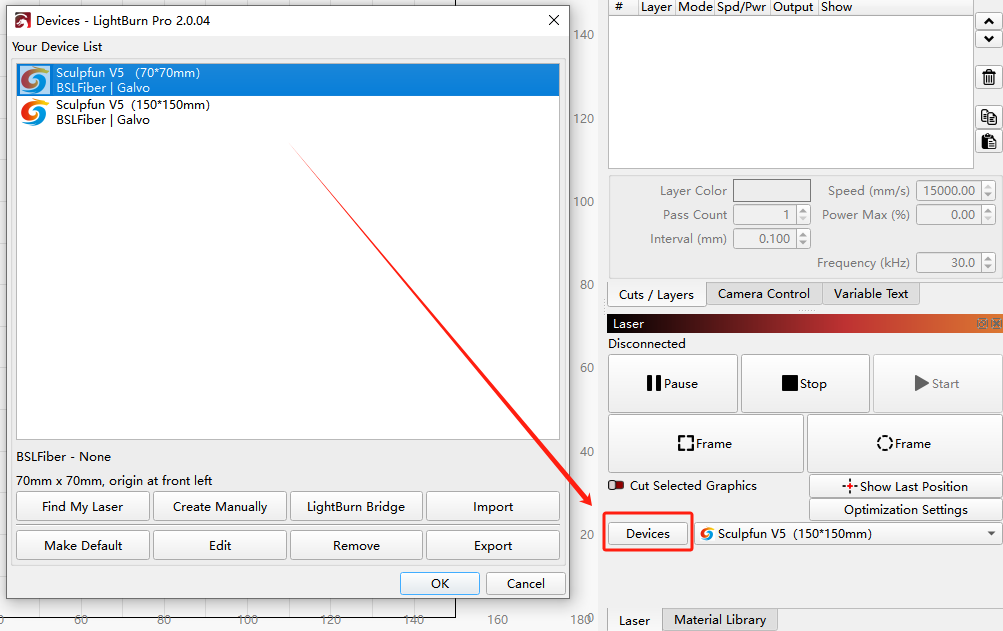
After importing, click on the device to view the configuration.
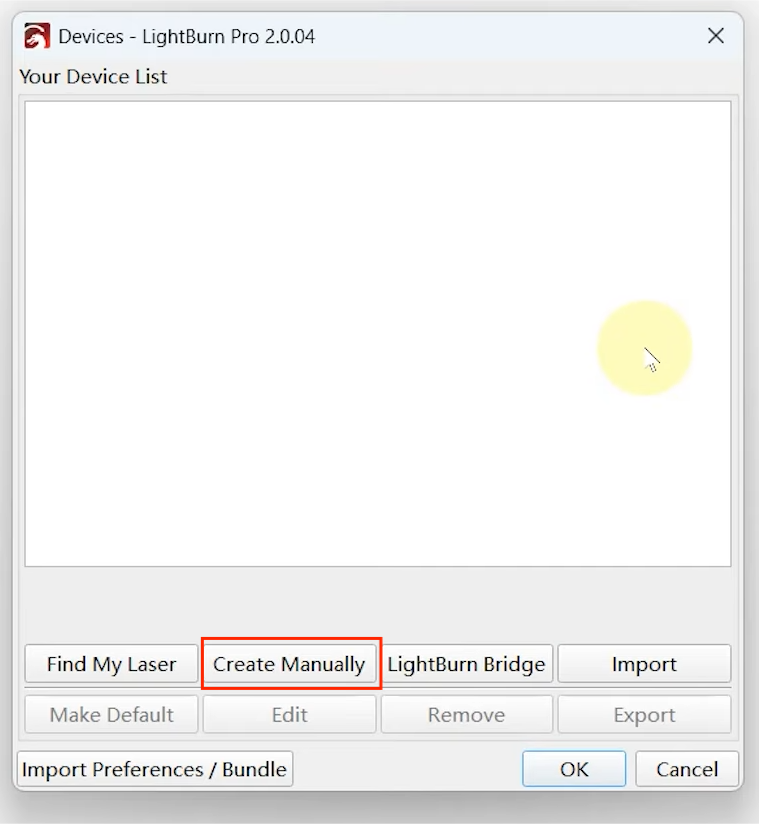
If you don't have a configuration file, the more common method is to create a machine configuration directly. Click "Create Manually".
Select the controller. Different laser types require different selections; please refer to your machine's instruction manual. Here we select GRBL.
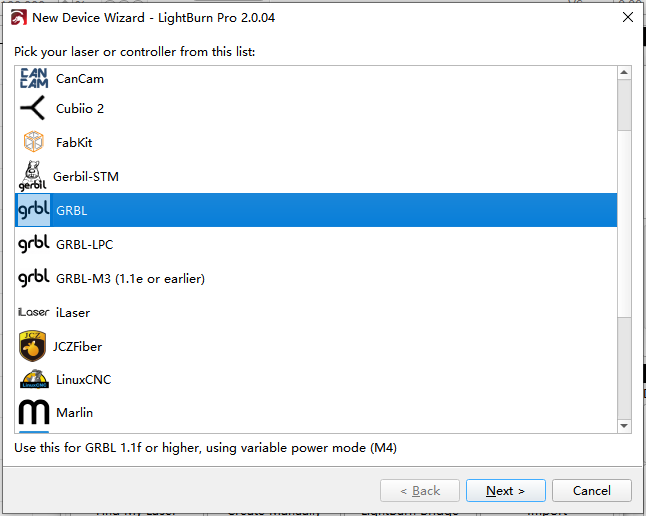
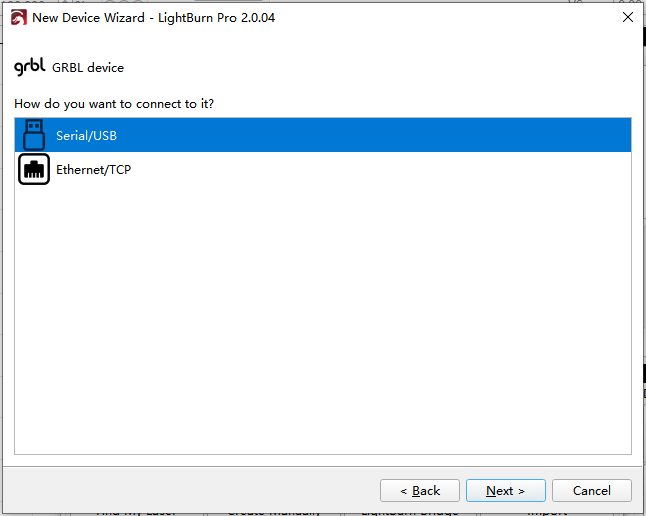
Choose the connection method based on your machine.
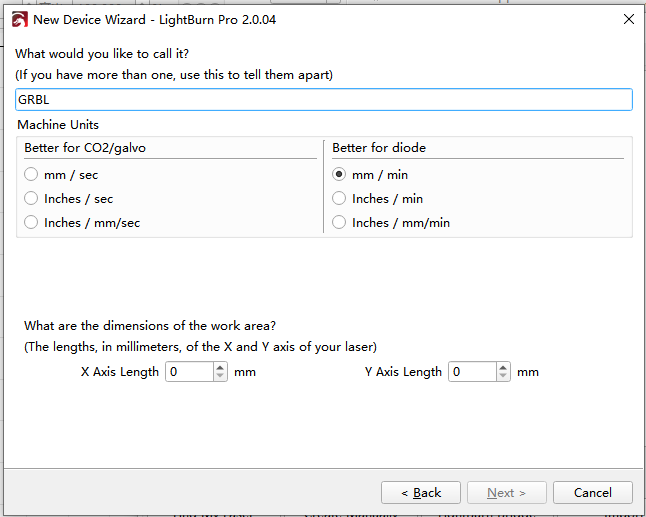
Machine configuration: Here you can change the configuration name, select the machine unit, and set the working scope. Select the required unit and scope according to the machine.
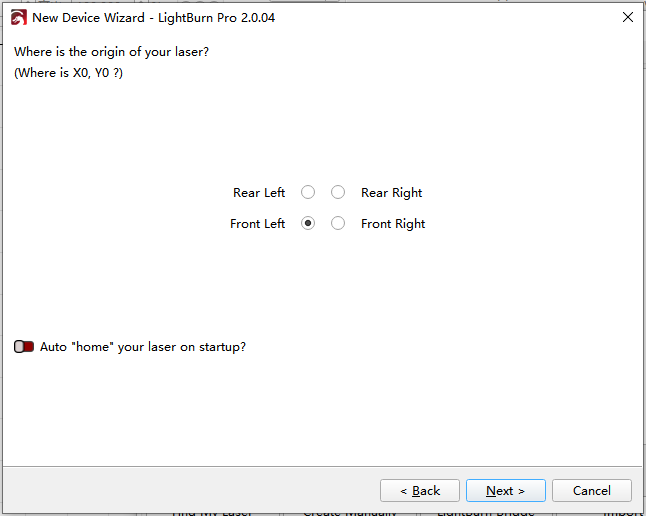
Origin setting: This sets the machine's return point location, usually at the front left. It is recommended to disable automatic return to prevent problems and damage caused by sudden movement of the machine when it is turned on.
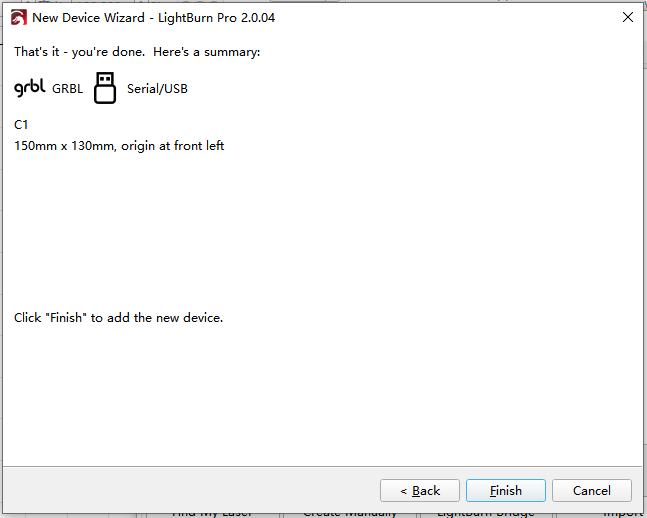
Confirm settings, check your configuration information, and complete the setup. (Using C1 as an example)
Once completed, check Devices.
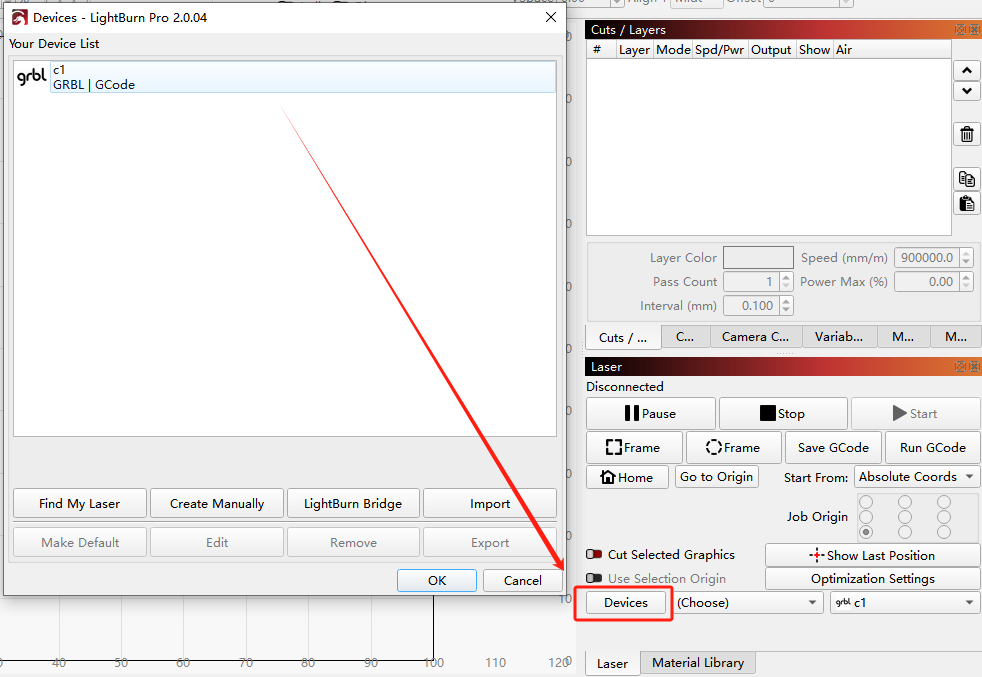
The software installation and configuration are now complete.
Appendix: LightBurn Documentation