RA Mini Laser Rotary Roller Accessory User Manual
Unboxing
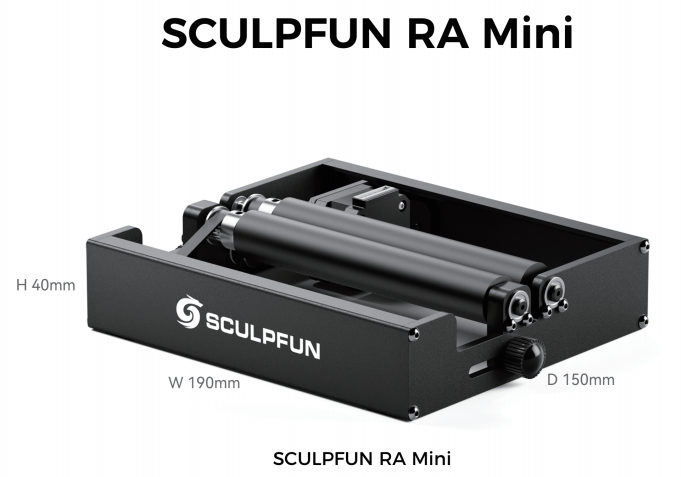
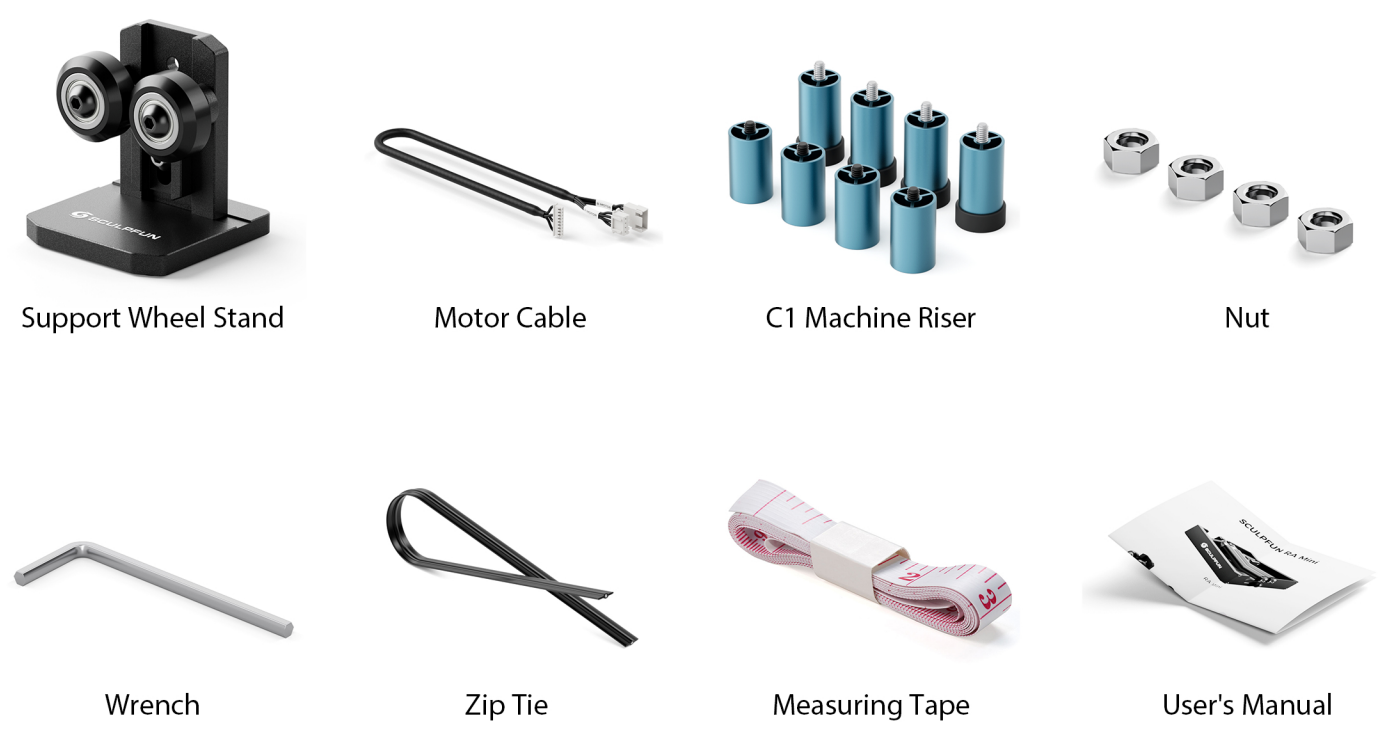
Usage
RA Mini supports the iCube series, iCube Ultra series, and C1 model.
Video tutorial is as follows:
iCube series
Port: Y-axis port is on the motherboard
iCube Ultra series
C1机型
The following is a text version, using the C1 model as an example.
Machine Configuration
Remove the C1 riser stand and nuts.
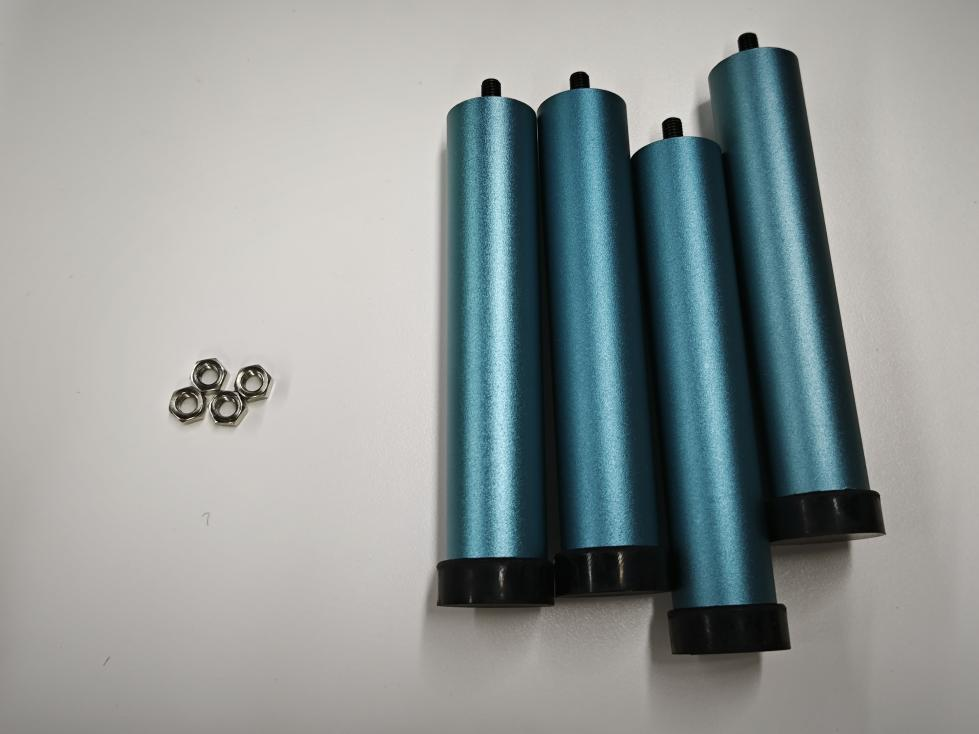
Screw the nut in, being careful not to screw it in too deeply.
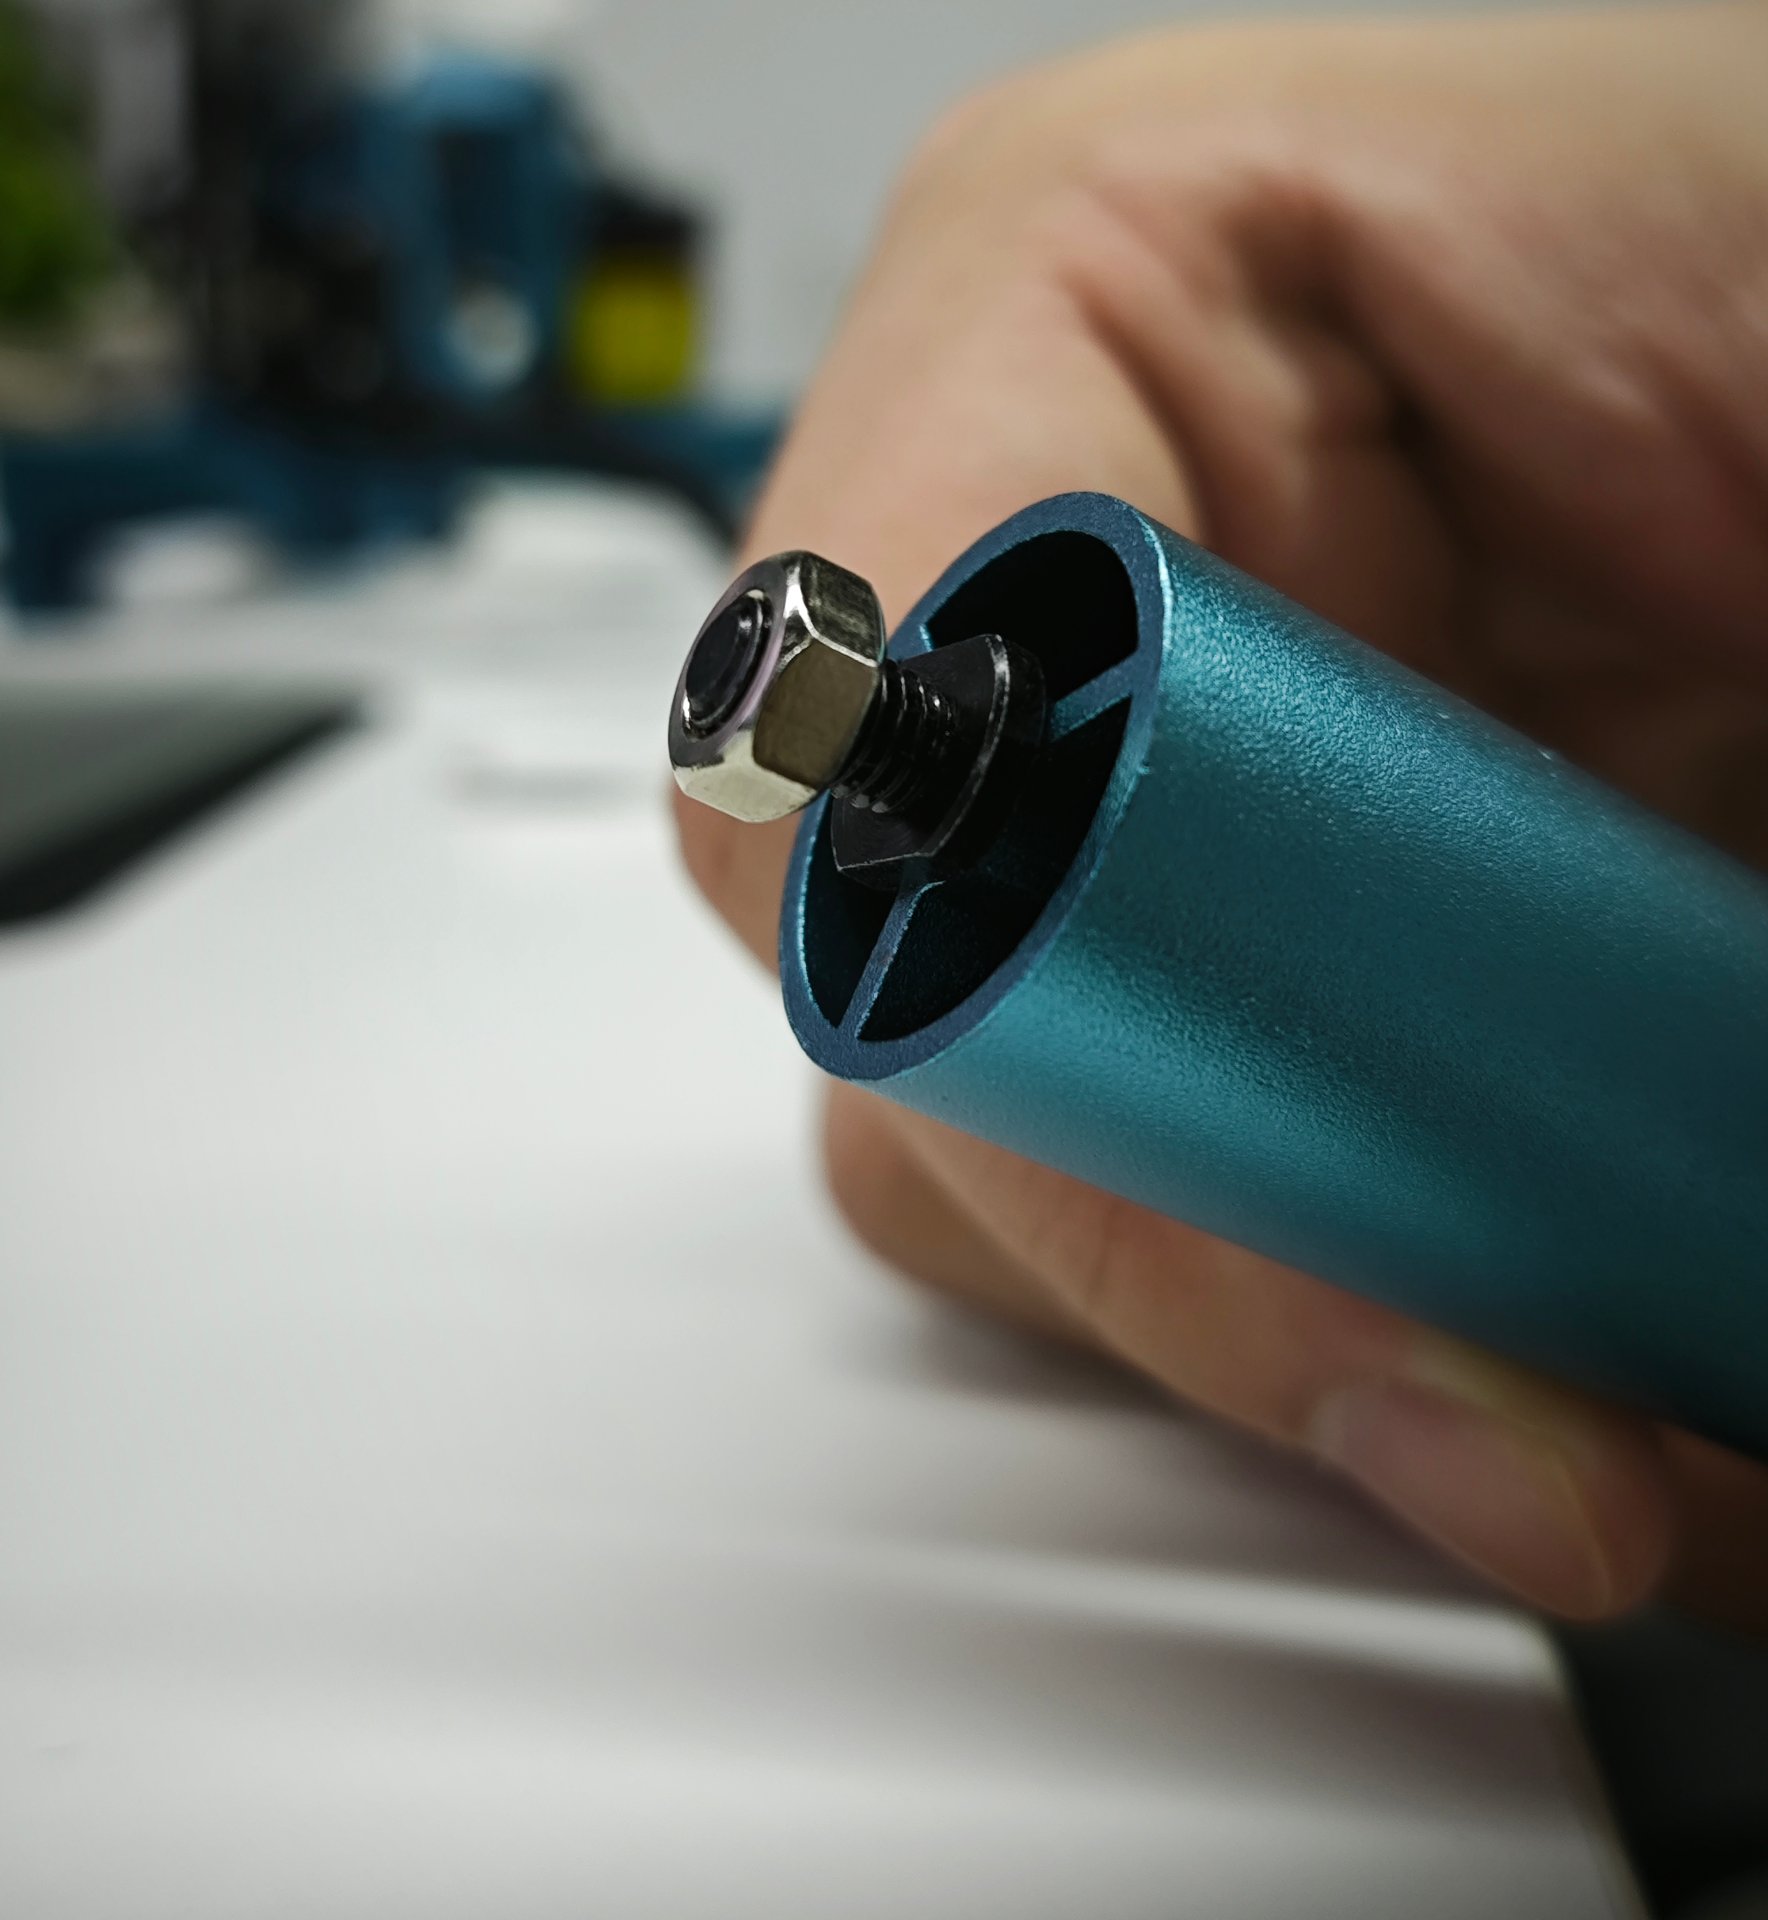
Flip C1 to locate the nut hole at the bottom of the machine.
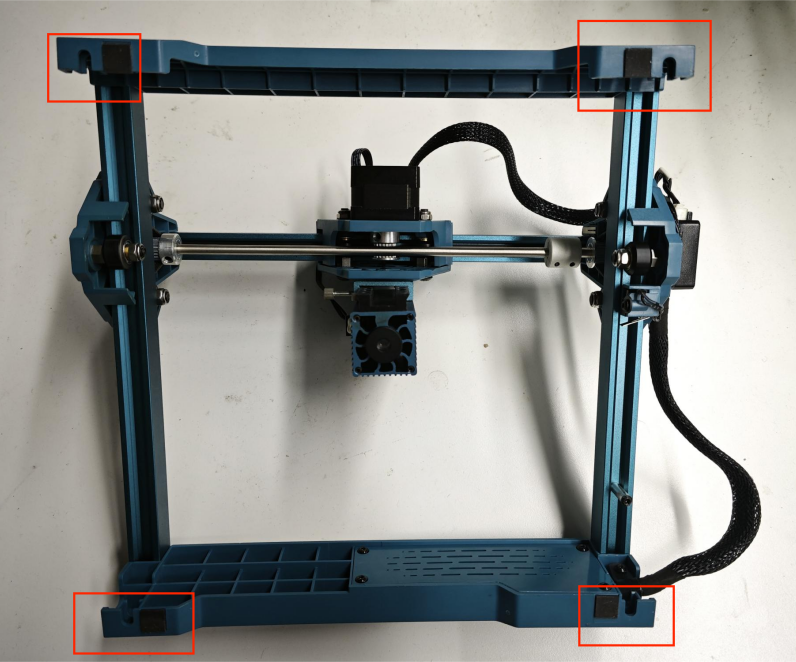
Align the nuts and install the riser.
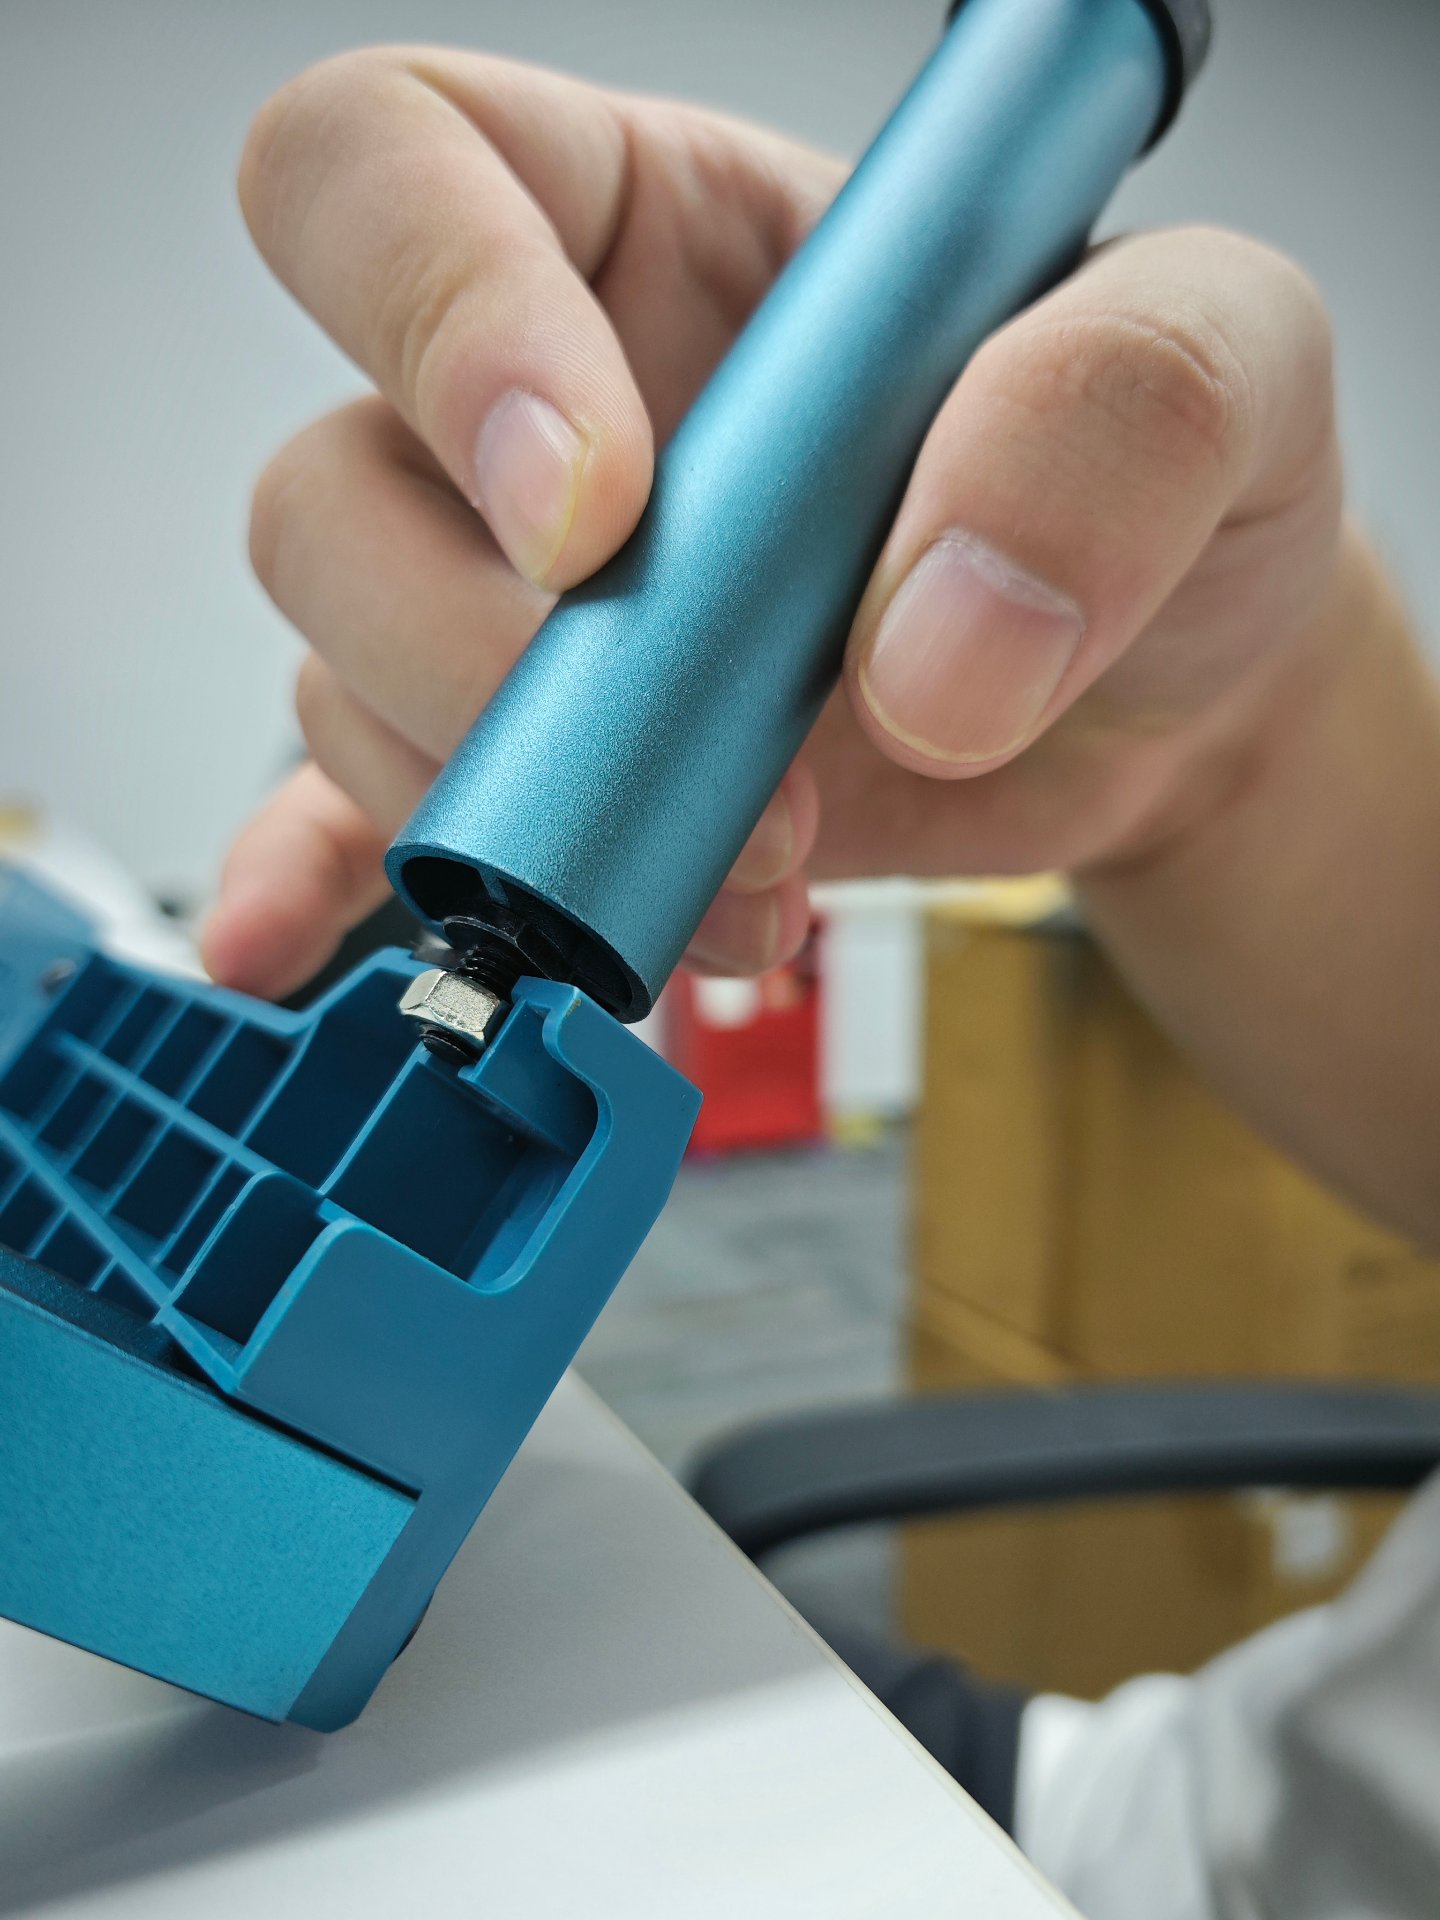
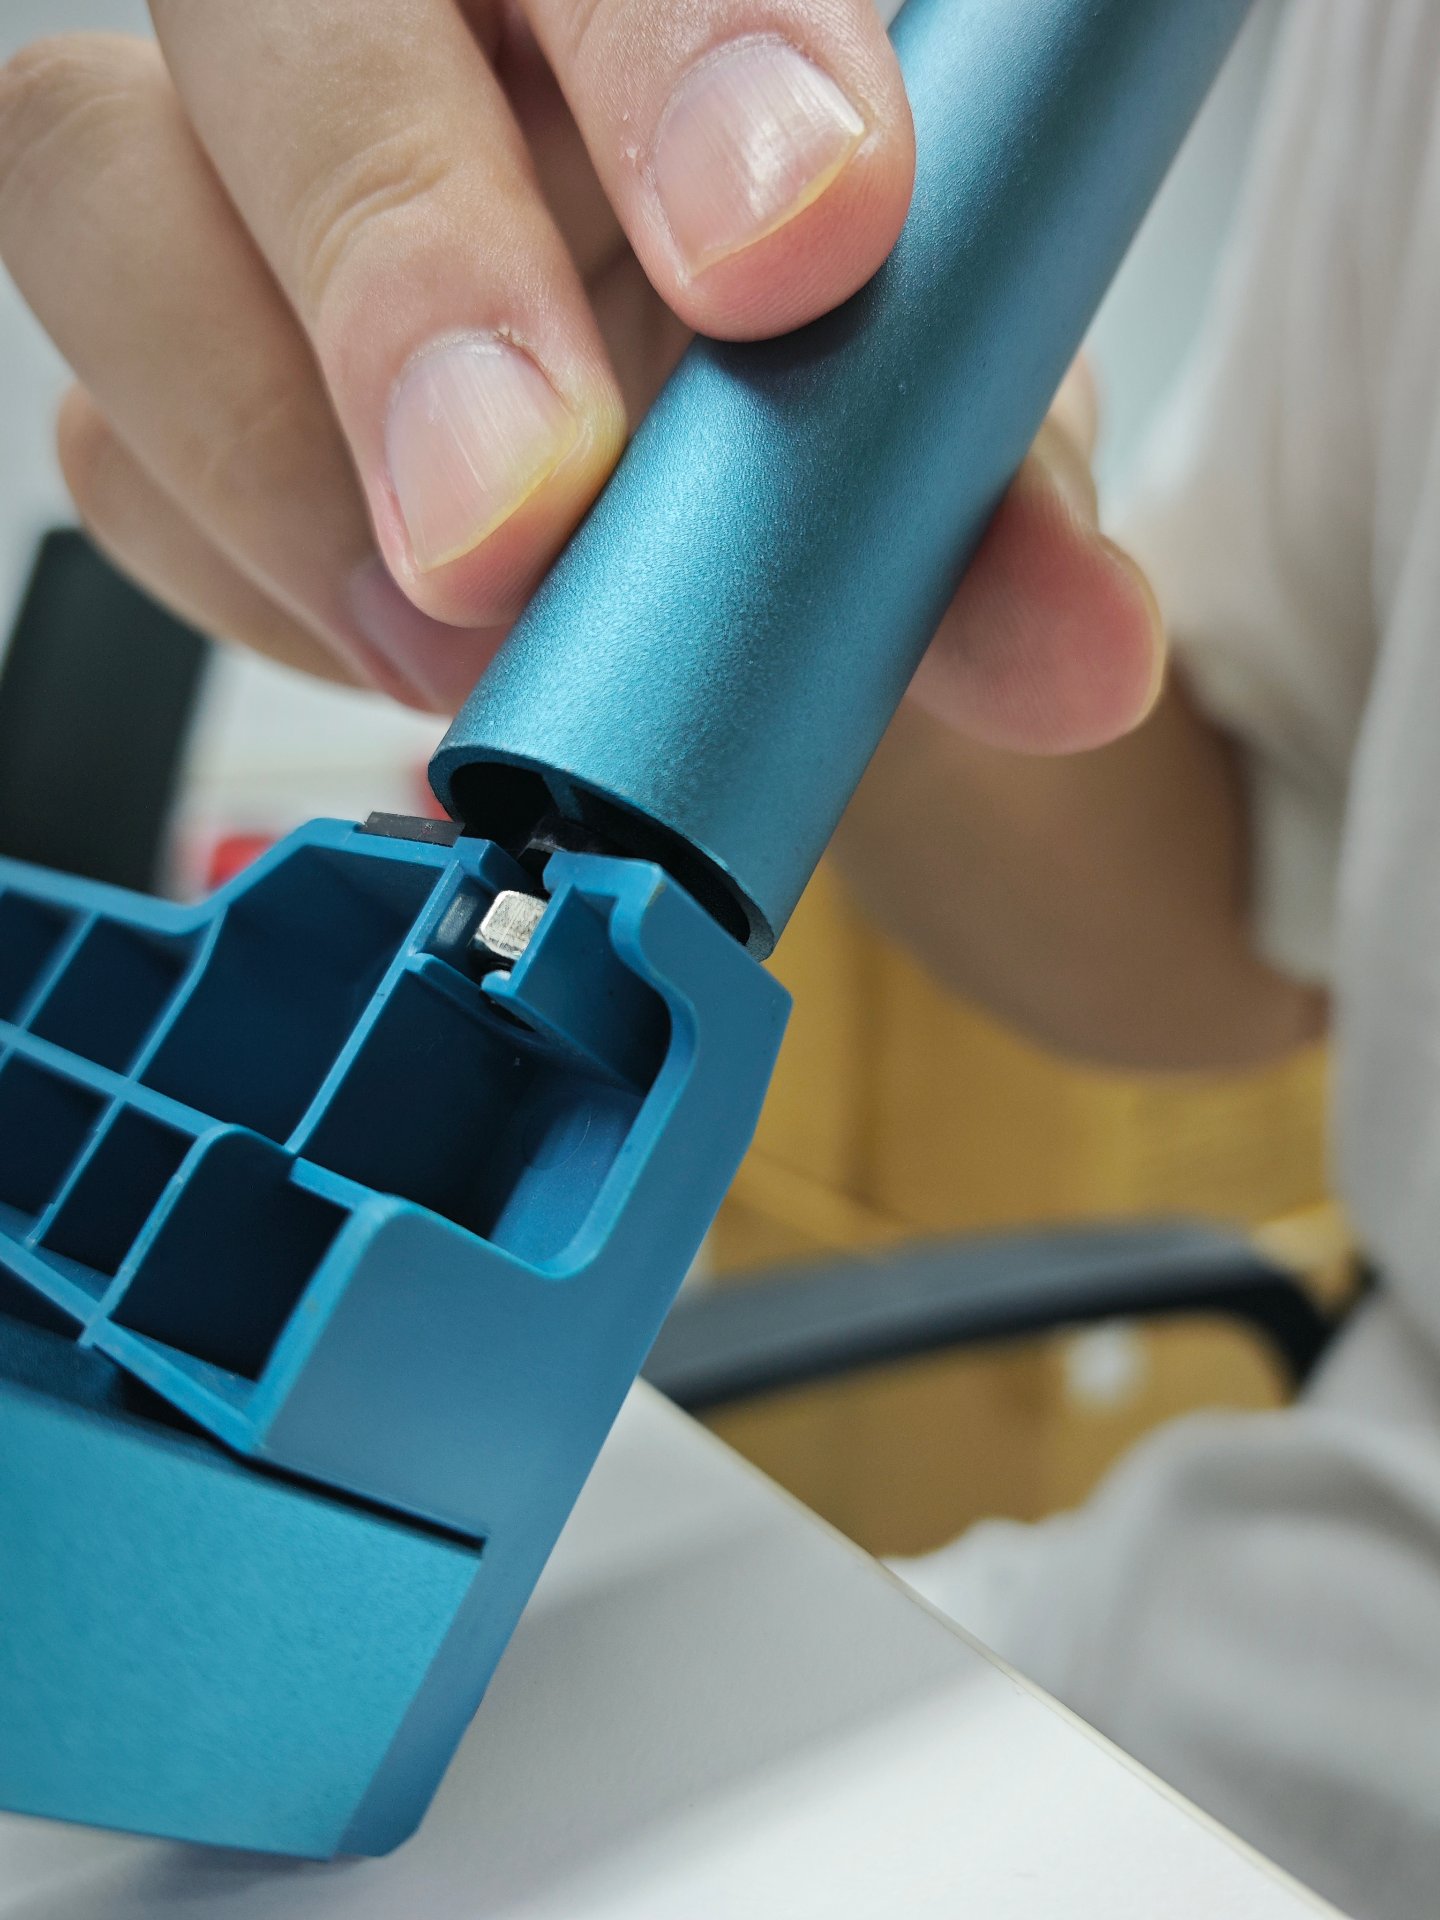
Position the machine upright and insert the RA Mini.
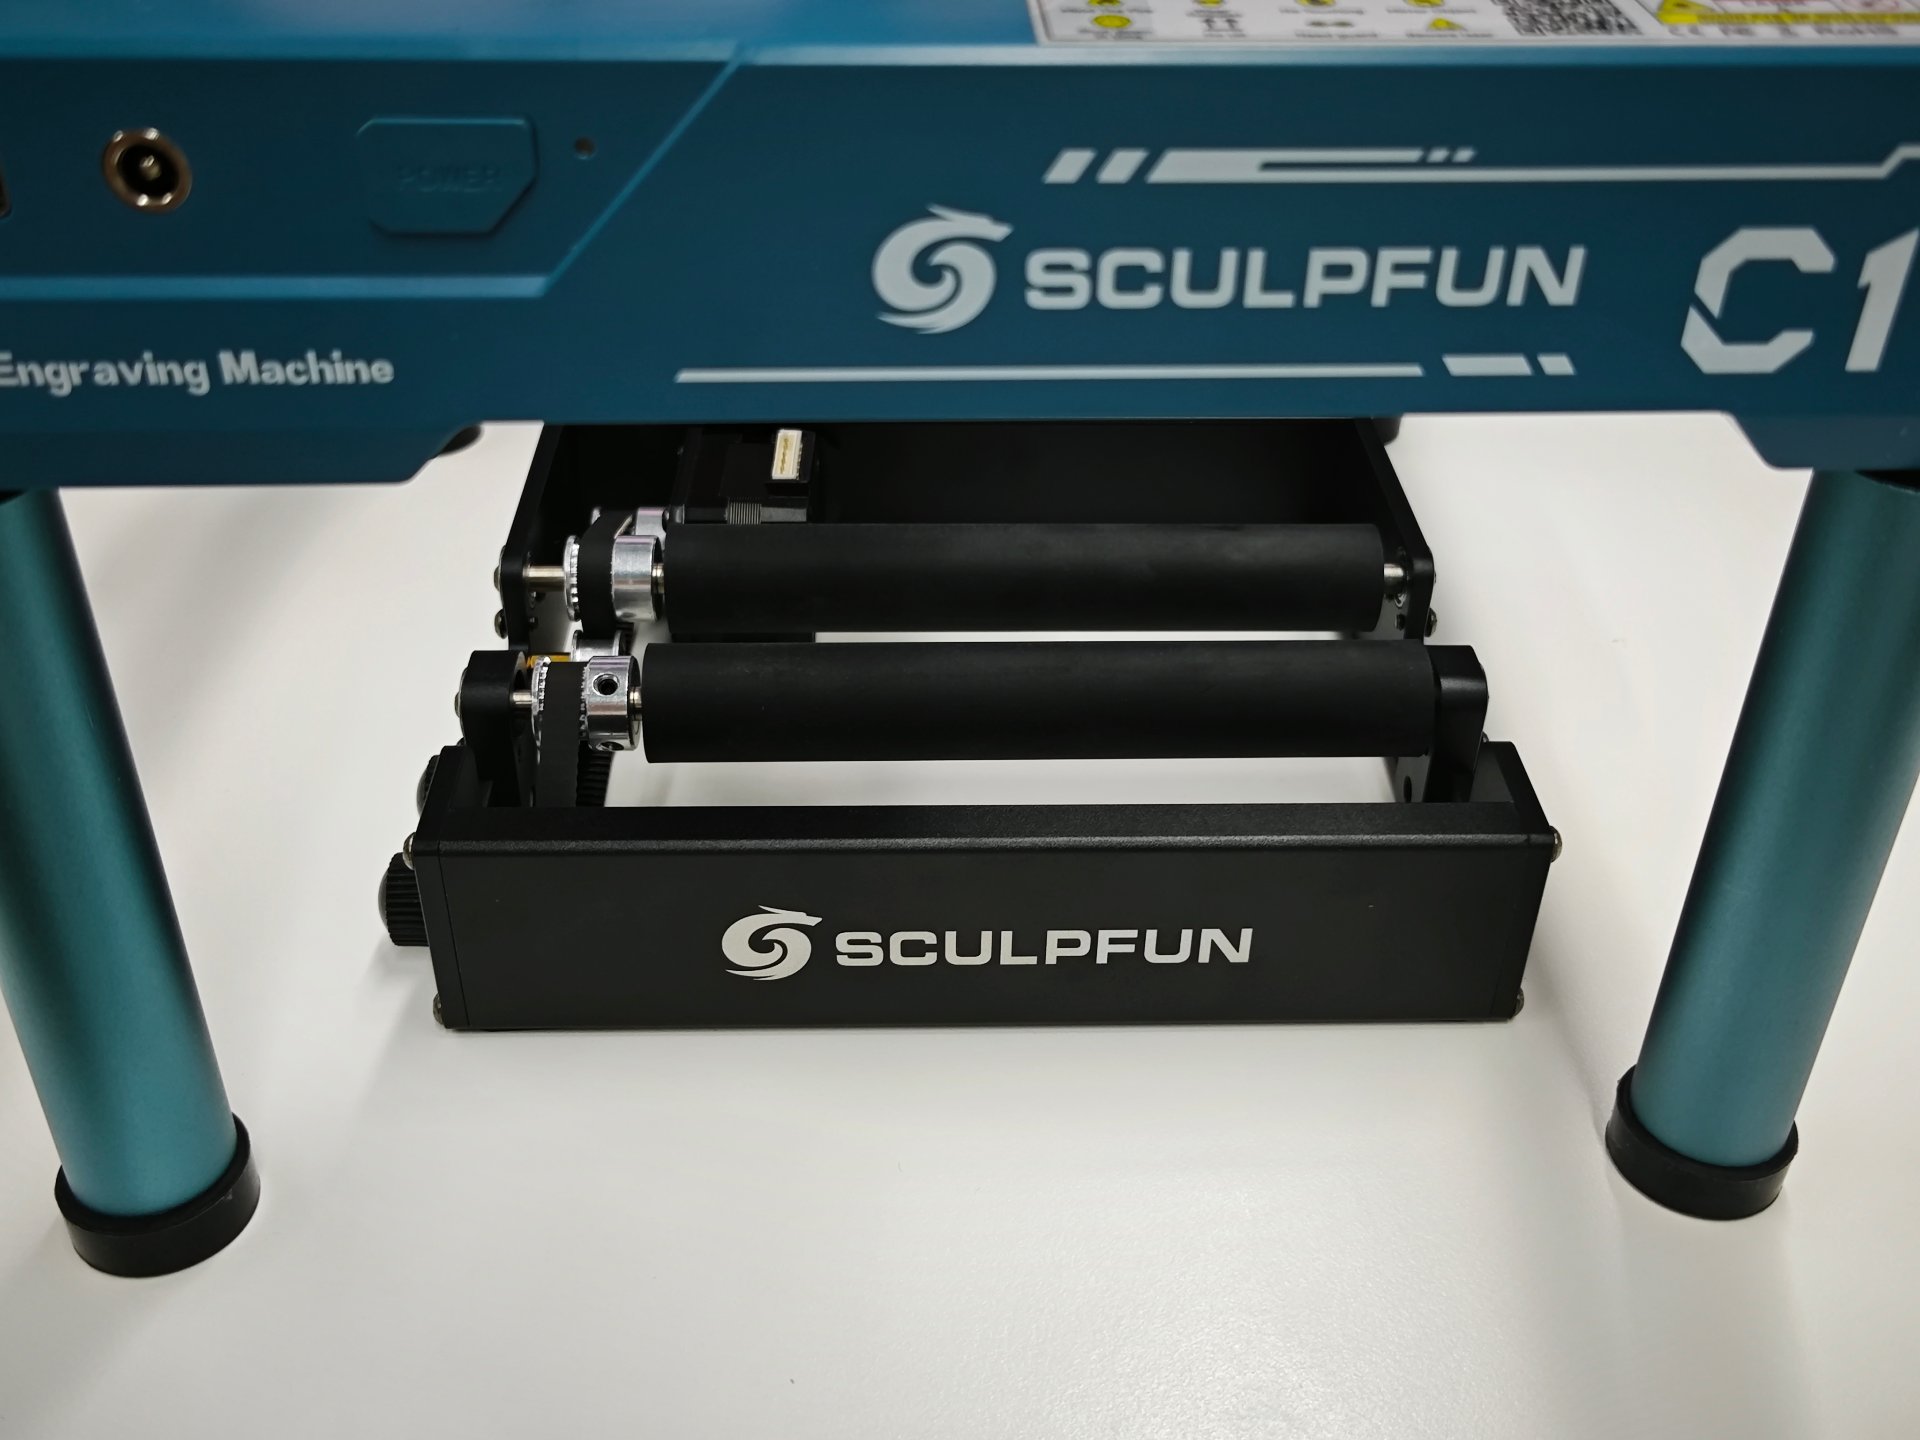
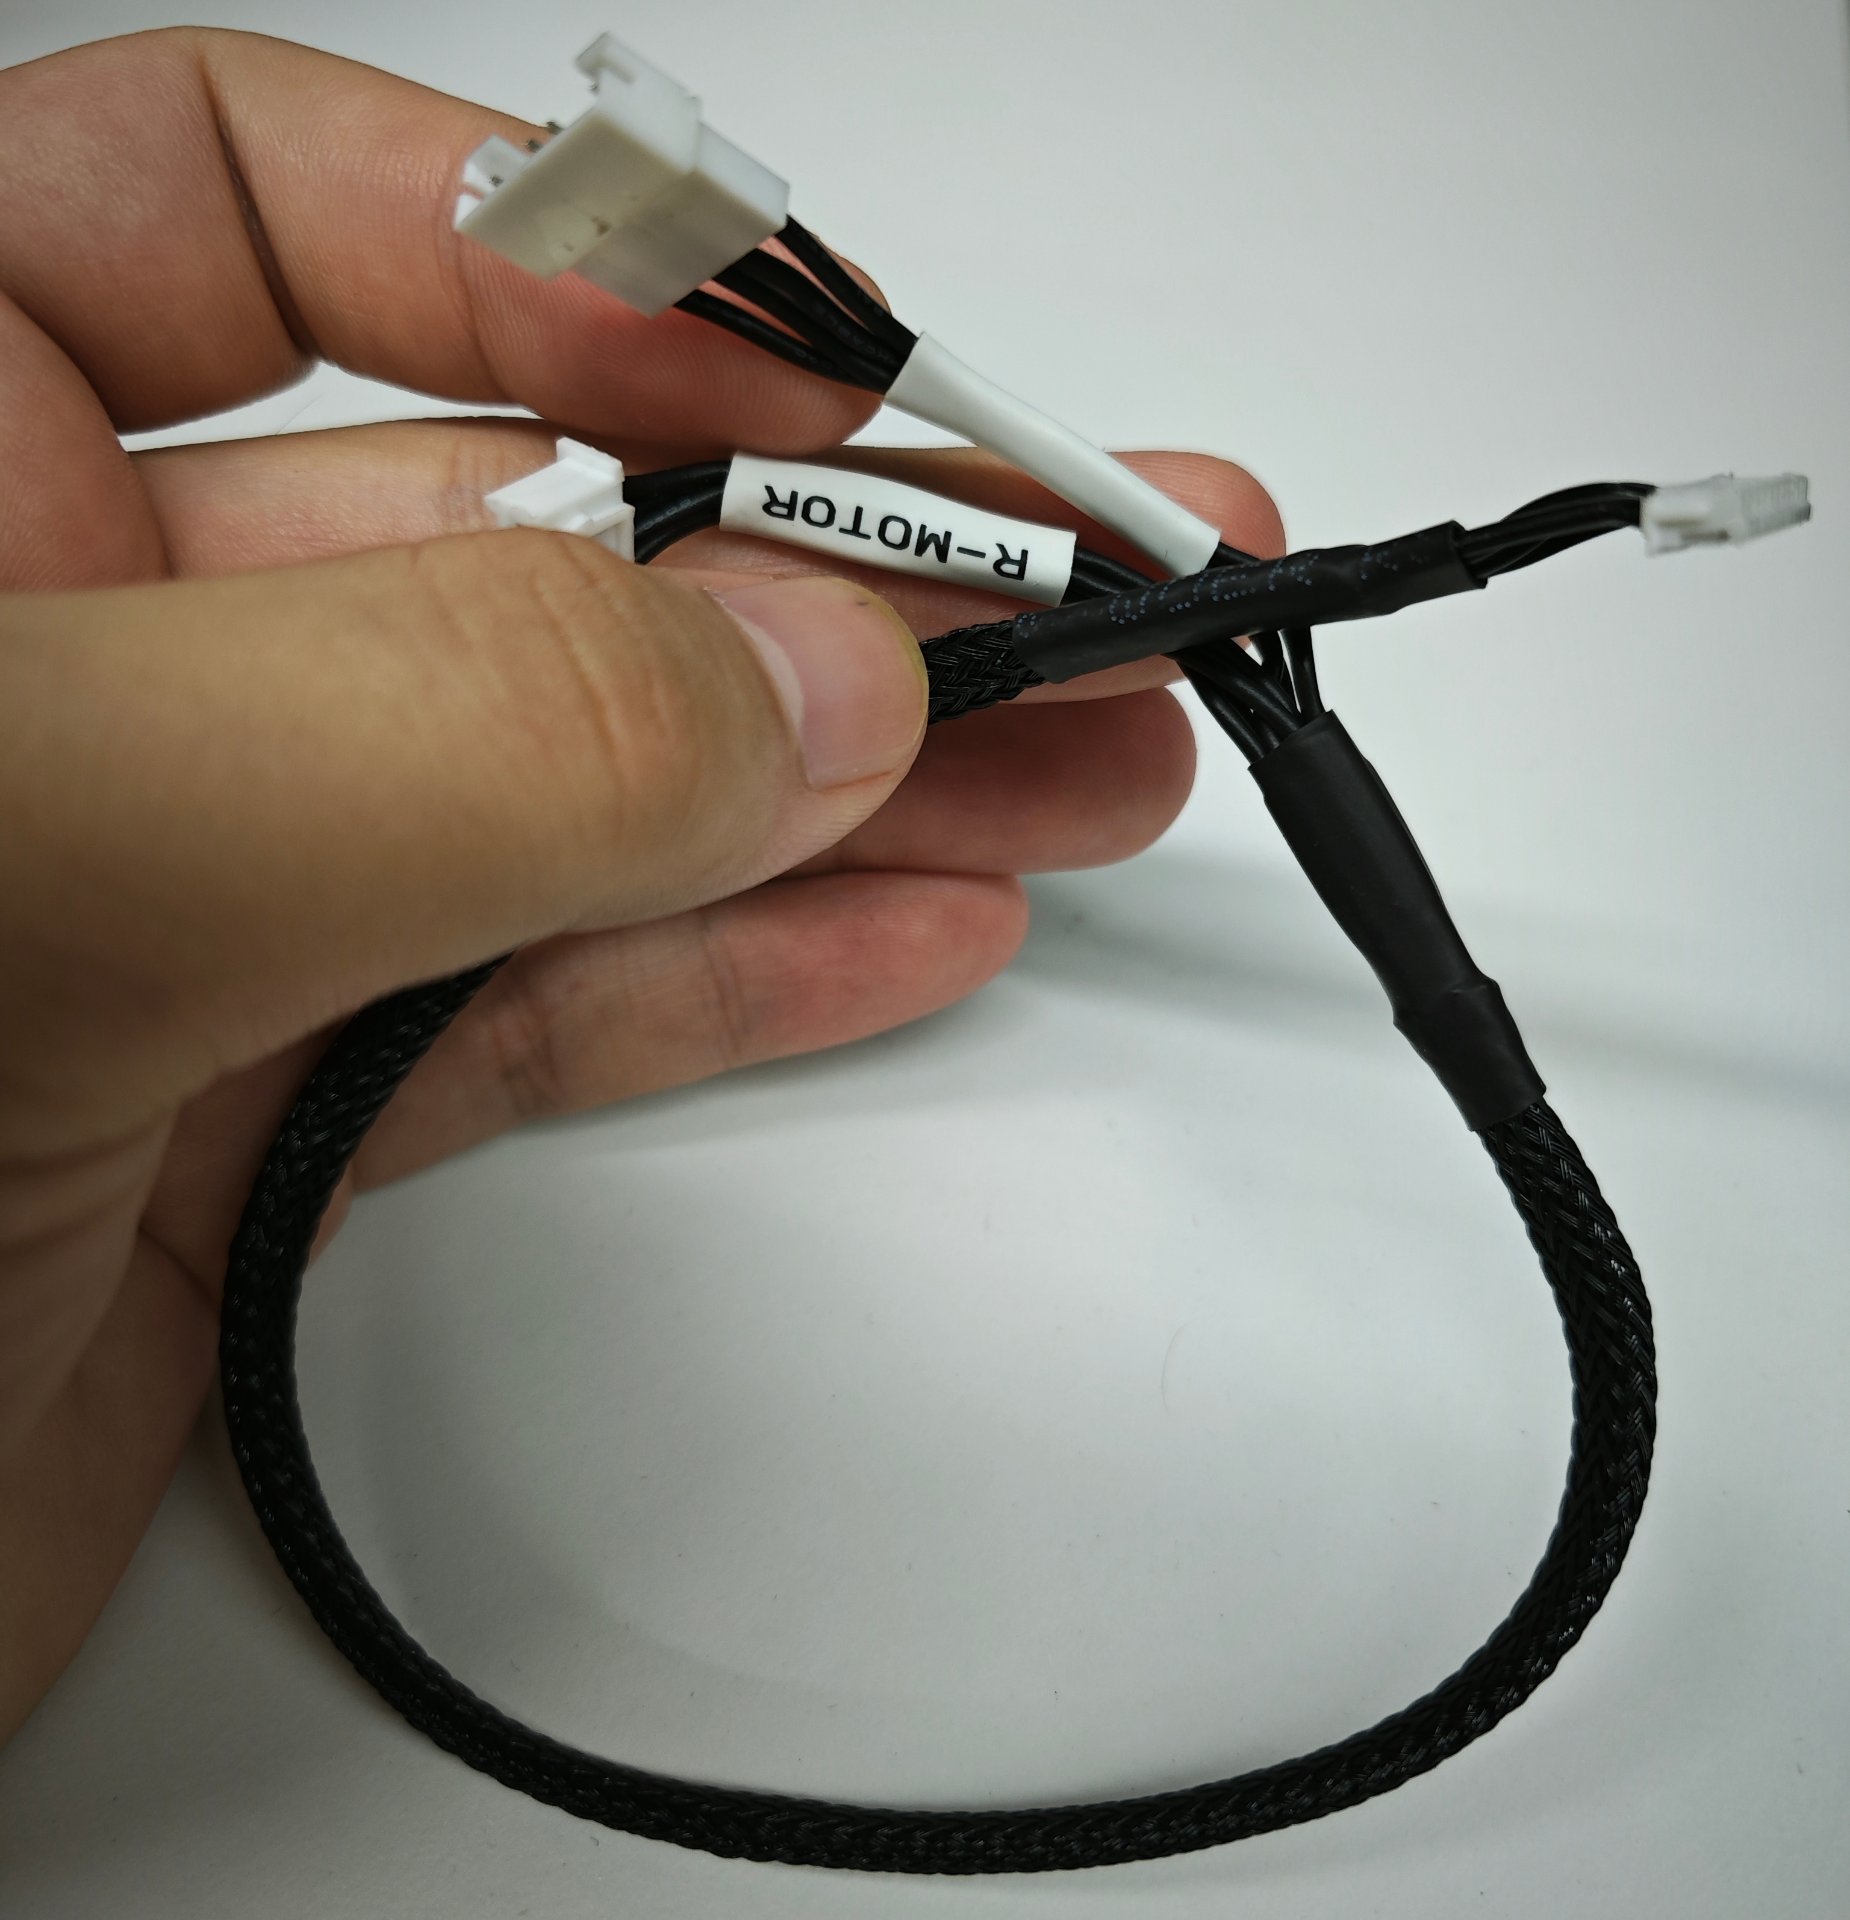
Locate the RA Mini connector cable and connect one end of the single cable to the roller.
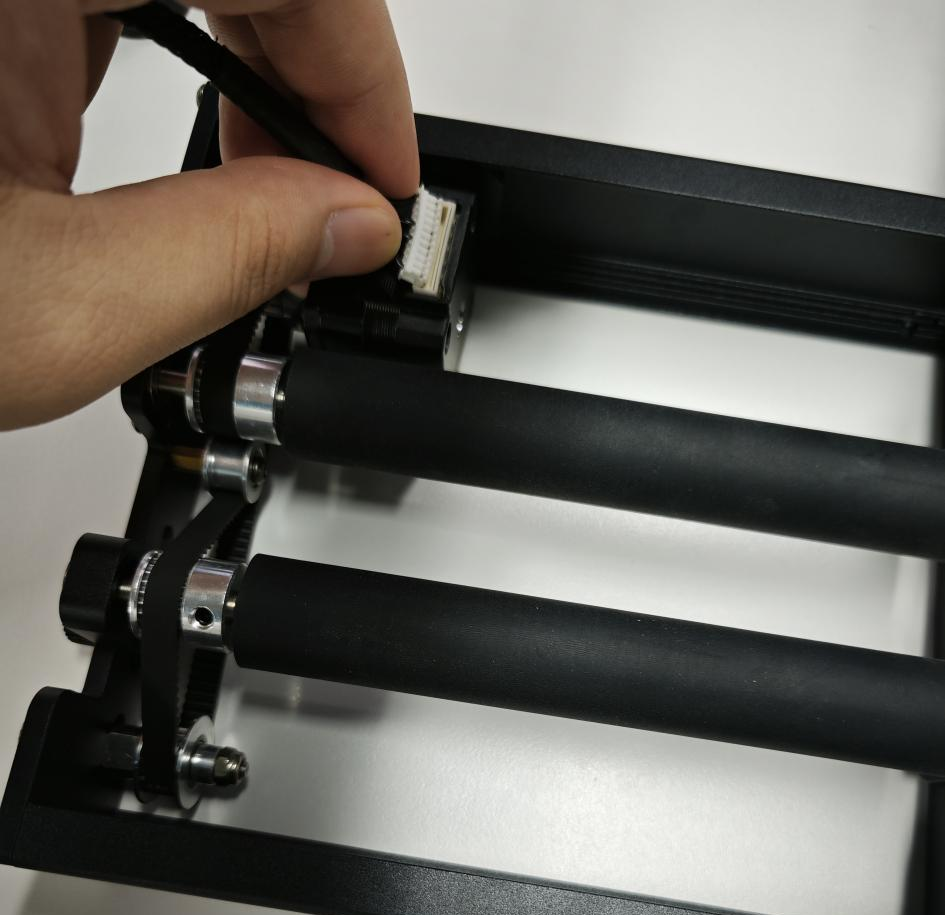
Locate the Y-axis motor of C1 (marked with Y-axis) and unplug the motor wire.
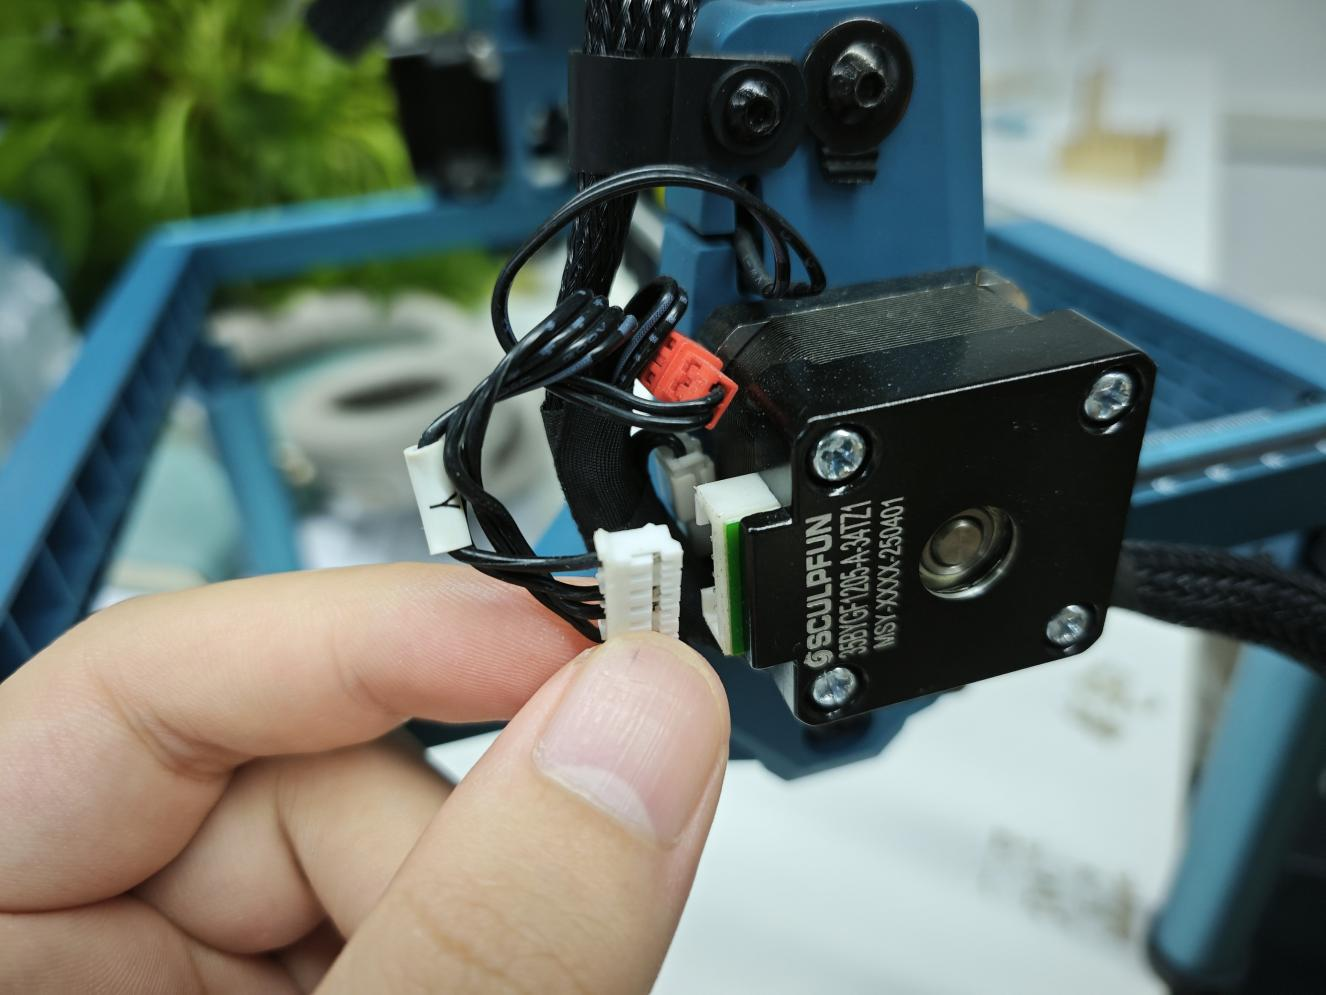
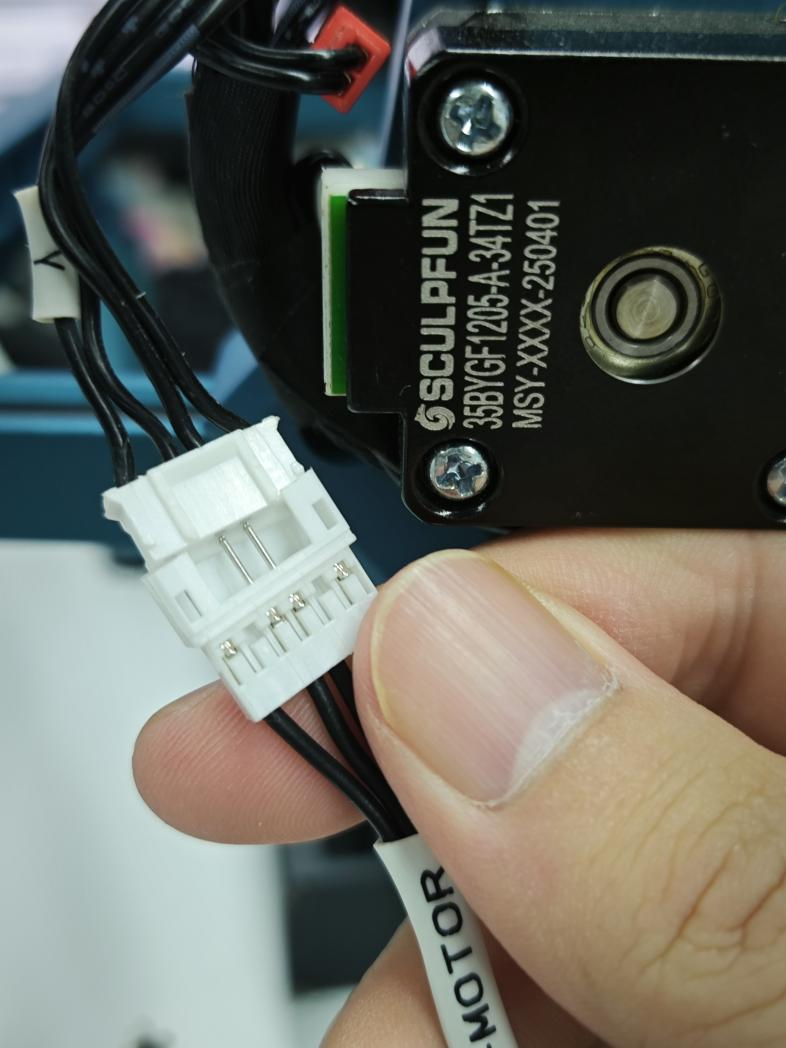
Connect the Y-axis motor cable of C1 to the other end (female connector) of the motor cable of RA Mini.
Connect the data cable and power cord, and turn on the machine.
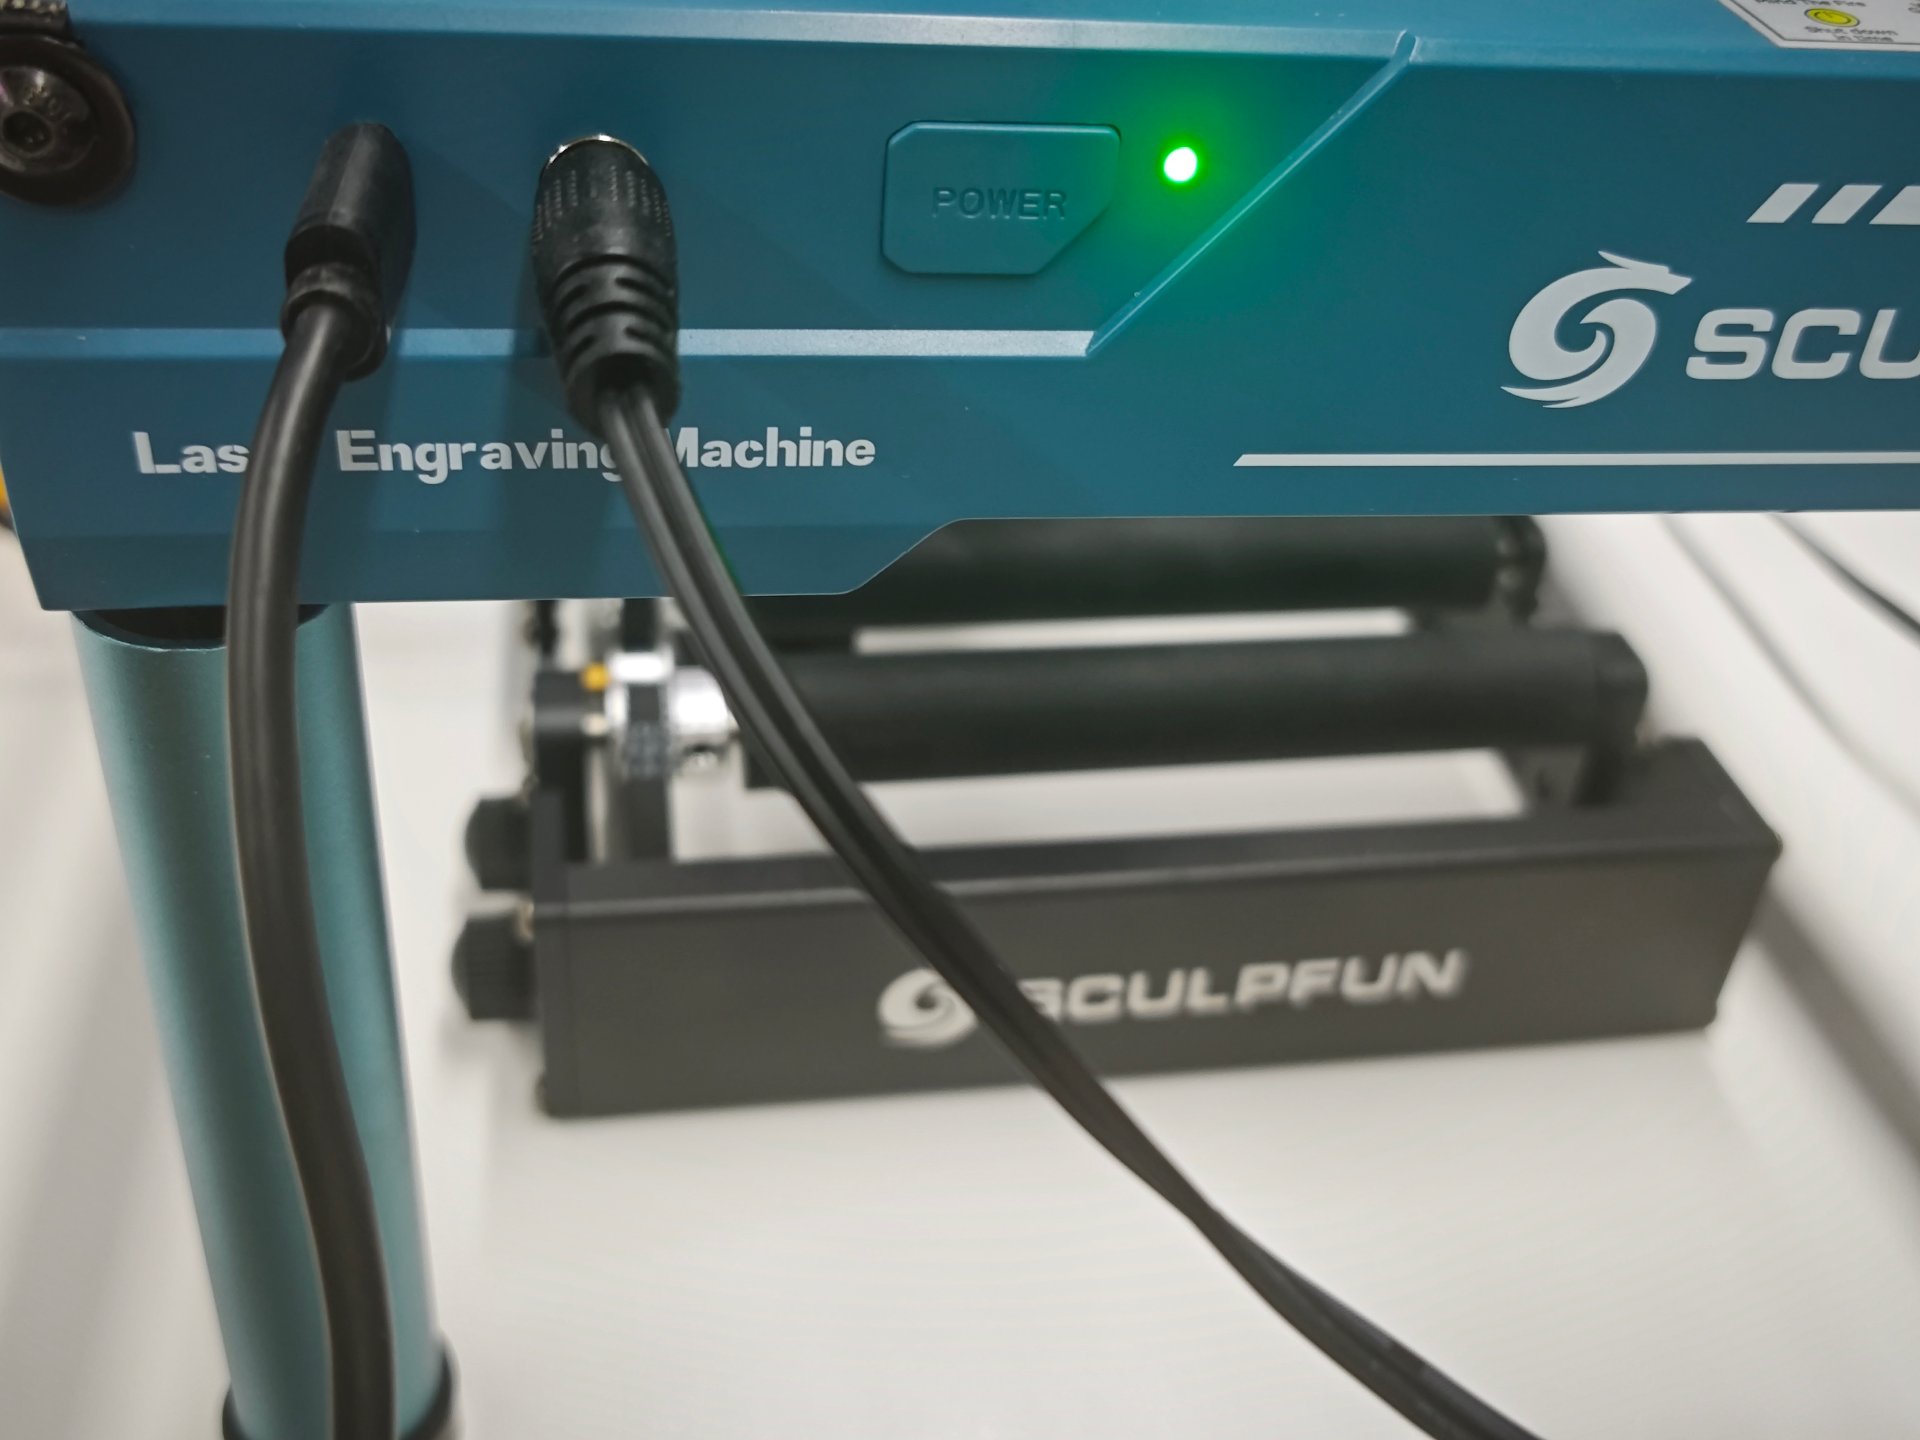
Software Configuration
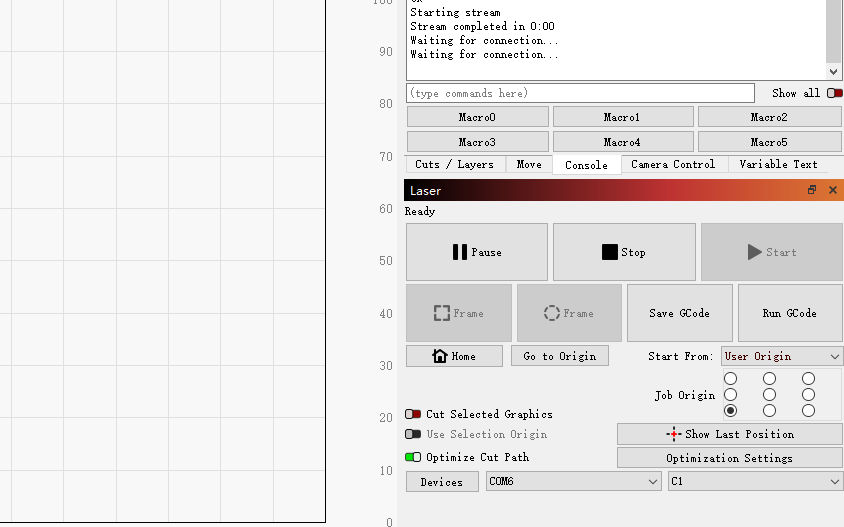
Open Lightburn, select the appropriate machine and port.
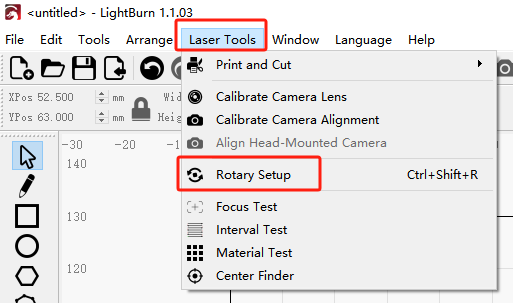
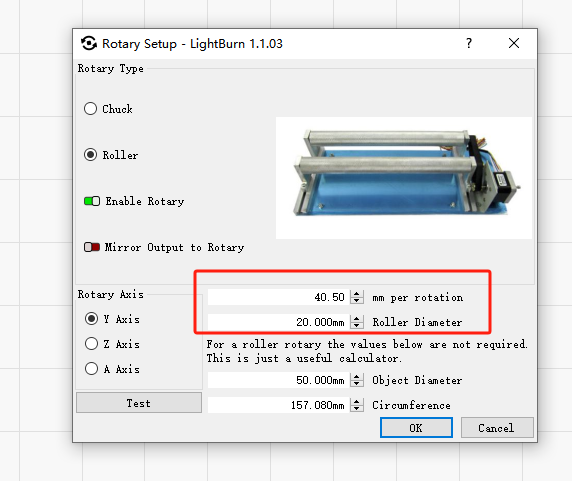
Select the Laser Tools and turn on the Rotary Setup.
Select the roller mode and turn on the Enable Rotary switch.
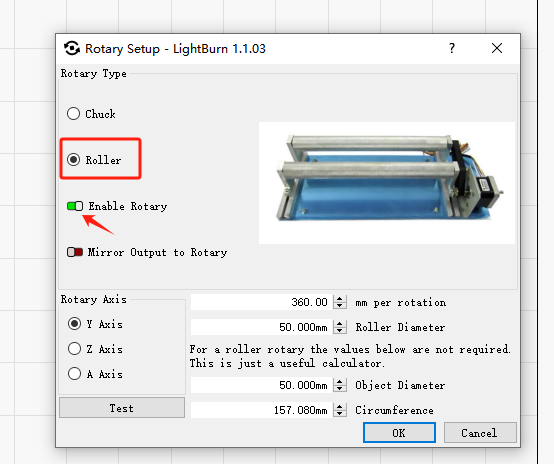
Parameter settings: Rotation axis is Y-axis; change millimeters per revolution to 40.5mm, and roller diameter to 20mm.For parameters of other models, please refer to the parameter document.
Draw a pattern and start using it.
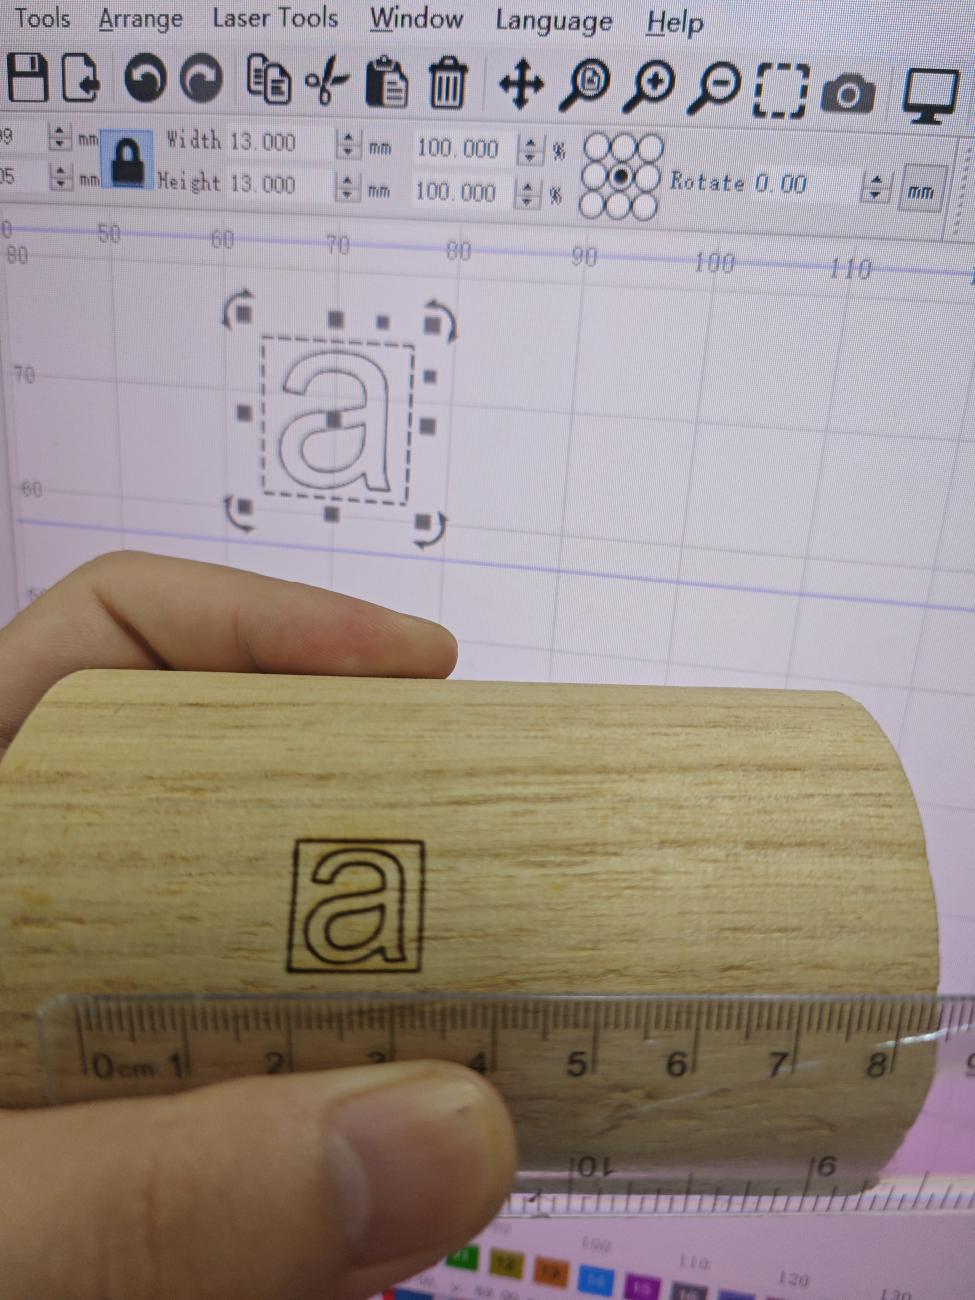
Note: Keep the C1 and RA Mini flush to avoid skewing the pattern; set the laser focal length at the highest point of the object to be sculpted for better engraving results.