Sculpfun Space Camera Calibration Tutorial
This article only focuses on software settings. For hardware settings, please refer to the user manual of each machine/accessory.
Open the software and select Camera in the right console panel.
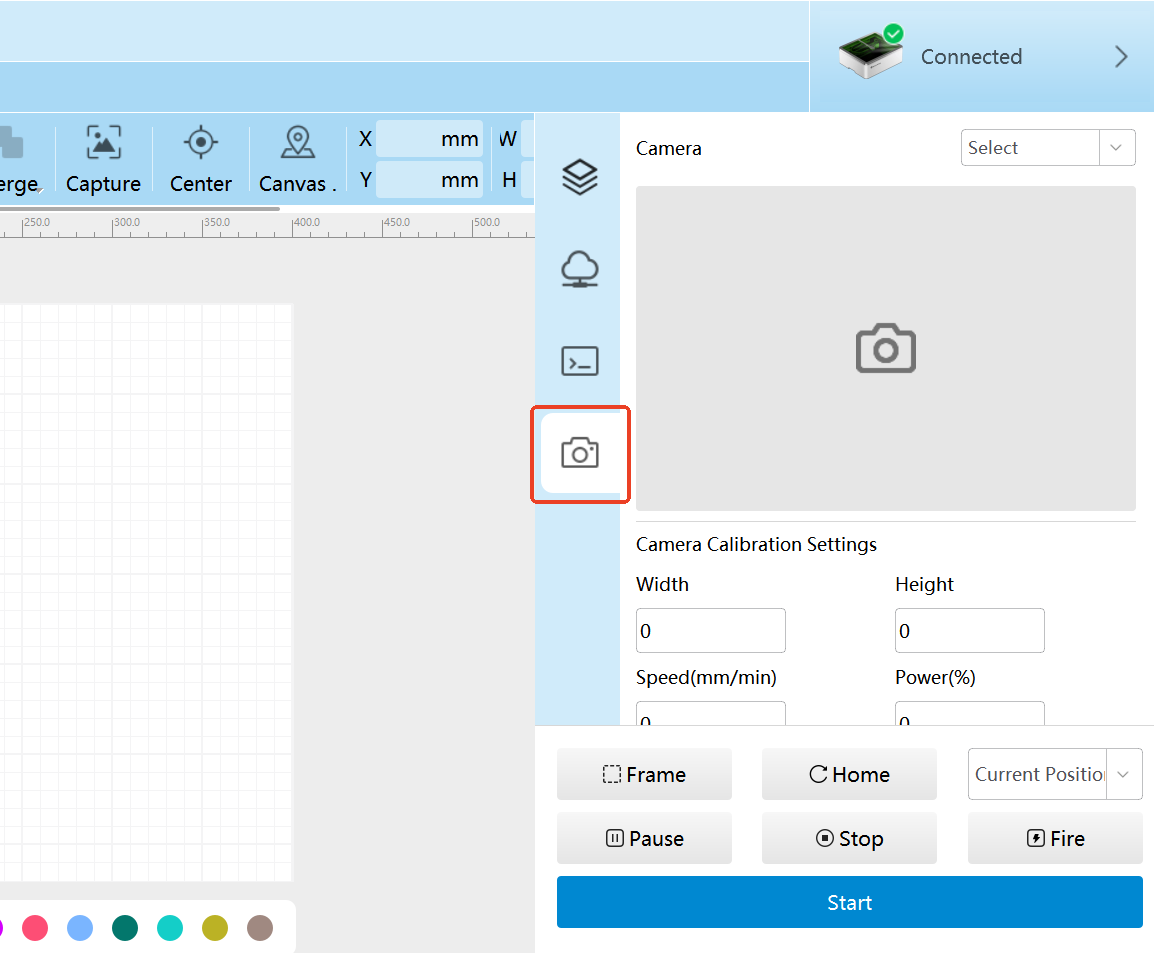
Select the camera port to connect the camera.
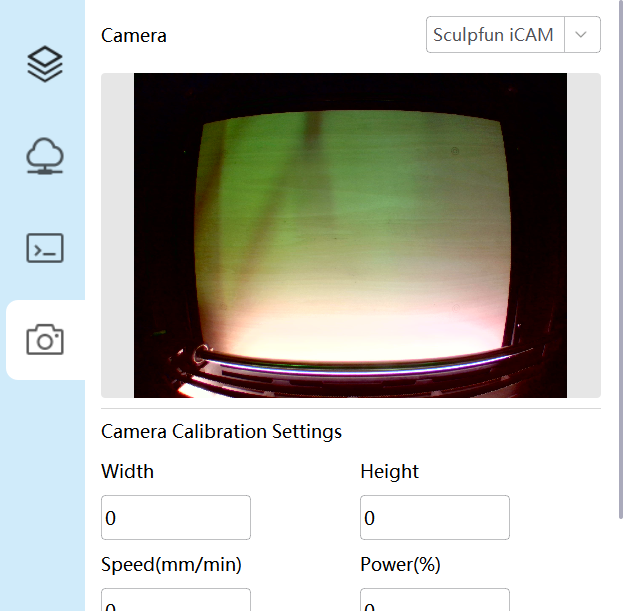
Place material for calibration; wood board is recommended. Complete placement and then perform focusing.
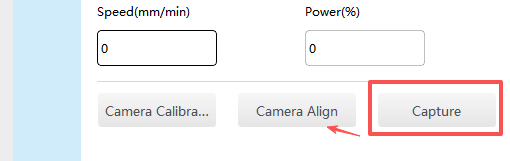
Click Camera Update. The image will not update to the canvas directly, but refresh in the camera alignment area. Edit camera calibration settings.
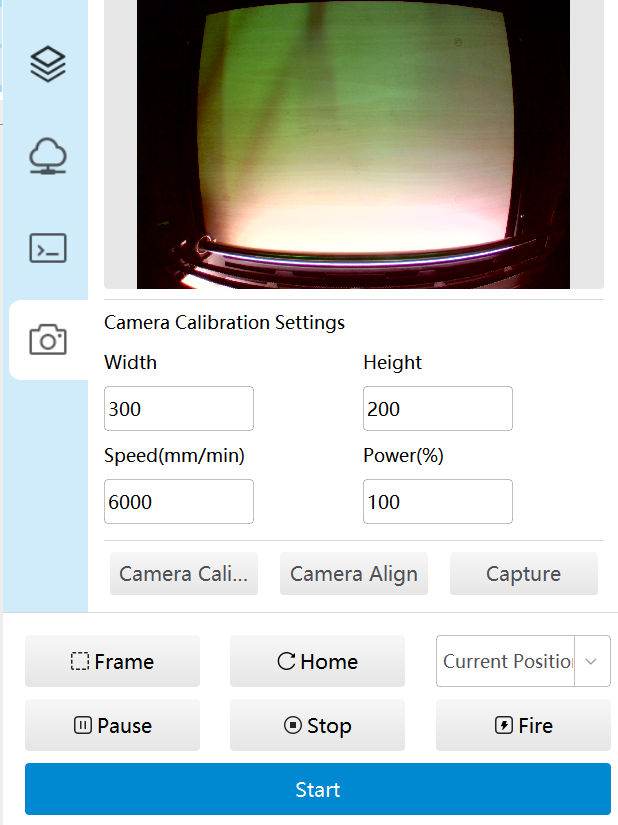
Set an appropriate calibration size according to the machine engraving range, usually 80% of the machine working area; set engraving speed and power based on different laser modules. The E1 is used as an example here.
Set the engraving area to 300*200mm, speed to 6000mm/min, and power to 60%.
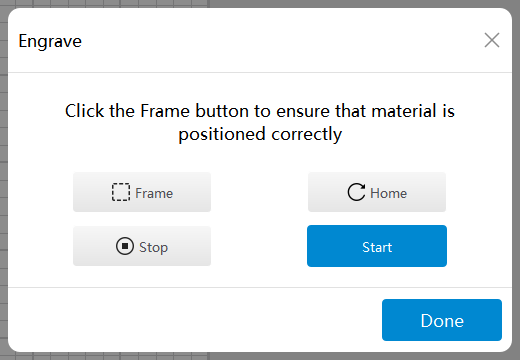
Click Camera Calibration. A prompt will pop up; click Frame to confirm the engraving position, click Home to reset the laser, then click Start. The machine will engrave patterns at four positions on the material.
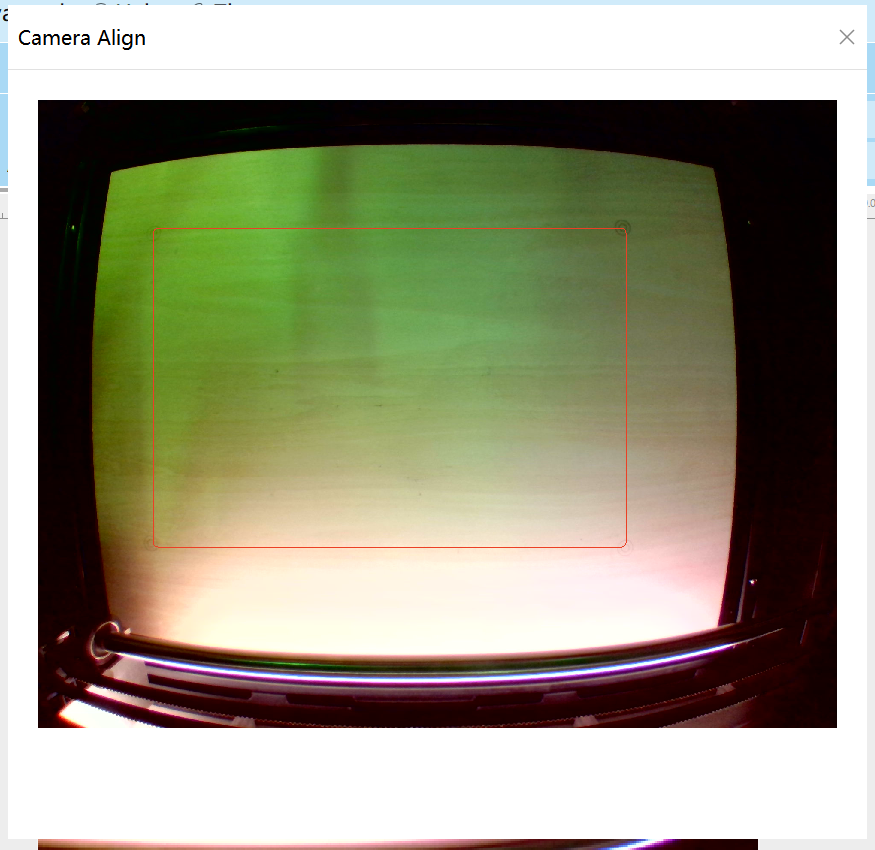
After engraving finishes, click Camera Update to refresh the alignment page, then click Camera Alignment to start alignment.
On the alignment page, select the center points of the engraved patterns clockwise starting from the top-left corner. Double-click the left mouse button to place markers, right-click to undo. After selection, click Confirm or close the window. Calibration is completed.
The internal lighting may cause the camera to overexpose, making the calibration paper or pattern unclear. You can control the light brightness by entering `$light/duty=(0-1000, corresponding to 0%-100%)` on the control panel.
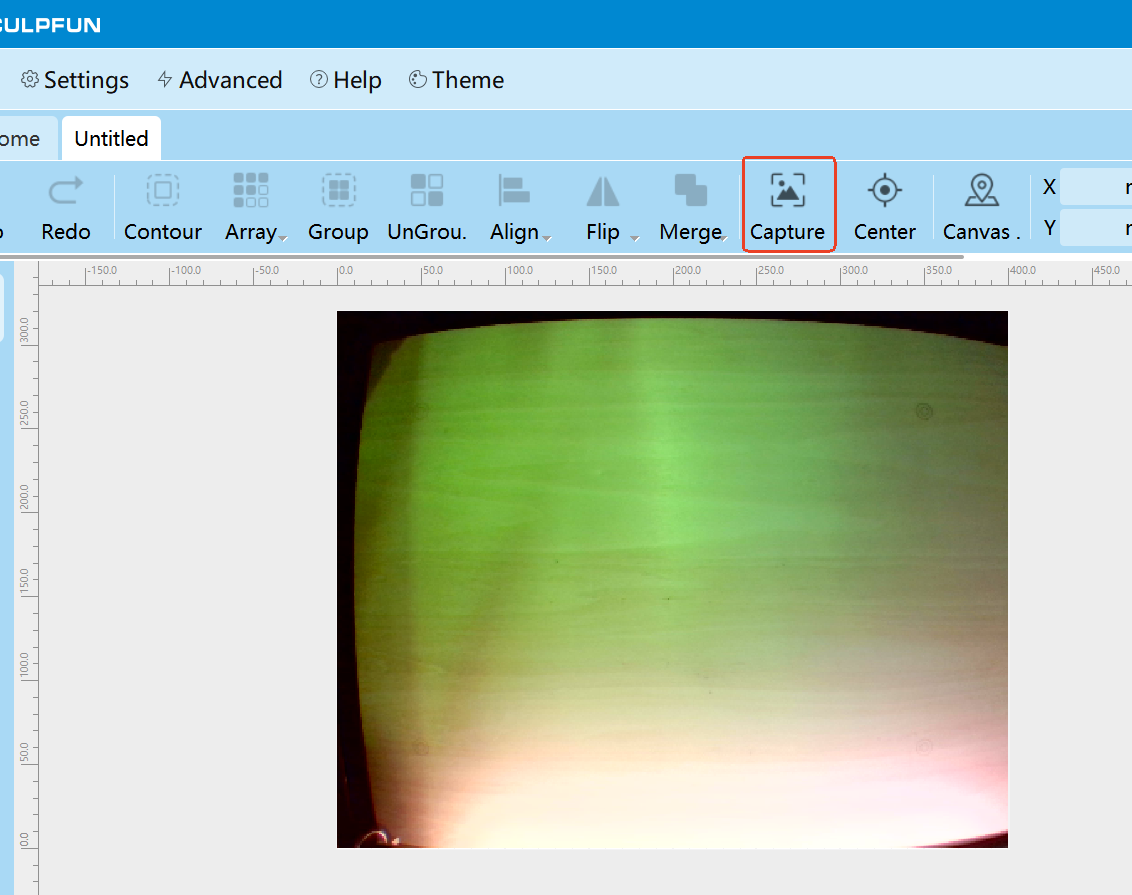
Click Capture, and the camera view will be updated to the canvas.