SGD Laser Software Installation and Usage Tutorial for PC
Instructions
SGD Laser is compatible with G9, V5 and G20 galvanometer laser engraving machines. You can find the software in the USB flash drive included with the machine or via the QR code printed in the user manual.
Installation
Windows
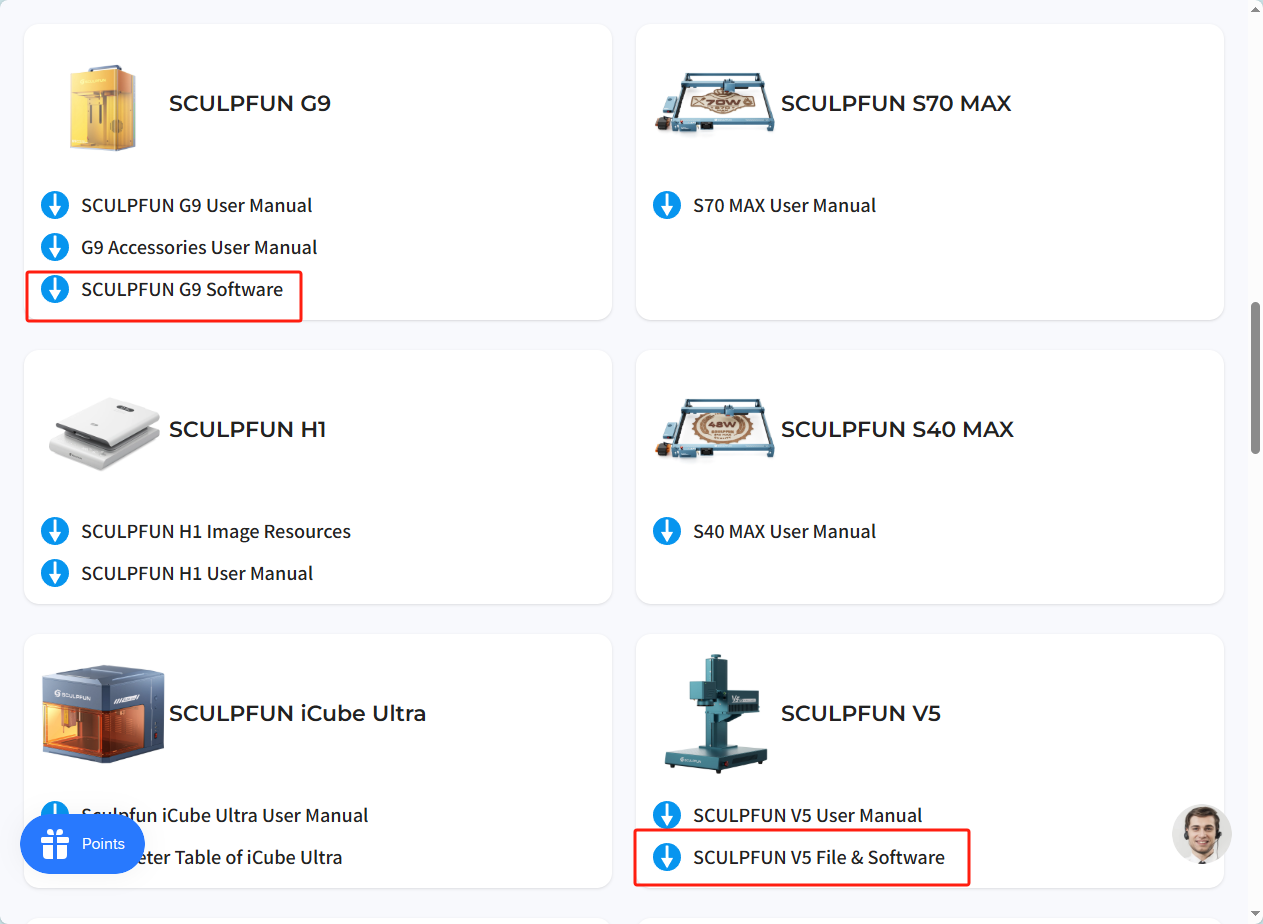
Insert the USB flash drive supplied with the machine into your computer. You may also download the installer from the Support page on the official website.
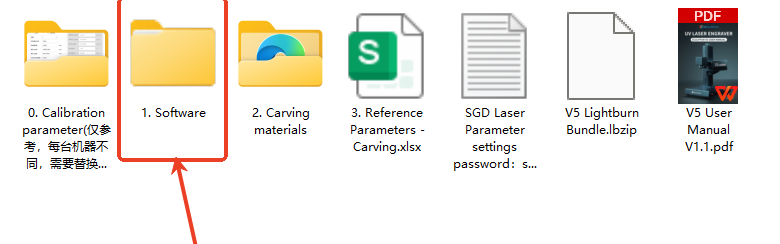
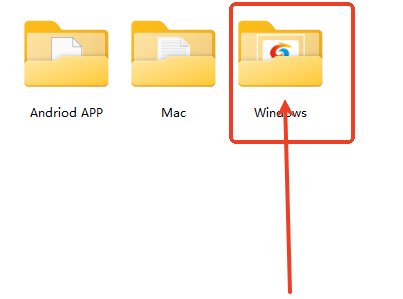
Select the Windows installer and double-click SGDLaser.exe to launch the installation wizard.
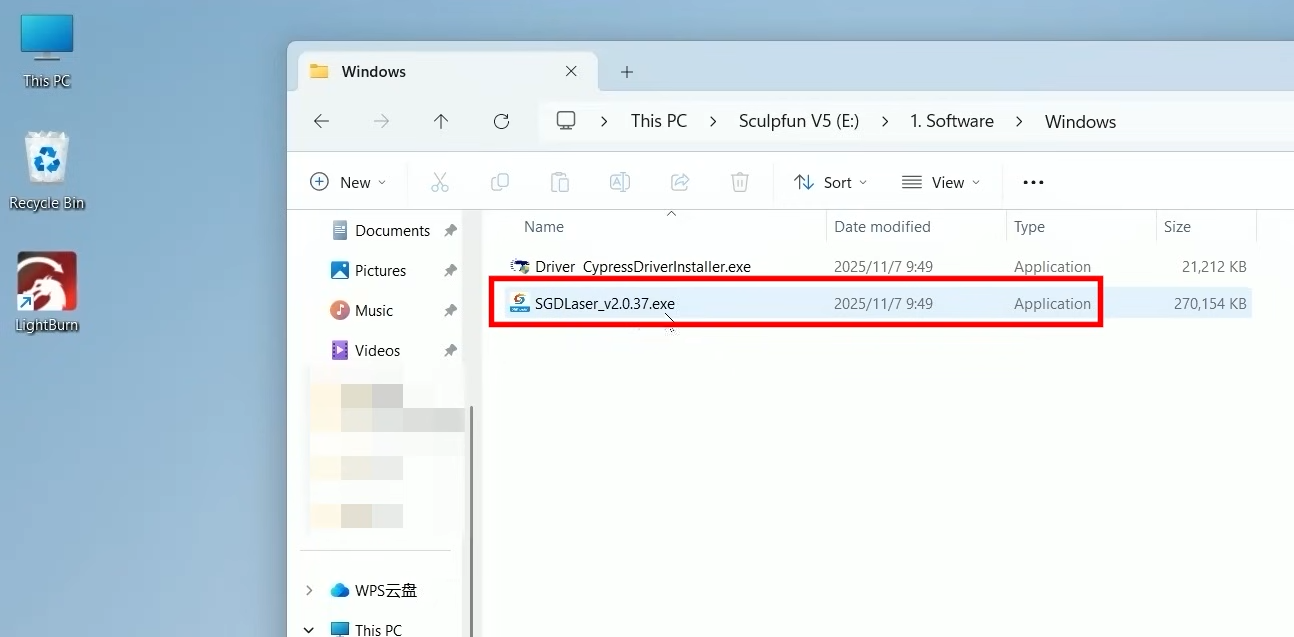
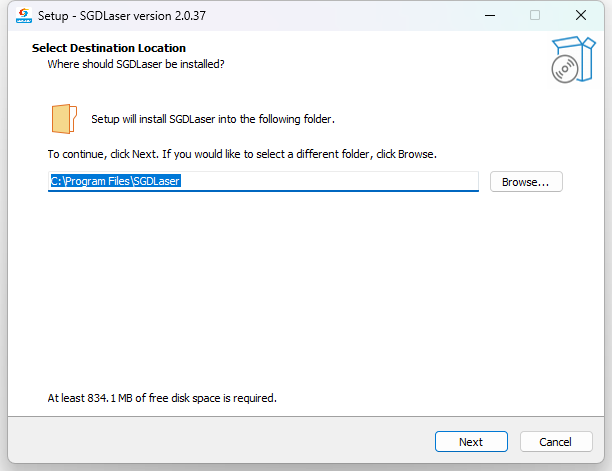
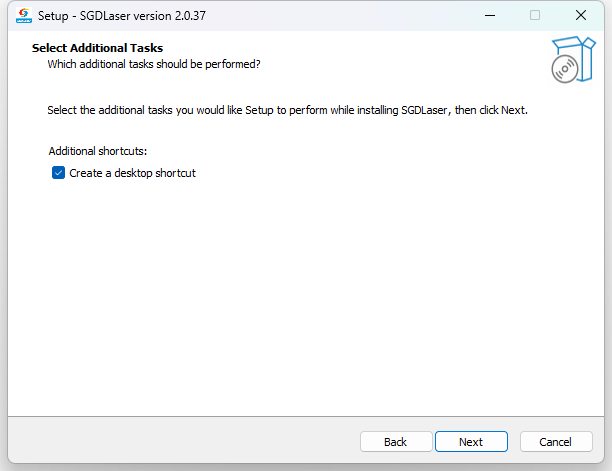
Follow the on-screen prompts to complete installation.
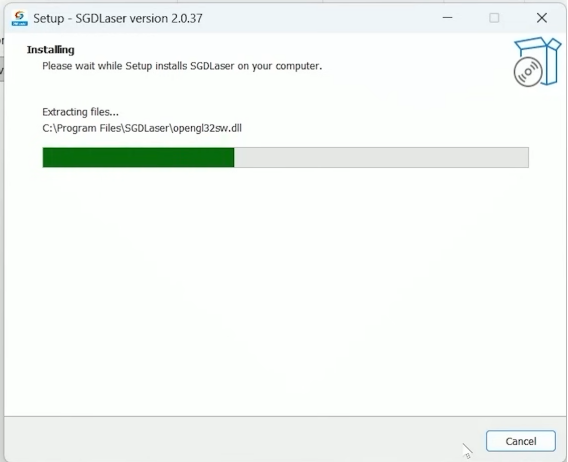
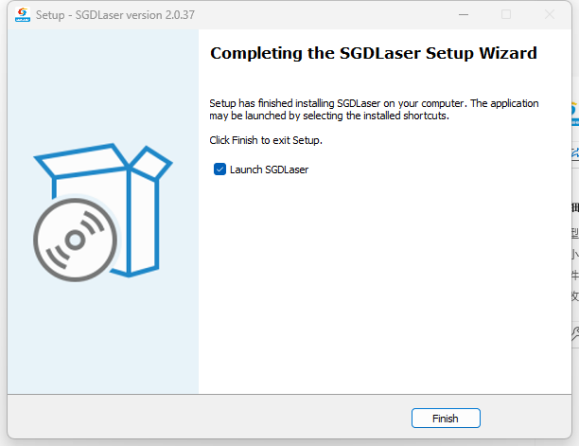
A driver installer will pop up once the main software installation finishes; follow the steps to install the driver.
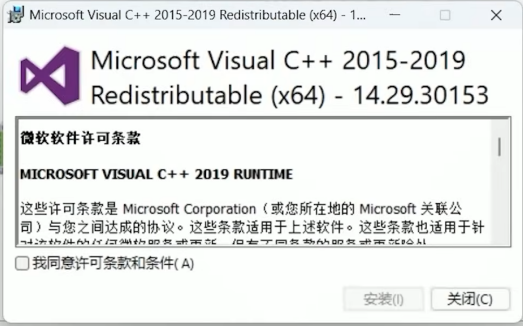
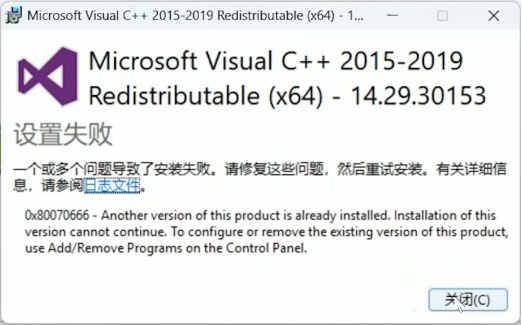
If a setup failure prompt appears, this means the driver has already been installed on your PC. Simply close this window and proceed to install the other driver component.
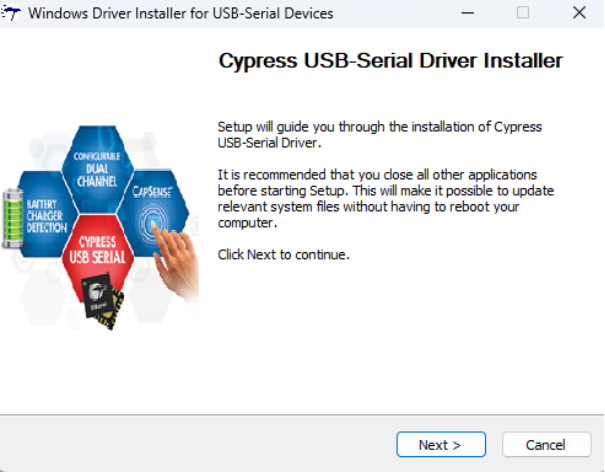
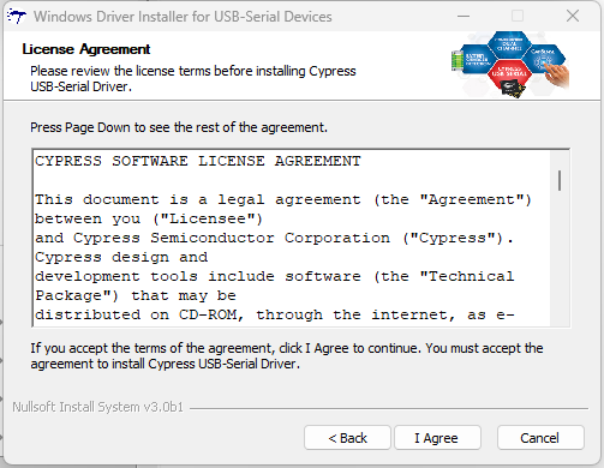
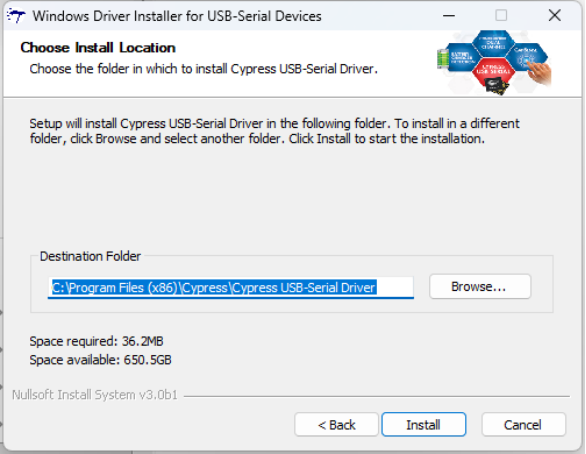
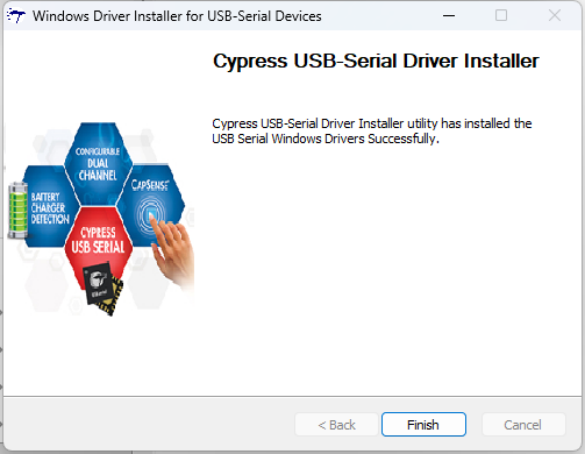
Installation is now complete. Double-click the SGDLaser shortcut on your desktop to launch the software.
macOS
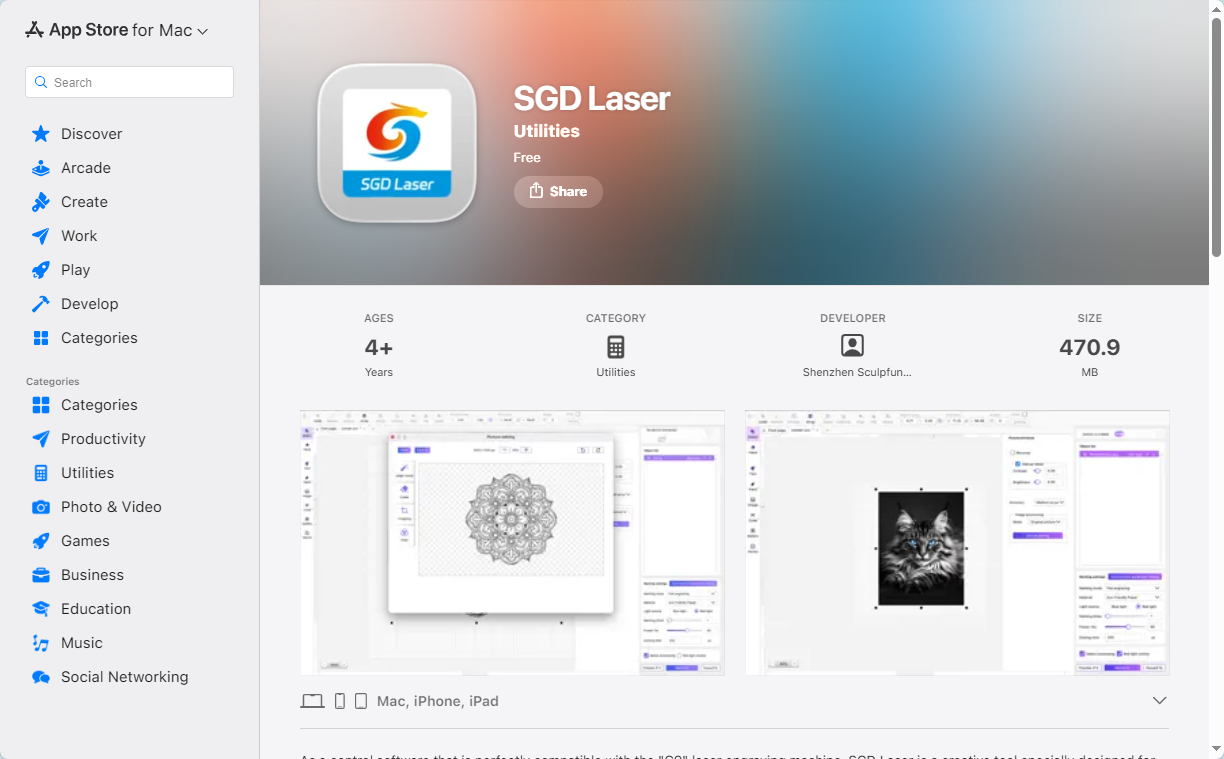
Search for "SGD Laser" in the App Store and tap Get to download the application.
Software Configuration
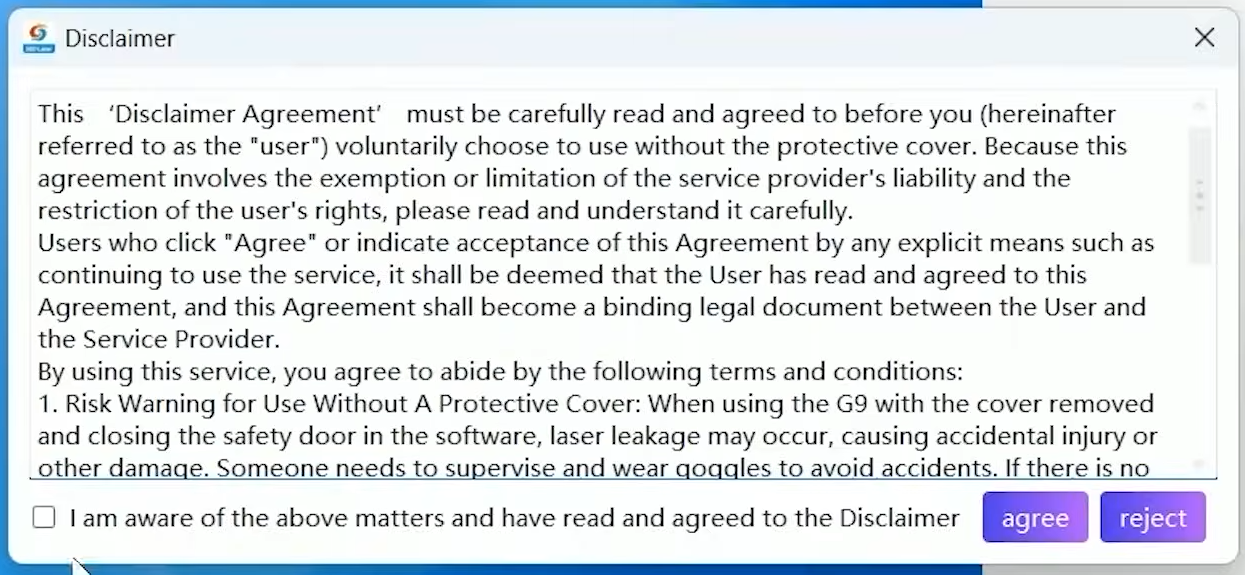
Launch the software. Please read the disclaimer carefully before proceeding. You may enter and use the software after accepting the terms.
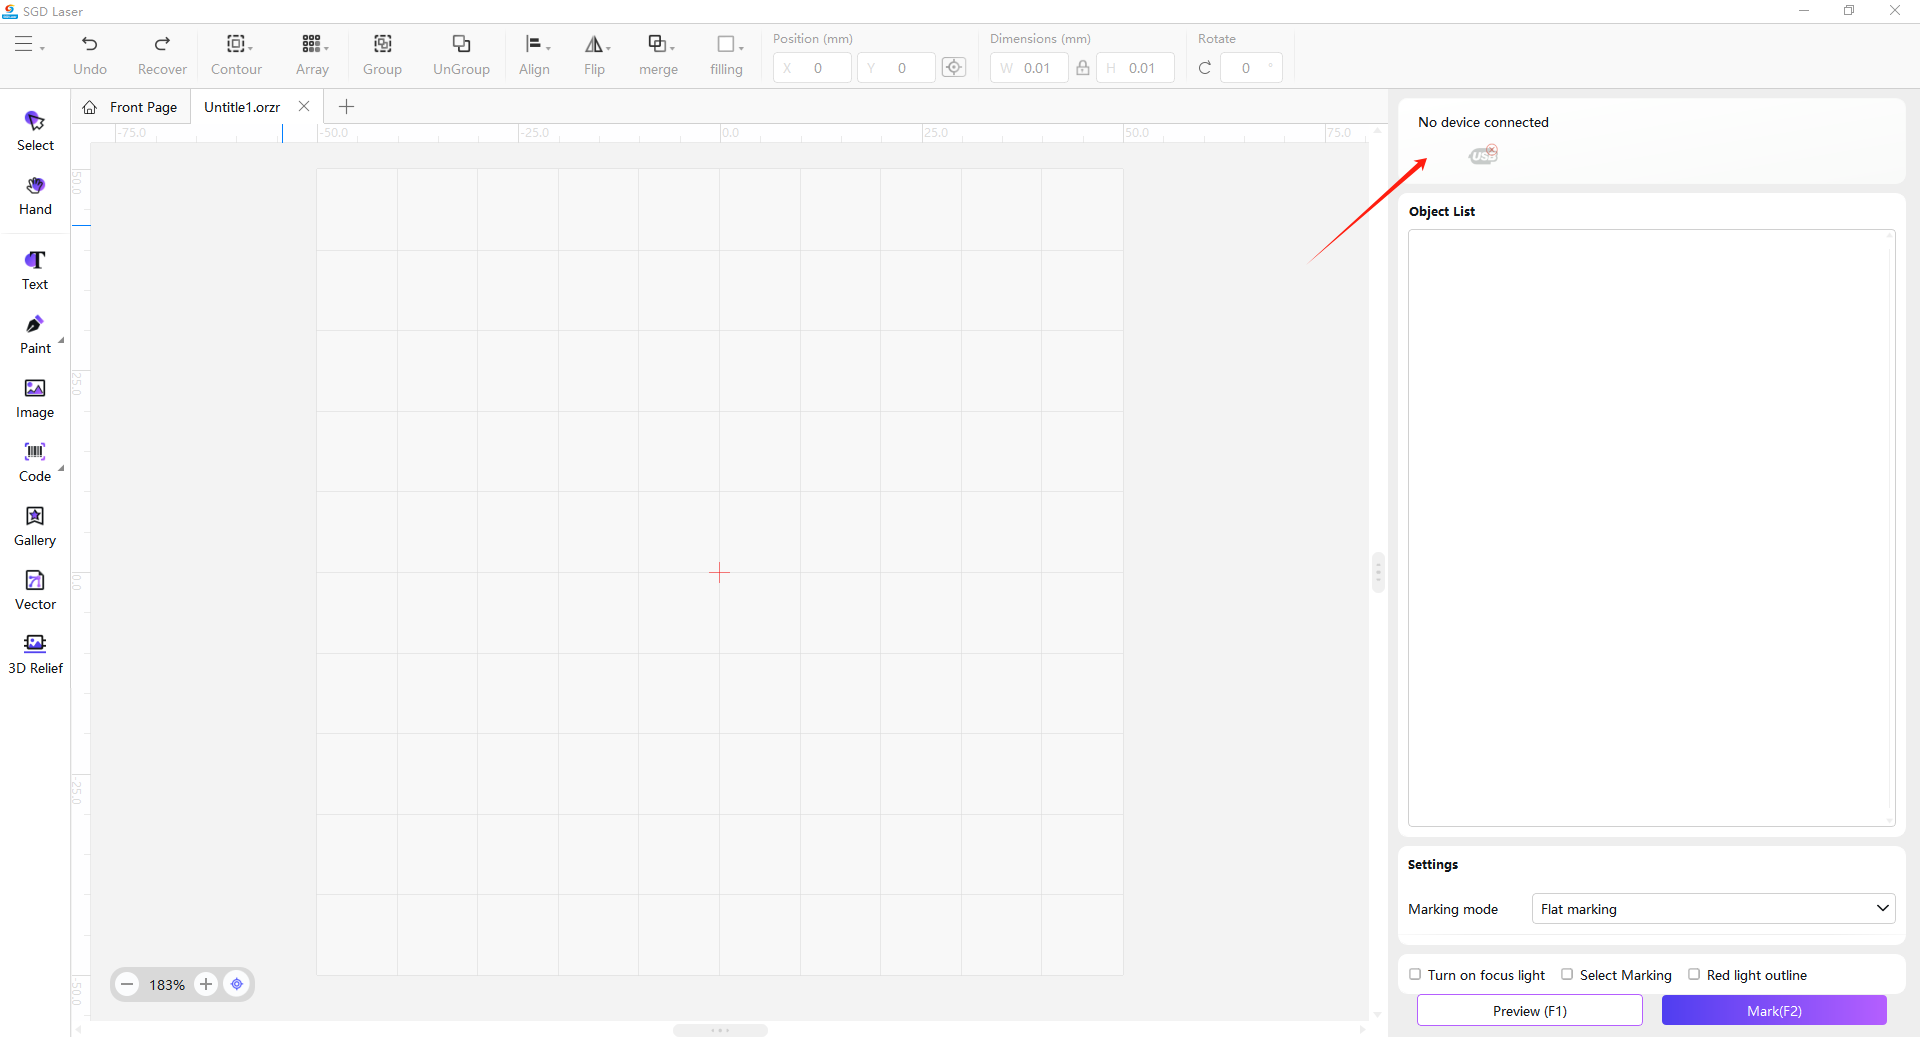
You can edit designs normally even when the machine is not connected.
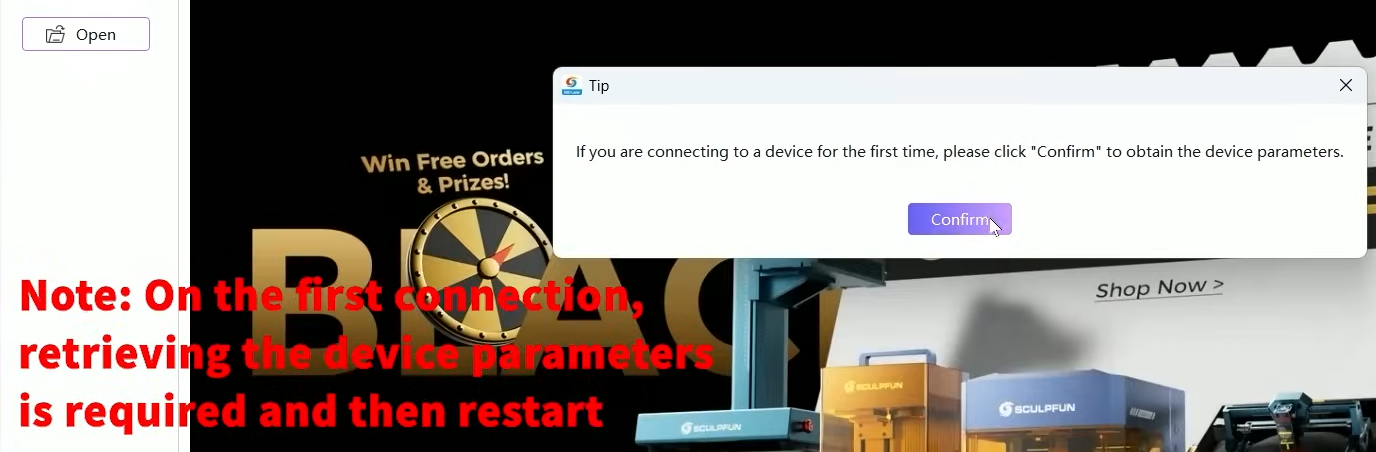
A pop-up prompt will appear to retrieve machine parameters upon your first connection. Tap Confirm to fetch parameters, then close the software.
Reopen the software to finish configuration.
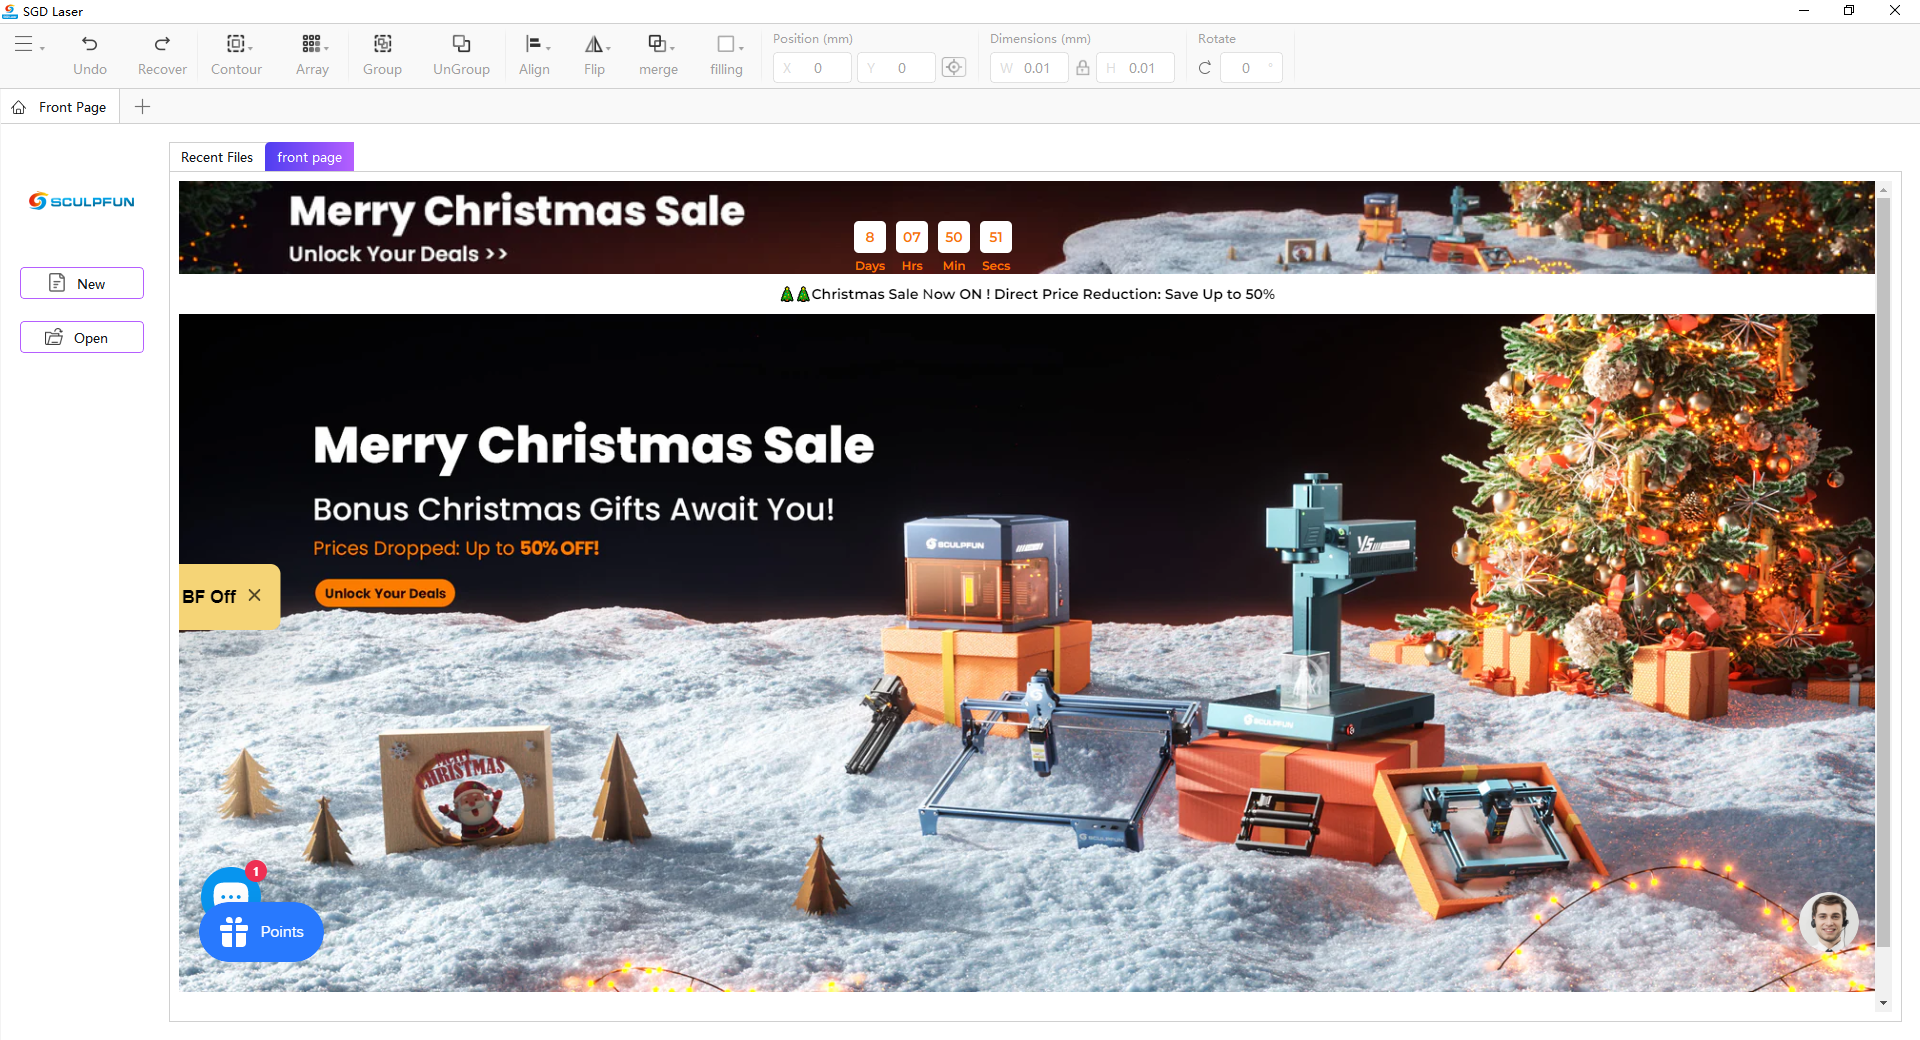
Software Overview
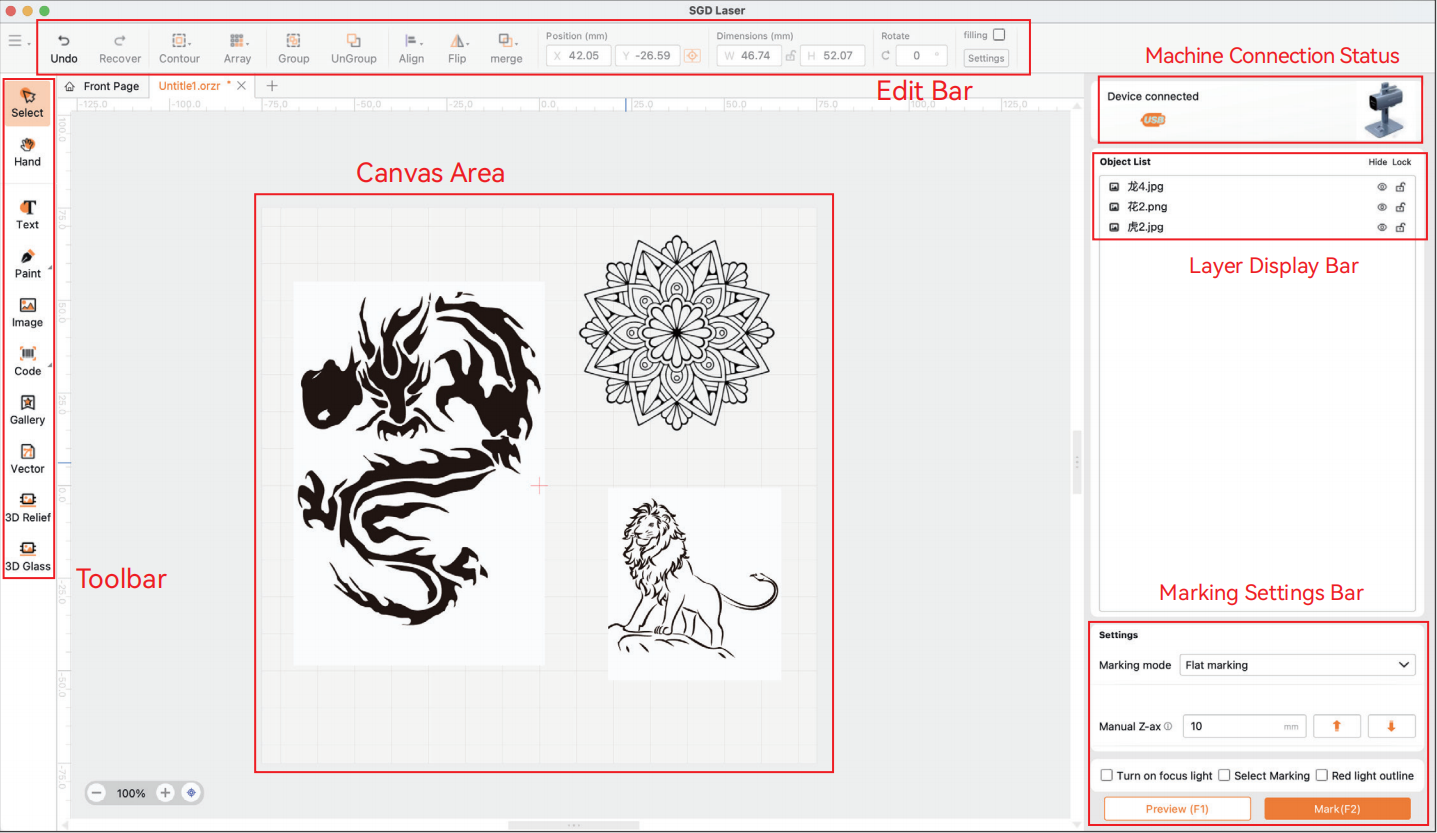
Software Operation
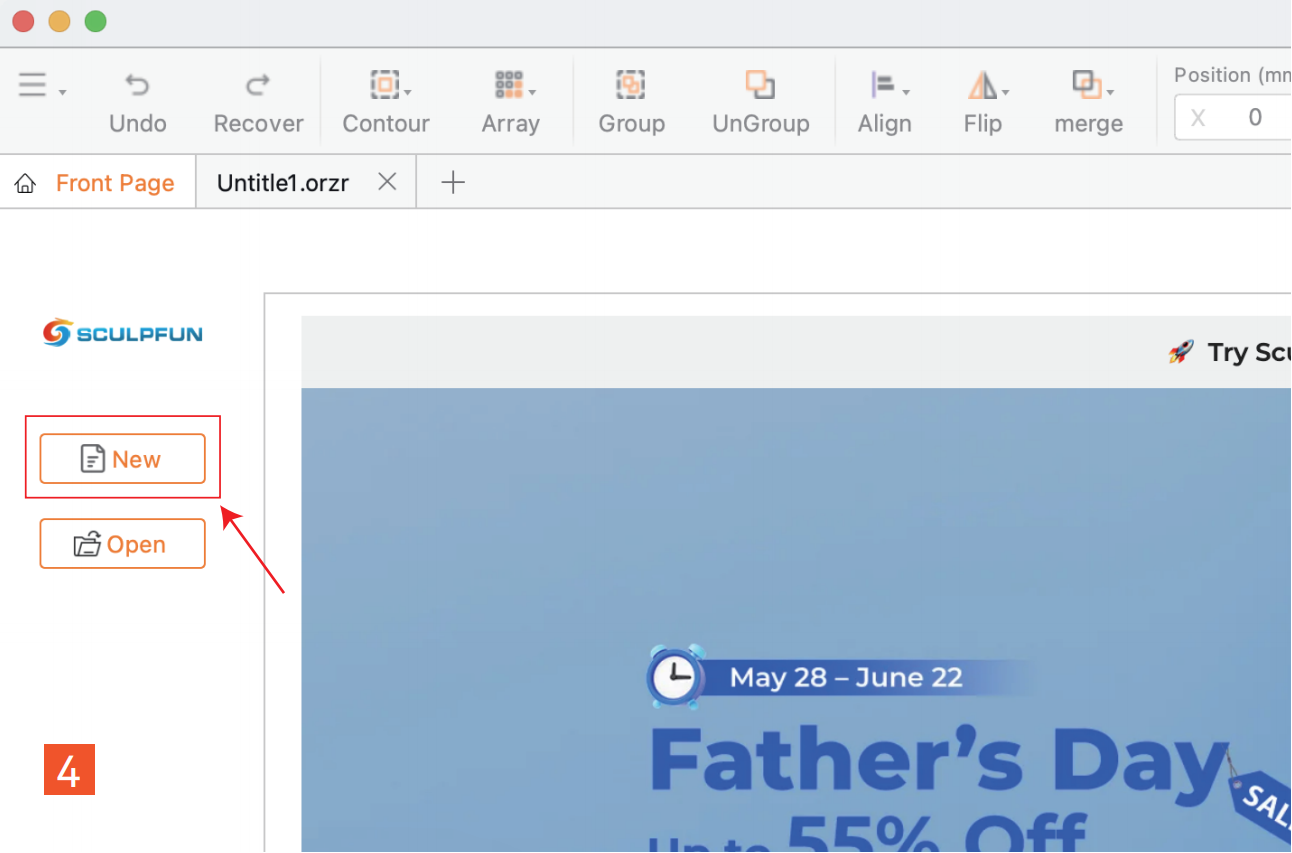
Create a new canvas
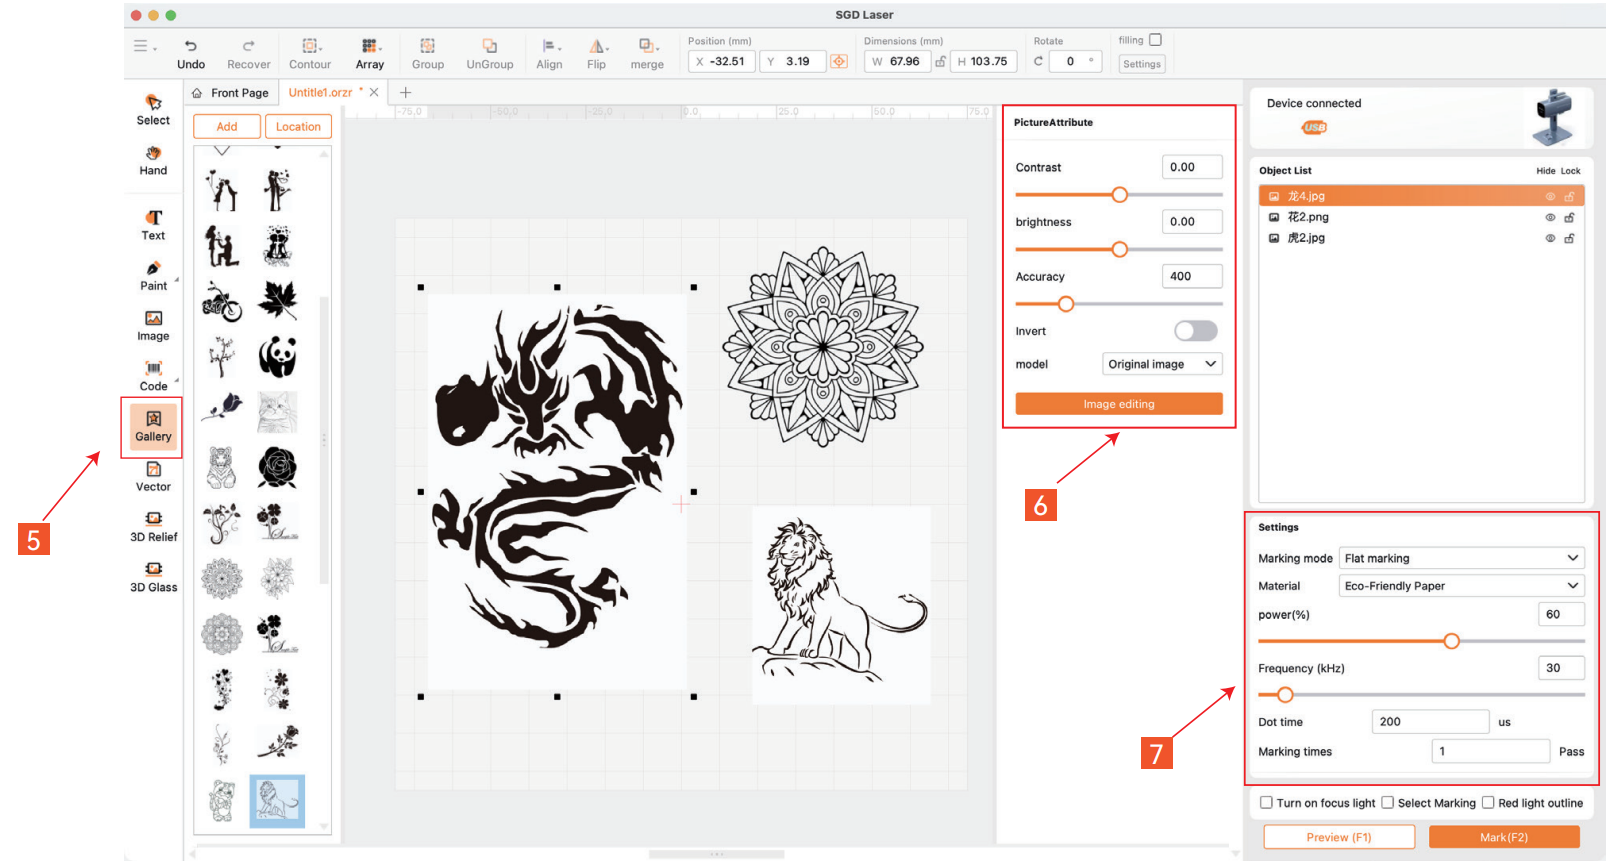
5. Take the gallery as an example: select a graphic and drag it onto the canvas.
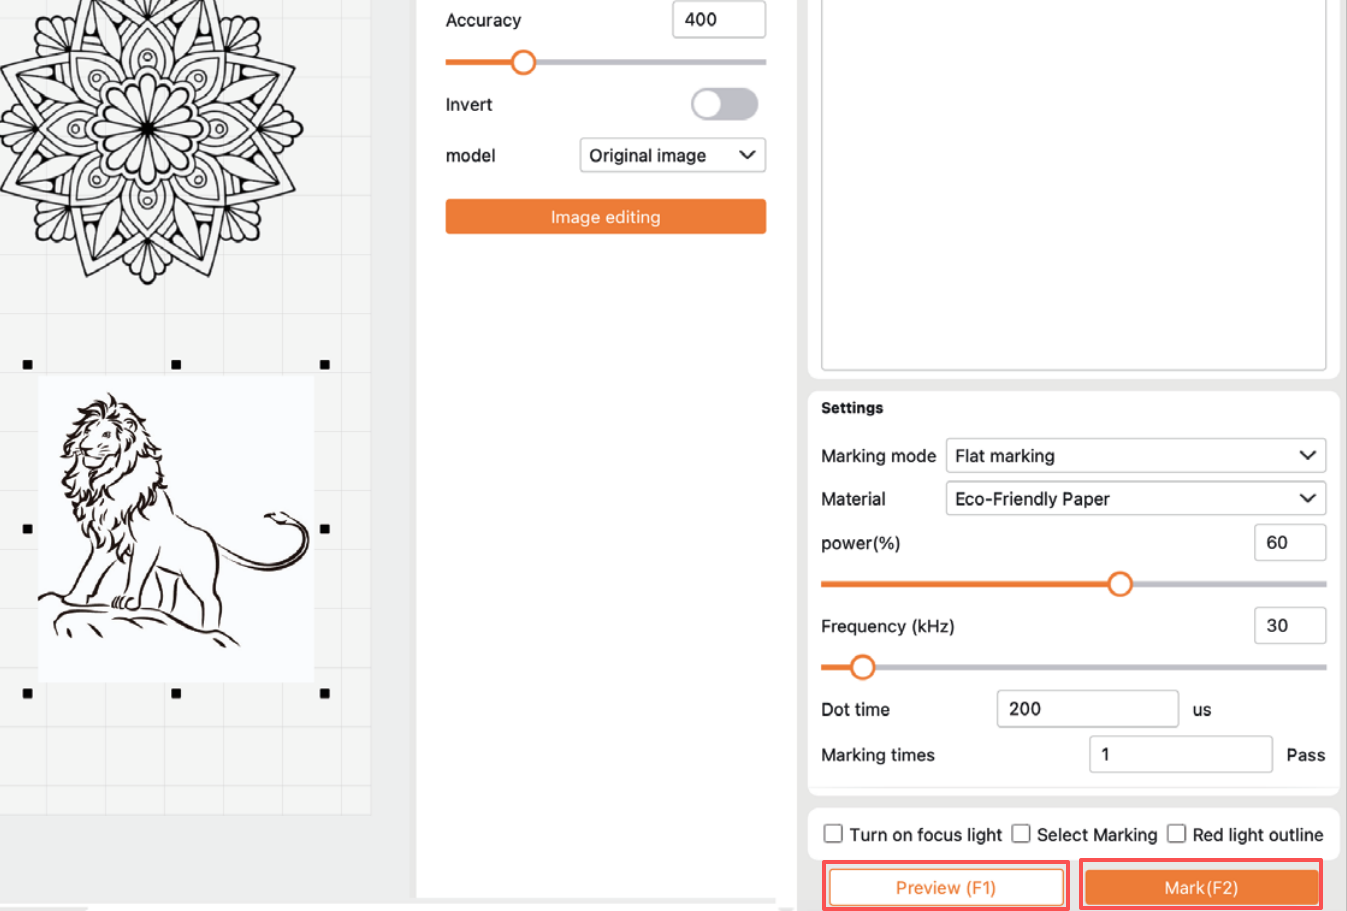
6. Adjust material size and image settings as needed. (Vector graphics do not include image adjustment options.)
7. Set marking parameters for different materials, including power, speed and jog time.
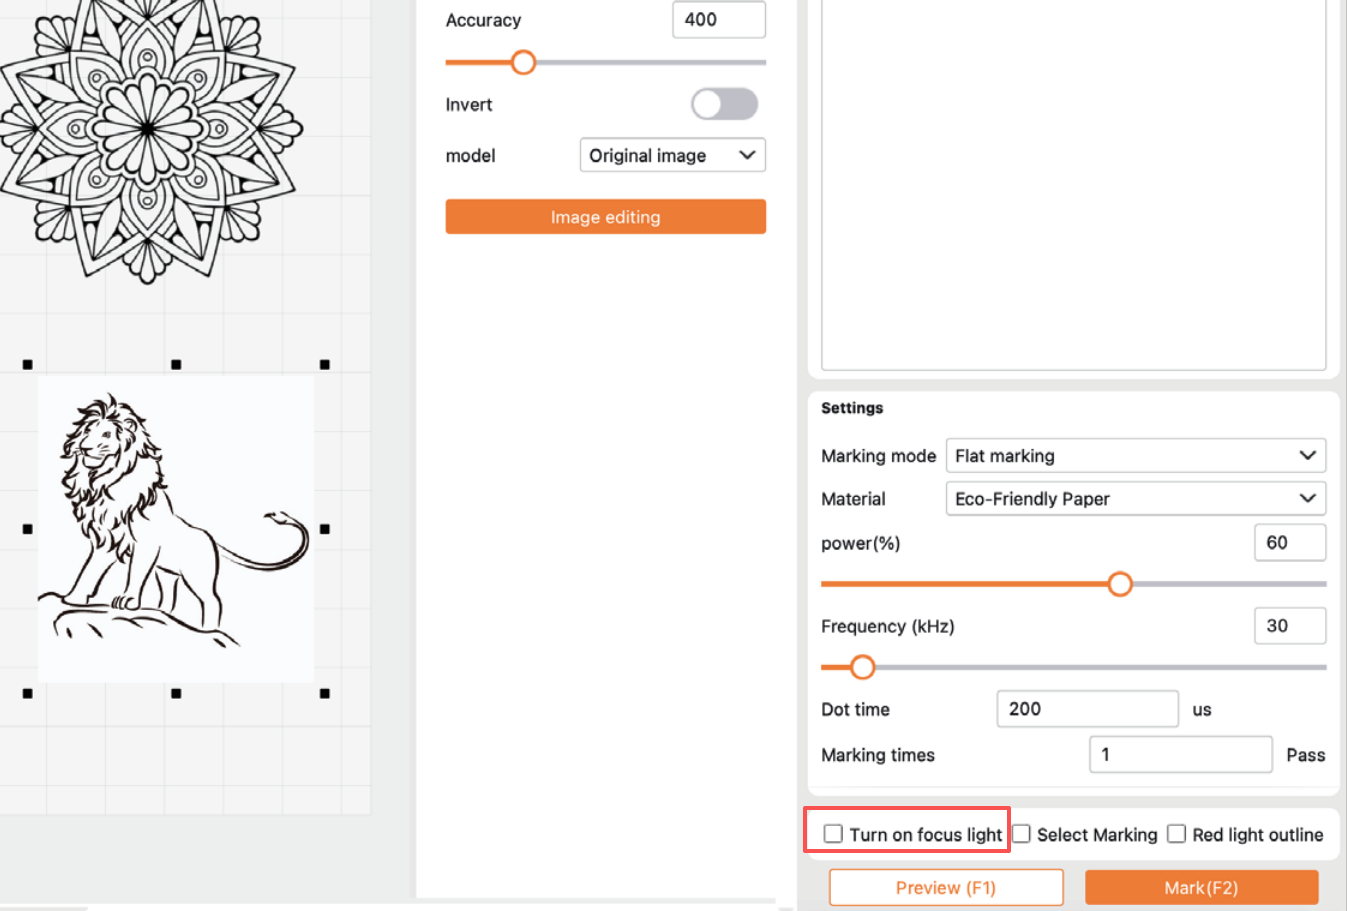
Turn on the focusing light and adjust the laser module height until the two focal points overlap. Focusing methods vary by machine model; refer to your machine manual for details.
Tap Preview to check the engraving position. Adjust object position or resize your design if required.
Once all parameters are confirmed, tap Mark to start engraving.
Accessories
Corresponding accessories can be used for different machine models.
Click Menu Bar - Device Information to turn on the switch for the matching accessory.
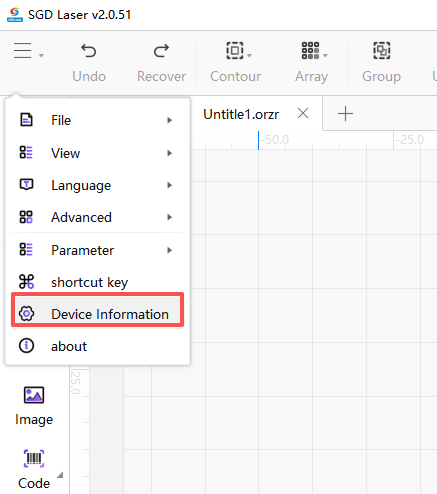
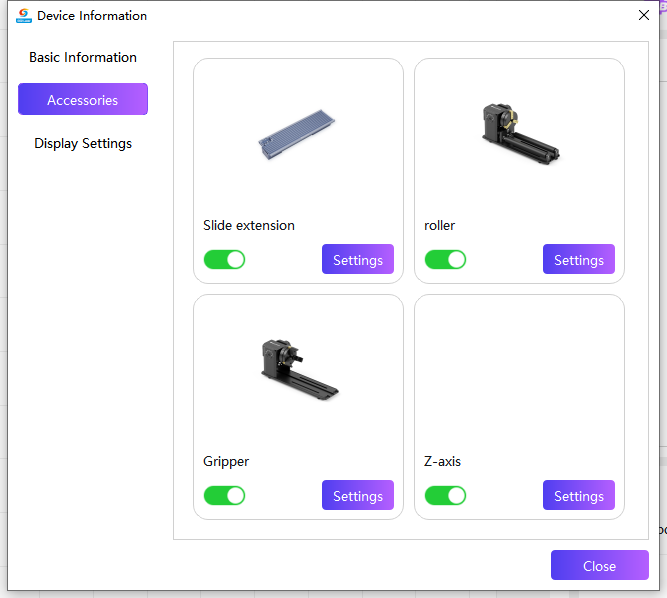
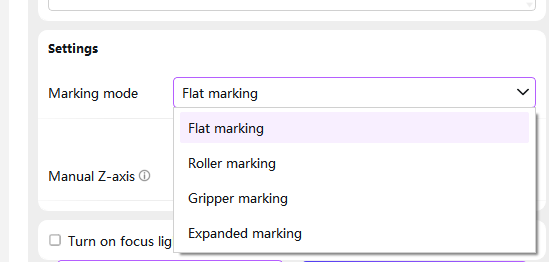
Close the window, navigate to the bottom right corner and select the corresponding mode to activate the accessory.