SGD Laser Software Installation and Usage Guide for Phone
Notes
SGD Laser currently supports G9 and V5 galvanometer laser engraving machines. You can install the software on the USB drive included with the machine.
Installation
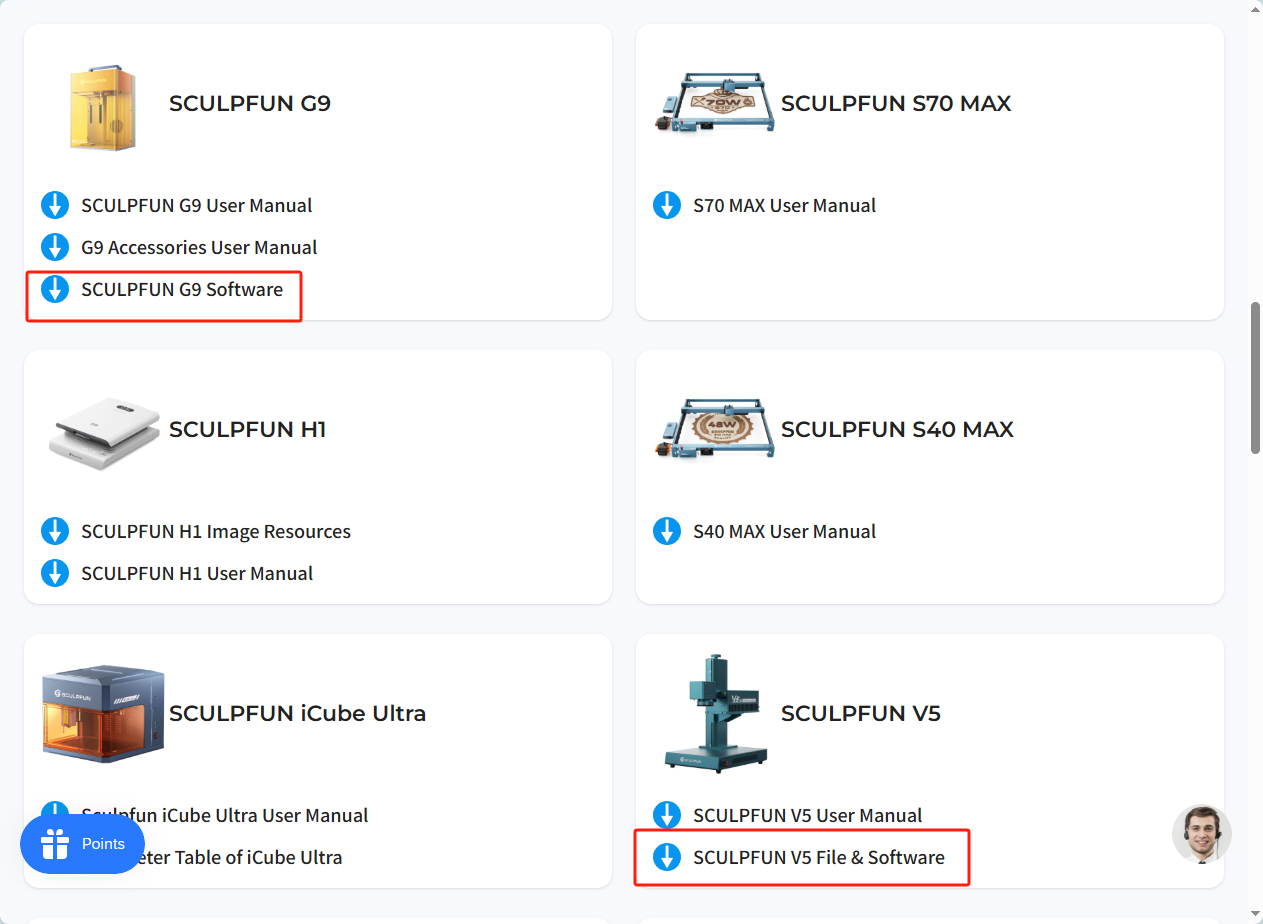
You can find the software in the Google Play Store and Apple App Store. Of course, the installation package is also included on the Support page on the official website and on the USB drive included with the machine.
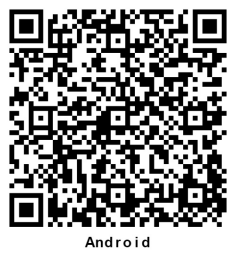

Scan the QR code to download the installer. Installation usually completes automatically.
Once installed, click the icon to open the software.
Software Configuration
Upon first opening the software, it will request certain permissions to ensure the availability of operations such as importing materials.
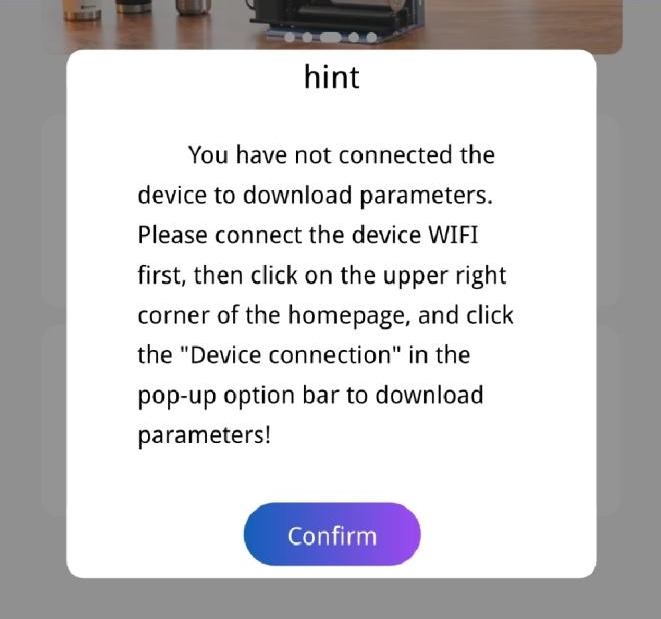
Upon entering the main interface, a prompt will appear requiring a connection to a device to obtain parameters.
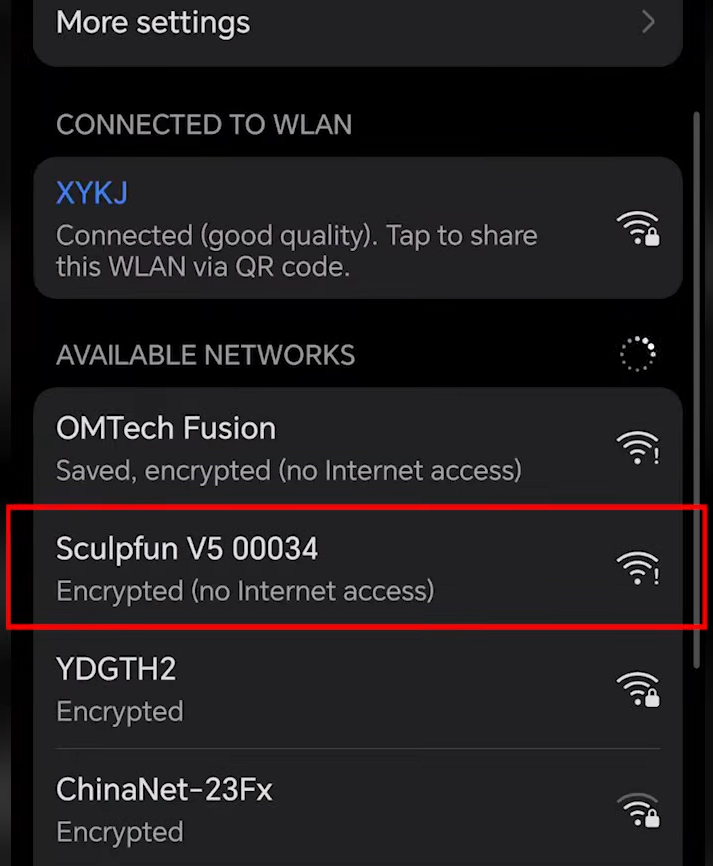
The G9 and V5 devices connect via Wi-Fi. Open Settings - WLAN. When the device is powered on, it will emit a Wi-Fi signal named "SCULPFUN V5\G9 XXXXX", with the default password "12345678". This network cannot connect to the internet. Connect to this network.
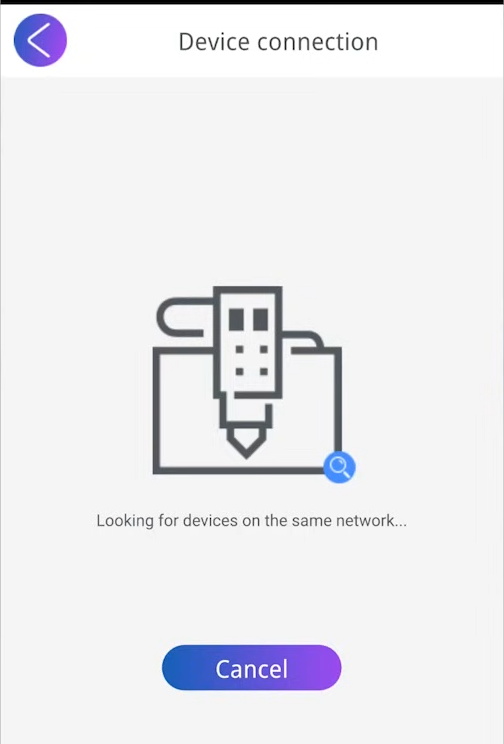
Return to the software and click on the menu bar in the upper right corner - Device Connection. Parameters will be retrieved synchronously upon successful connection.
Note that a preview box popping up indicating successful parameter acquisition means the parameters were successfully acquired. If no parameters were acquired, the machine's operation will be off-track; in this case, you need to reconnect to WiFi and acquire parameters again.
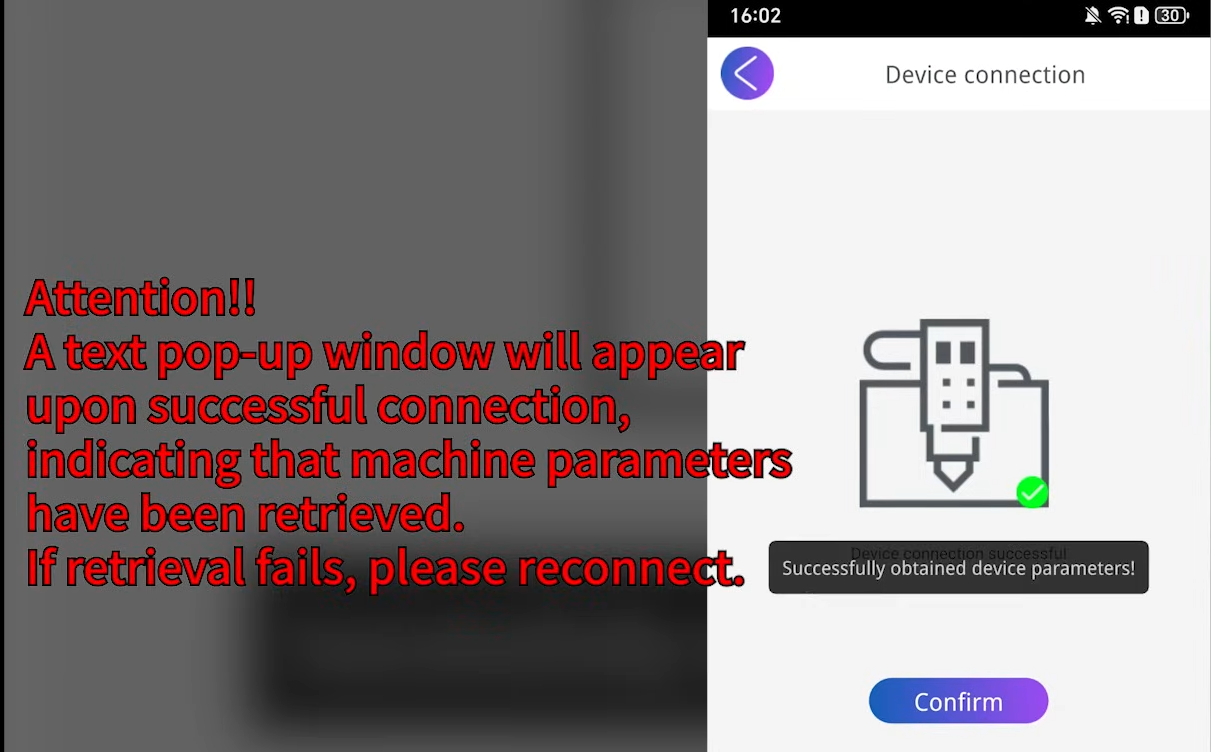
Return to the homepage after completion. Configuration is now complete.
Software Usage
Interface Introduction
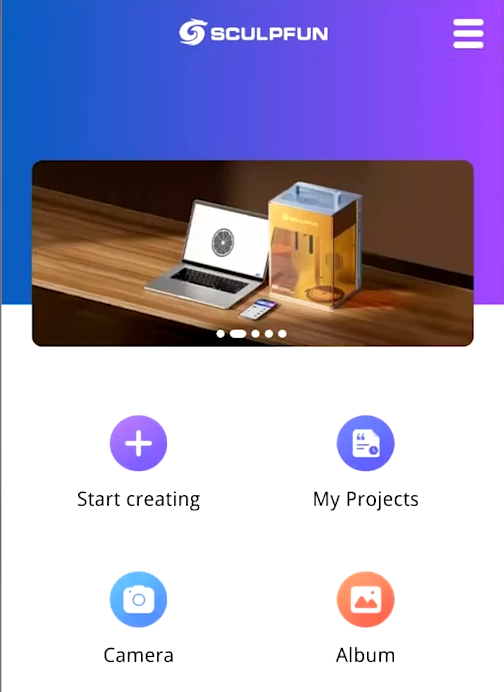
Start Creating: Click to enter the canvas and begin creating.
My Projects: All saved projects are stored here. You can find your historical projects here; the maximum number of saved projects is 100.
Camera: Click to open the camera and take a picture to use as source material.
Album: Click to open the photo album, select an image, and use it as source material.
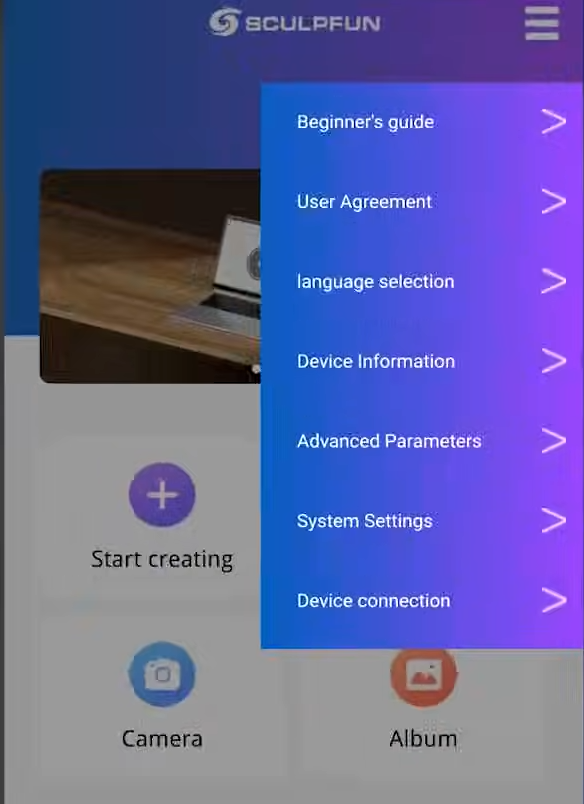
Beginner's Guide: This section contains safety guidelines for the laser and instructions on using the software.
User Agreement: Please read the user agreement carefully before use.
Language Selection: Select the interface language. The default is English.
Device Information: View the software version.
Advanced Parameters: Configure the laser here. The administrator password is sculpfun001.
System Settings: Laser system settings. Here you can select field lenses, safety gates, processing modes, etc.
Device Connection: Select this option to query and connect the device.
Software Usage
Click "Start Creating" to enter the canvas.
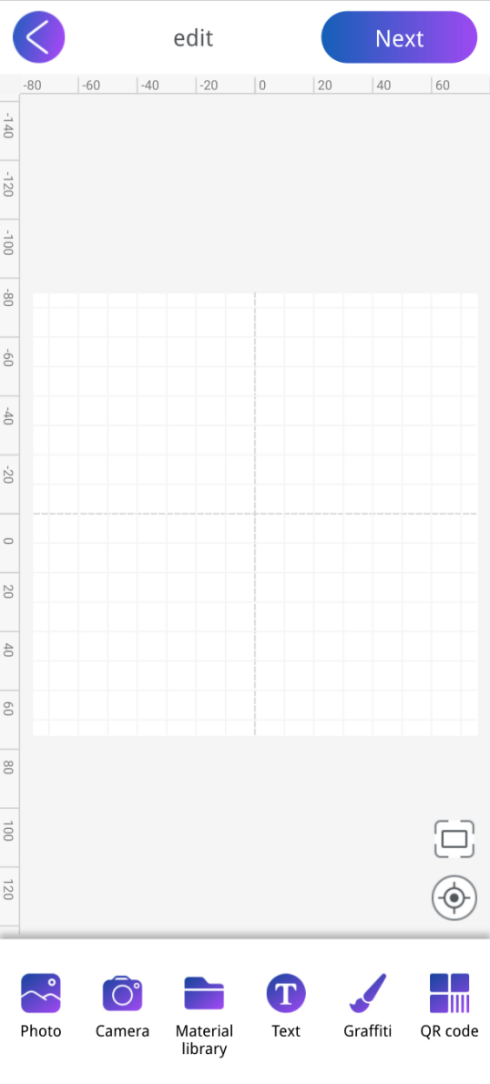
Edit the materials; after importing, you can set the material size, position, style, etc.
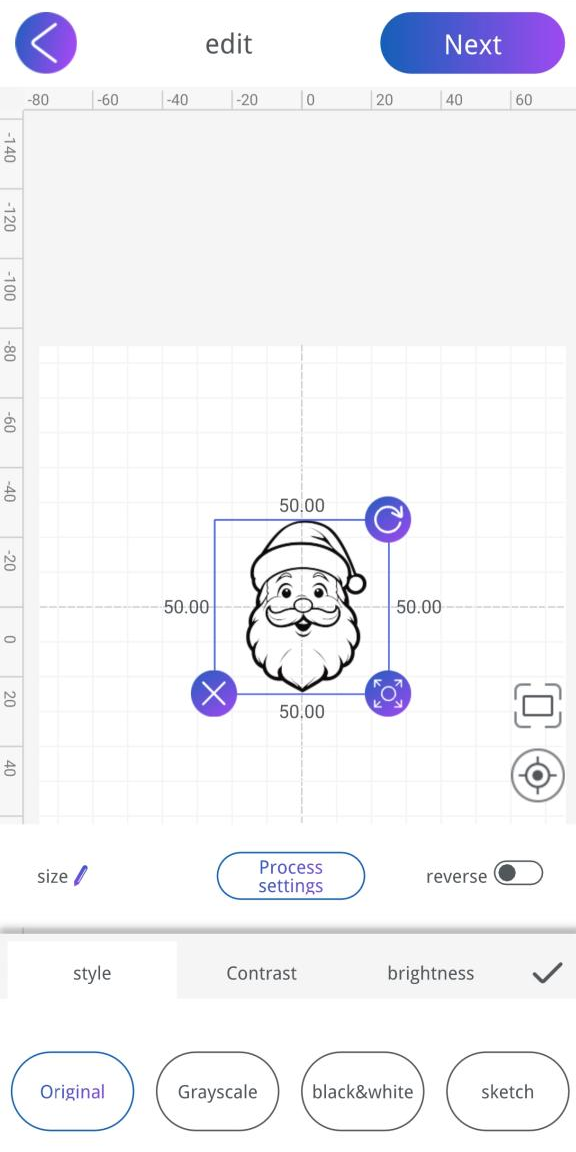
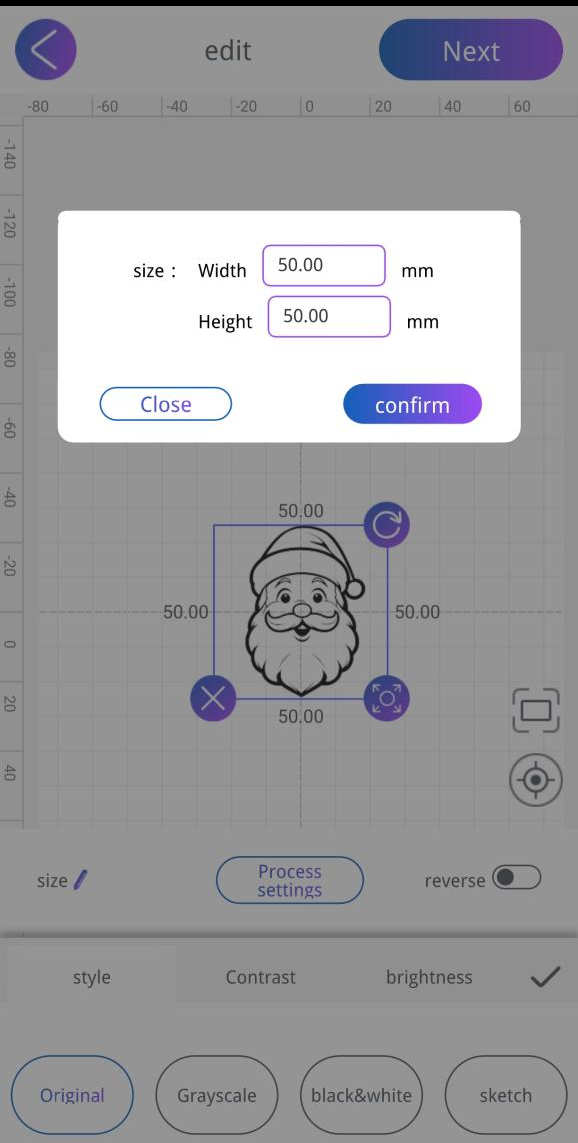
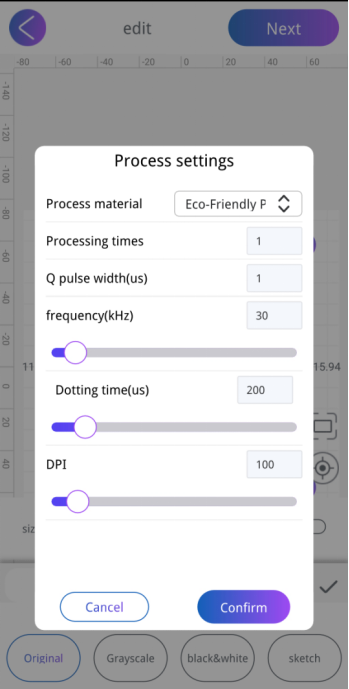
The process settings allow you to edit the relevant parameters of the laser.
After making the adjustments, click Next to preview. Click Preview to view the engraving area.
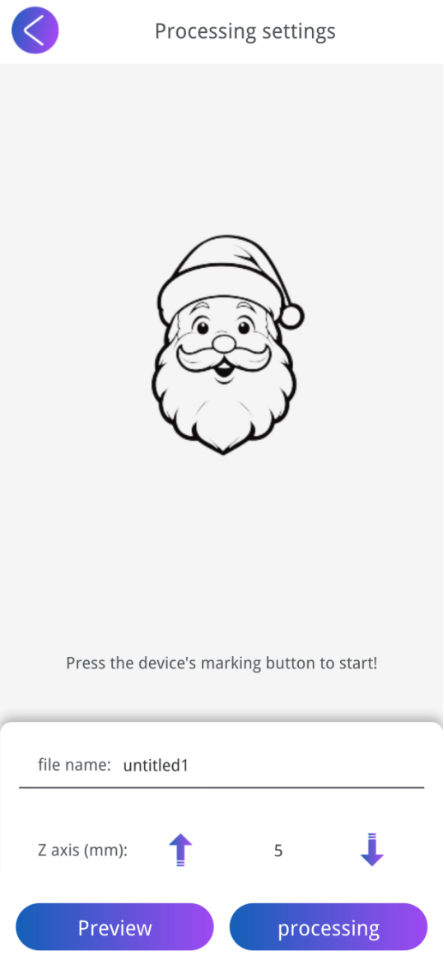
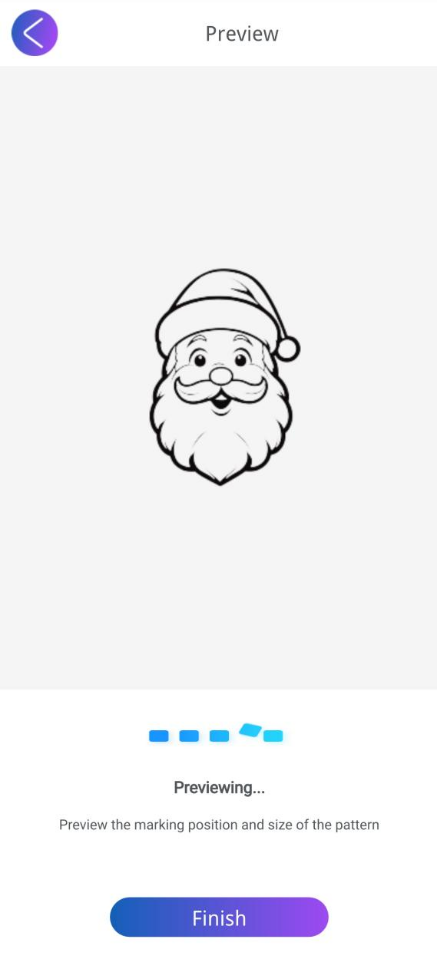
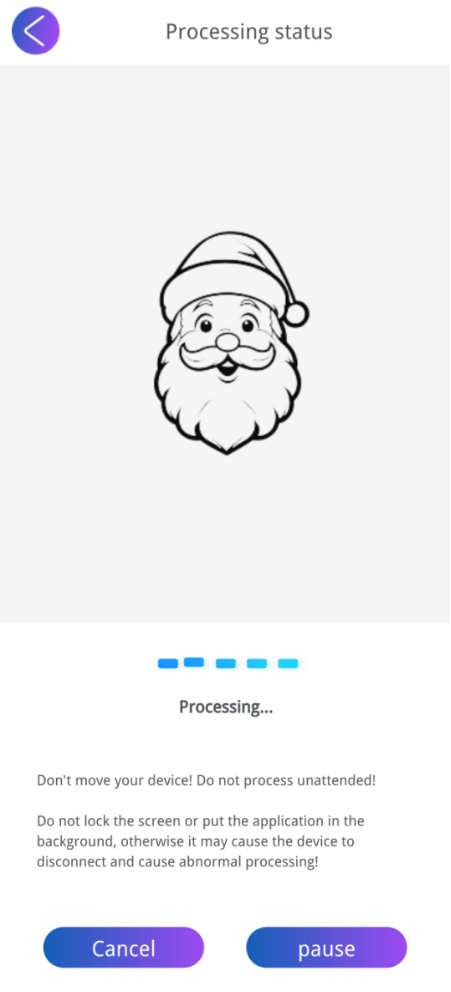
Click "Processing" to begin carving.
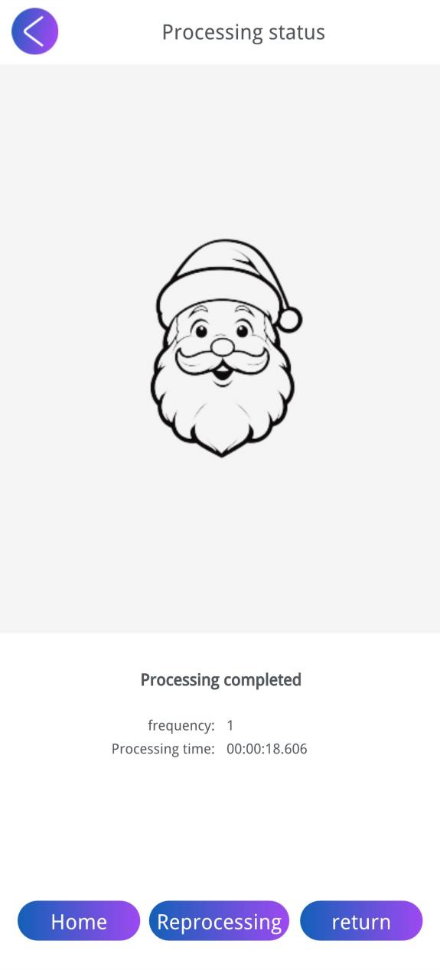
Finished product display