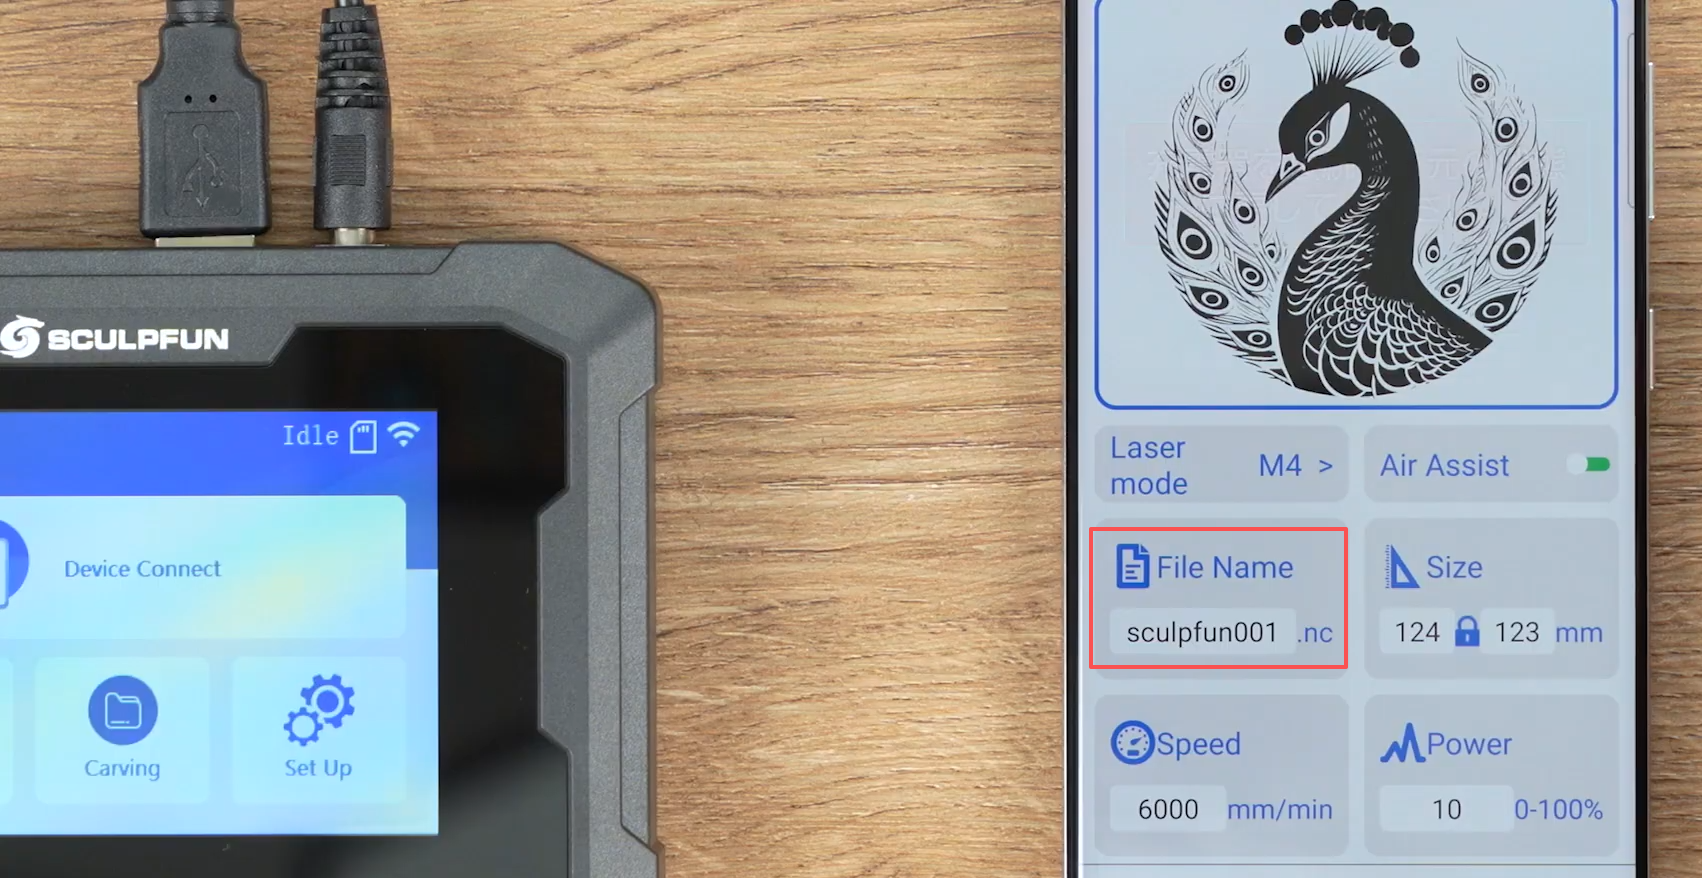
TS1 Touchscreen User Manual
Video Tutorial:
The following is the text version.
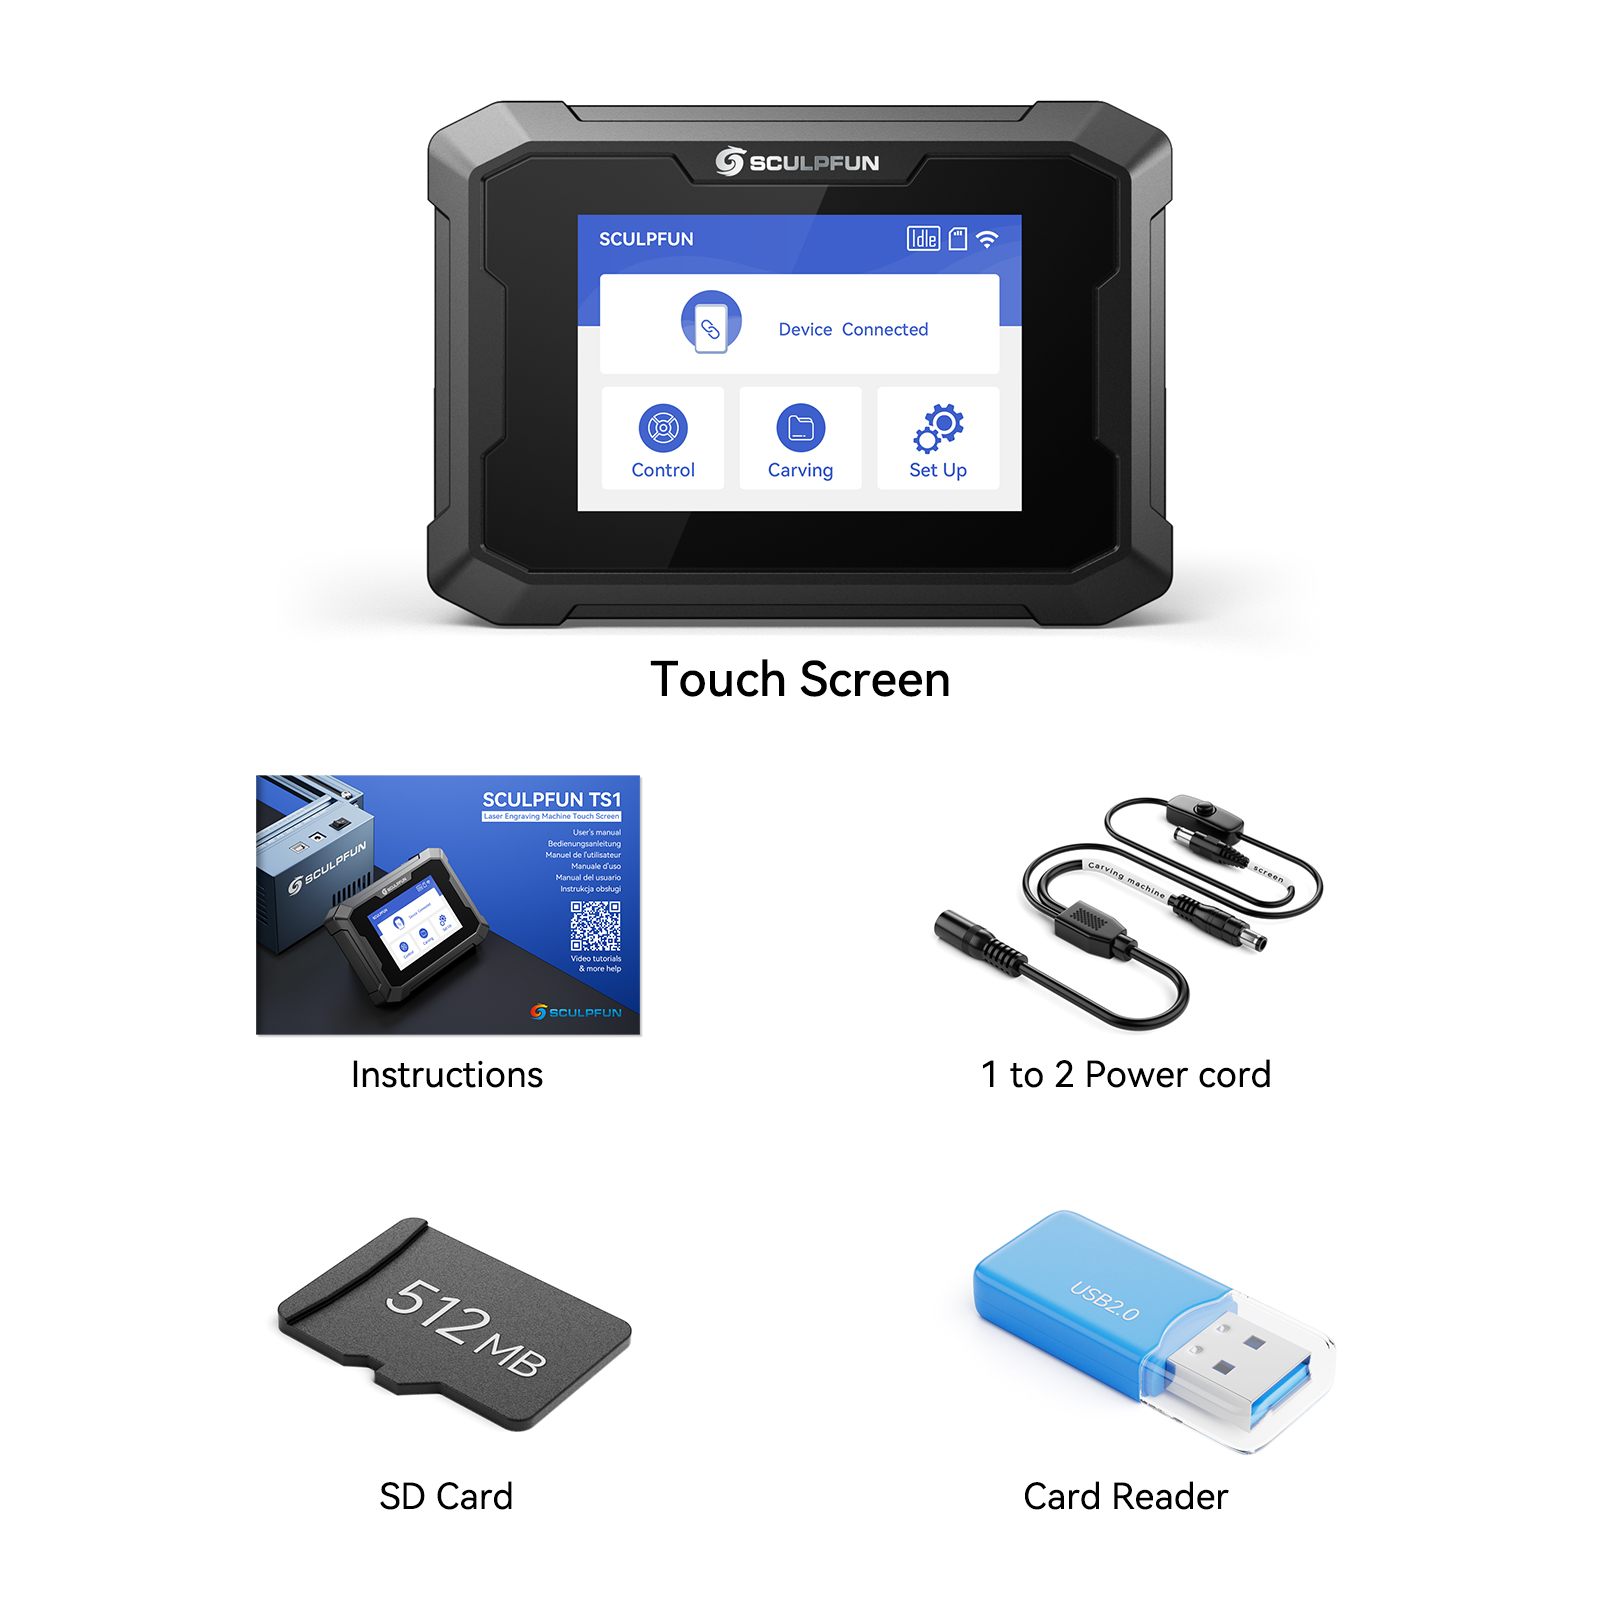
Unboxing Display
| Item | Qty |
|---|---|
| Touchscreen | 1 |
| Power Cable | 1 |
| SD Card | 1 |
| Card Reader | 1 |
| Manual | 1 |
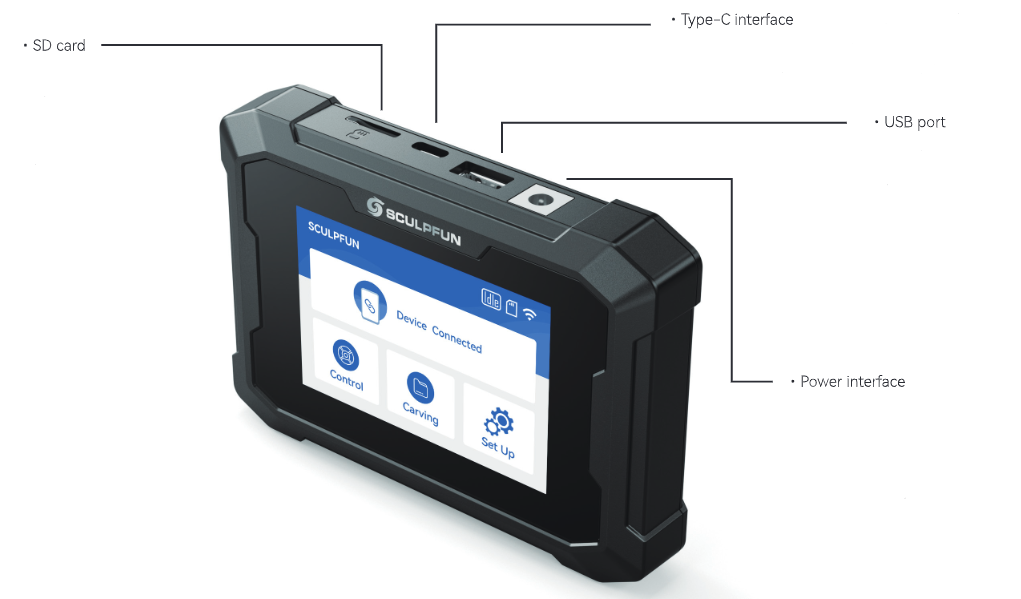
Interface Introduction
Hardware Connection and Installation
Take out the power cable from the package, and pay attention to distinguishing the interfaces.
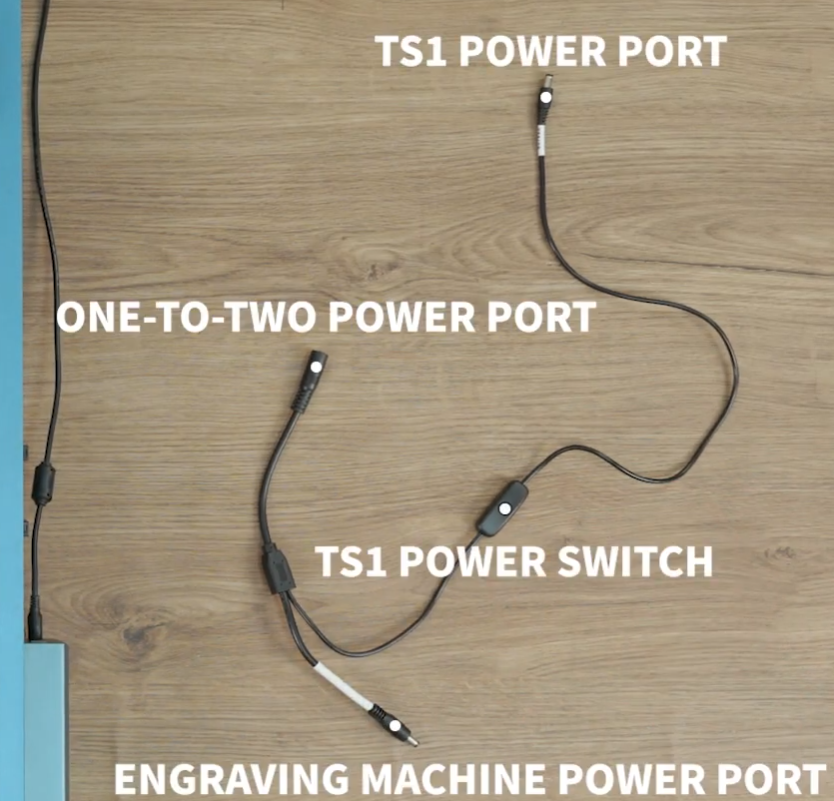
Plug the machine power into the one-to-two power cable, and connect the other end to the machine interface and the TS1 power interface respectively according to the prompts.
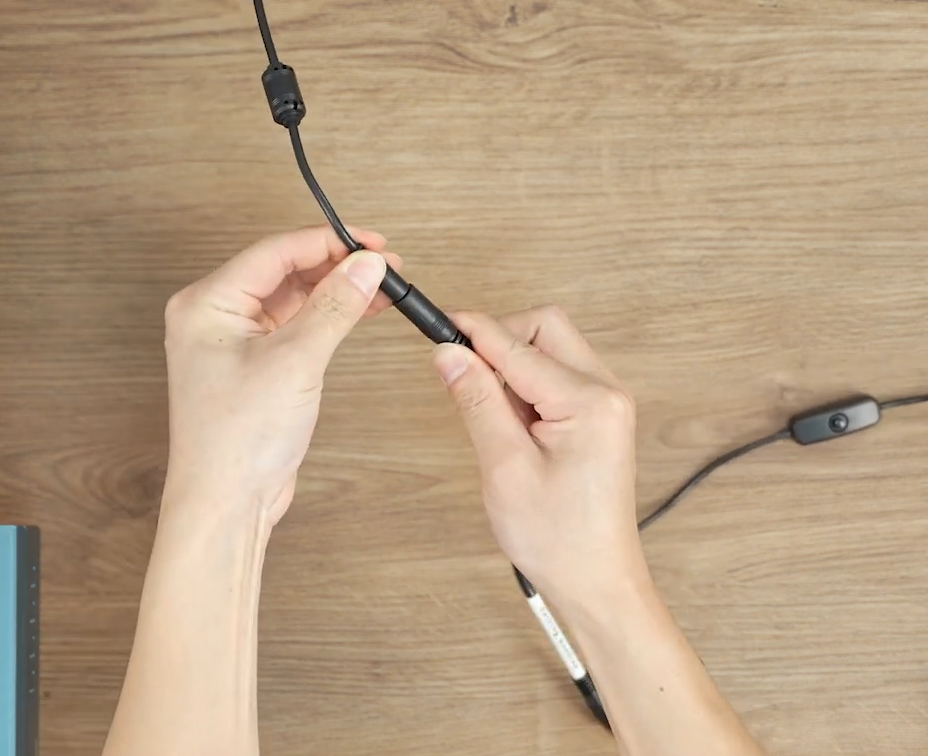
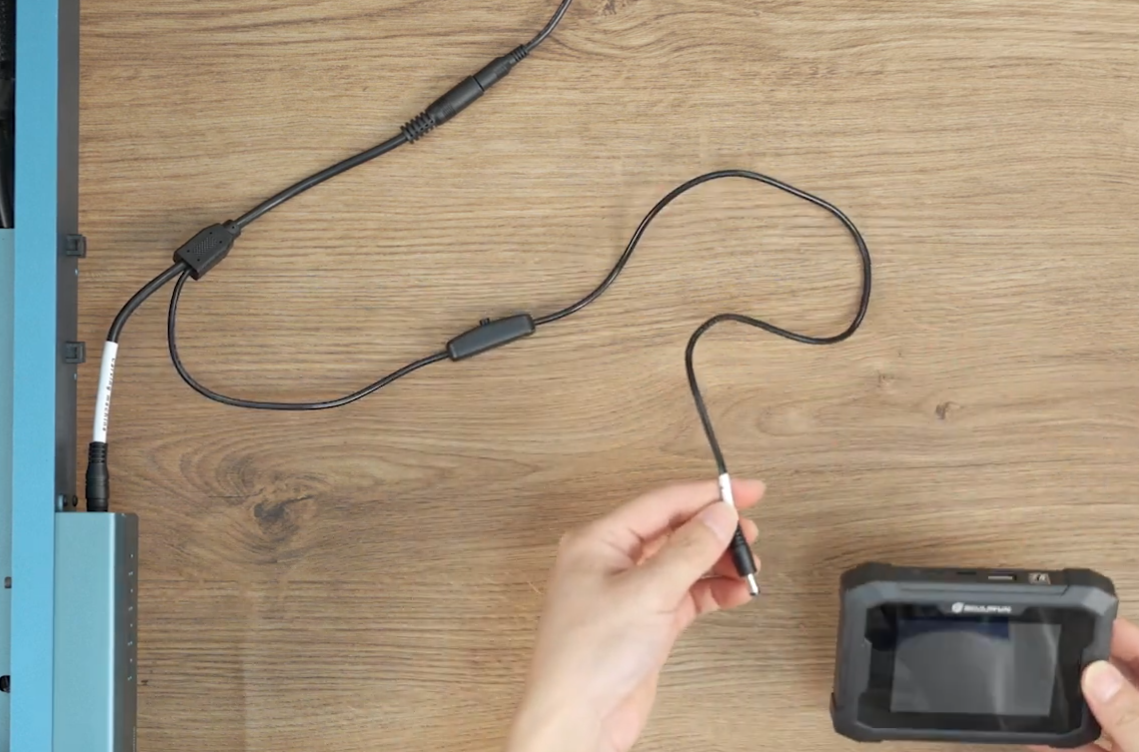
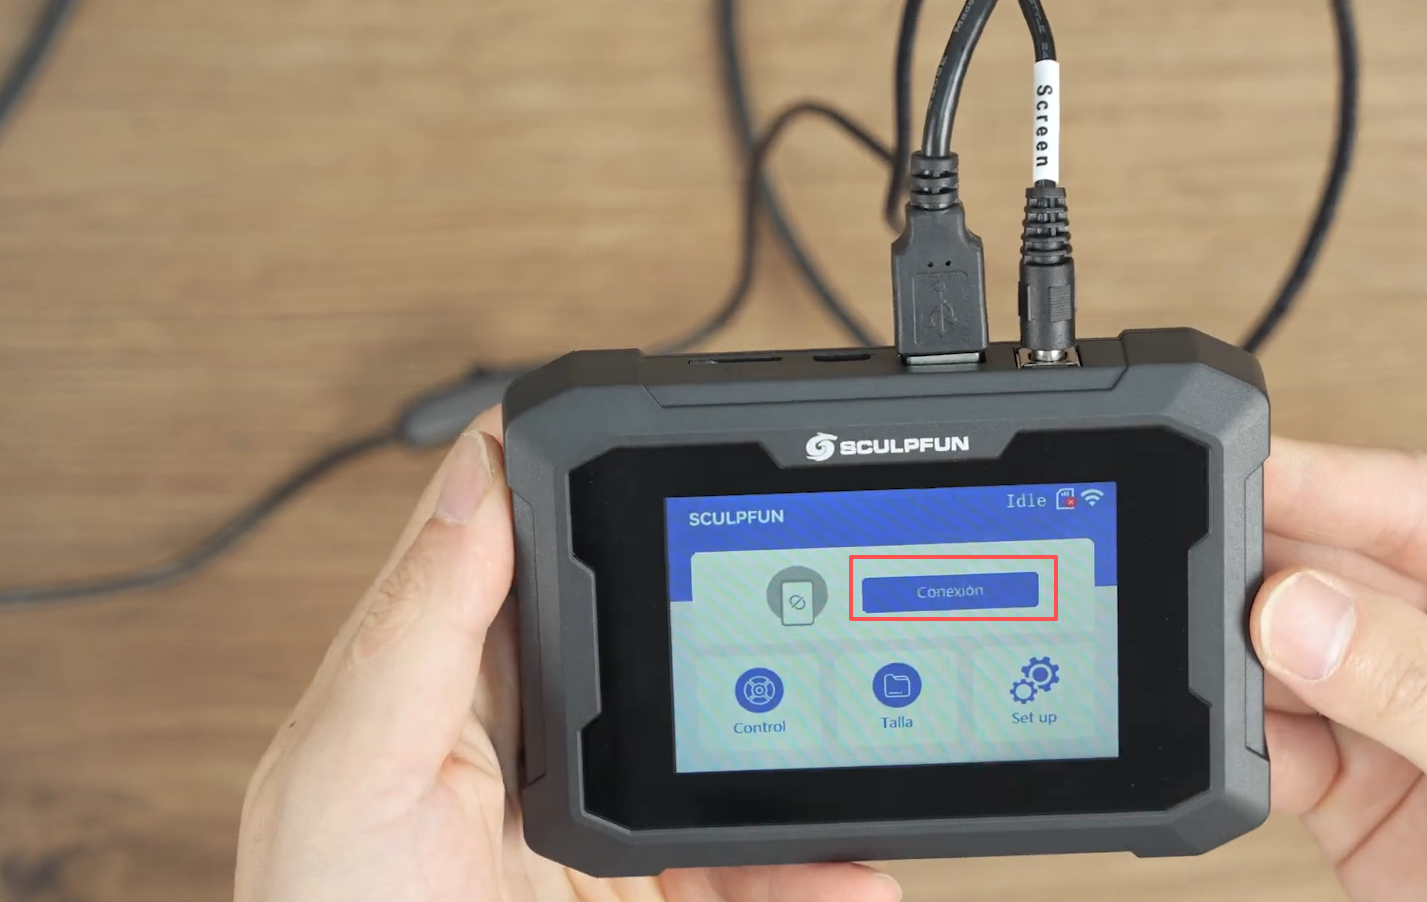
Turn on the machine; the TS1 display will not light up at this time. Flip the switch on the TS1 power cable, and TS1 will power on.
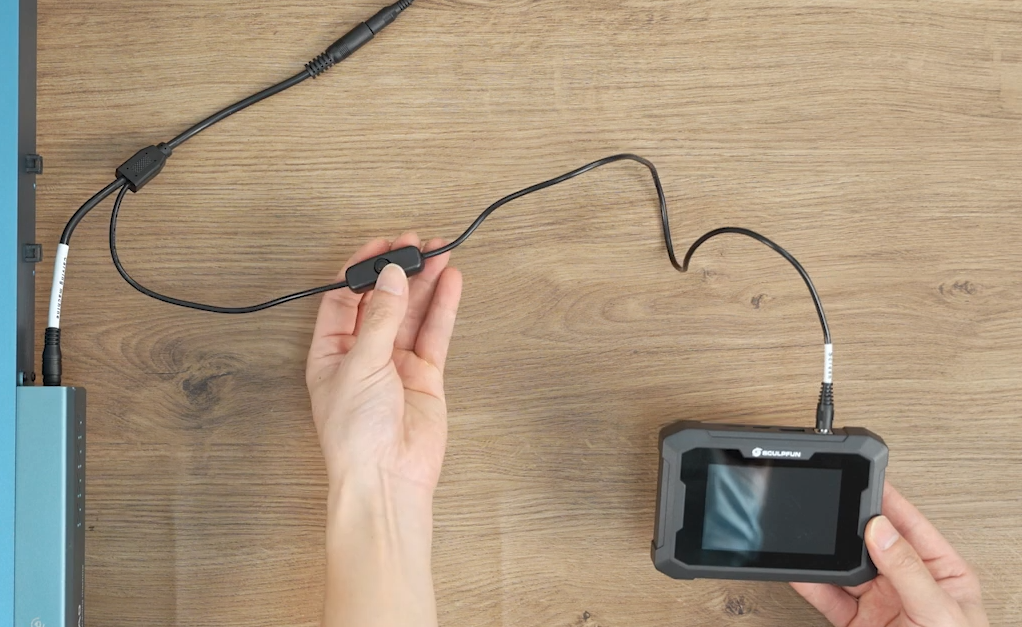
Connect the USB data cable of the machine: insert the USB-B port into the machine, and the USB-A port into the TS1 screen.
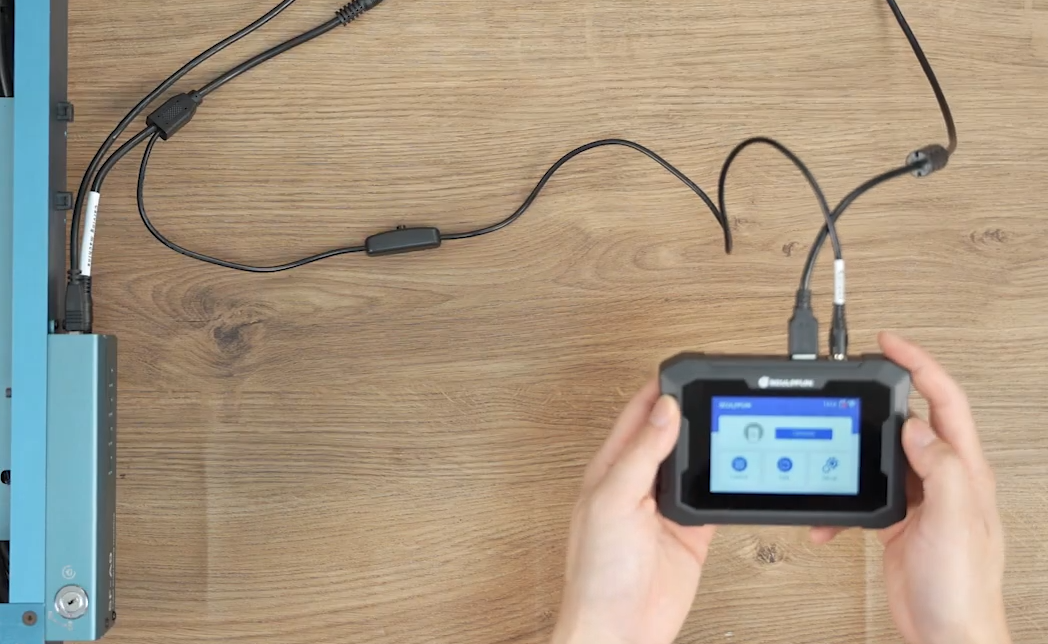
Tap "Connect" on the TS1 screen, and TS1 will connect to the machine successfully, allowing control via commands.
Interface Introduction
Home Page
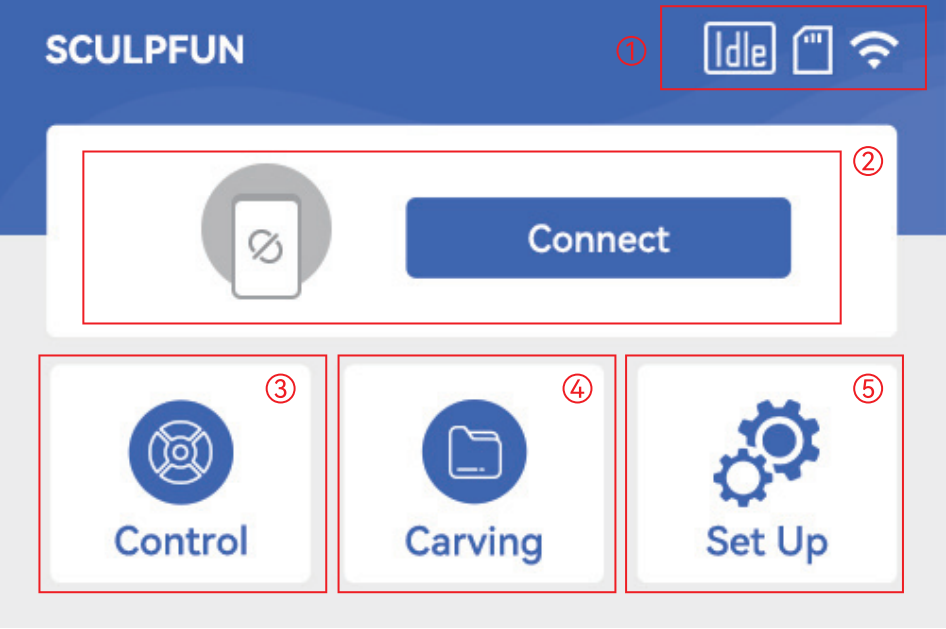
1. Status Bar
2. Connection Status
3. Control Interface
4. SD Card Files
5. Touchscreen Settings
Control
Tap Control to navigate to the following page
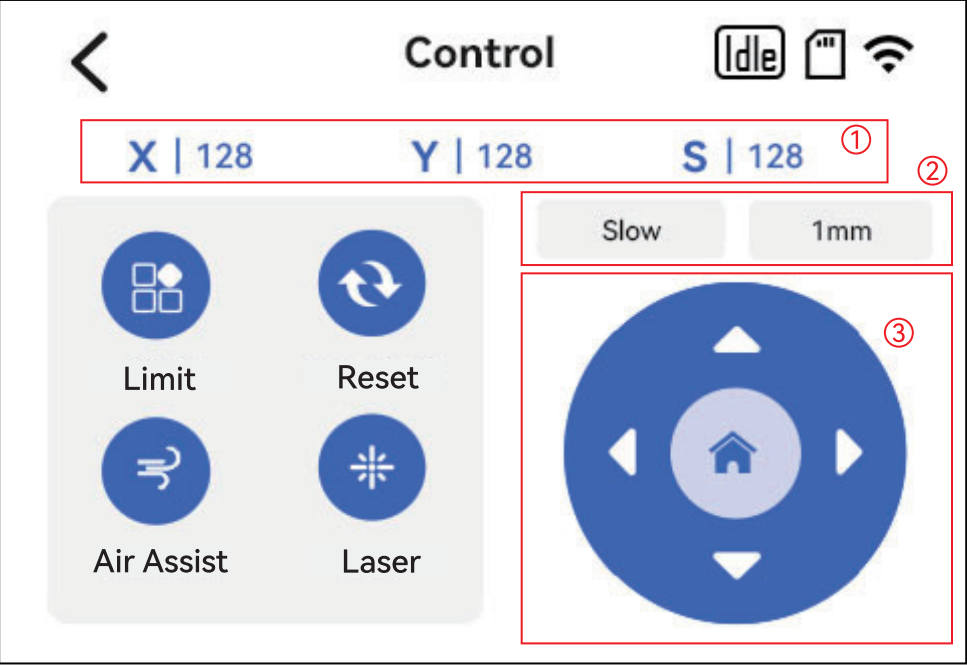
1. Current laser position coordinate information
2. Movement speed/distance
3. Directional pad for controlling laser movement Reset: Return to the original position of the machine
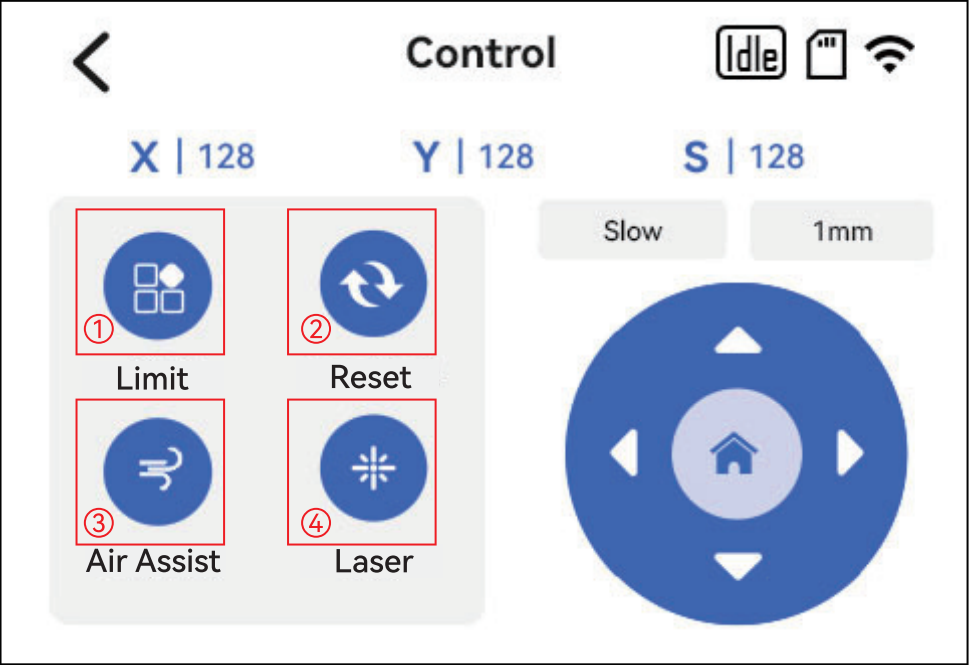
1. Hard Limit Switch: When enabled, pressing the "Homing" button to return to origin will make the machine stop upon touching the limit switch. When disabled, pressing "Homing" will return the machine to the user-defined origin.
2. Reset Button: Resets the touchscreen when an error occurs.
3. Air Pump Switch: Controls the air pump connected to the engraving machine.
4. Laser Preview Switch: When enabled, the laser previews at 3% power.
Carving
Tap Carving to navigate to the following page
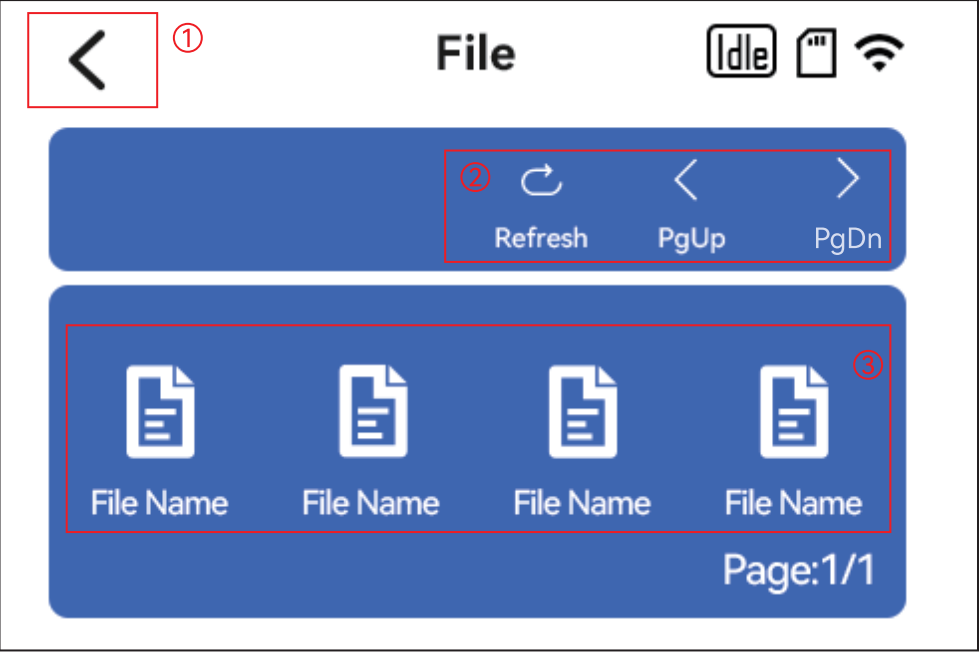
· Return to the previous page
· Refresh / Previous Page / Next Page
· Select the corresponding file name for engraving
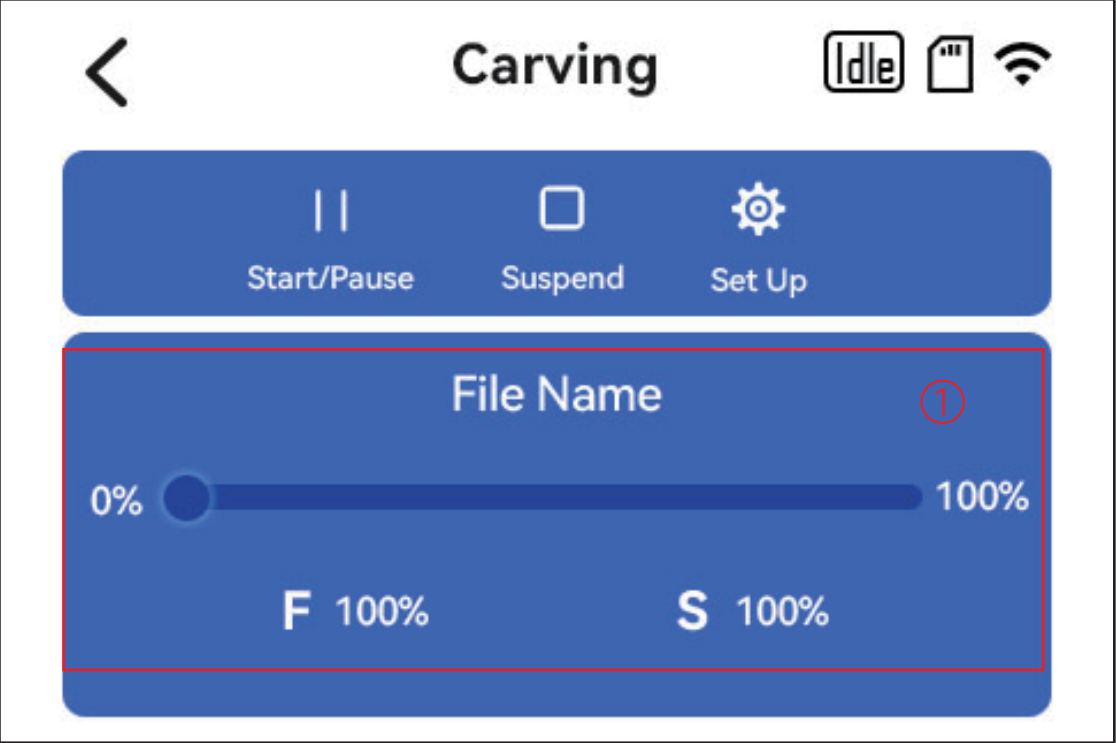
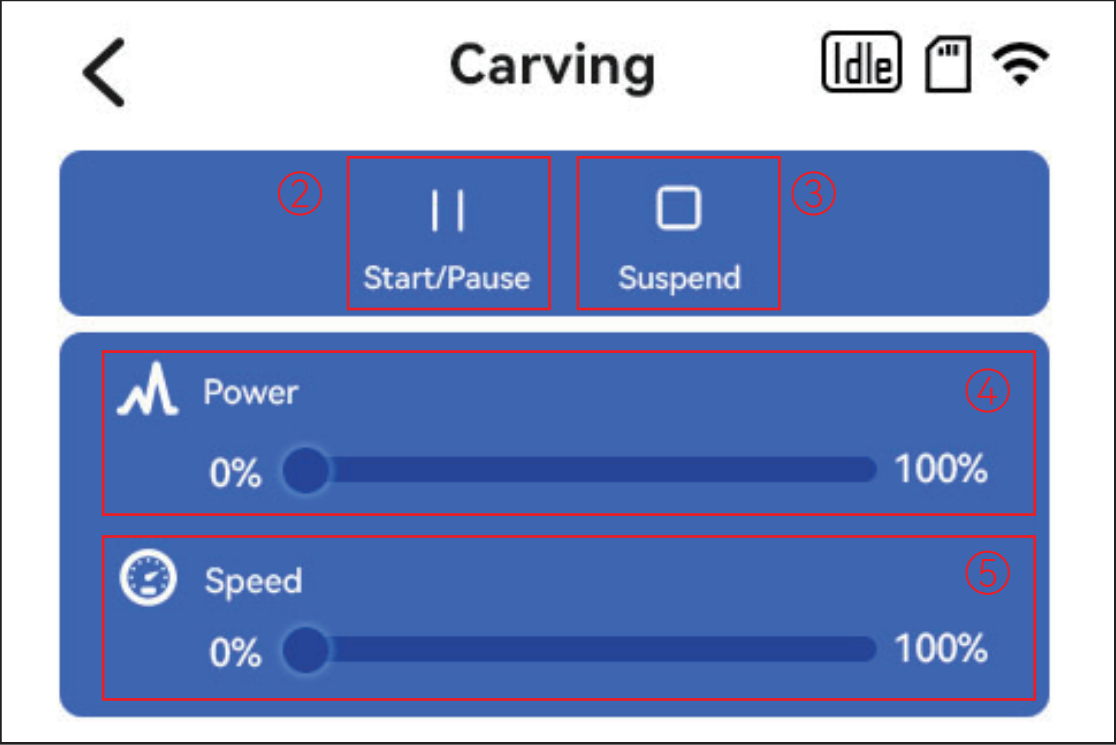
Tap the Carving button to enter the carving page
(1) Displays the name and completion percentage of the carving file
Tap Setup.
(2) Start/Pause button
(3) Stop carving button
(4) Power coefficient adjustment
(5) Speed coefficient adjustment
Setup
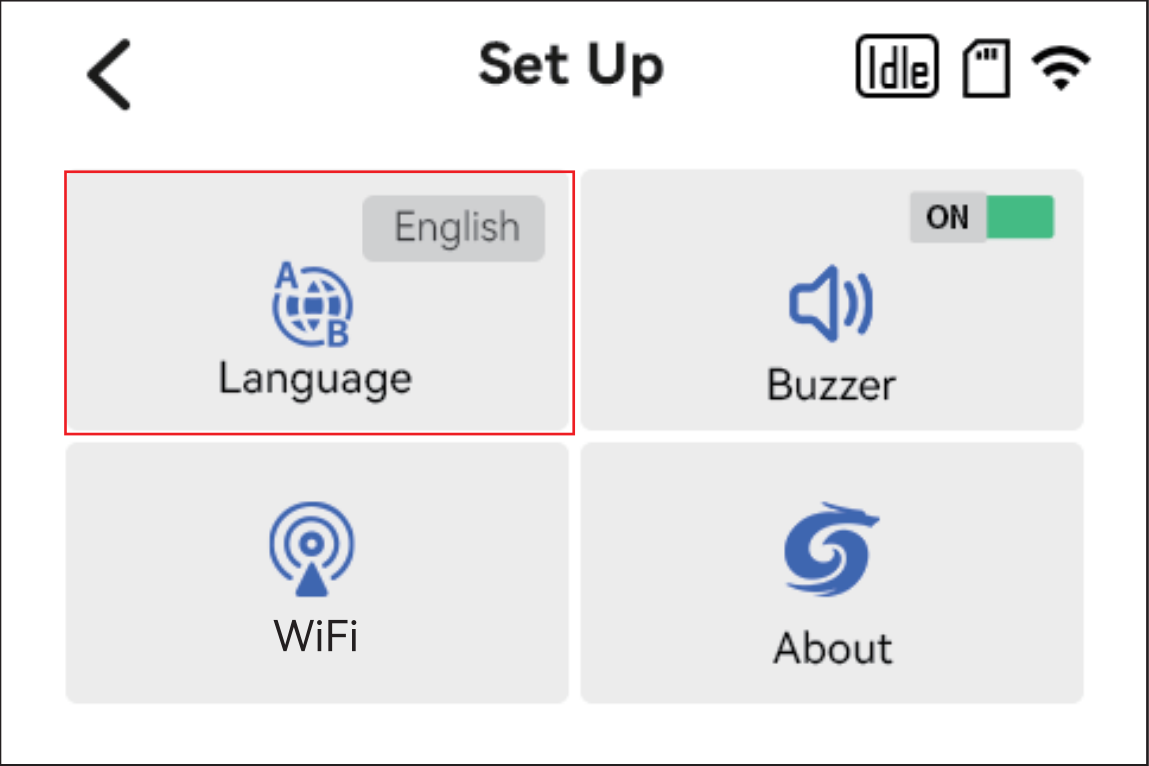
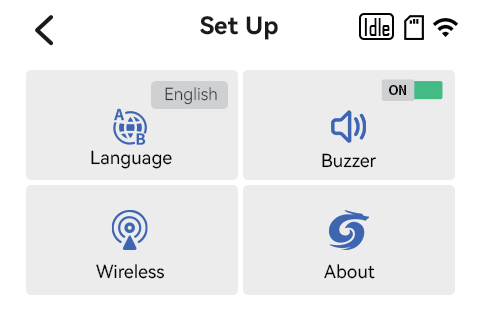
Languages : Supports English, French, German, Italian, Spanish, and Polish
Buzzer: The buzzer works when the device is on and does not work when it is off.
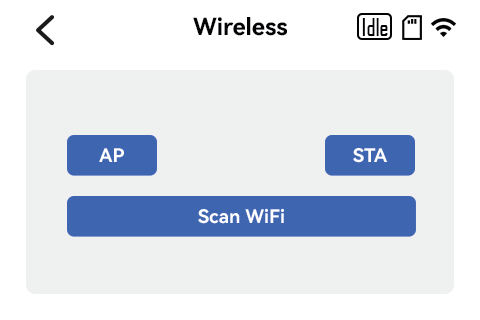
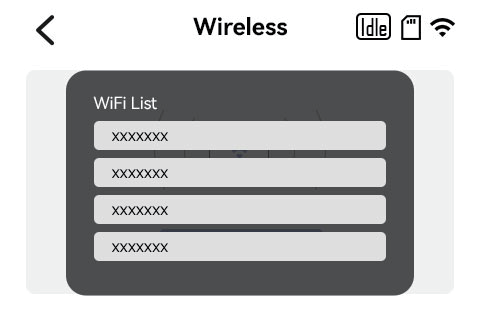
WiFi: You can choose AP/STA or search for nearby networks.
About: You can scan the QR code to view TS1 related information.
Machine Connection
Wired Mode
After connecting the hardware as described above, tap Connect on the TS1 touchscreen to complete the connection.
Wireless Mode
The TS1 touchscreen can connect to a mobile APP via WiFi. Open the wireless settings.
STA
In STA mode, the TS1 touchscreen scans for and connects to your own WiFi, supporting only 2.4GHz networks, and must be on the same network as your mobile phone.
Check the current IP address in the touchscreen wireless settings
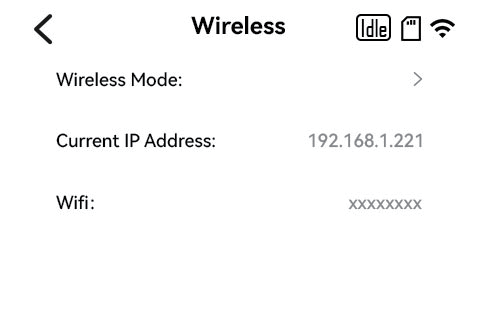
Open the Sculpfun app on your mobile phone and enter the corresponding IP address
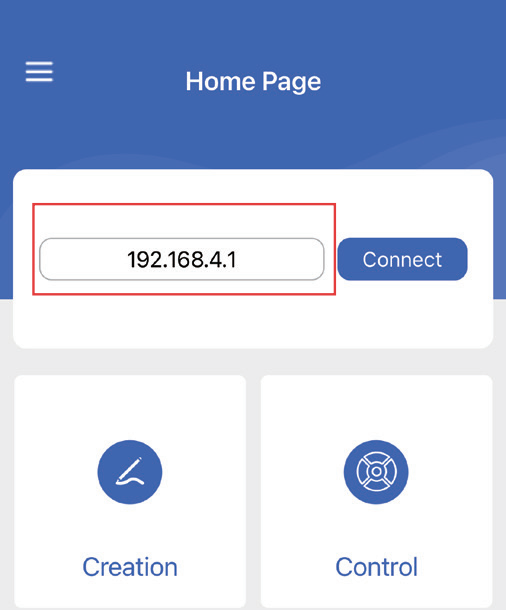
Once connected successfully, you can use the mobile app for slicing operations.
AP
In AP mode, the TS1 touchscreen broadcasts a WiFi hotspot named Sculpfun TS1 XXXXXX with the default password 12345678. This hotspot has no internet access.
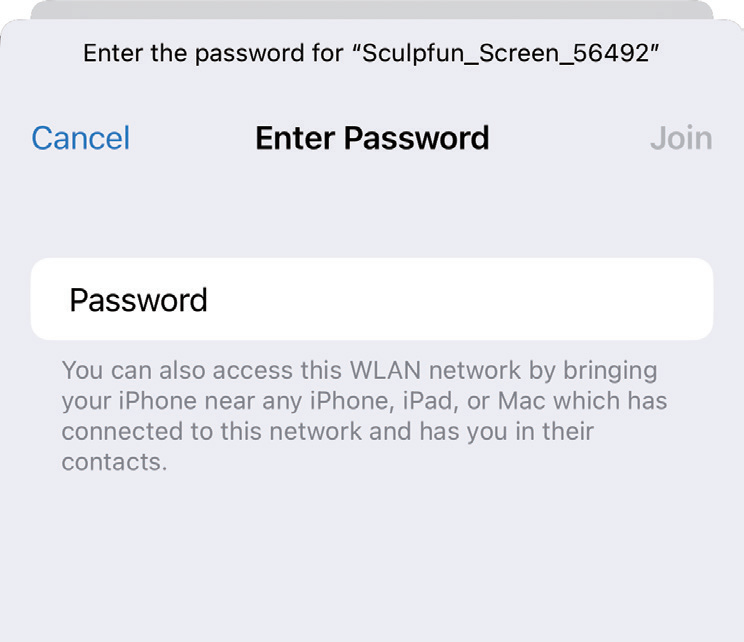
Open the Sculpfun app on your mobile phone and enter the corresponding IP address.
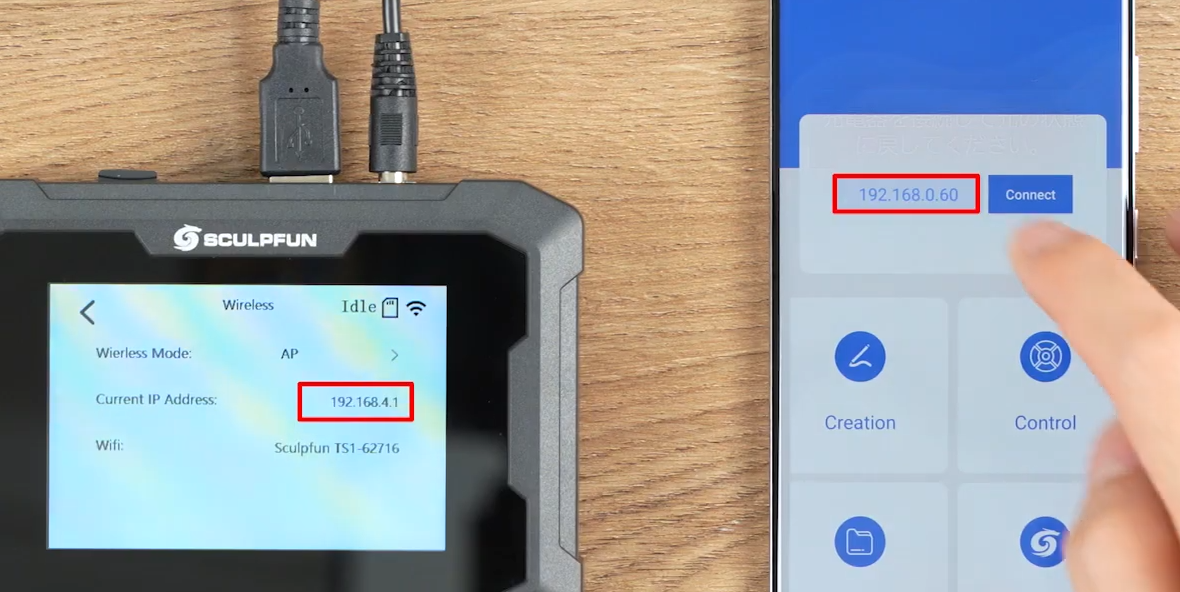
Once connected successfully, you can use the mobile app for slicing operations.
Machine Operation
Importing Materials
The TS1 touchscreen performs engraving by reading and executing Gcode files. To use it, you must first import the code files.
Connect the laser engraving machine to a computer. Open engraving software that can export Gcode, using LightBurn as an example here.
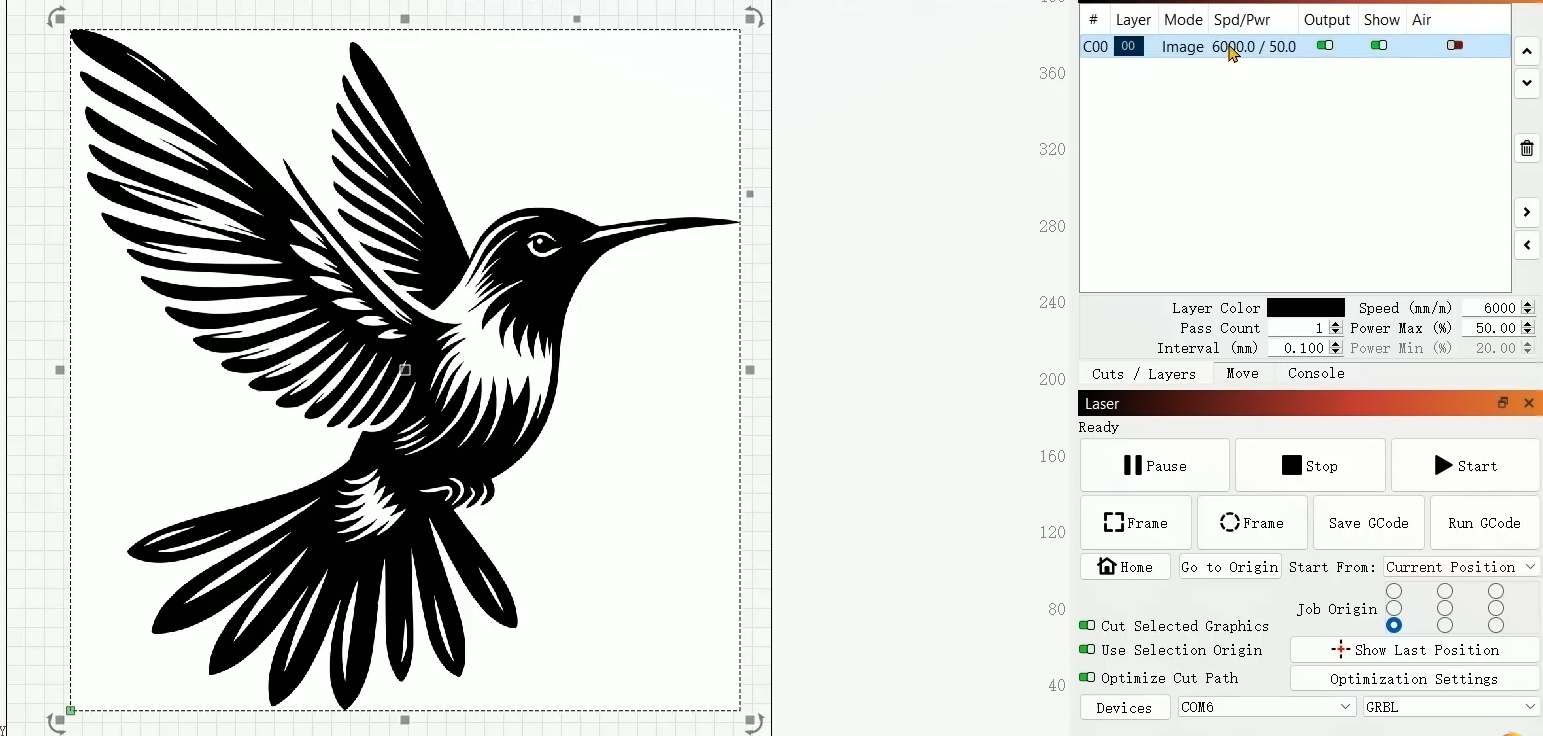
Place the material on the machine, import the design in the software, and set the corresponding parameters for the material.
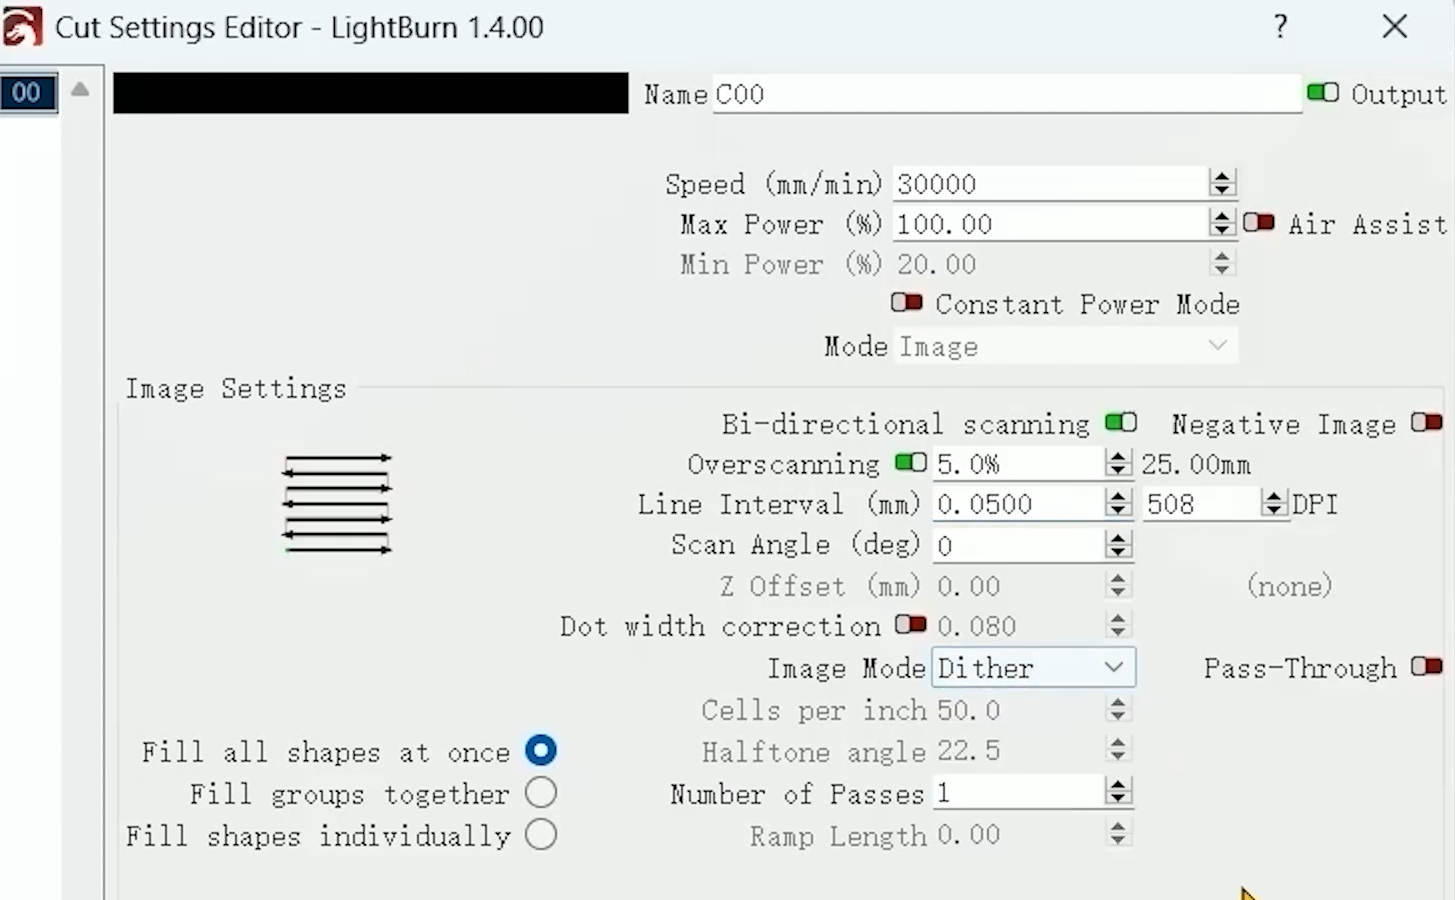
After homing, tap Preview to check the engraving position, adjust the design or the material in the machine to achieve the desired effect. Absolute coordinates are recommended.
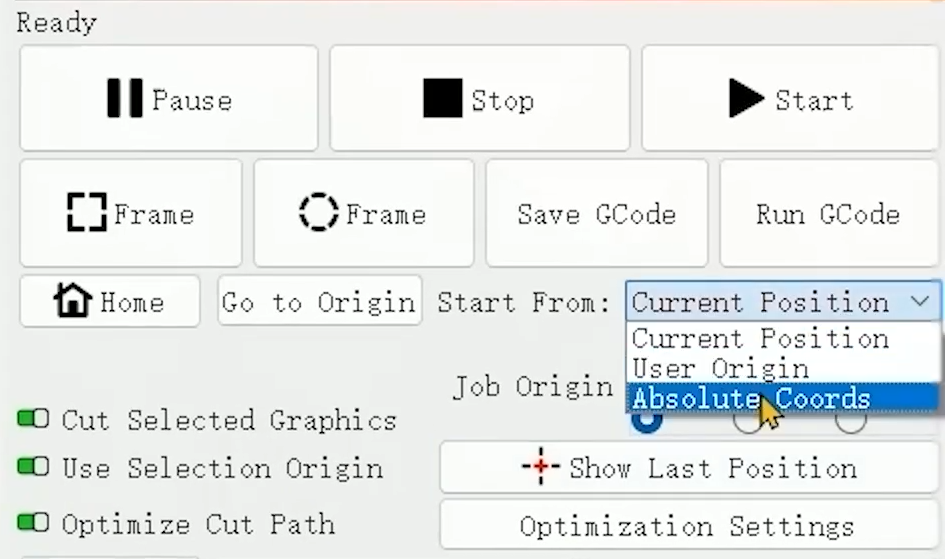
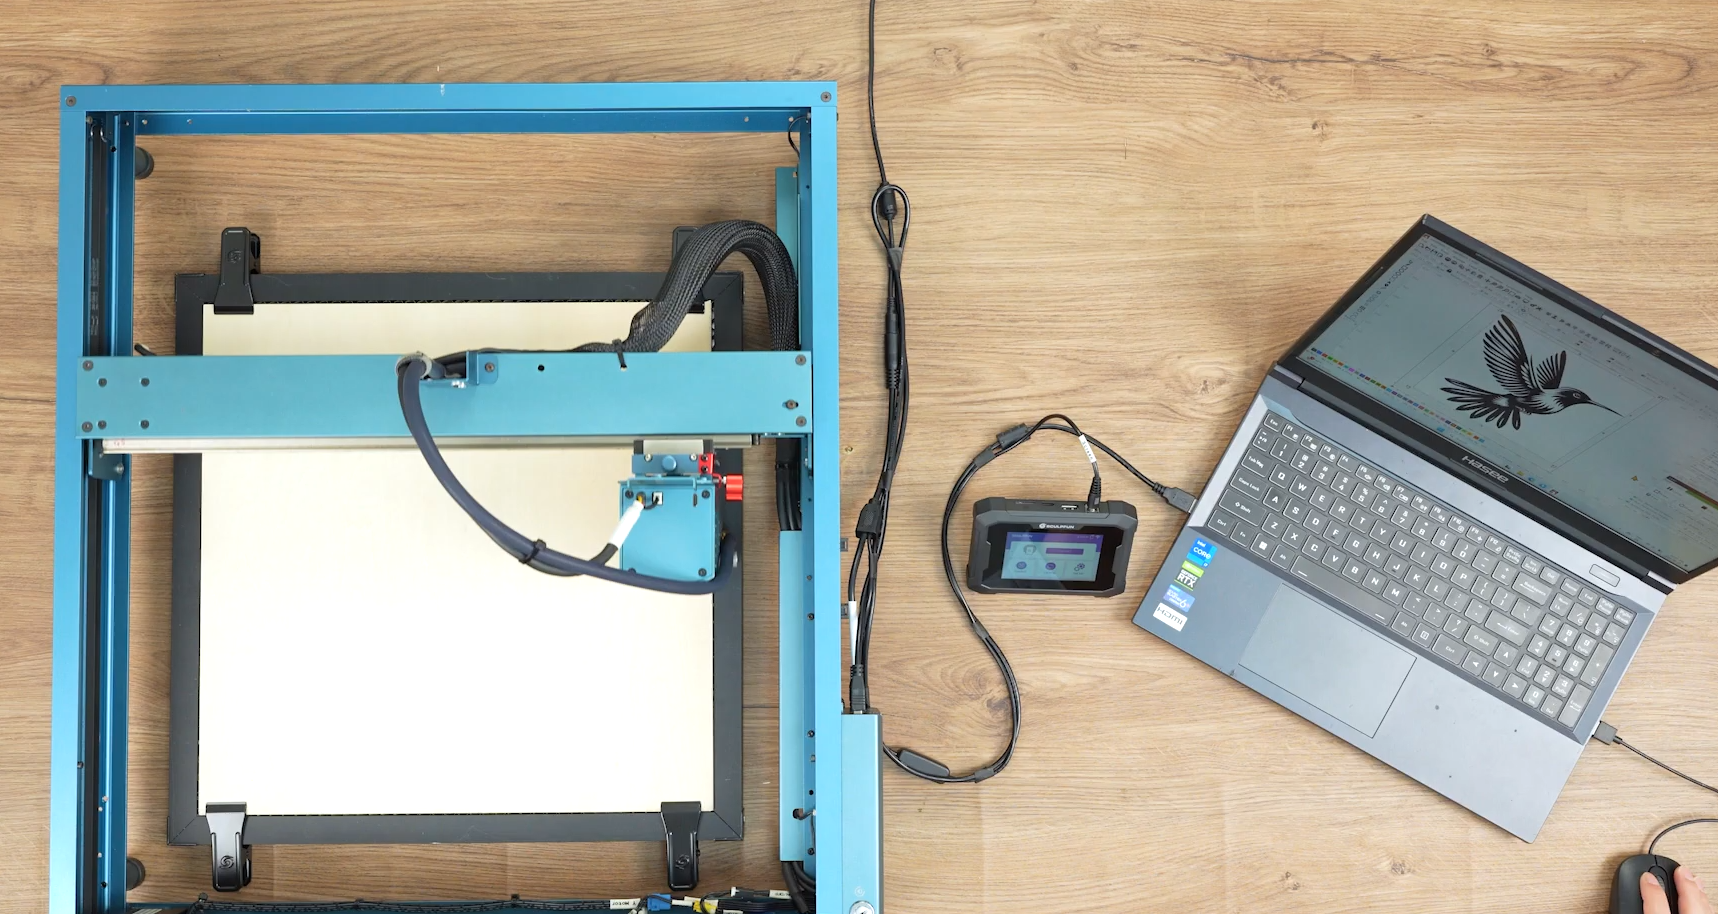
After adjustment, tap Home to return the laser to its original position.
Tap Save GCode to export the code. Note: Do not export G-code files directly to the SD card to avoid file corruption.
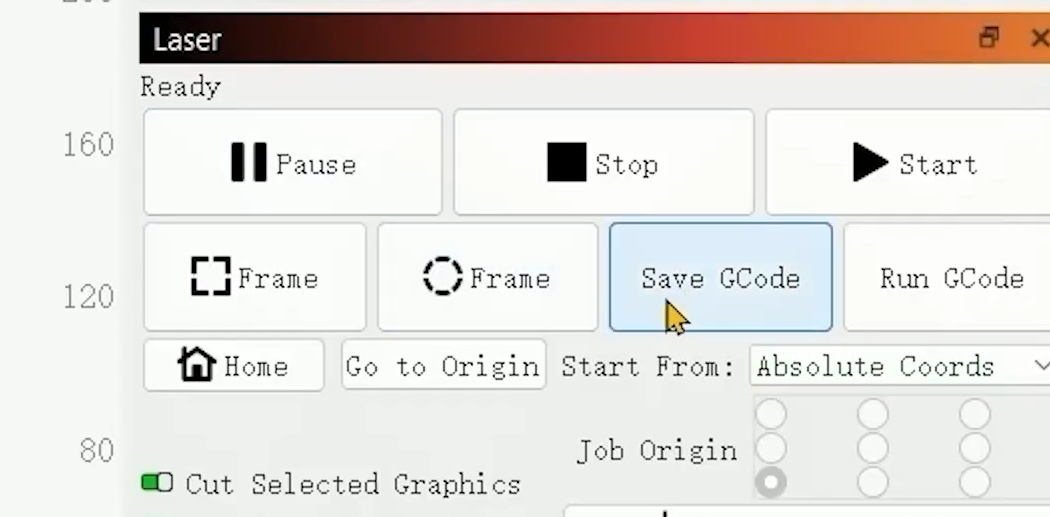
Insert a USB drive with an SD card, and move the exported files to the USB drive.
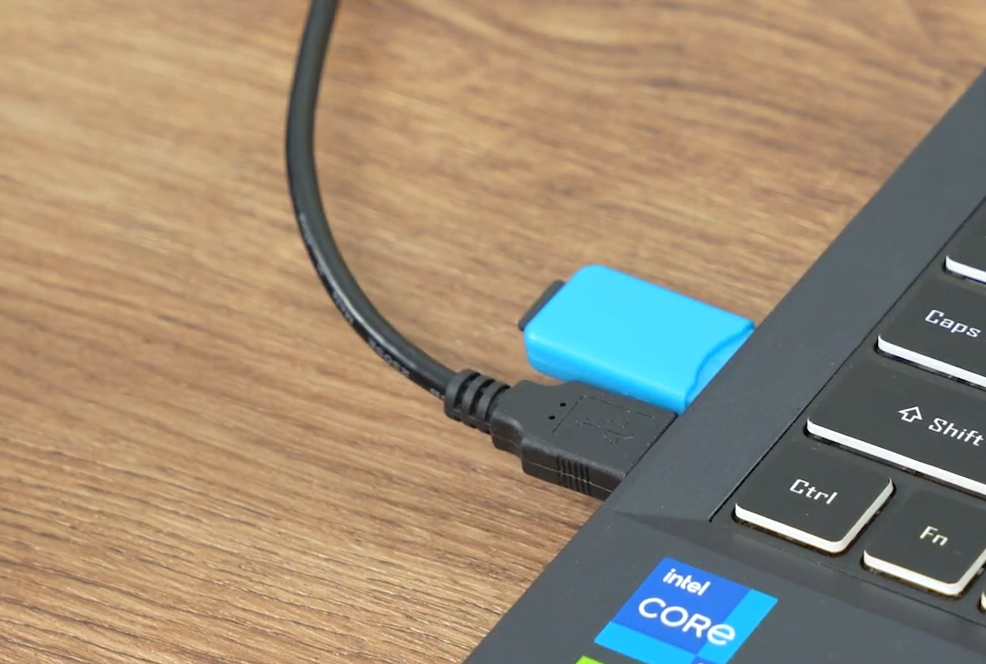
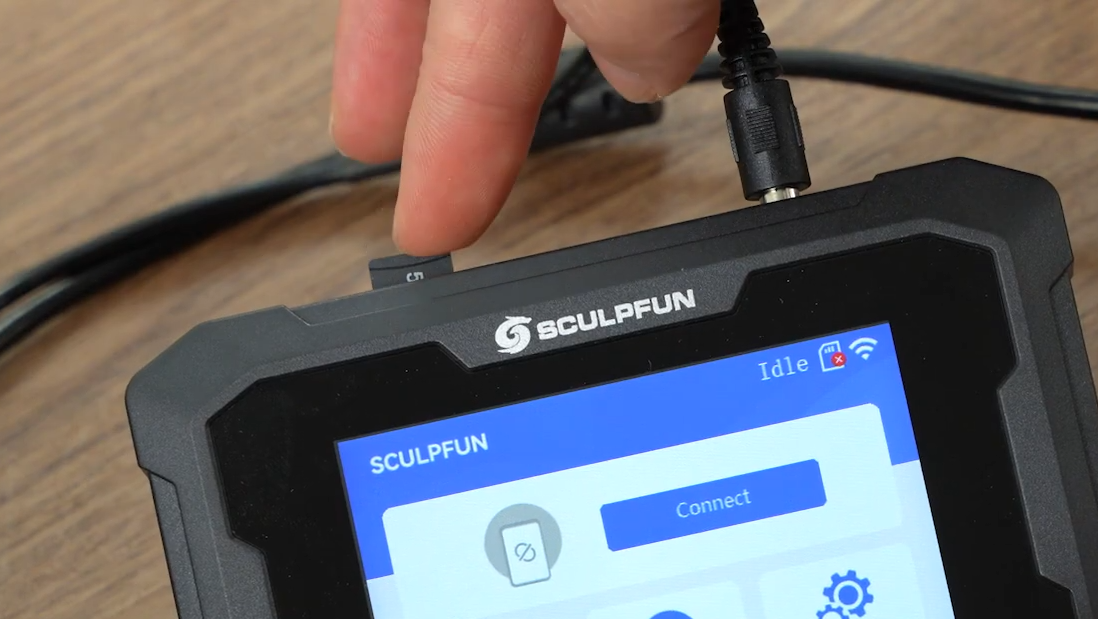
Remove the SD card and insert it into the SD card slot of the machine. The material import is now complete. The file can be reused.
Engraving Processing
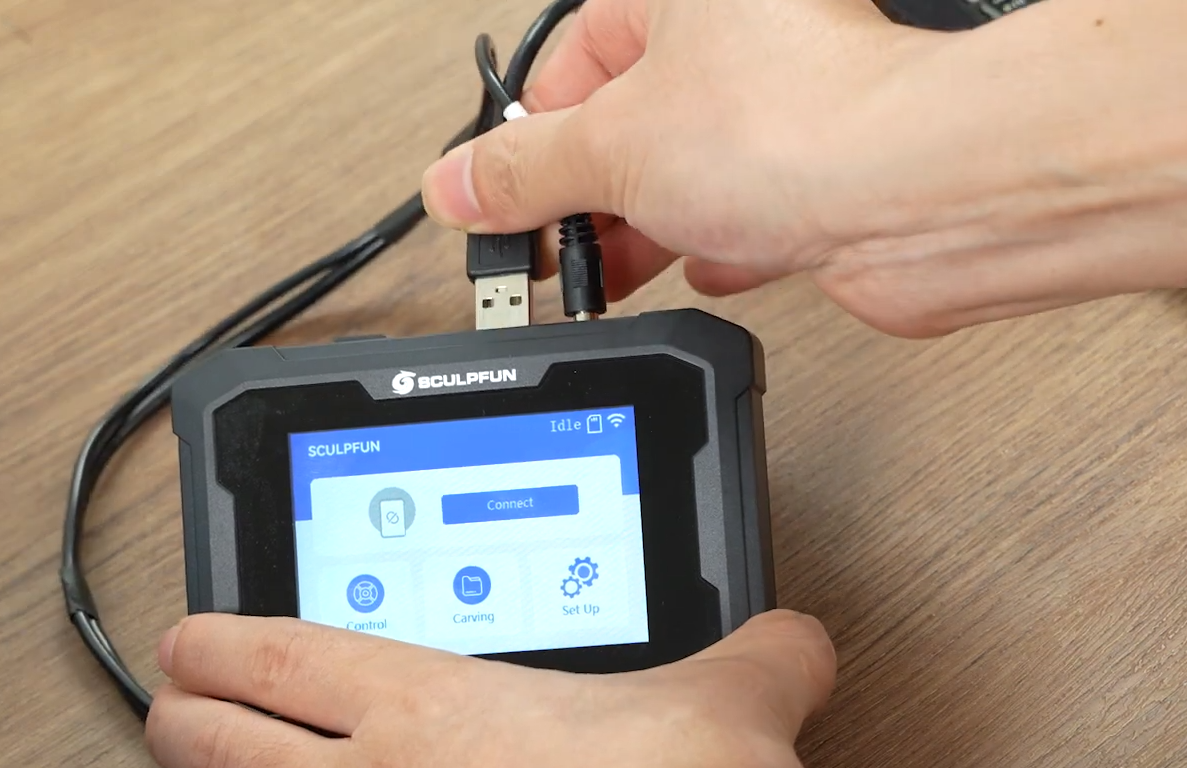
Unplug the USB data cable from the computer and connect it to the TS1 touchscreen. Tap Connect to link with the machine.
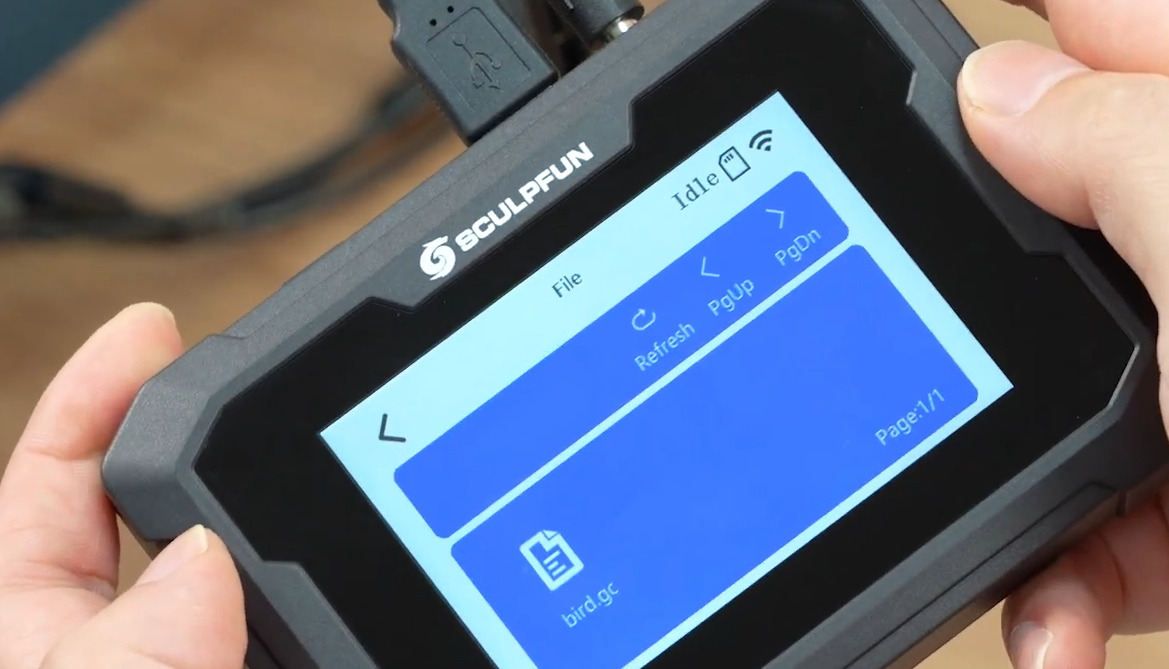
Tap Carving to open the folder interface, where you can see the newly imported carving file.
Tap to enter the prompt page.
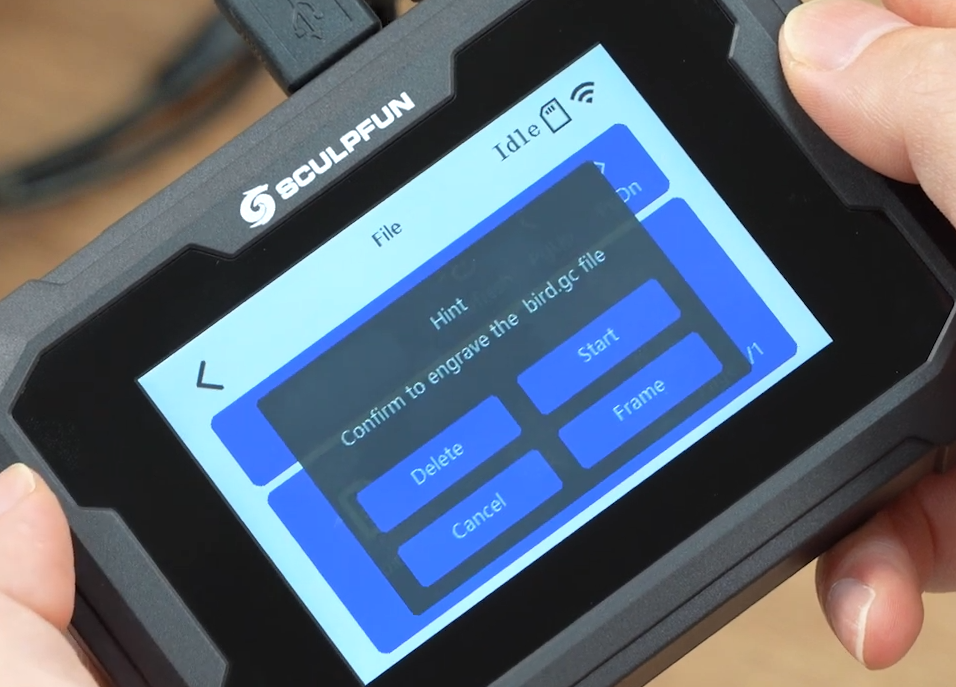
Delete: Delete the file
Start: Begin processing directly
Cancel: Exit the window and return to the selection interface
Frame: Preview the processing position
Note: If Overscan mode is enabled in parameter settings, return to the console and tap Reset after framing preview.
Tap Frame to preview the processing position. If the preview is correct, tap Start to begin processing.
During engraving, you can pause, stop, adjust power and speed, etc.
Note: When connecting the machine wirelessly via the mobile app, materials drawn and imported on the phone will be saved to the TS1 SD card. Remember to rename files to prevent overwriting and data loss.