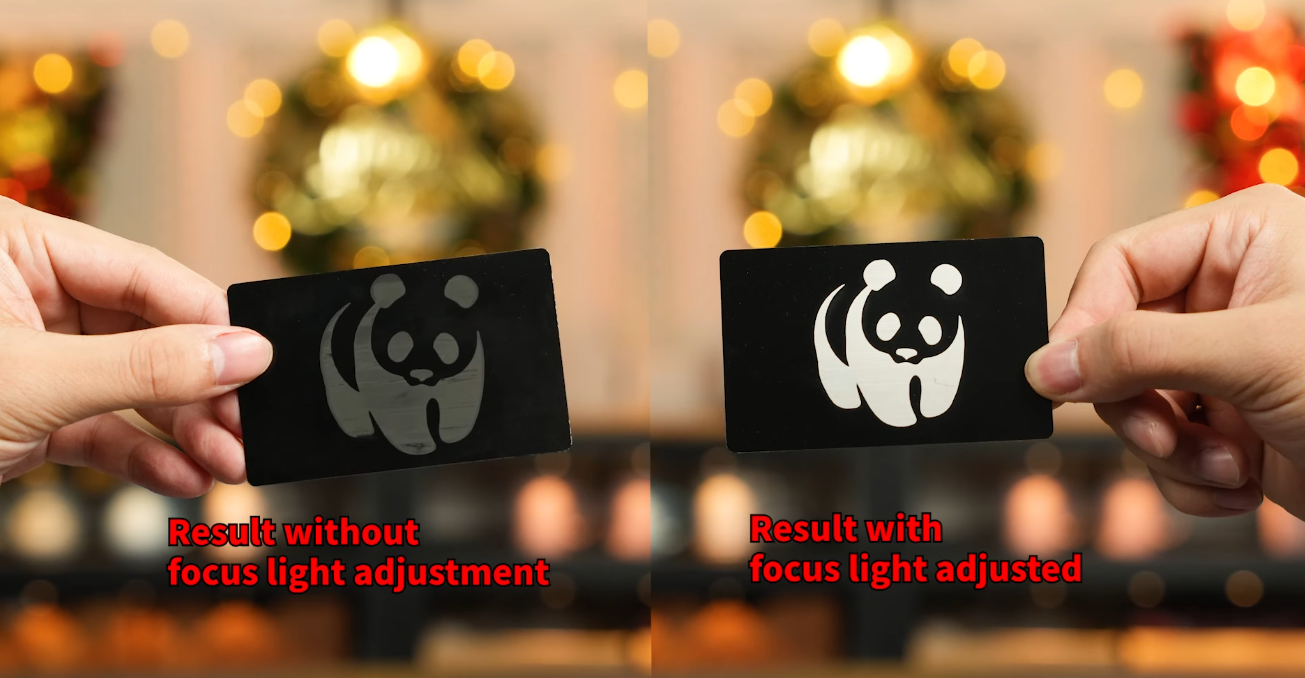
V5 Focus Light Calibration Tutorial
When the carved finished pattern appears blurry or the carving depth is insufficient, it may be because the focal distance is not aligned. This problem may be caused by focal light offset, where the actual focal light is inconsistent with the normally working focal light. Focal light correction can be carried out through this article.

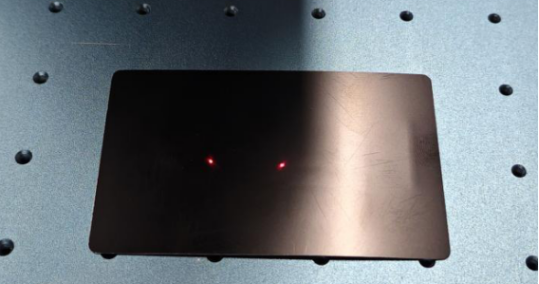
Take the 150mm field lens as an example. The field lens has been installed on the machine. When the focusing light is turned on, it is found that the focusing red light does not coincide with the machine's red light.
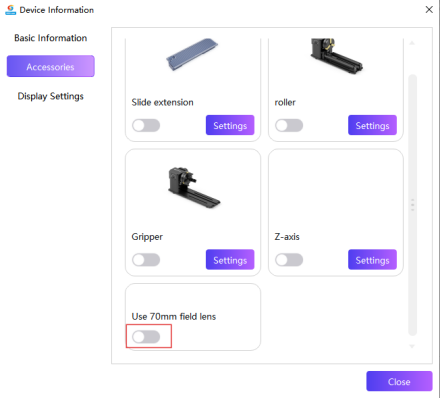
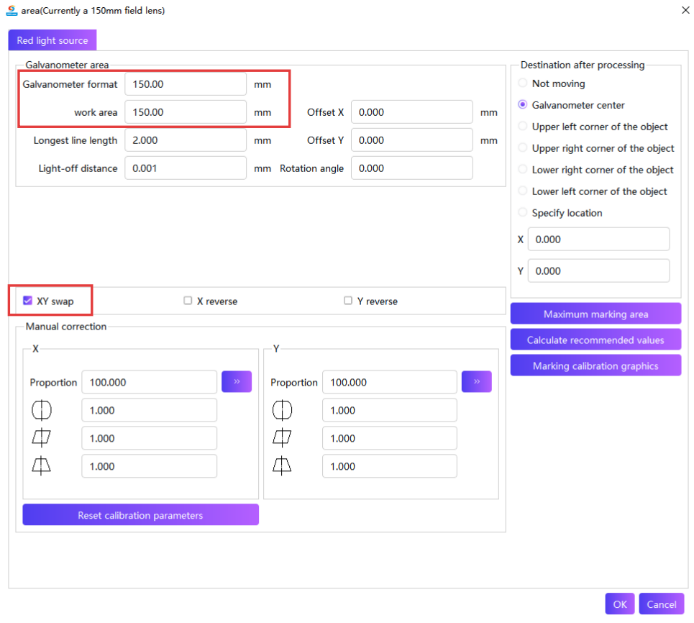
Open the SGD Laser software and make sure to set the field lens switch to 150mm.
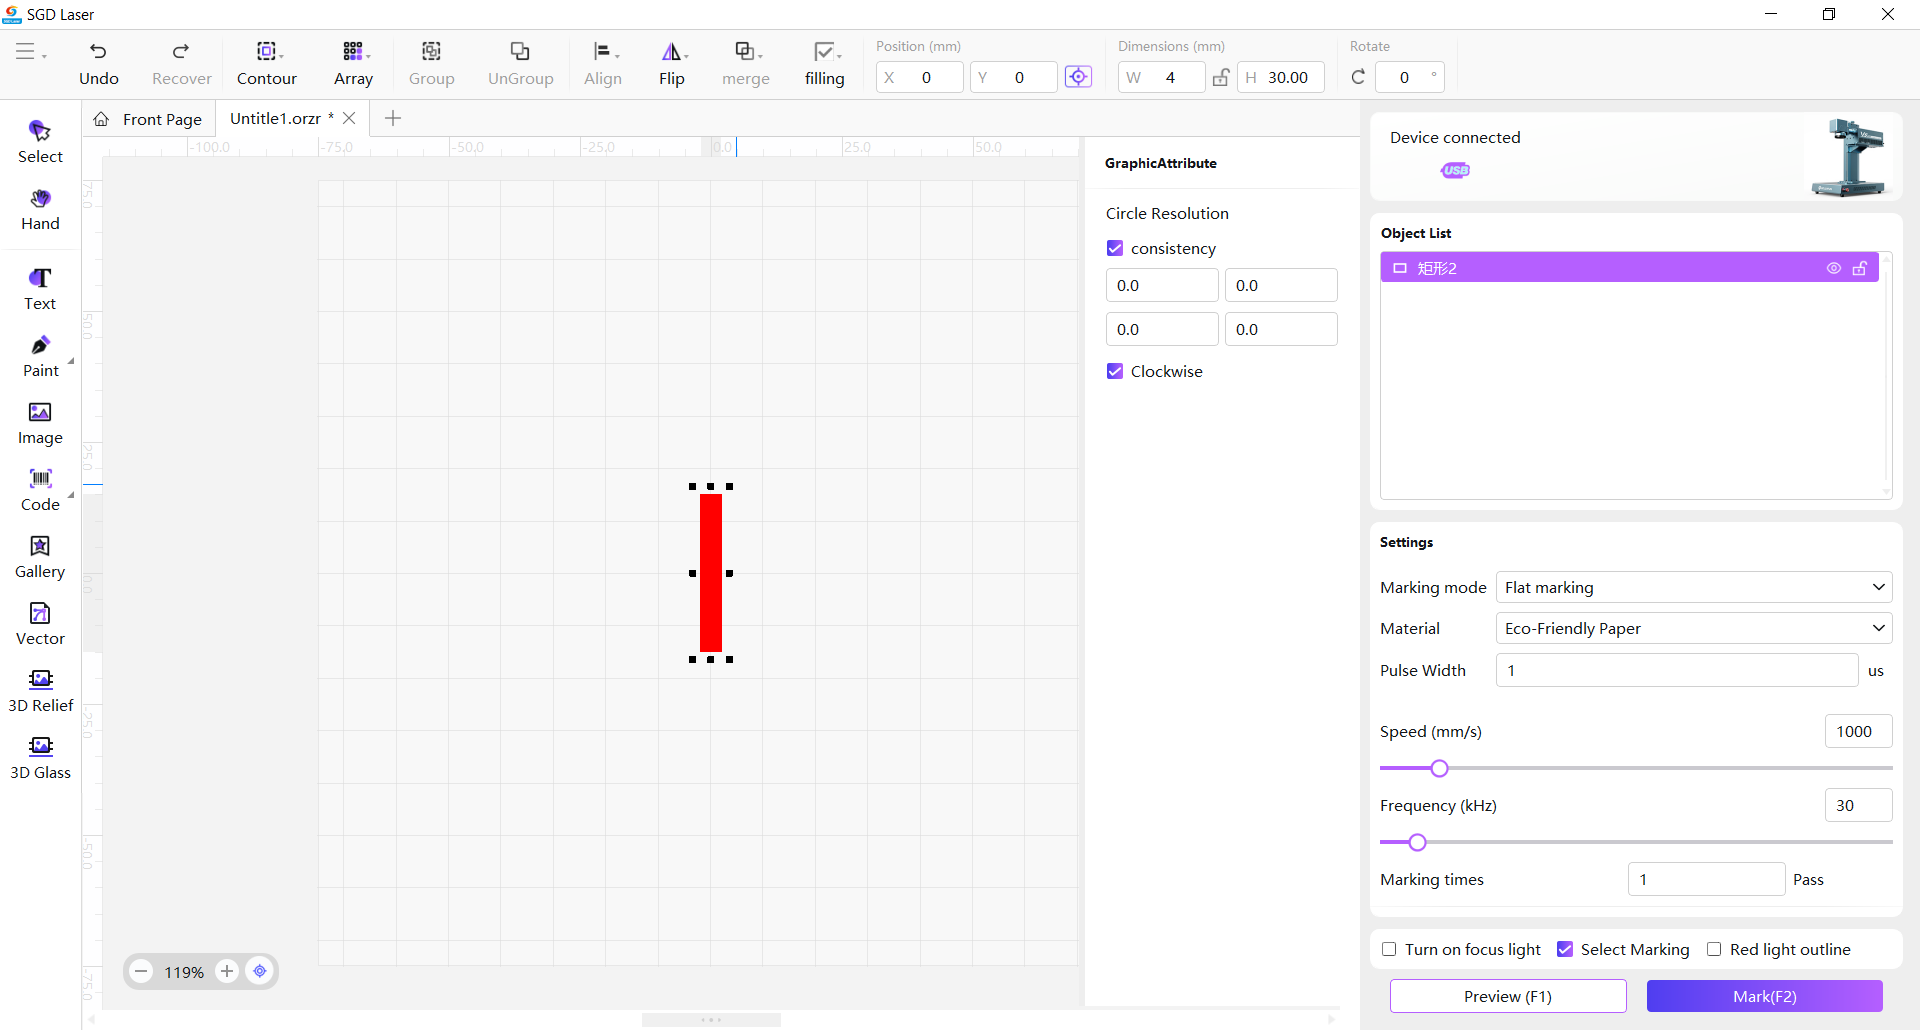
Draw a rectangle and fill it, with parameters set as: pulse width 1 μs, frequency 30 k.
Insert the focusing slide provided with the machine. You can also use a dark metal plate as a substitute.
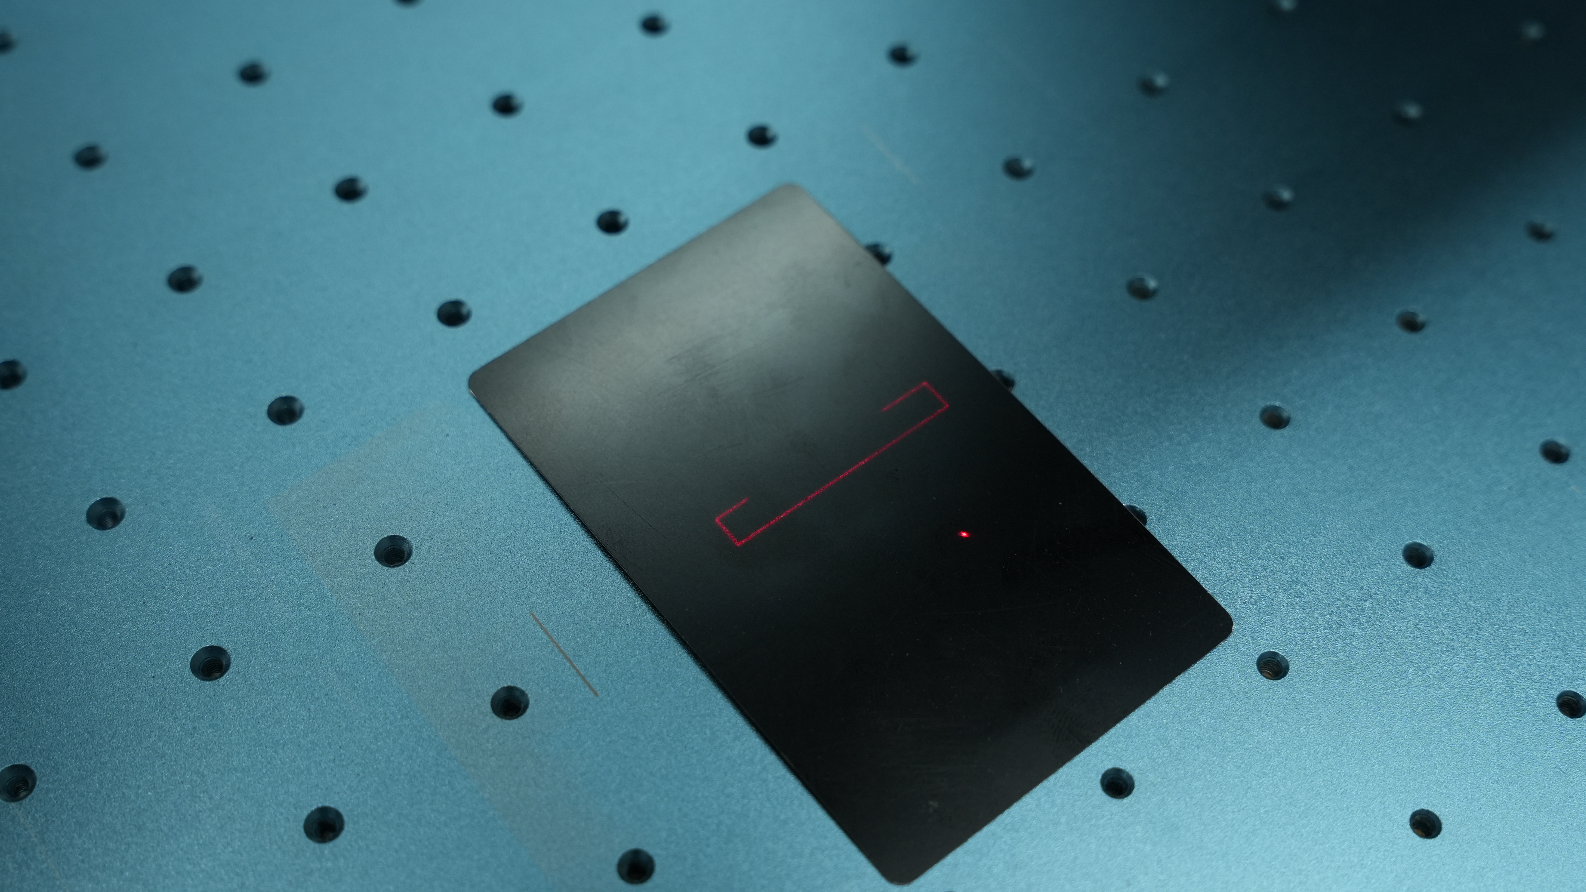
Click preview to see the carving position and arrange the material in place.
Click the marking, and simultaneously control the laser to move up and down to find the optimal focus.
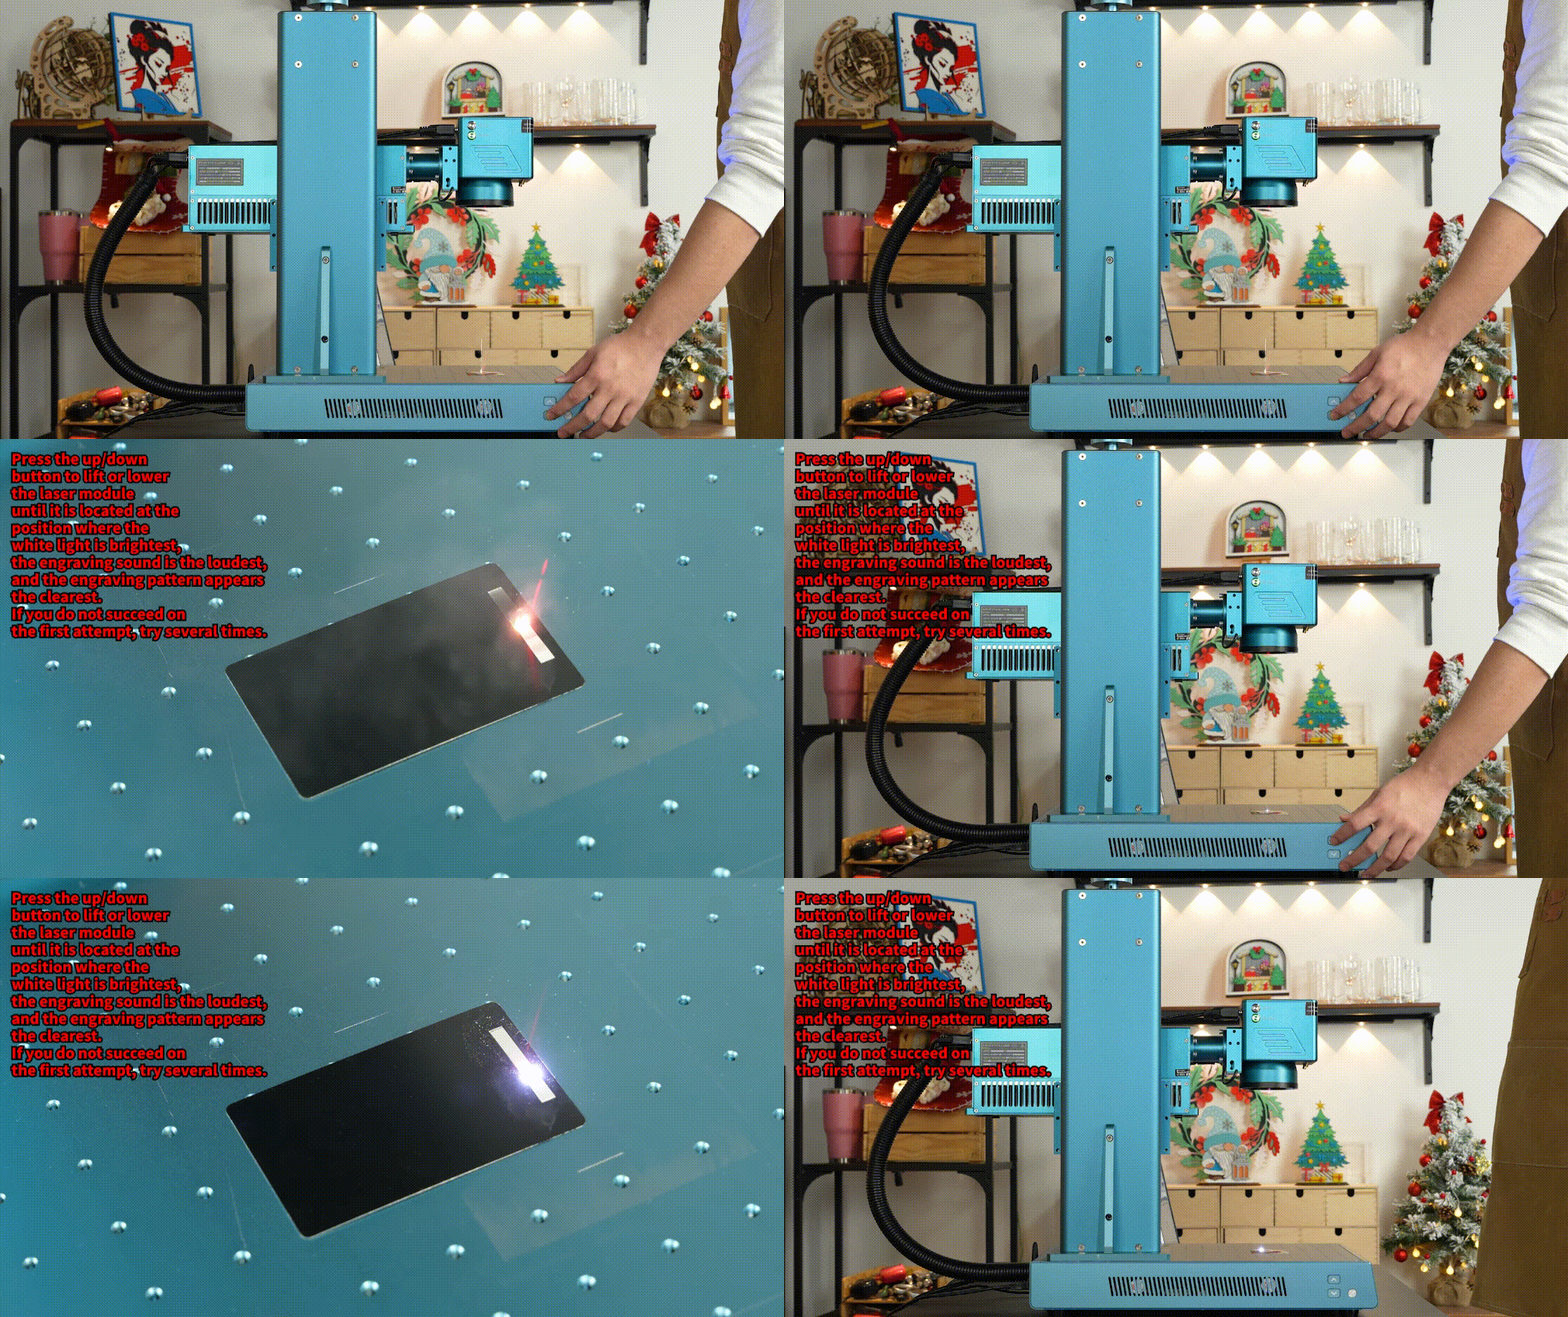
You can observe the sound of laser engraving and the engraving light on the material surface while moving the laser. The optimal focus is achieved when the sound is at its maximum or the engraving laser hits the material surface with the highest brightness. Adjust the laser to the optimal focus and do not move it, then stop marking.
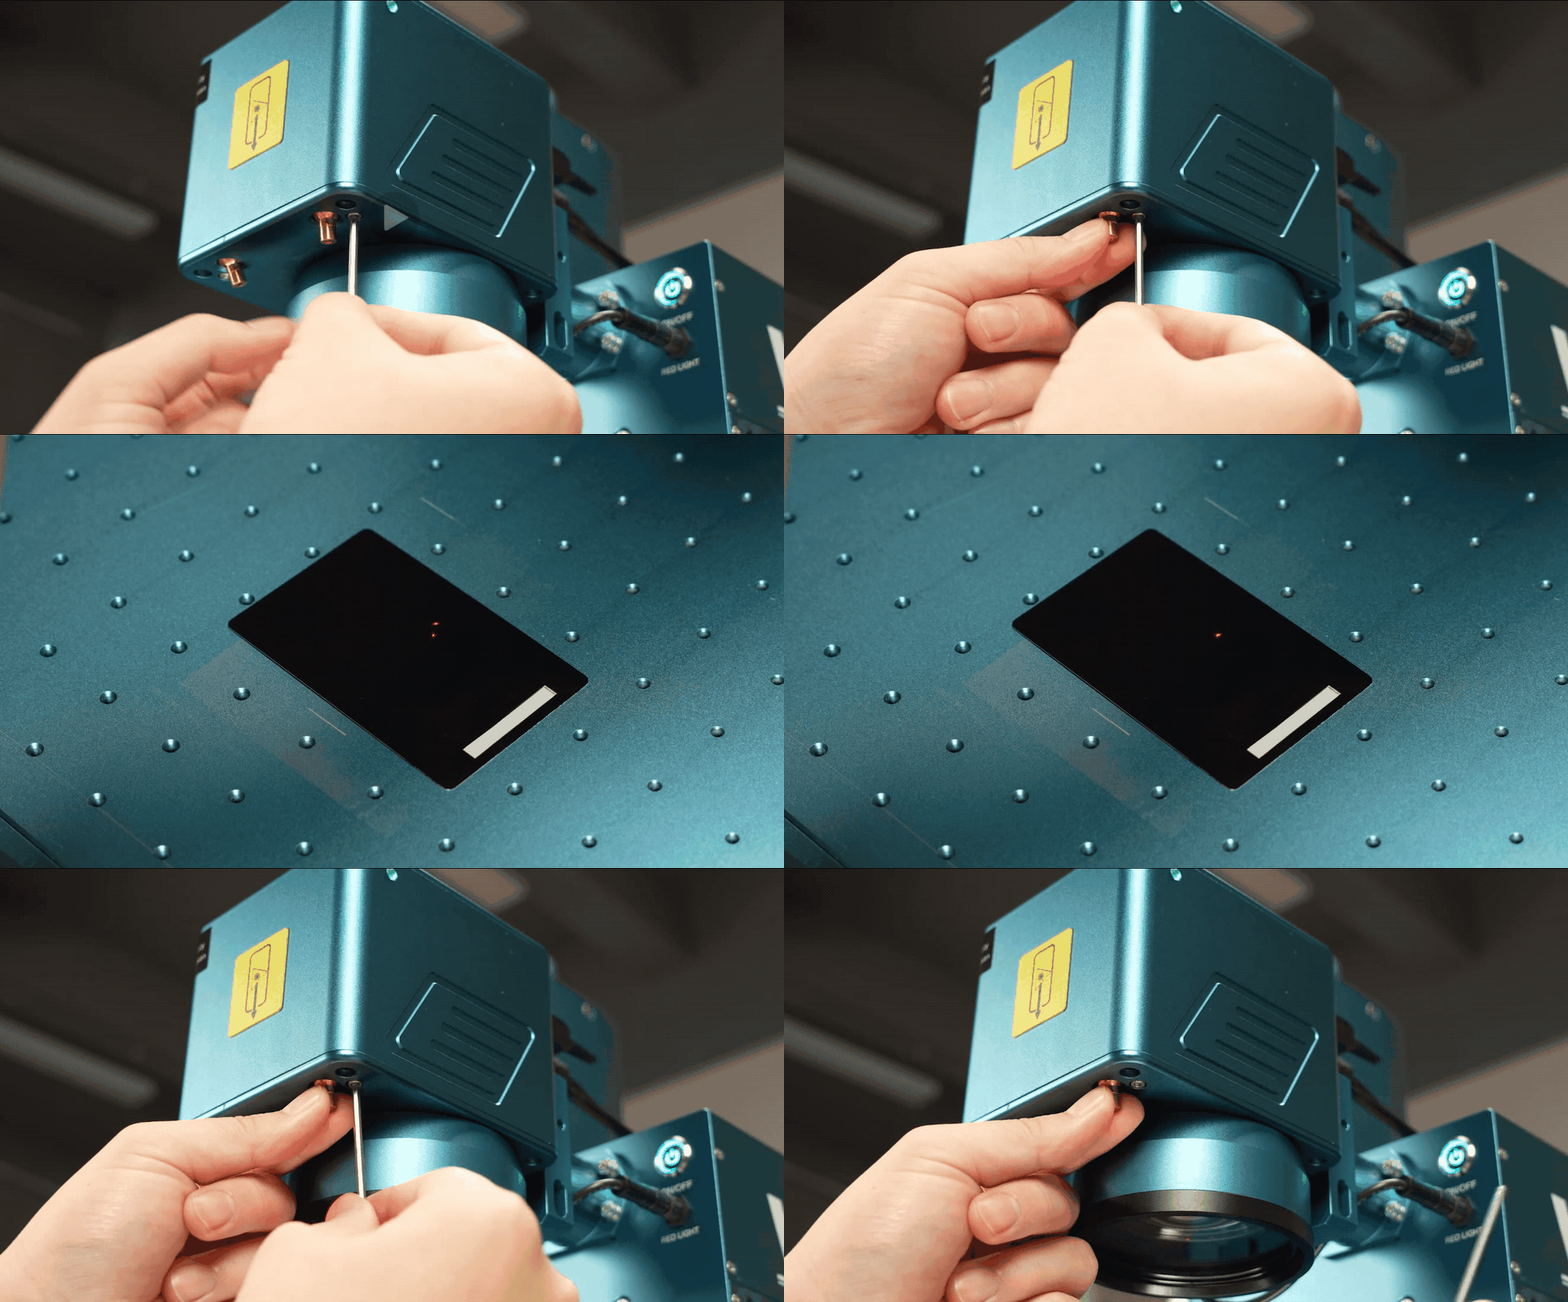
Take out the screwdriver and loosen the focusing light adjustment screw. The screw position is shown in the picture. Pay attention to distinguish the focusing light of different lenses.
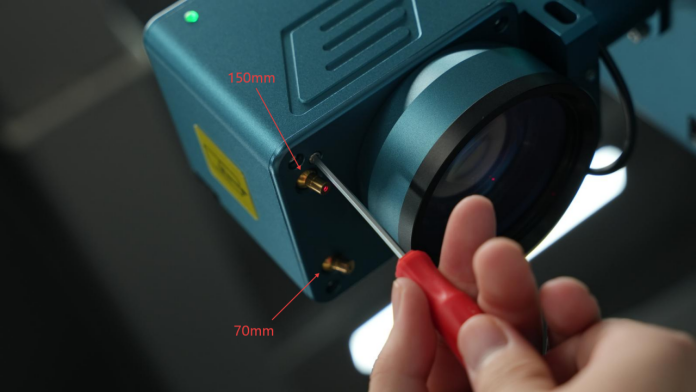
Adjust the focus light to coincide with the machine's red light, then tighten the adjustment screw.
Carve again, and compare the carved product with the product before adjustment. It can be seen that the pattern is clear after correction, and the correction is complete.