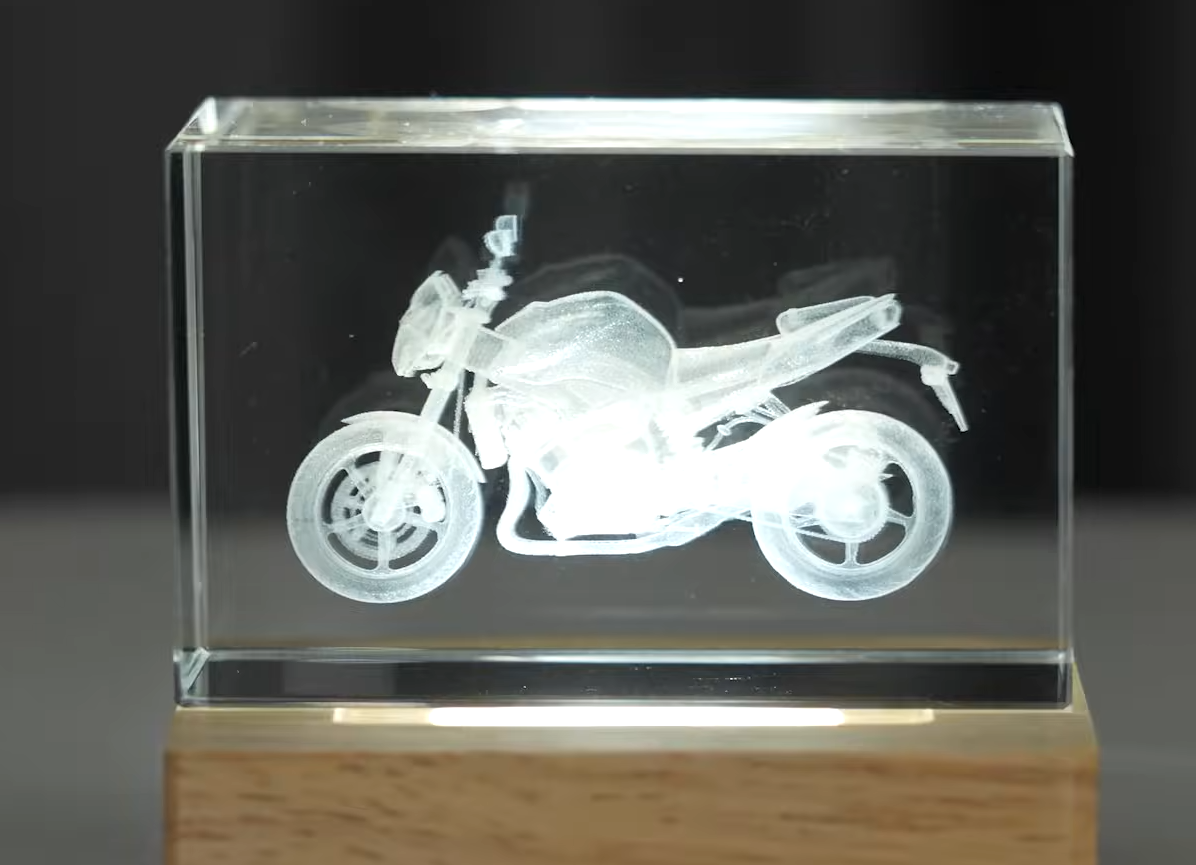
V5 Software User Guide for SGD Laser
Instructions
-
For software installation, please refer to the SGD Laser Software Installation Tutorial for PC.
-
Upon first connecting to the machine, a pop-up window will prompt you to obtain parameters. Click "OK" to obtain the parameters and then close the software. Reopen the software to use it.
Planar Sculpture/Cut
Here, we'll use a 150mm field lens as an example to import sculpting material.
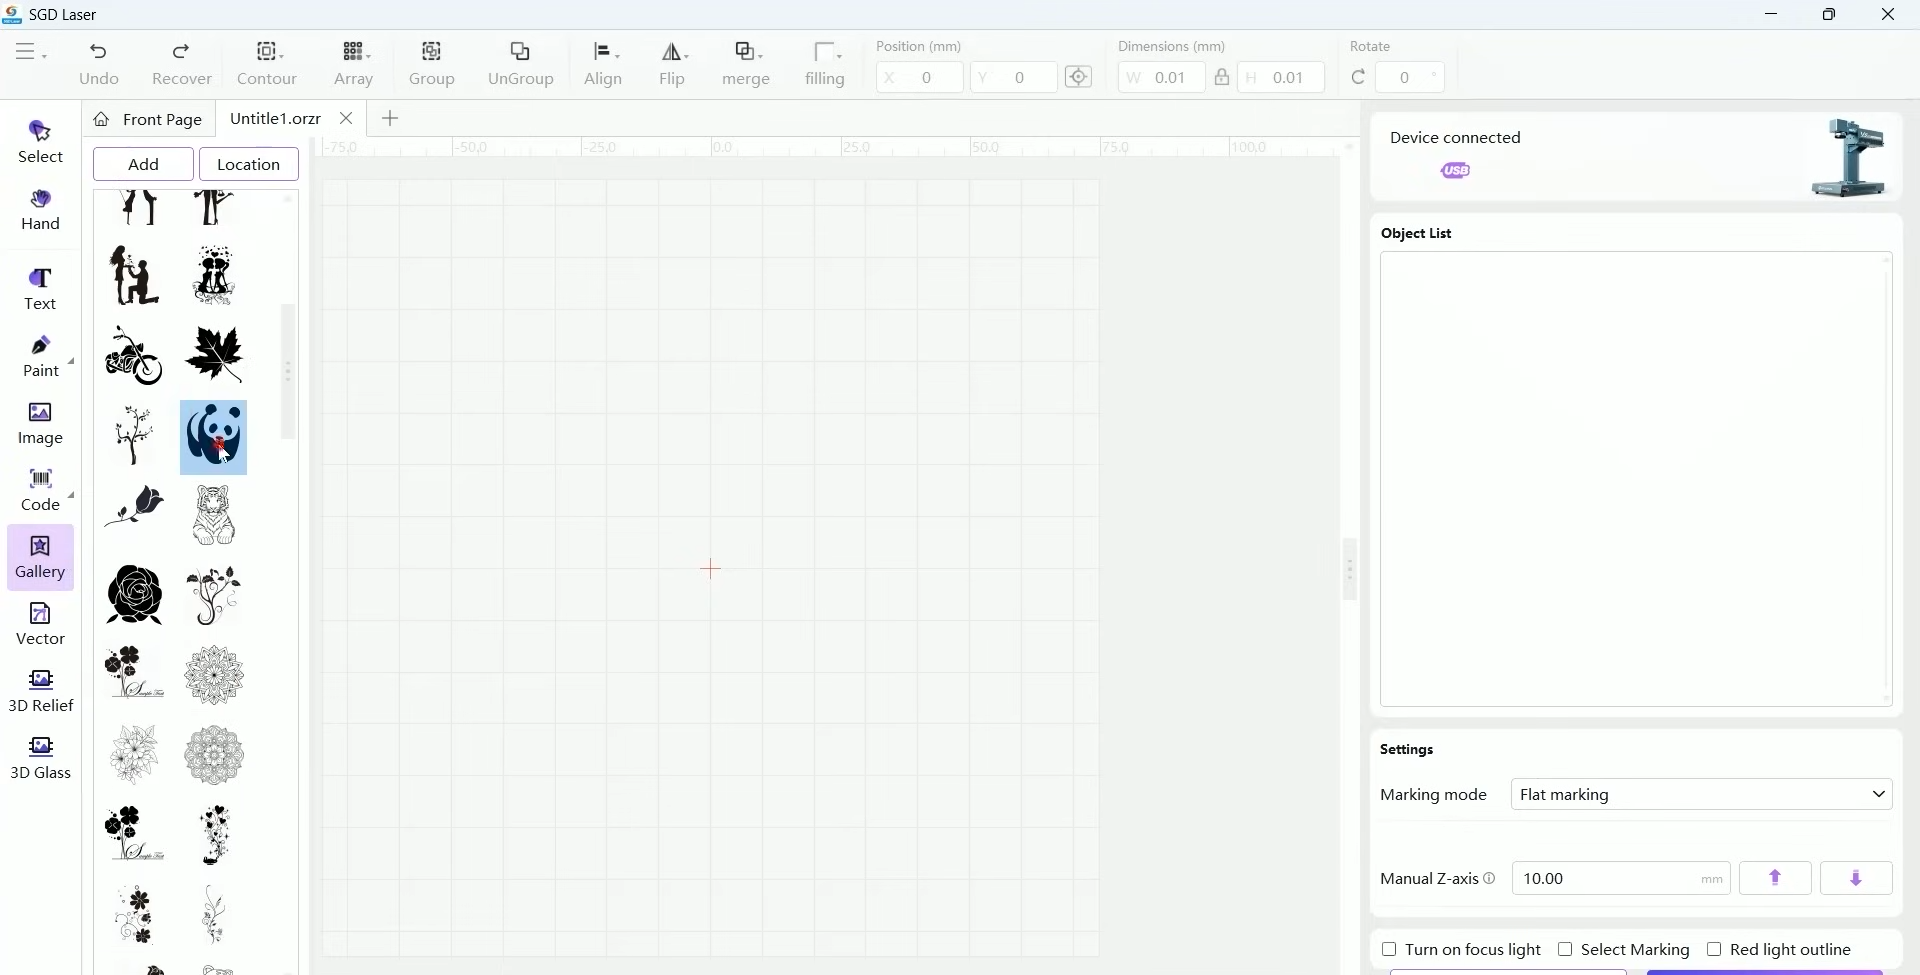
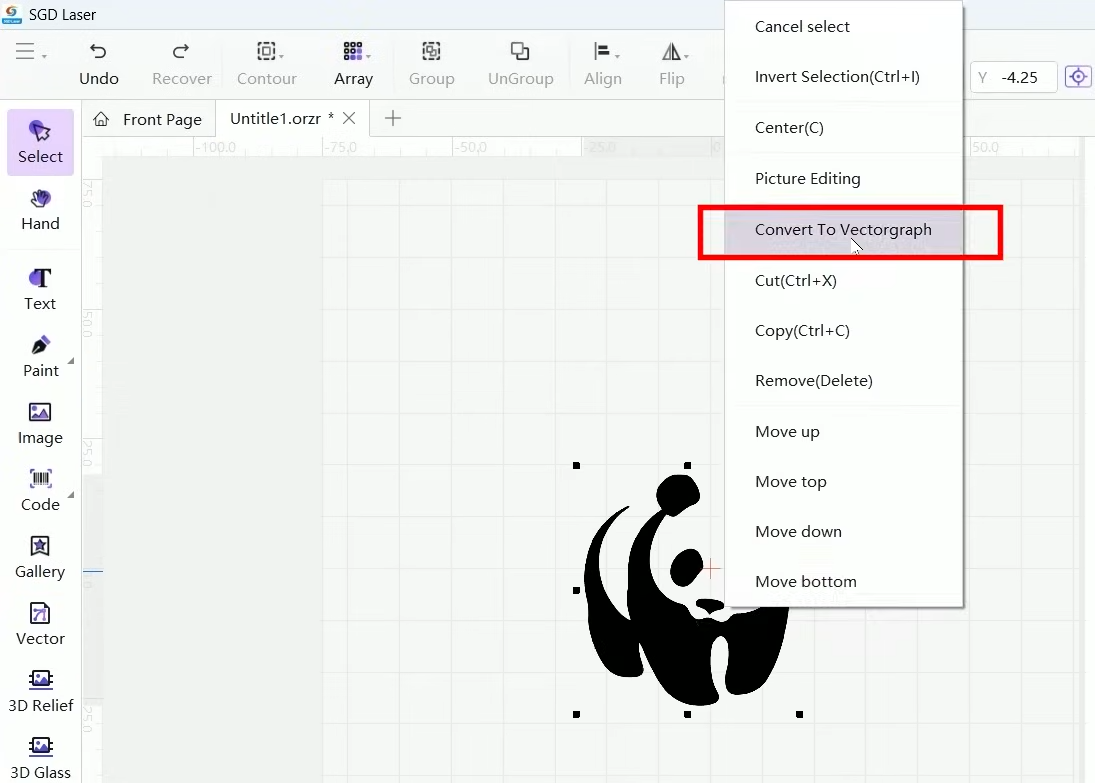
Adjust the size, position, and other parameters, and then place the material.
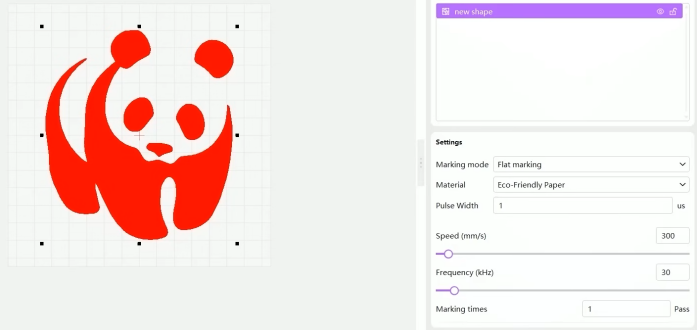
Turn on the 150mm focusing laser on the laser.
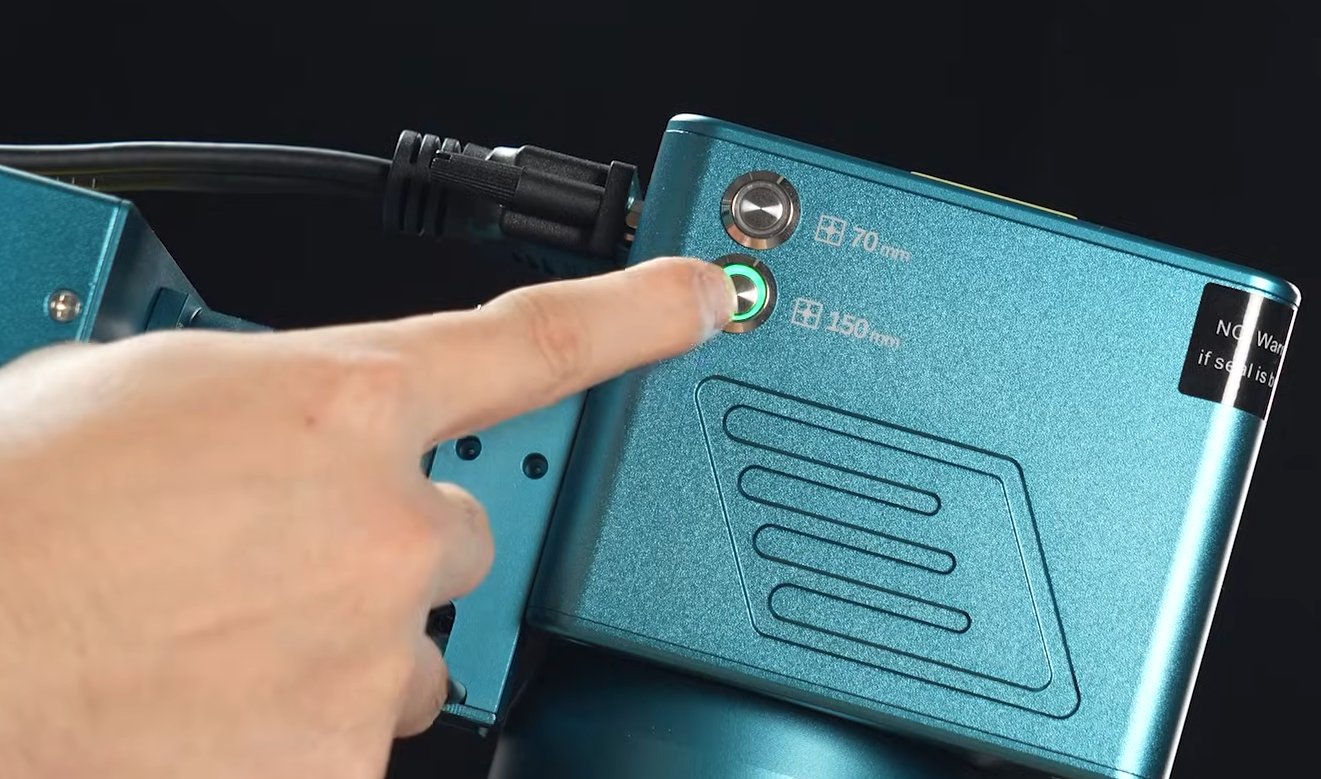
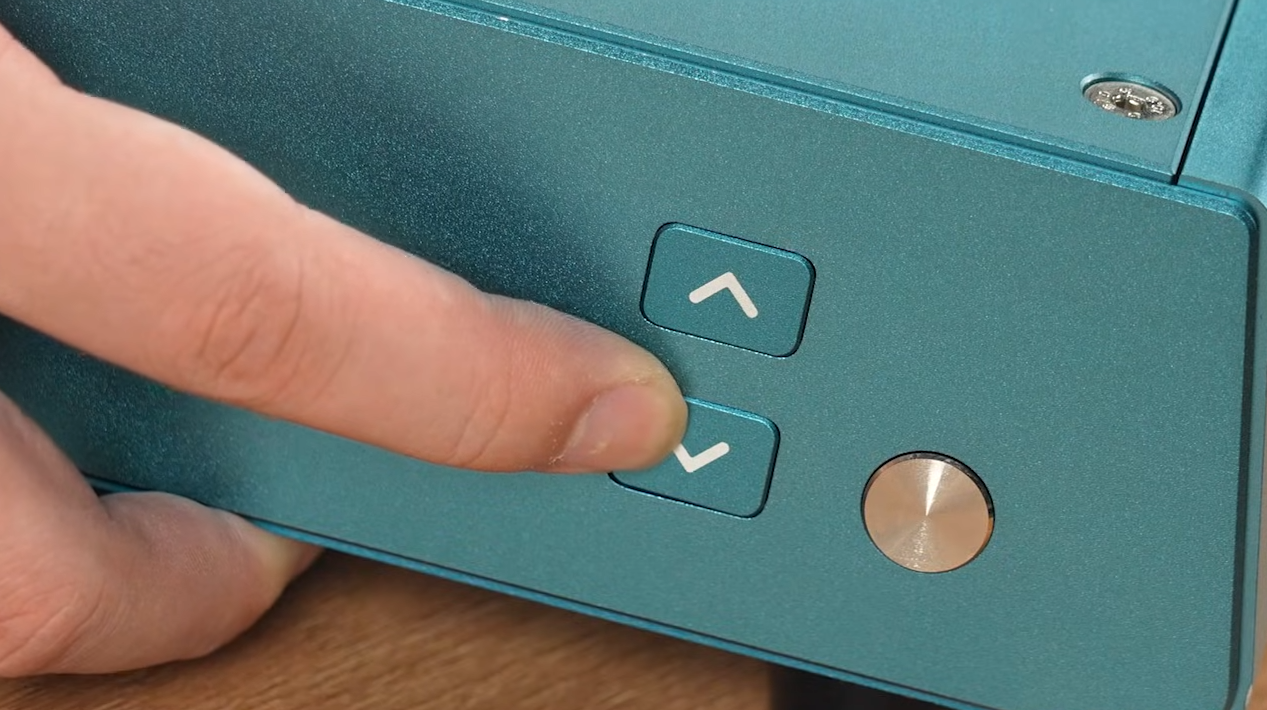
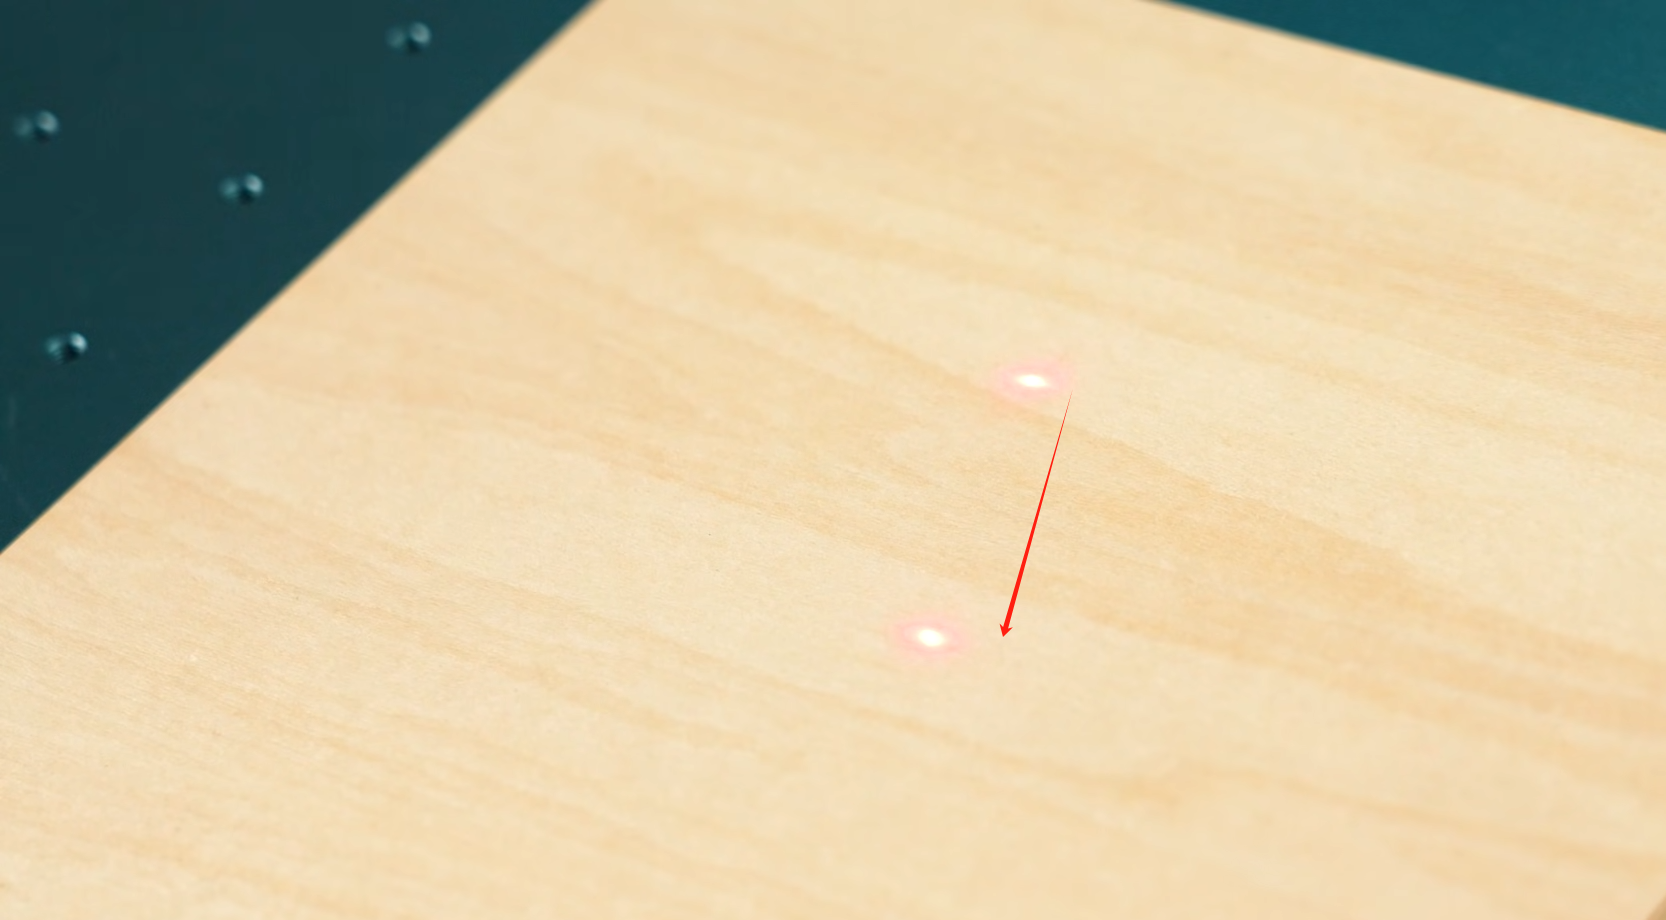
Adjust the z-axis to align the machine laser and the focusing laser, and focusing is complete.
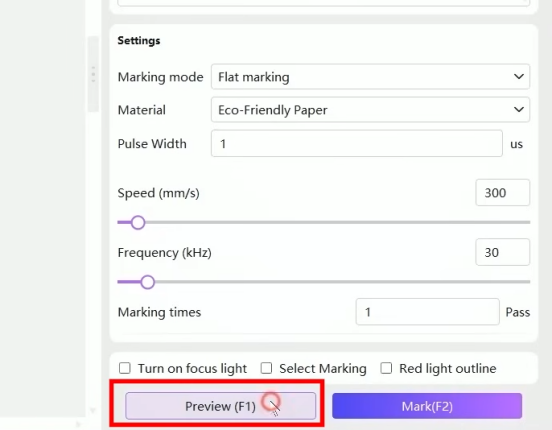
Click Preview to adjust the size and position of materials and resources.
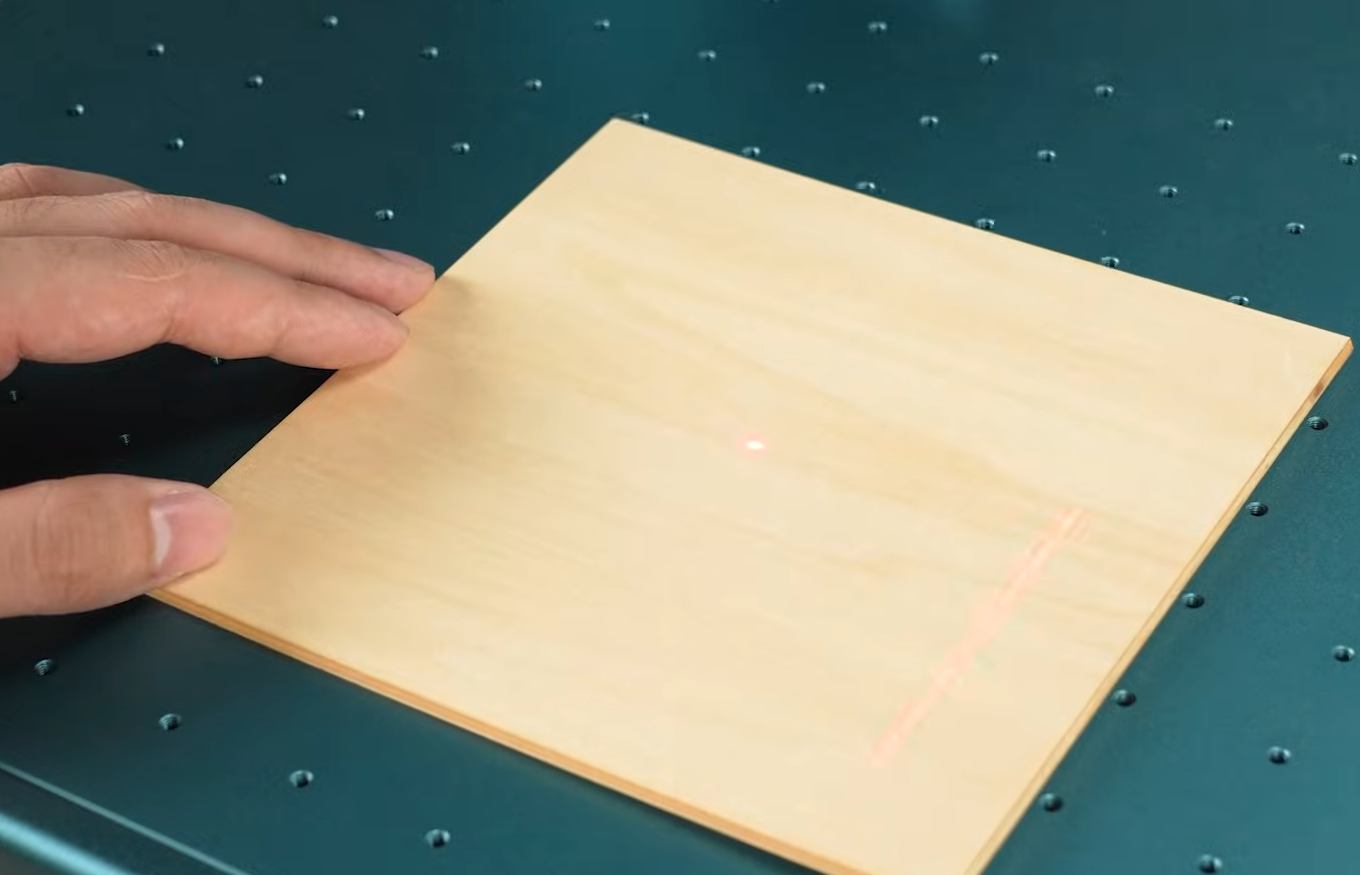
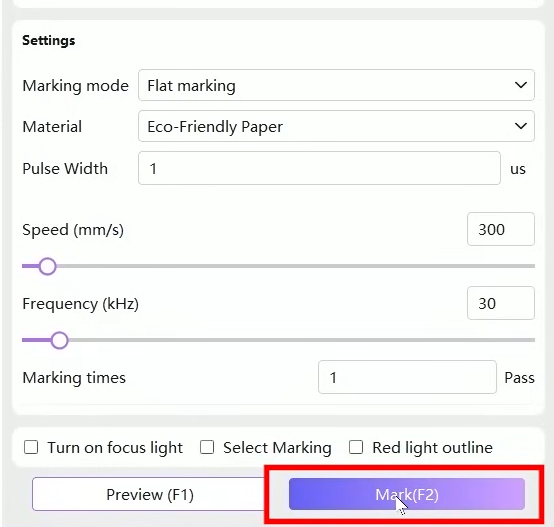
Click "Mark" to begin carving.
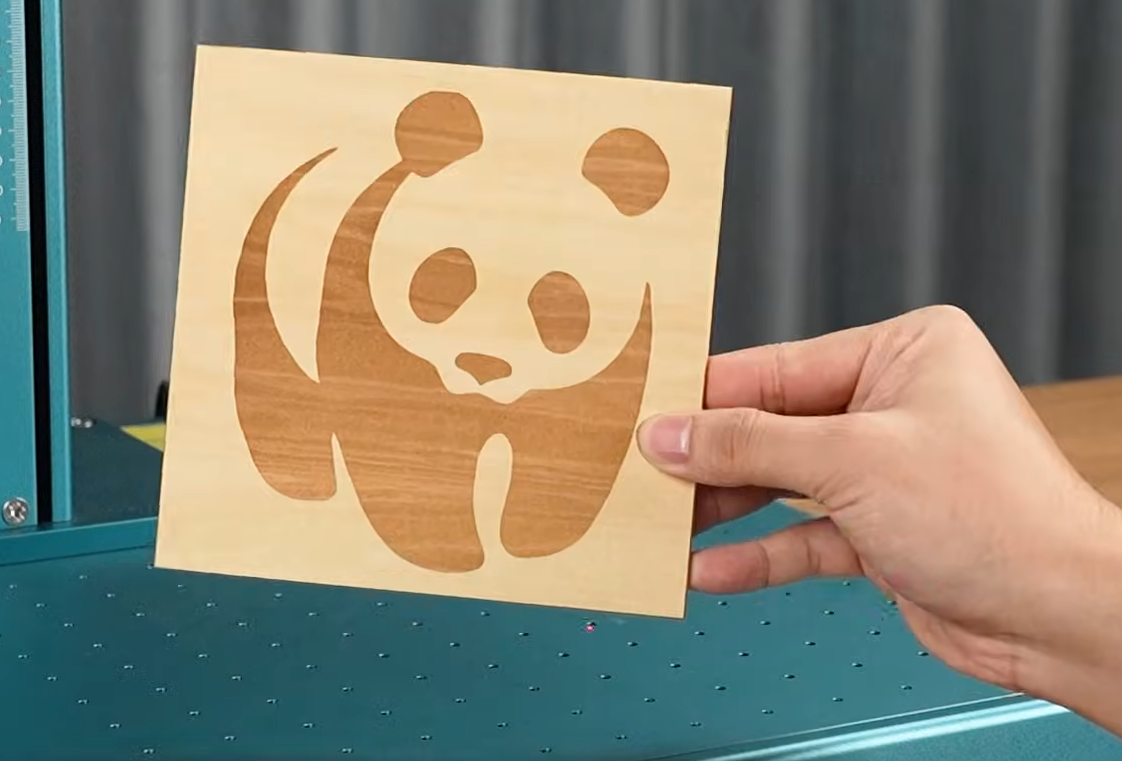
Wood Relief Carving
The following is a step-by-step tutorial with pictures. :
Return to the main interface and click on "Relief" in the lower left corner. A 150mm field lens is recommended for relief carving.
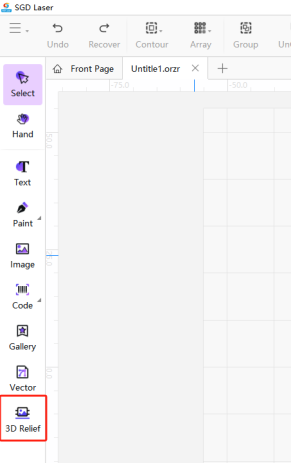
After entering the interface, click "..." on the right. Currently, STL format materials are supported.
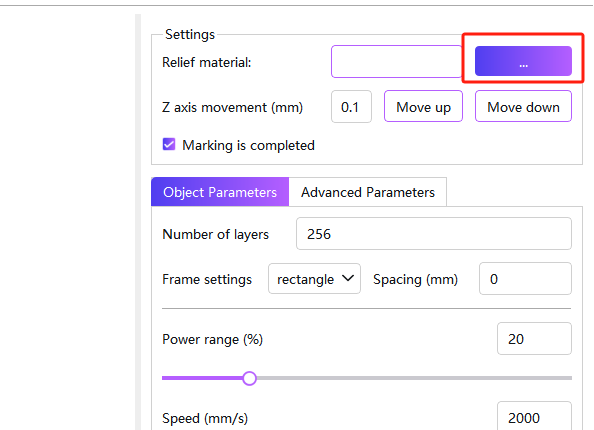
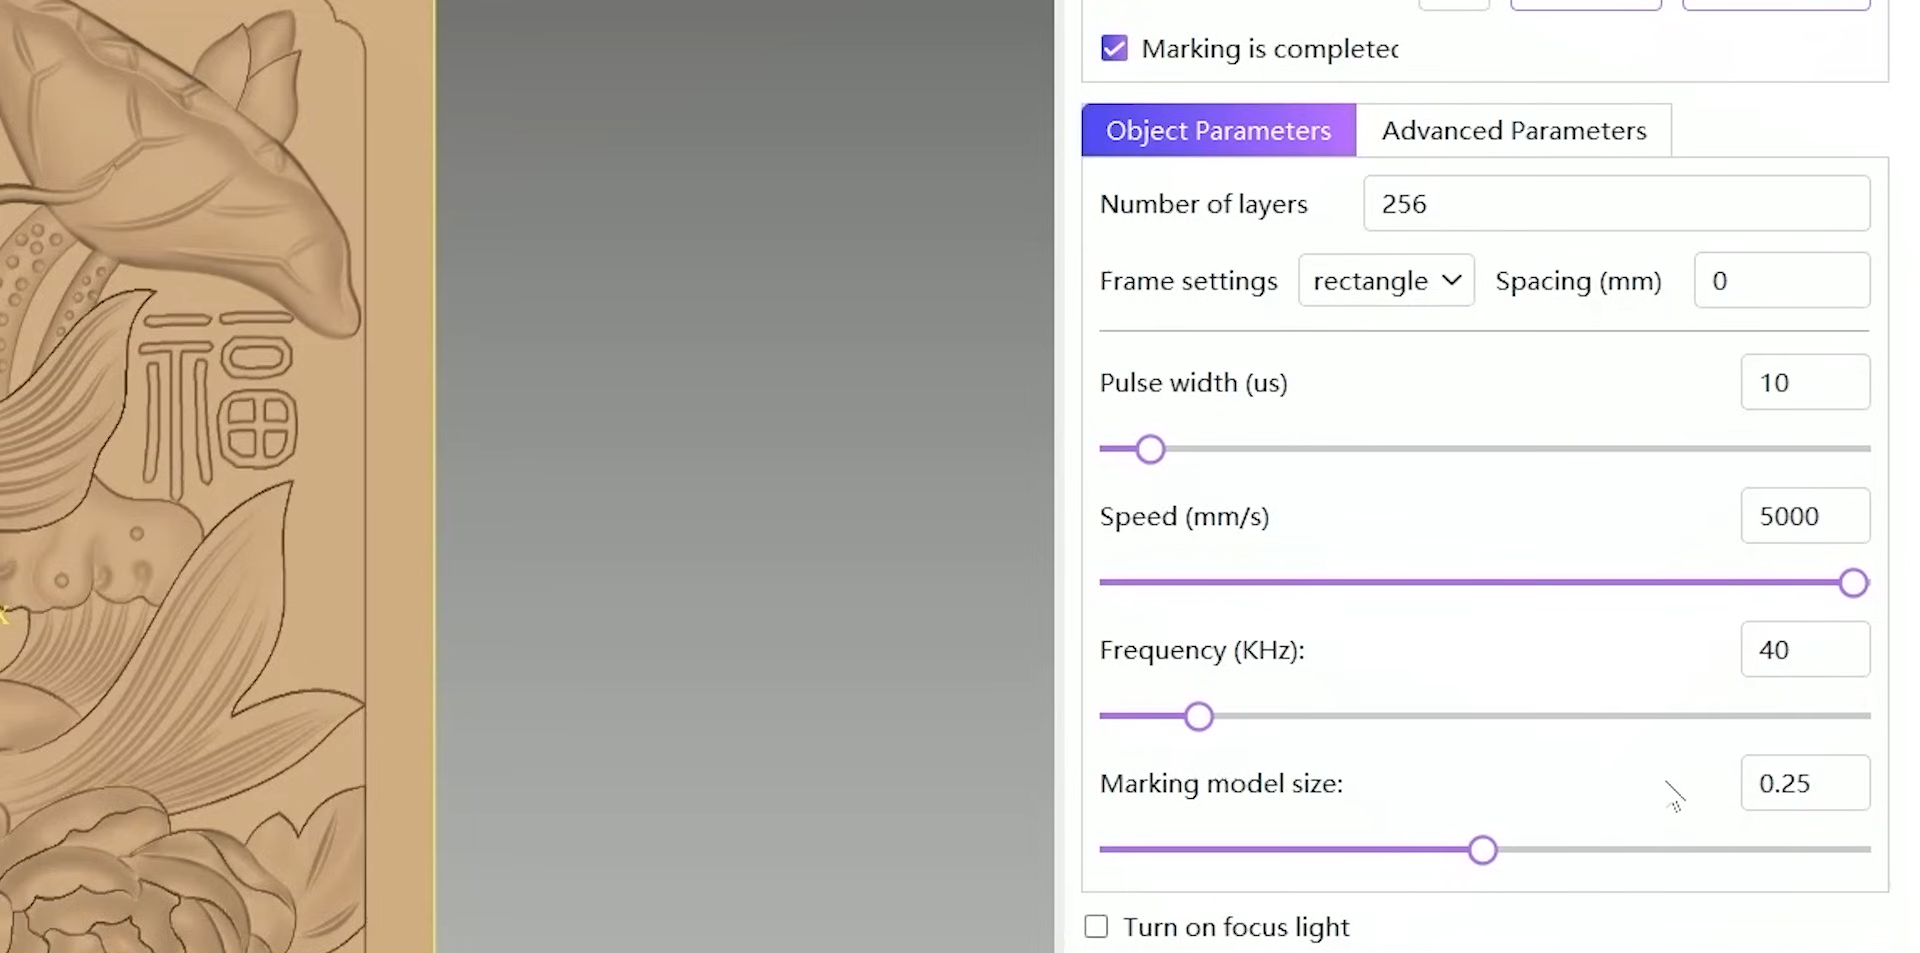
After importing, set the object parameters. Different materials, effects, and resources require different parameters; the parameters here are for reference only.For an explanation of the parameters, please refer to the V5 Advanced Tutorial - Embossing Tutorial.
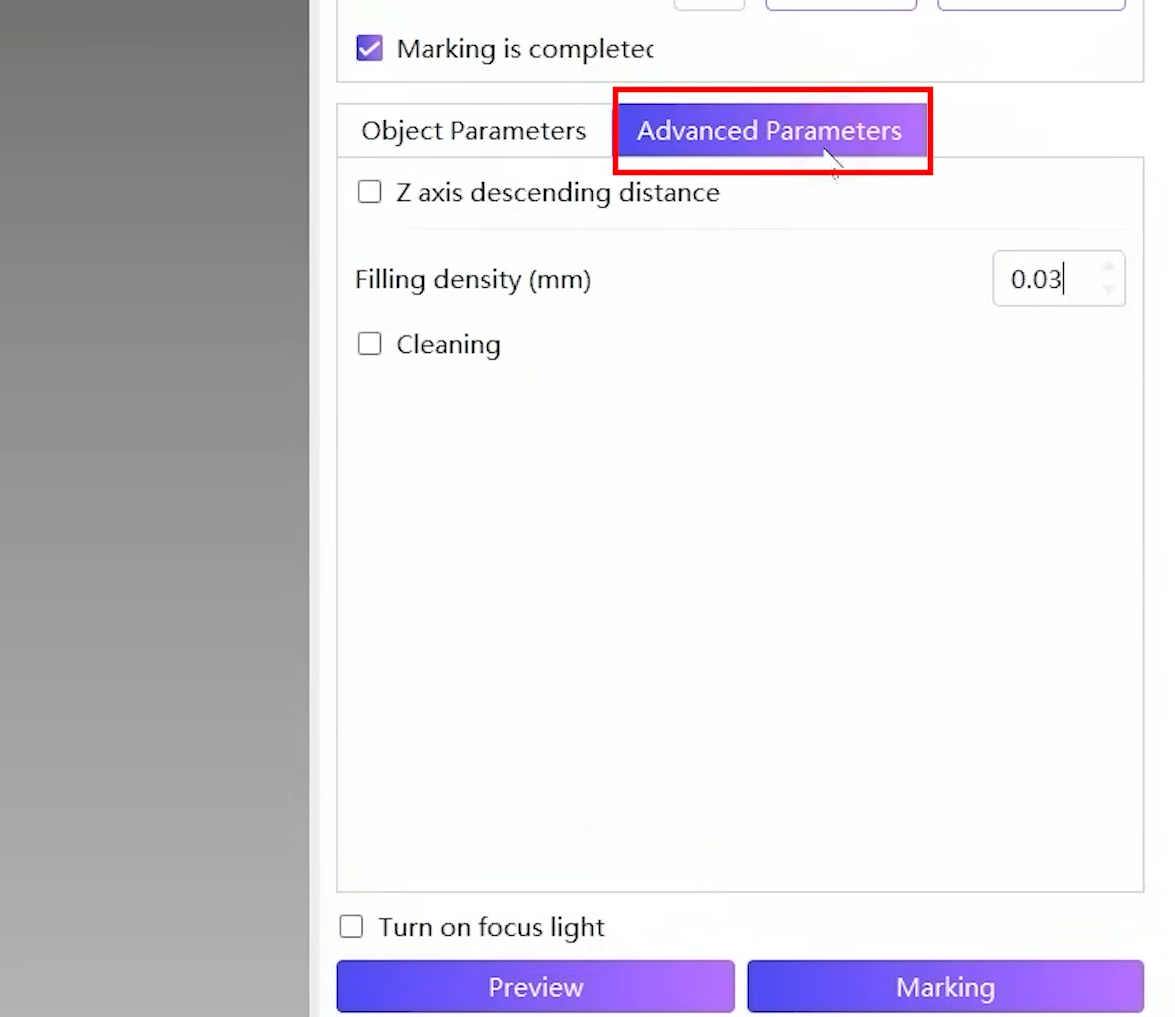
Click on Advanced Parameters to adjust the parameters. These parameters are based on laboratory testing conditions and may vary depending on the materials, effects, and materials used. This information is for reference only.
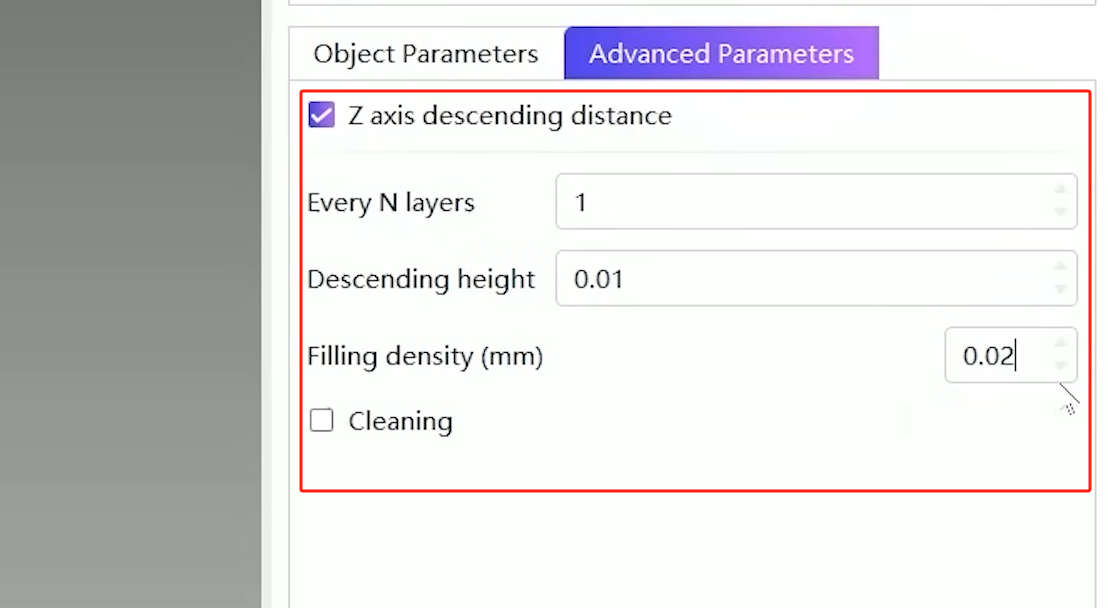
Place materials.
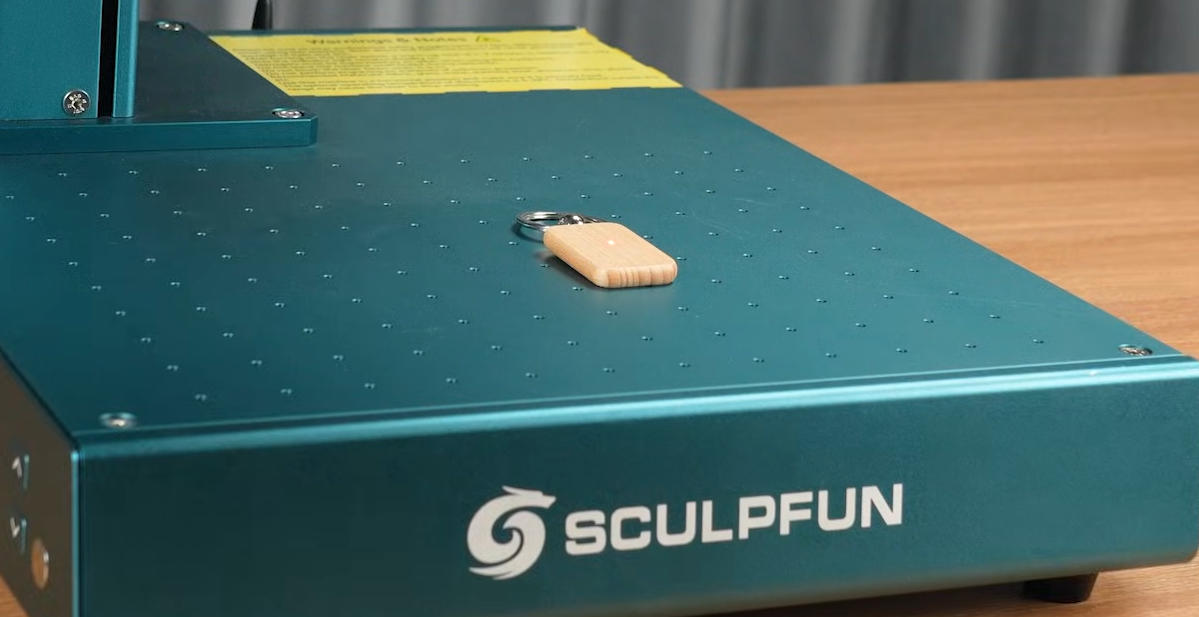
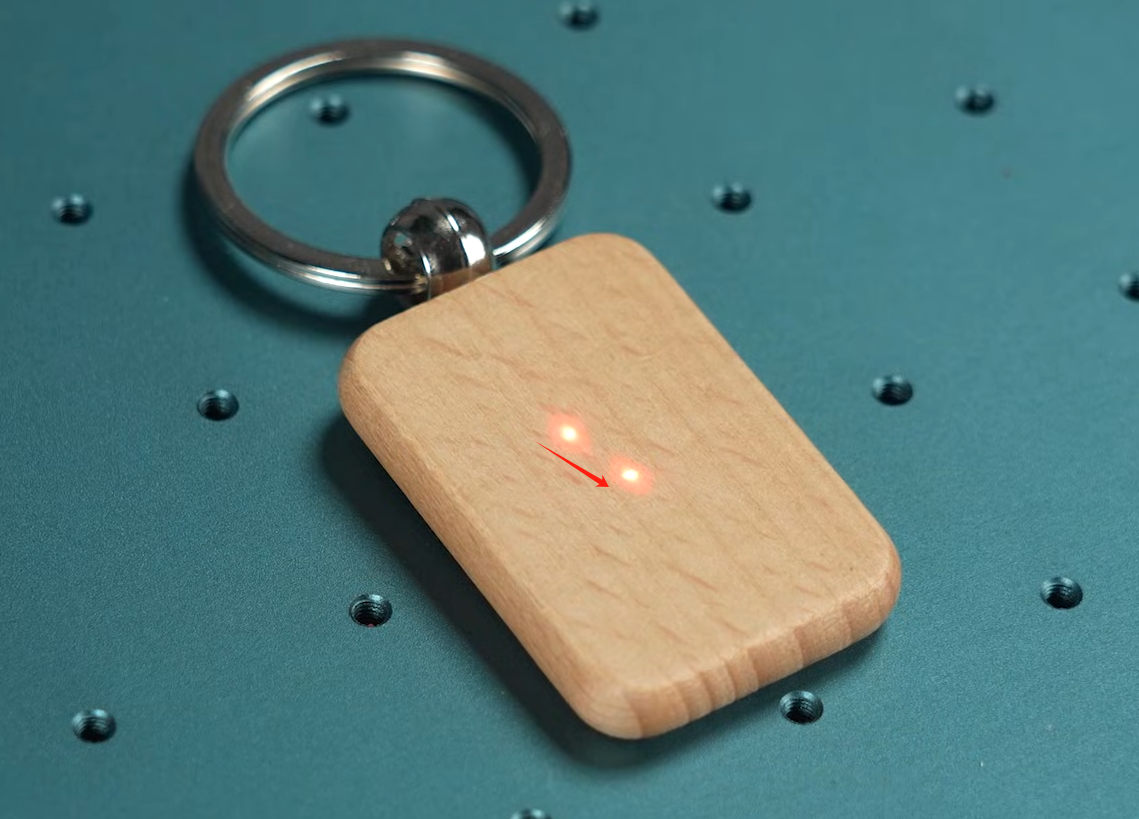
Turn on the focusing light and adjust the z-axis to focus. Focusing is complete when the focusing laser and the machine light coincide.
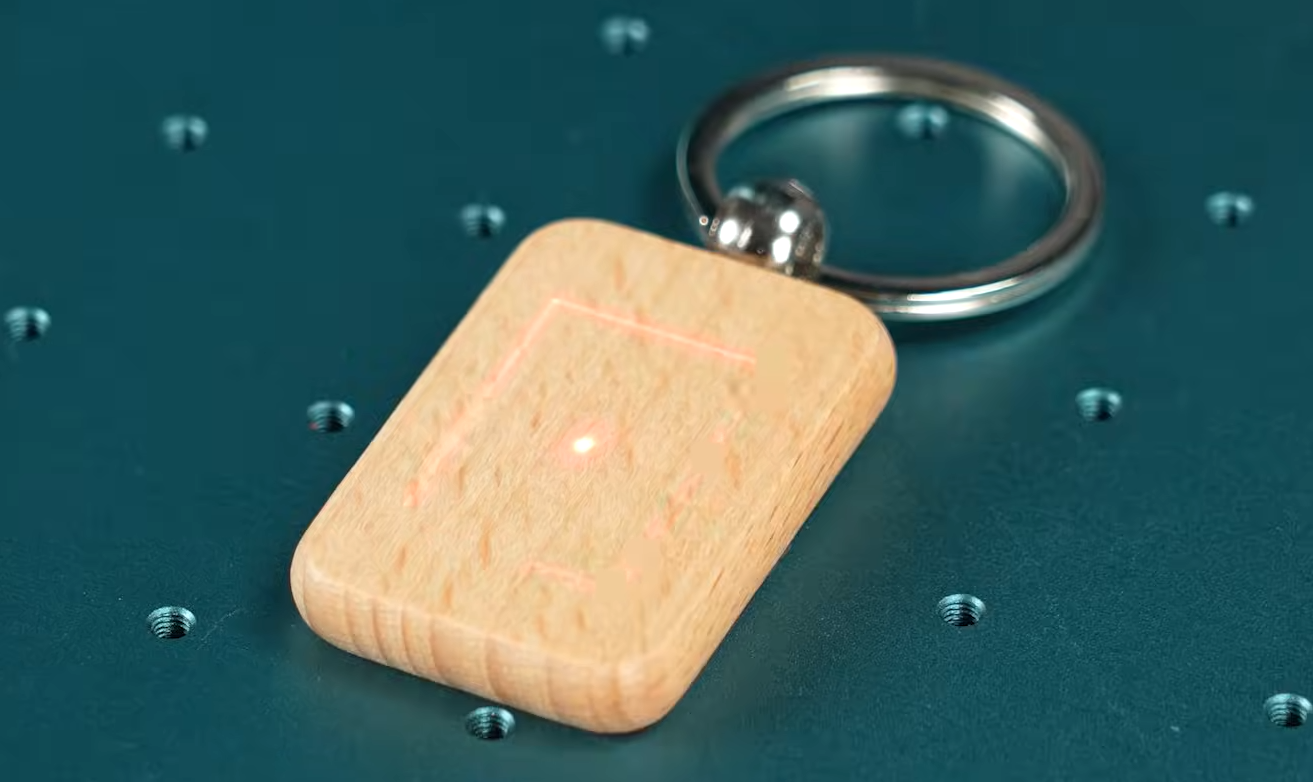
Click Preview to adjust the material positions.
Click on the marking to begin engraving.
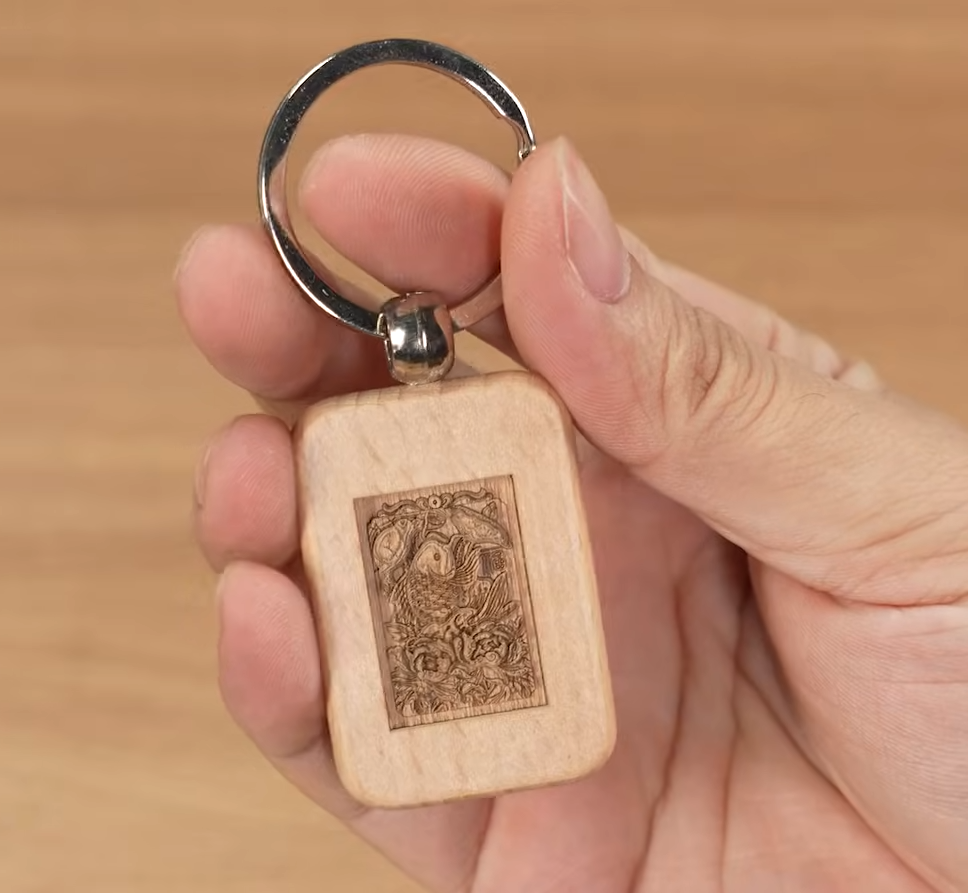
Crystal Internal Engraving
The following is a step-by-step tutorial with pictures. Welcome to the advanced tutorial on internal carving:
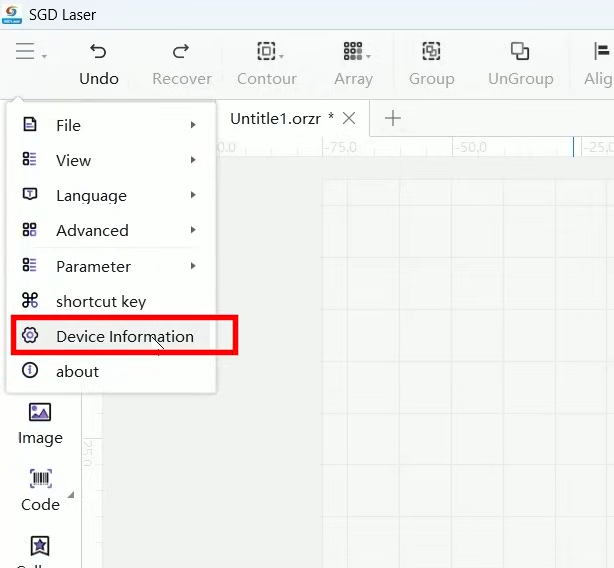
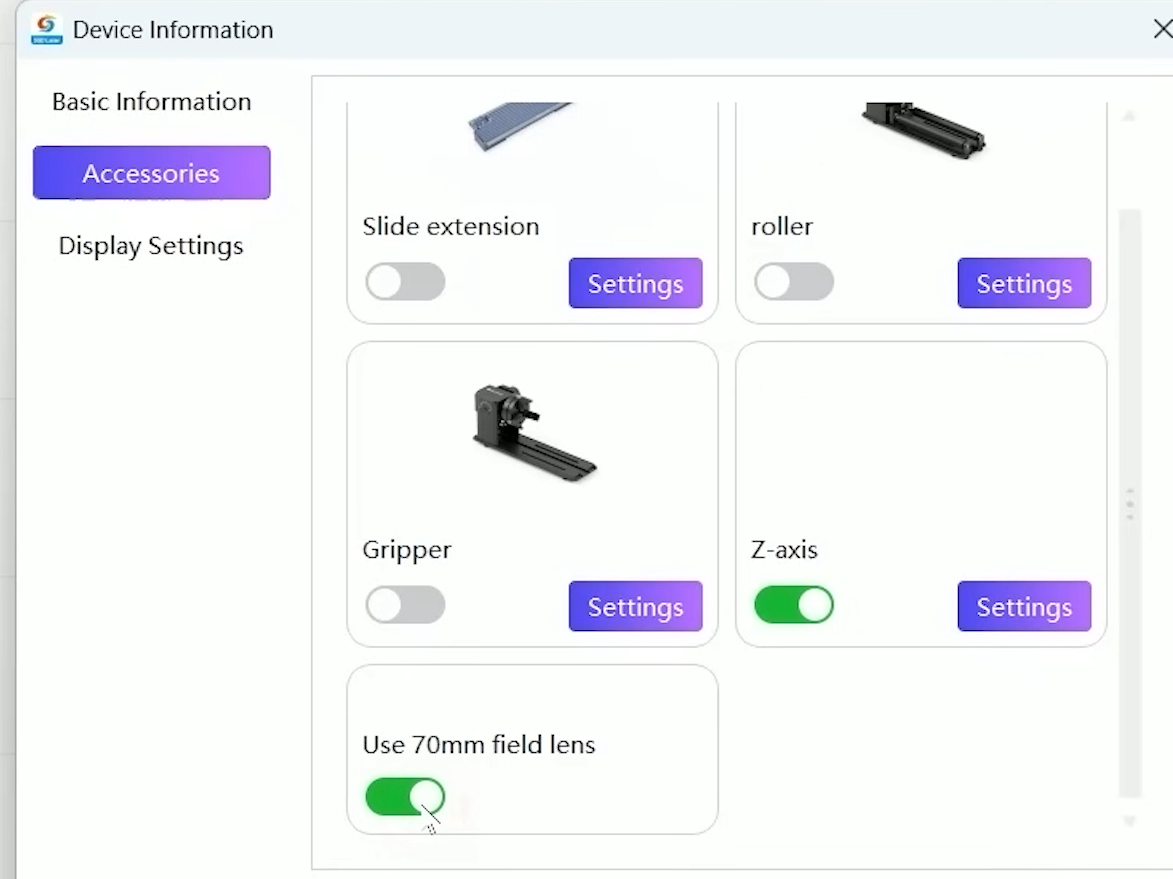
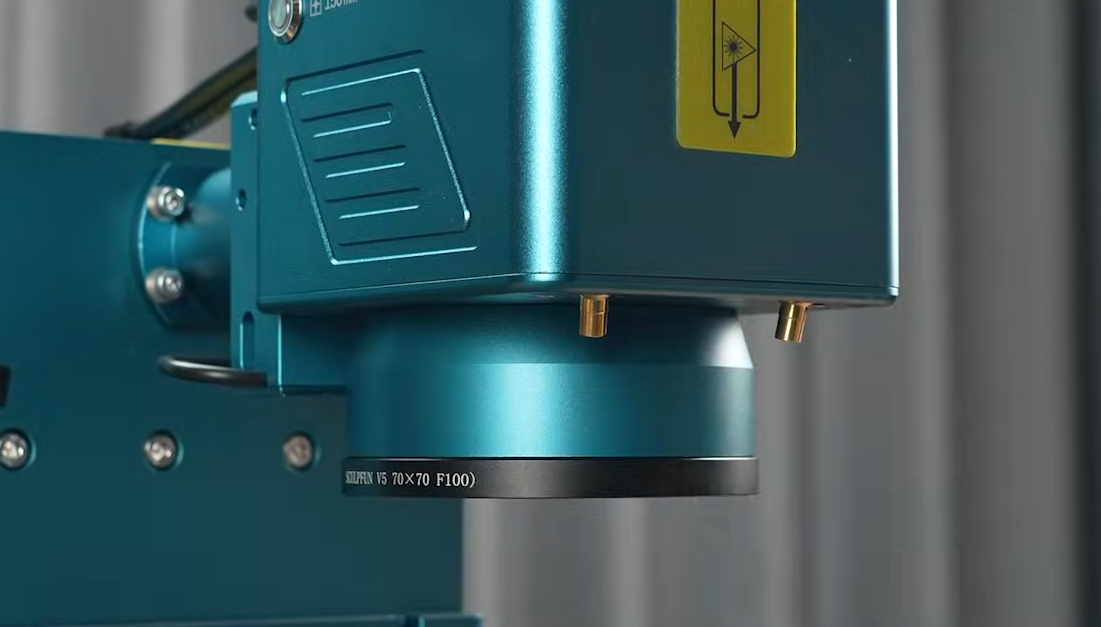
Crystal internal engraving can only be performed using a 70mm field lens. Return to the main interface, click on the device information in the upper left corner, and turn on the 70mm field lens and z-axis.
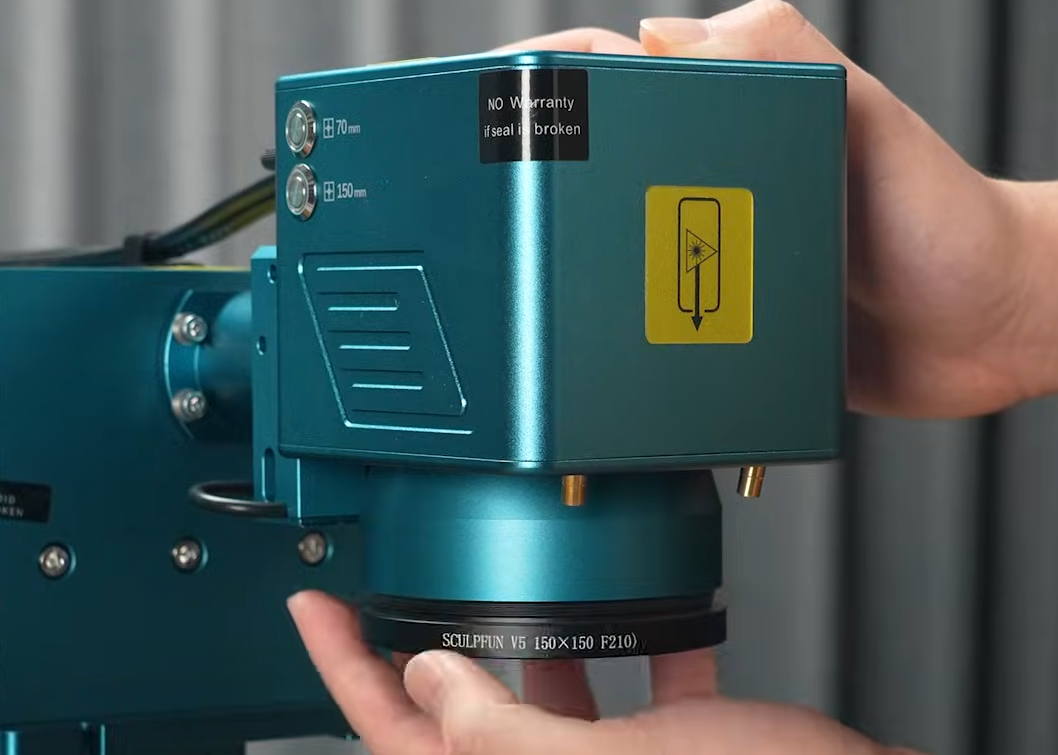
Remove the 150mm field lens from the machine.
Remove the 70mm field lens, and carefully remove the protective cap before attaching it to the 150mm field lens.
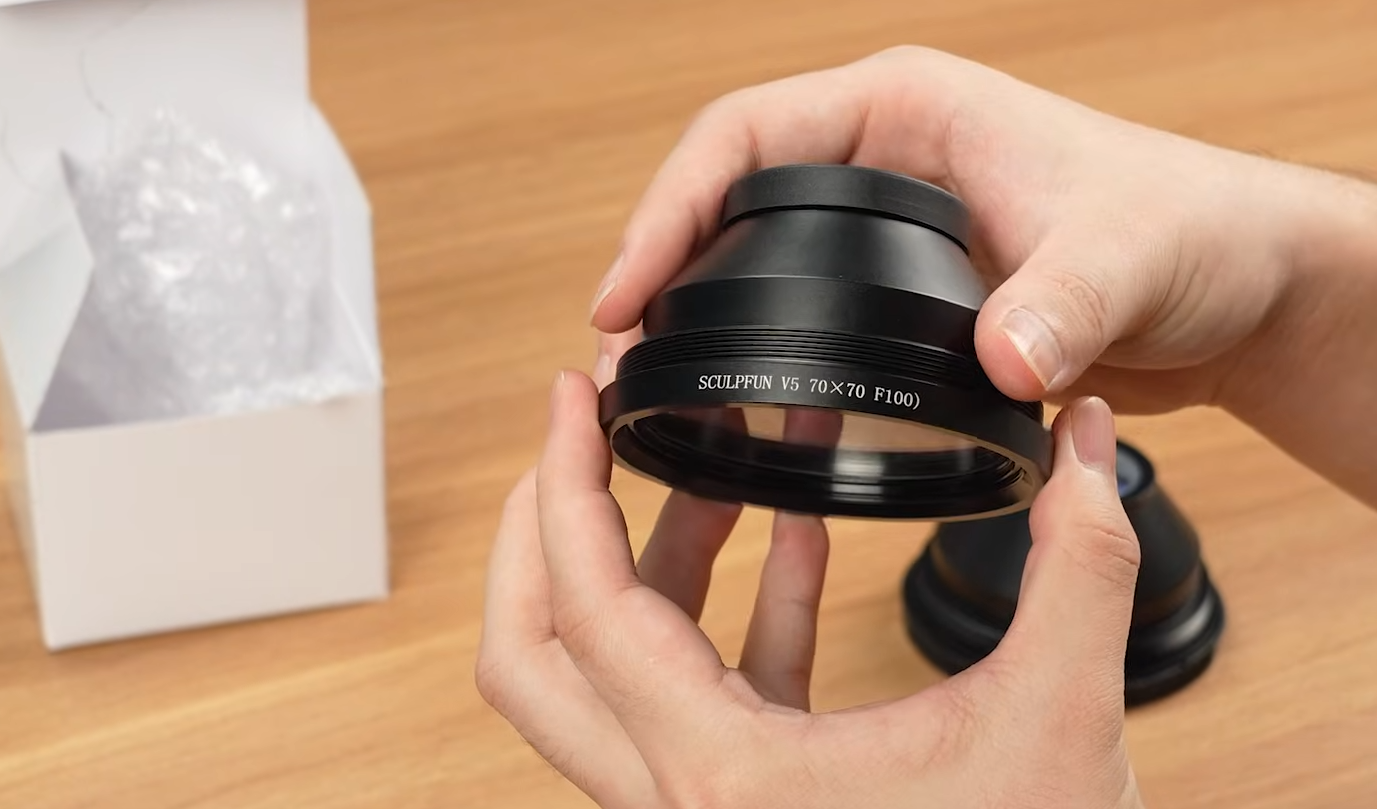
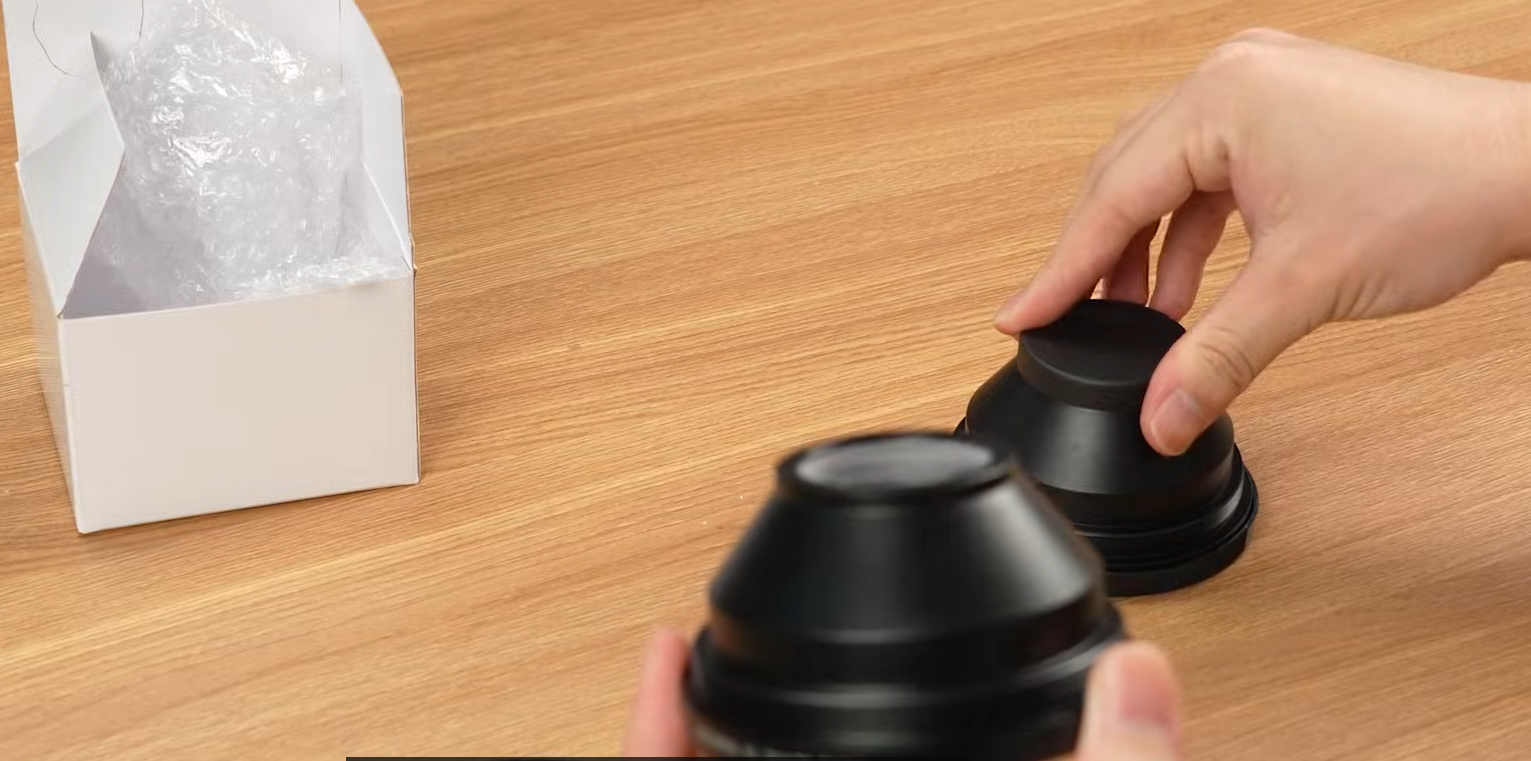
Install 70mm field lens.
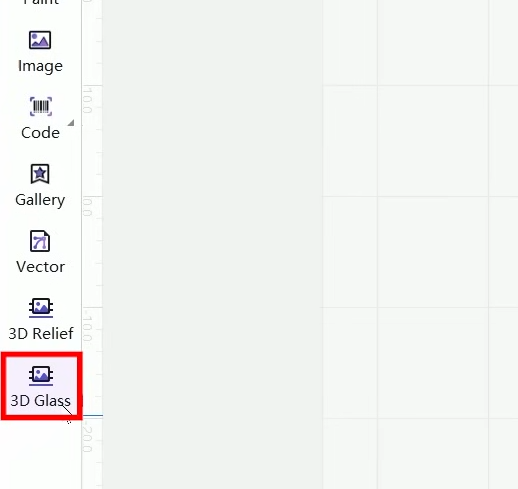
Click on the 3D Glass in the lower left corner.
After entering the interface, click on the right side to import materials. You can choose to import STL files or OBJ files.
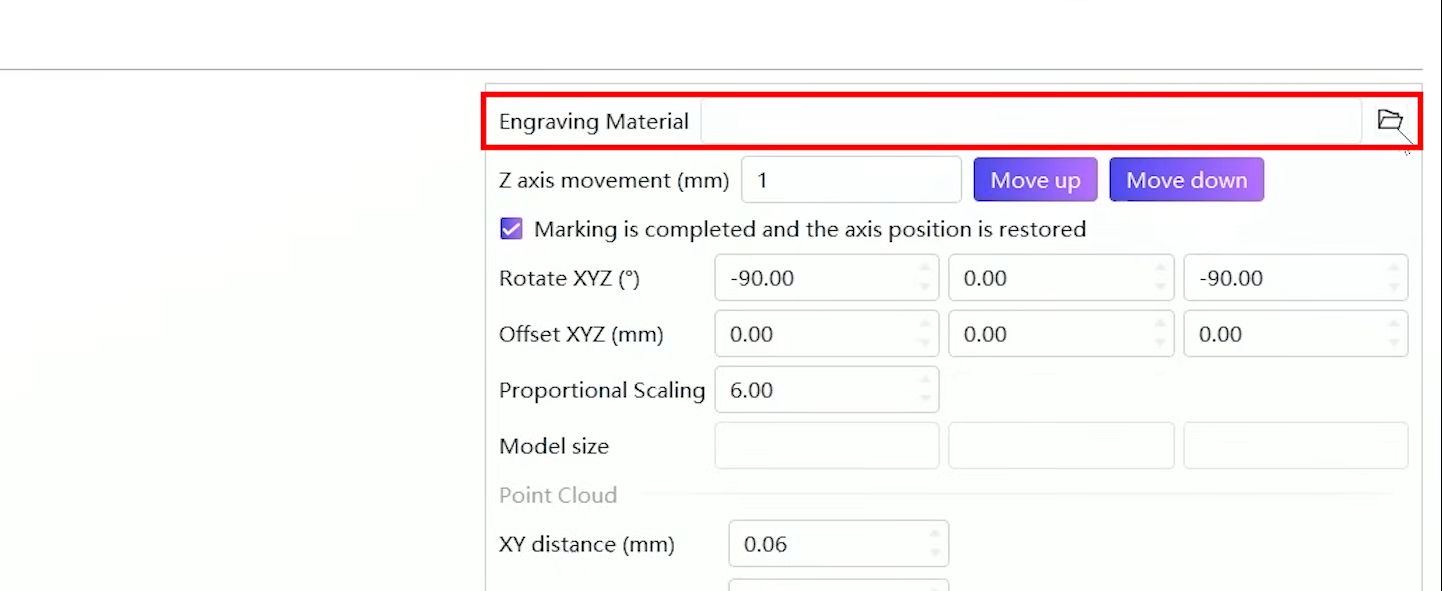
Switching to a frontal view makes it easier to adjust the model's position. The left mouse button rotates the view, the middle mouse button zooms in and out, and the right mouse button drags the view.
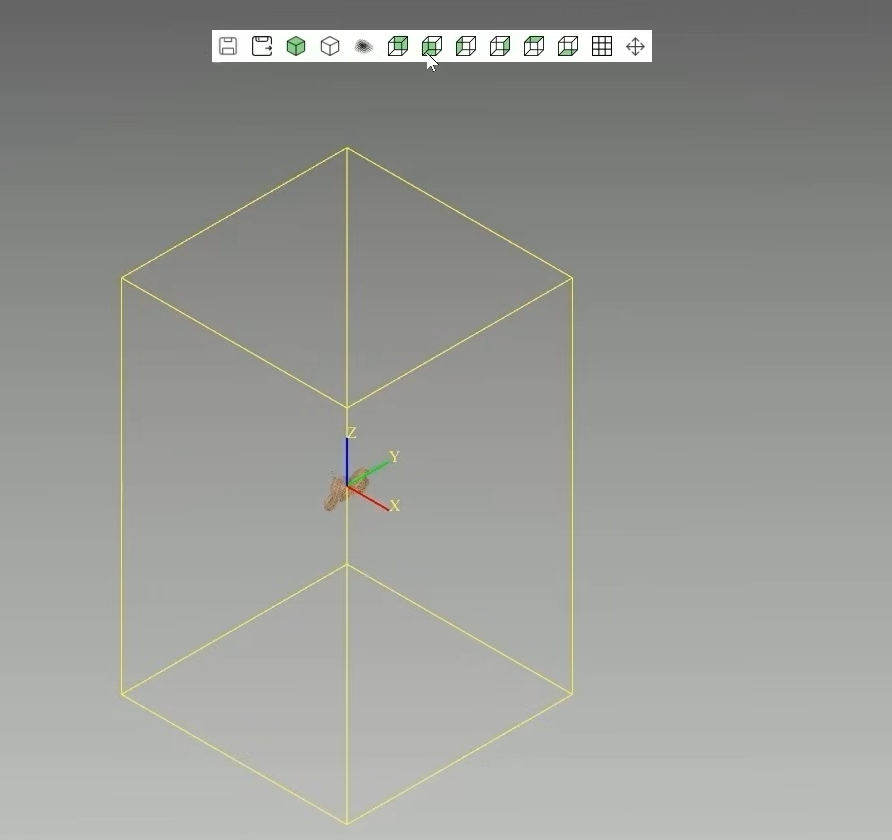
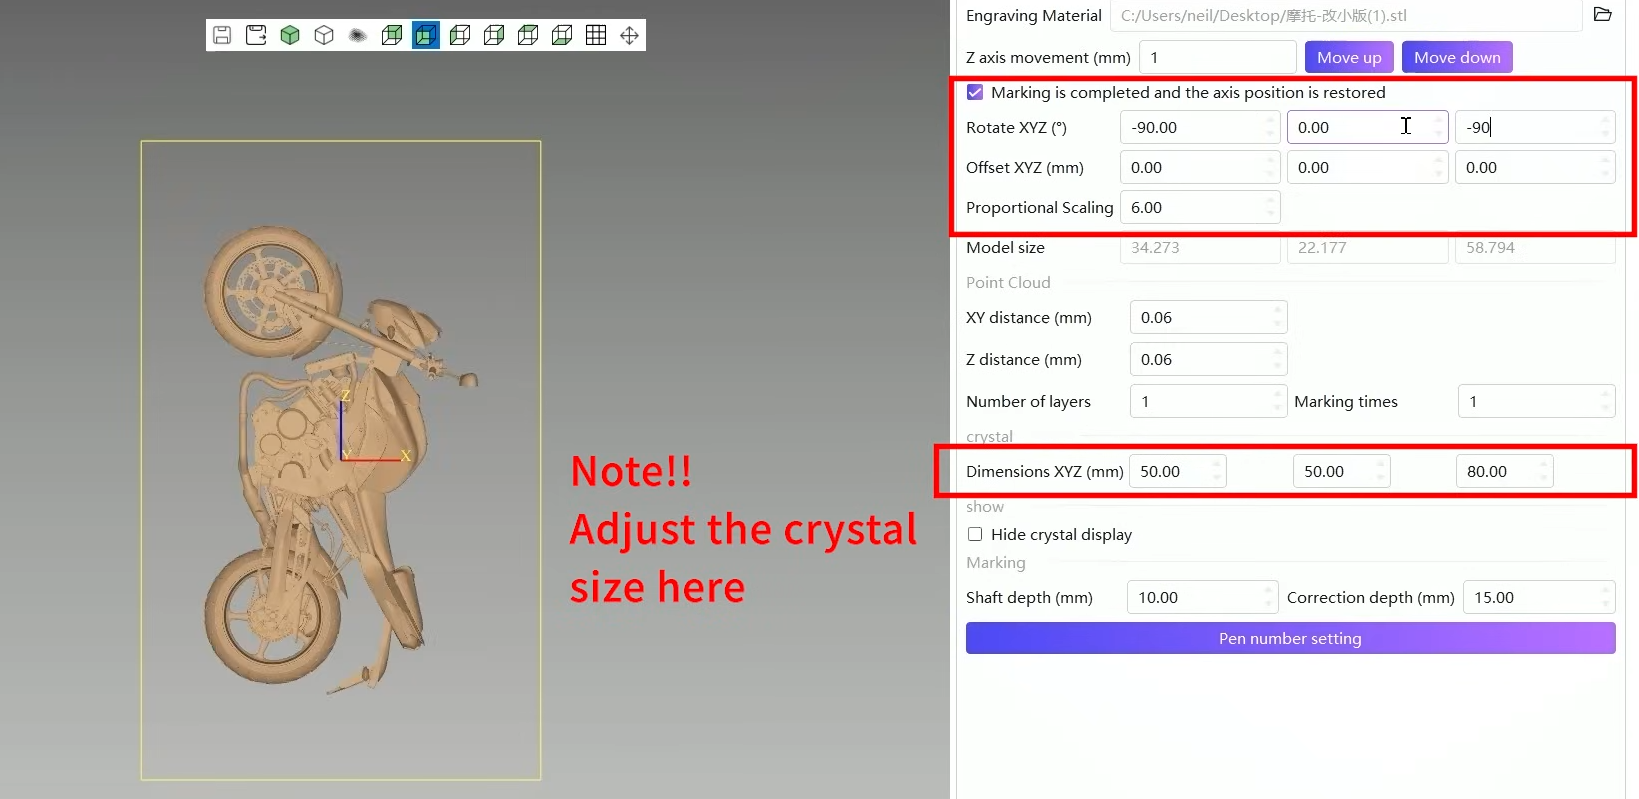
Set the crystal size, adjust the model position parameters, and place the model in the desired location.
Configure the engraving parameters; click Advanced Settings to enter a more detailed settings interface.
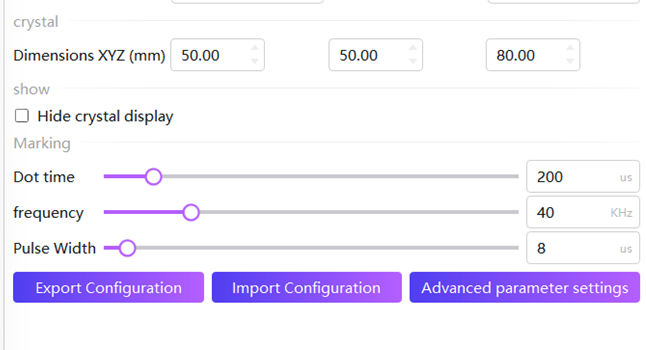
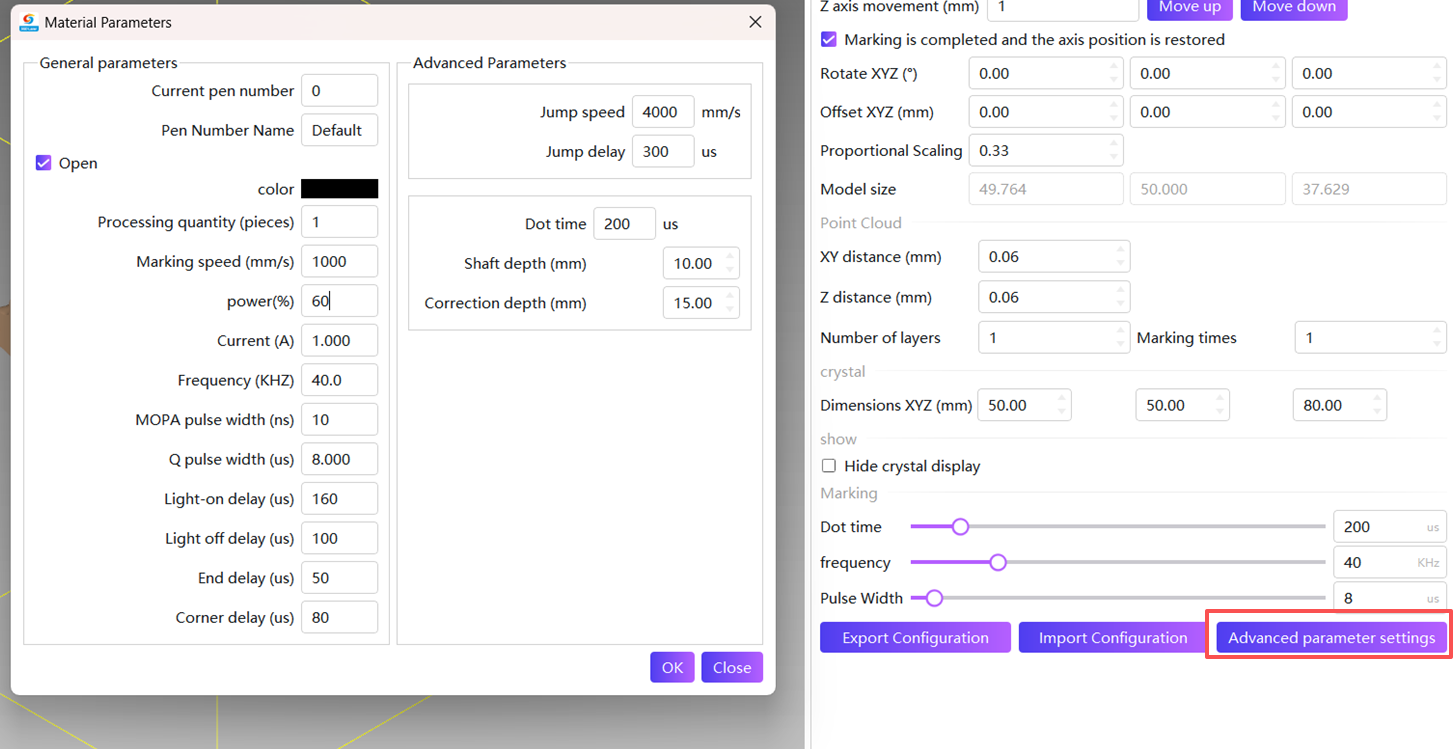
These parameters are based on tests conducted under laboratory conditions and are for reference only. The parameters may vary depending on the consumables used.For an explanation of the parameters, please refer to the V5 Advanced Tutorial - Internal Carving Tutorial.
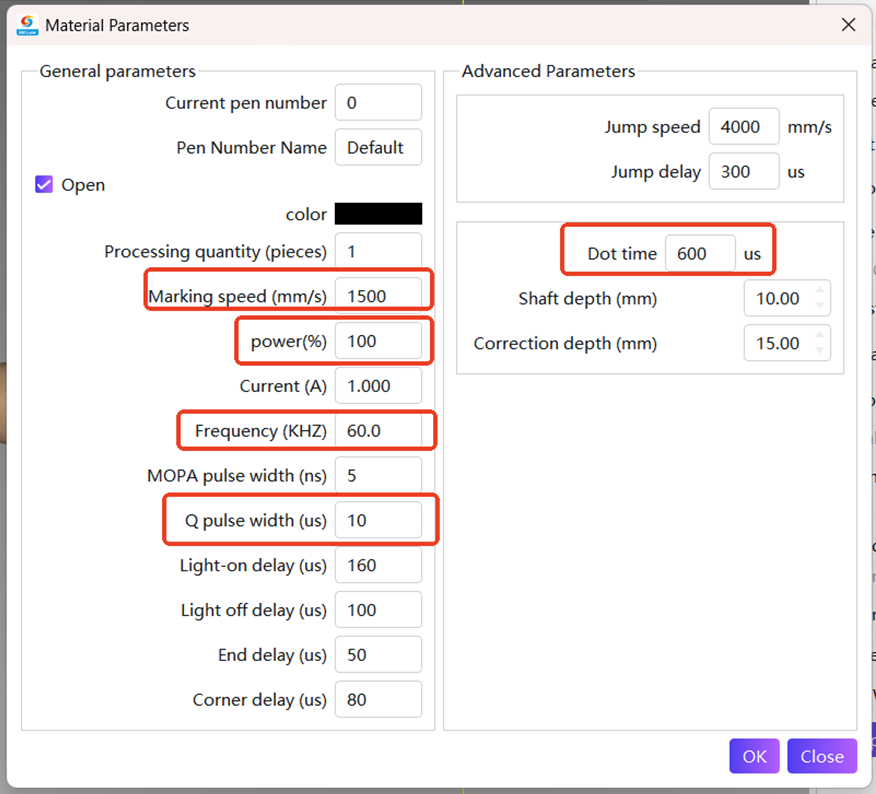
Save the parameters after confirmation.
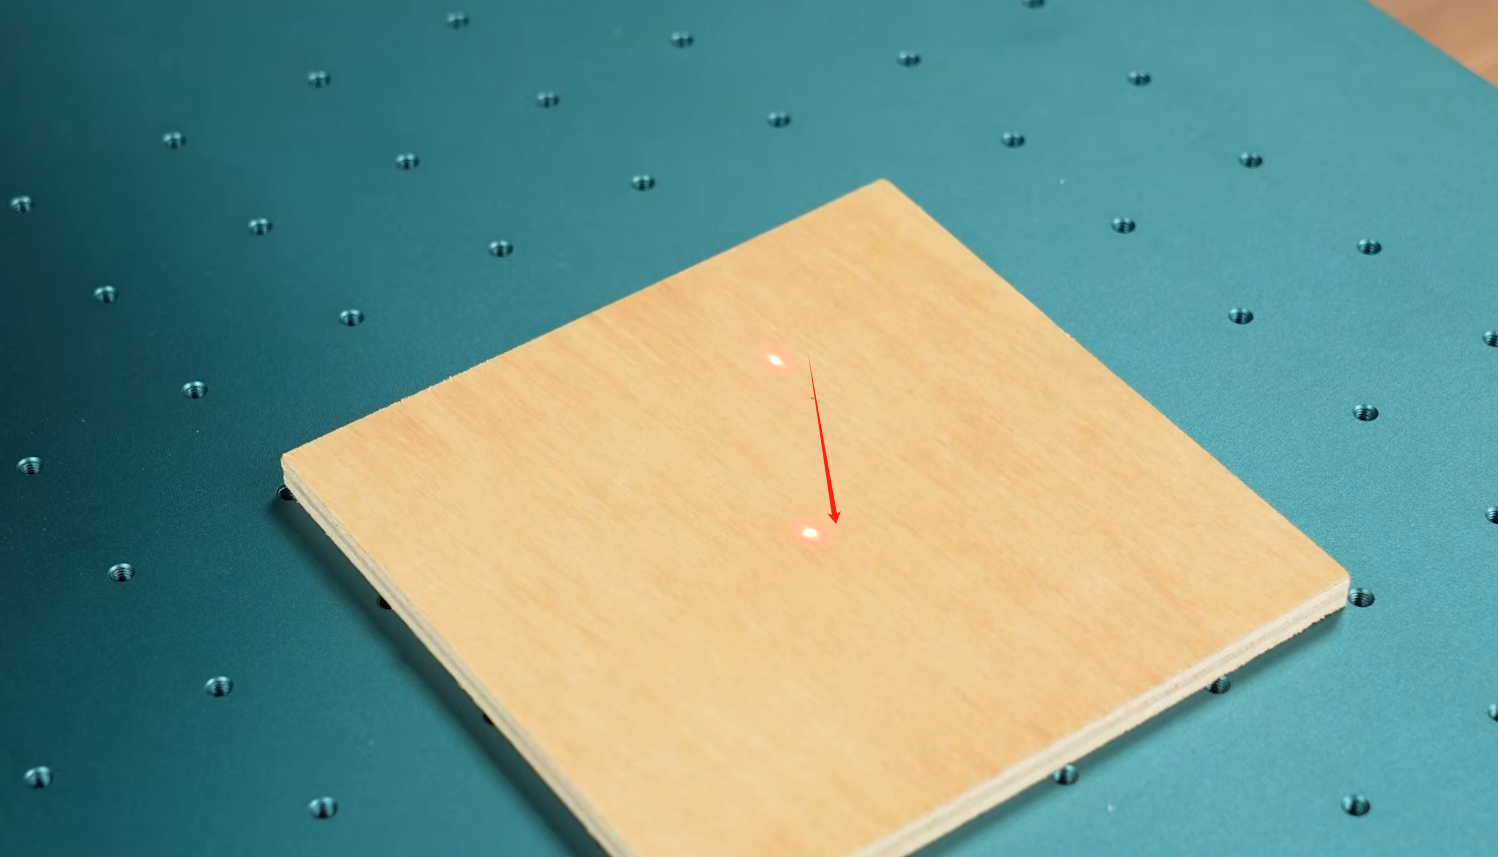
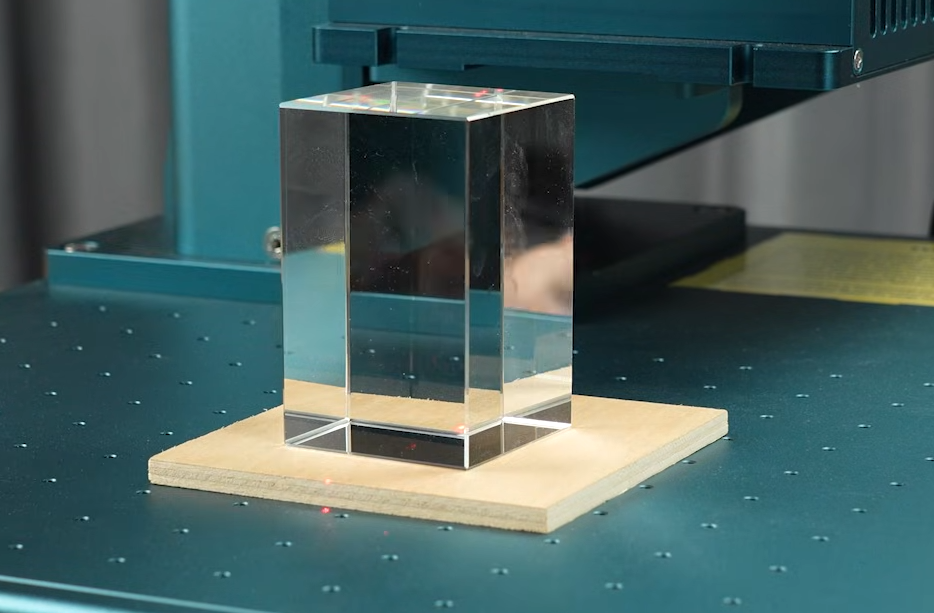
Place a pad. When performing internal crystal engraving, there are slight differences in the focal length of different field lenses (possibly a few millimeters). Using a pad to elevate the crystal by about 3 to 5 millimeters can prevent the laser from penetrating the crystal and damaging the base plate.
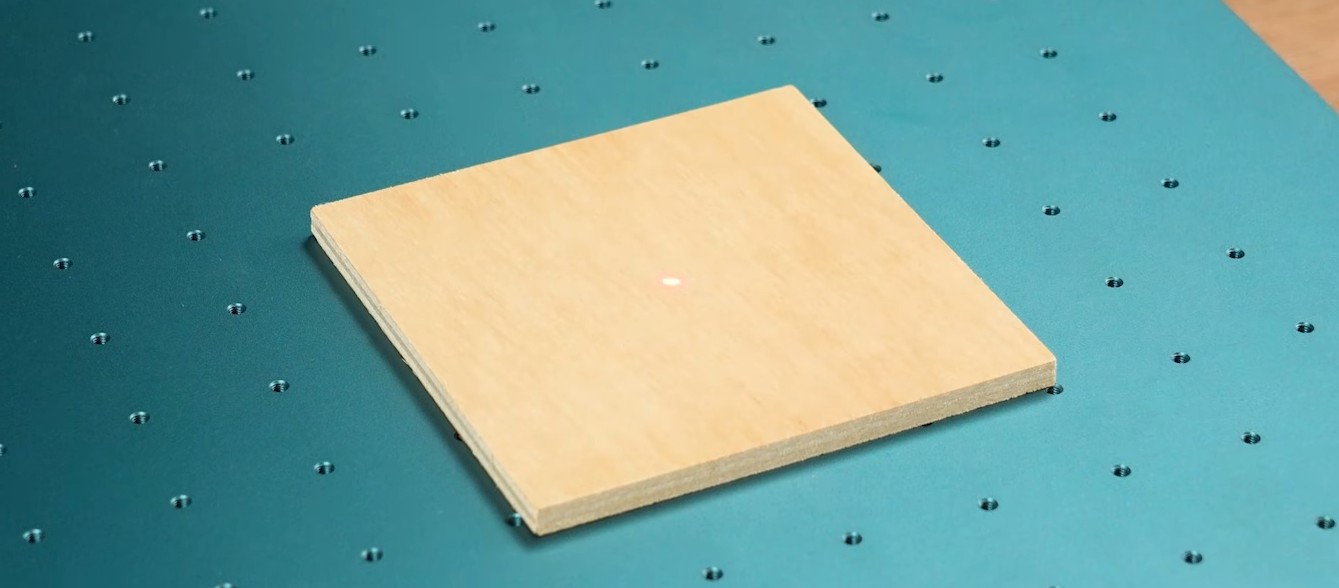
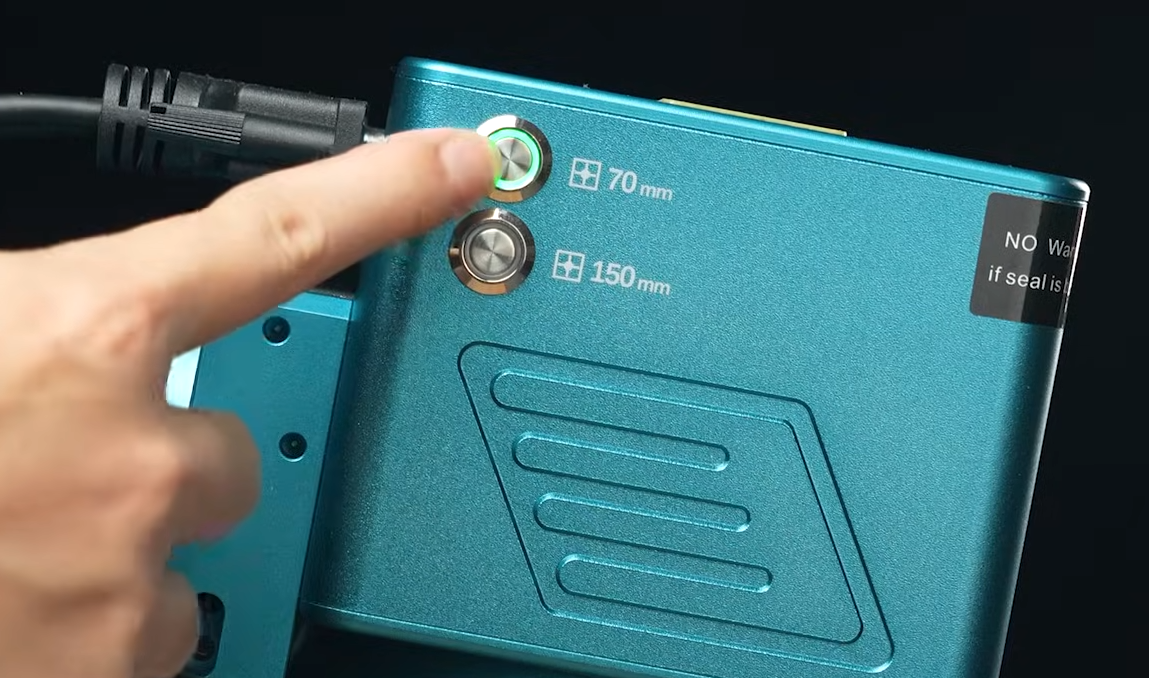
Turn on the 70mm field lens to focus the laser, and use the buttons to control the Z-axis movement to focus.
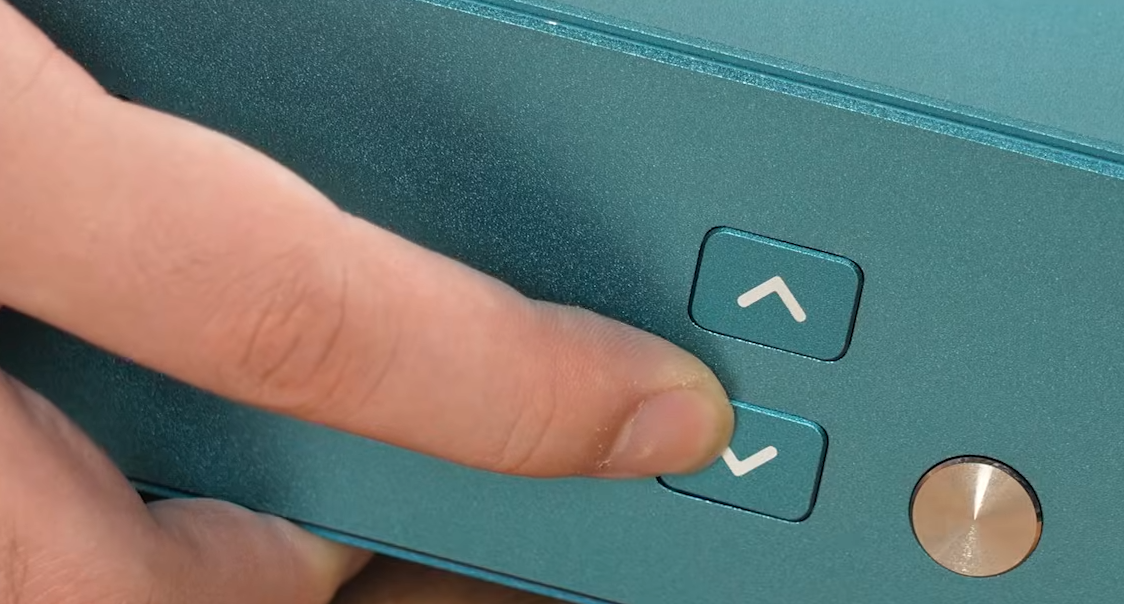
Click Preview, and the preview position will be displayed on the focusing plate; place the crystal inside the frame.
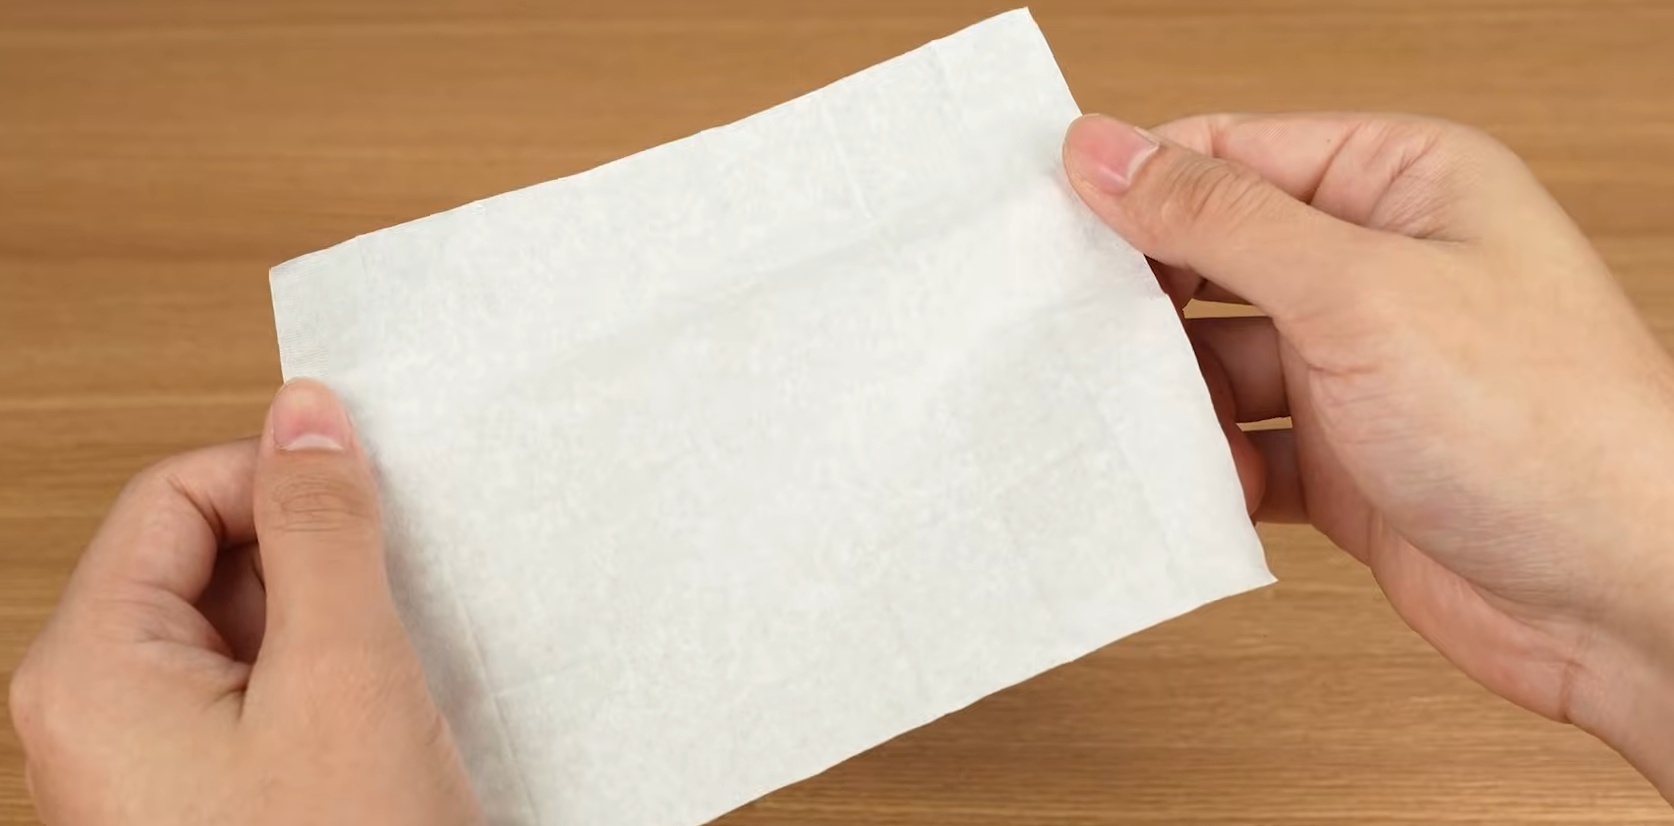
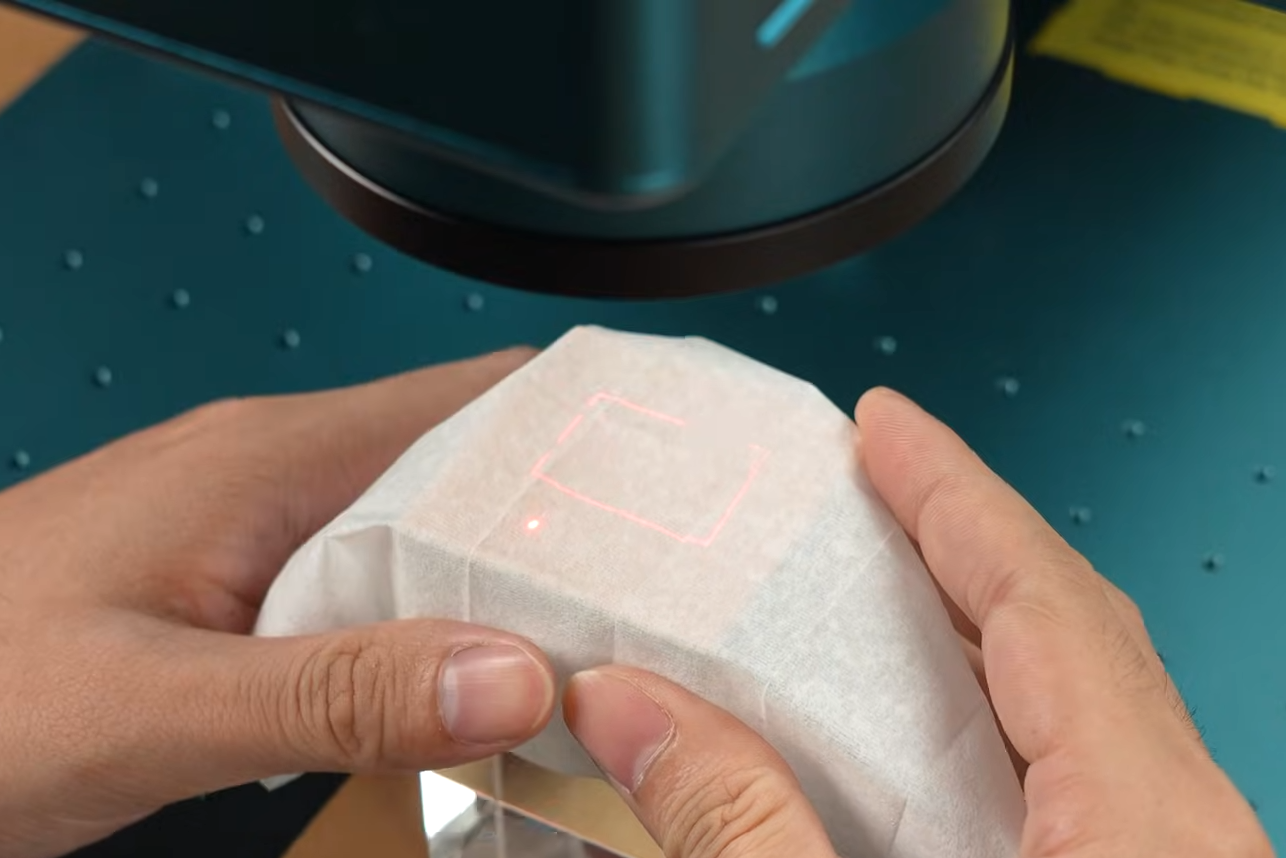
To ensure the best carving results, you can place a piece of white paper or a soft cloth over the crystal to better observe the carving area. Keep the preview border on the crystal centered.
Click "Marking" to begin carving.