V5 Spot Missing Correction Tutorial
If patterns are missing or unclear during engraving, it may be due to a defective laser spot. You can perform calibration according to this document.
Please contact after-sales service for the video version. The following is the text version.
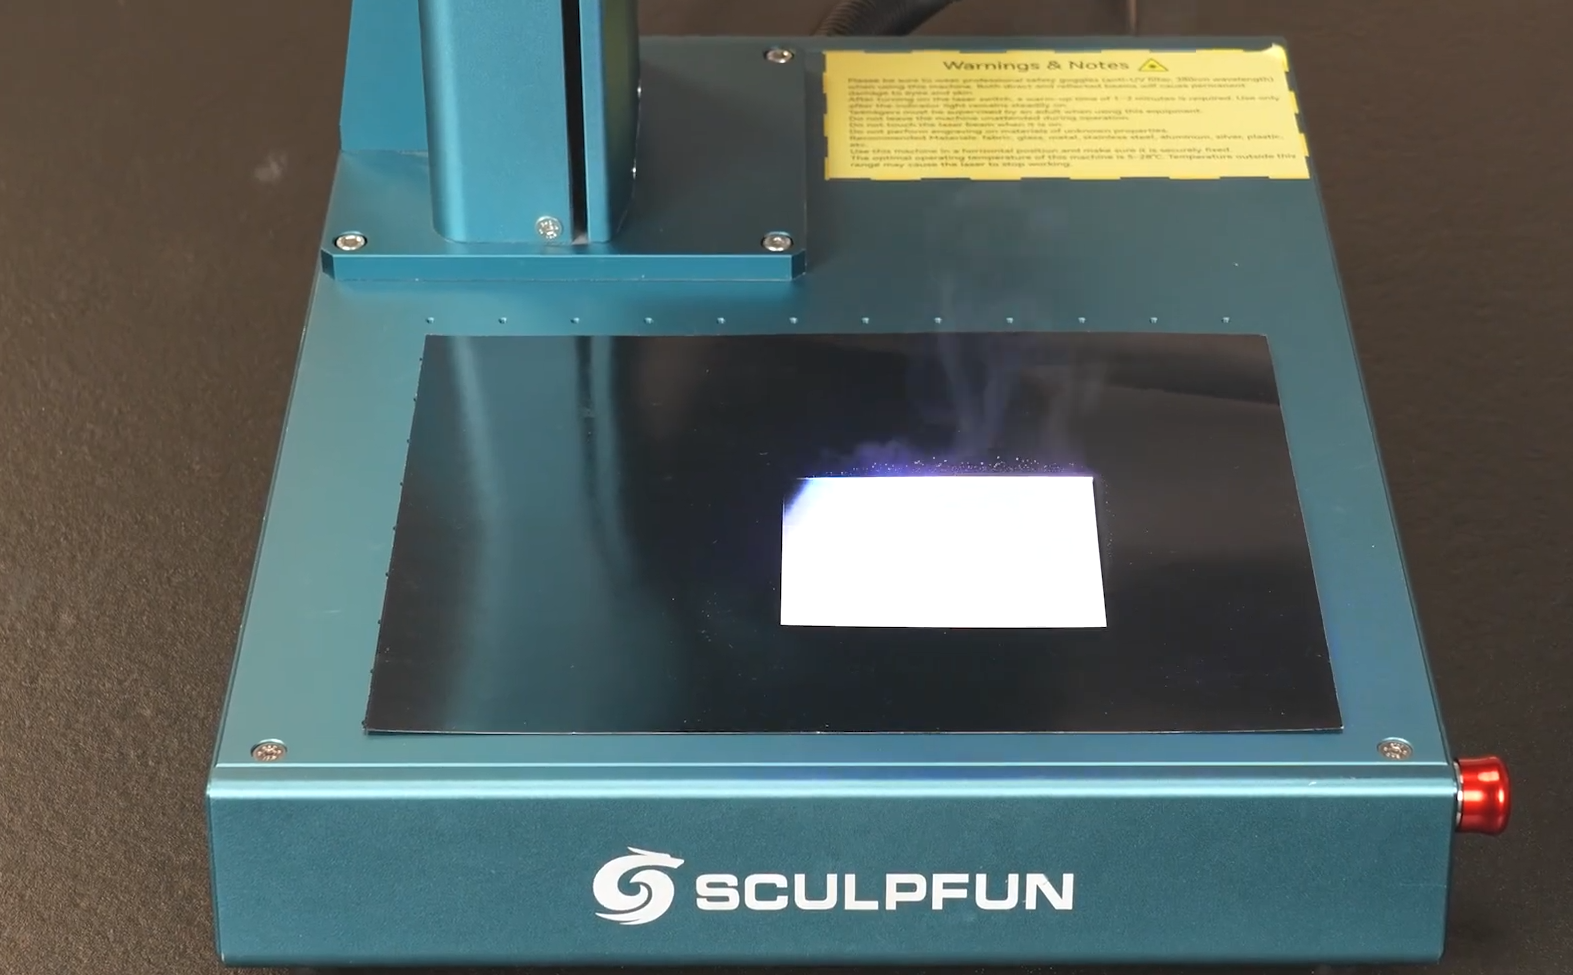
WARNING: Spot calibration is extremely dangerous. Improper operation may expose you to Class 4 laser radiation. Please follow the tutorial strictly!
Intense and dazzling light will be emitted during operation. It is recommended to wear laser safety goggles.

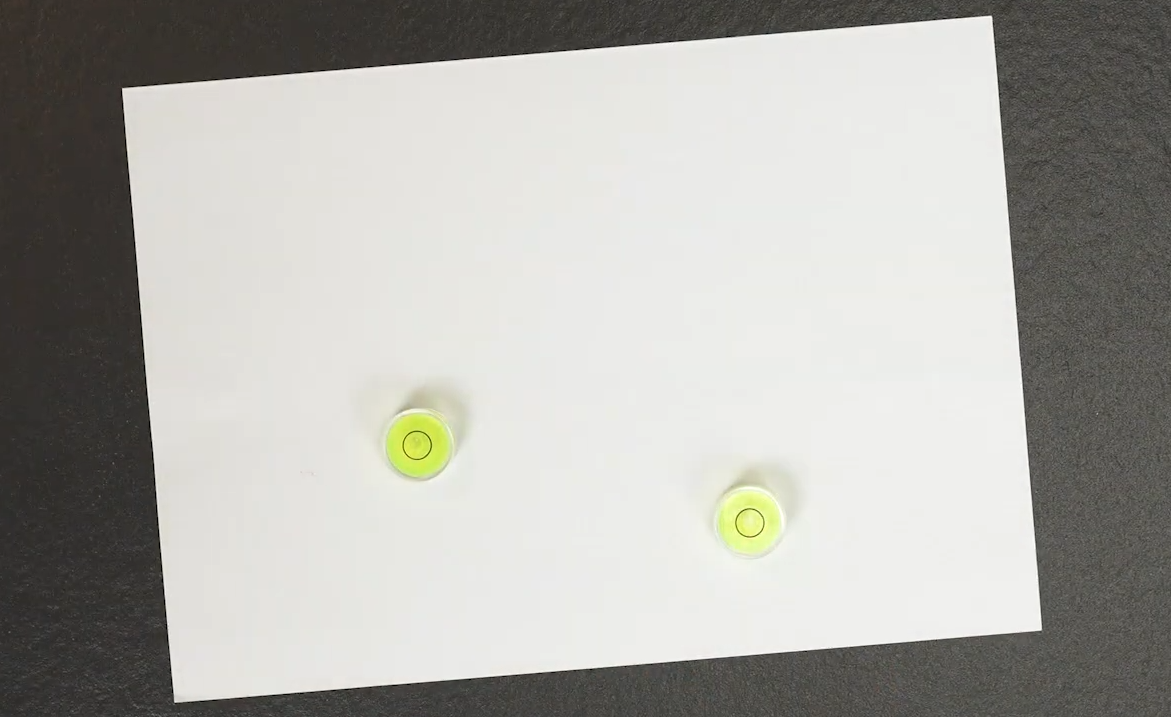
Prepare one piece of white cardstock and two spirit levels. You may use the spirit levels included with the V5 machine.
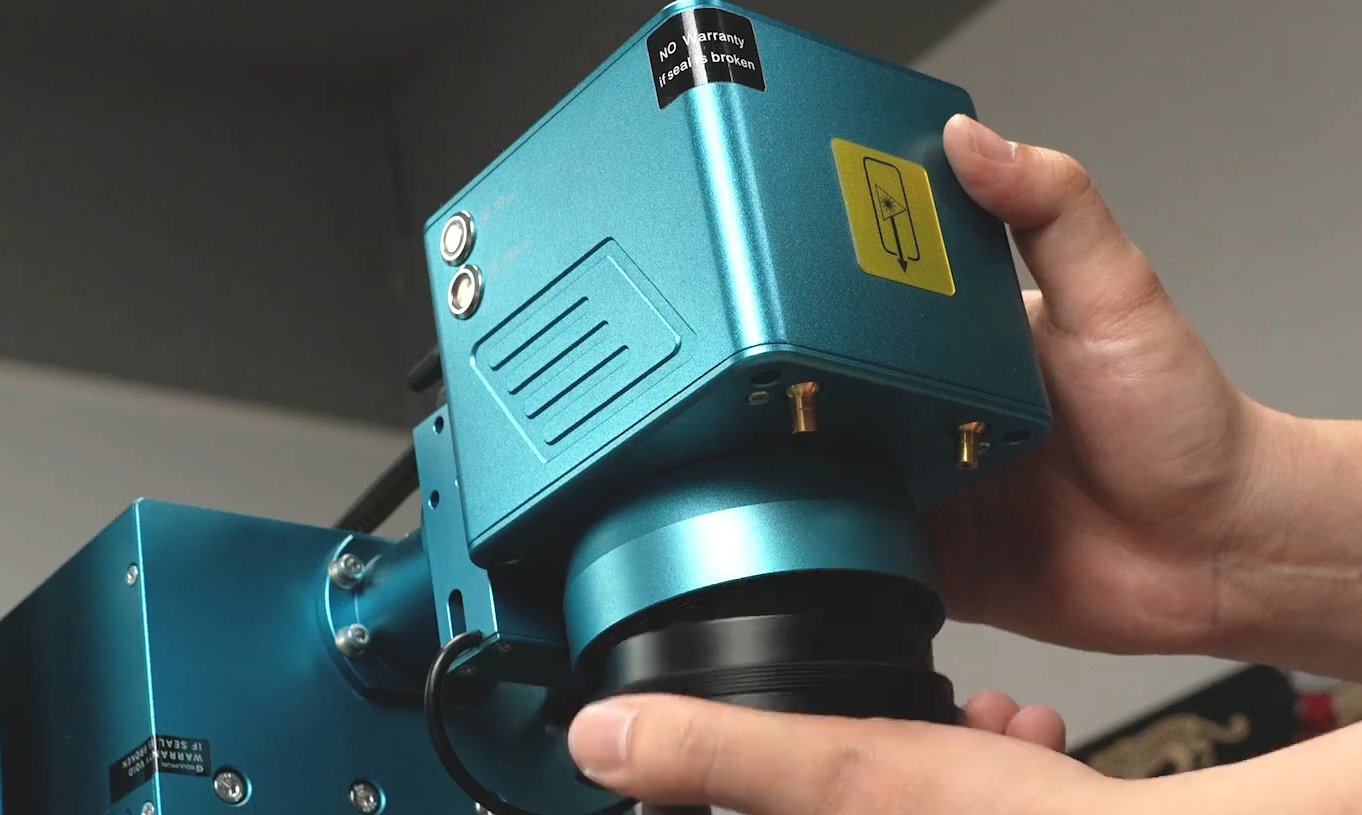
Before powering on, remove the F-theta lens from the laser.
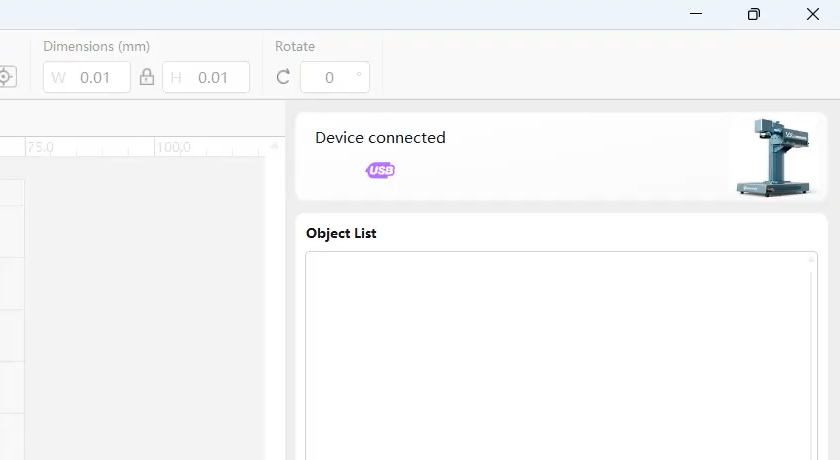
Open the SGD Laser software and connect to the machine.
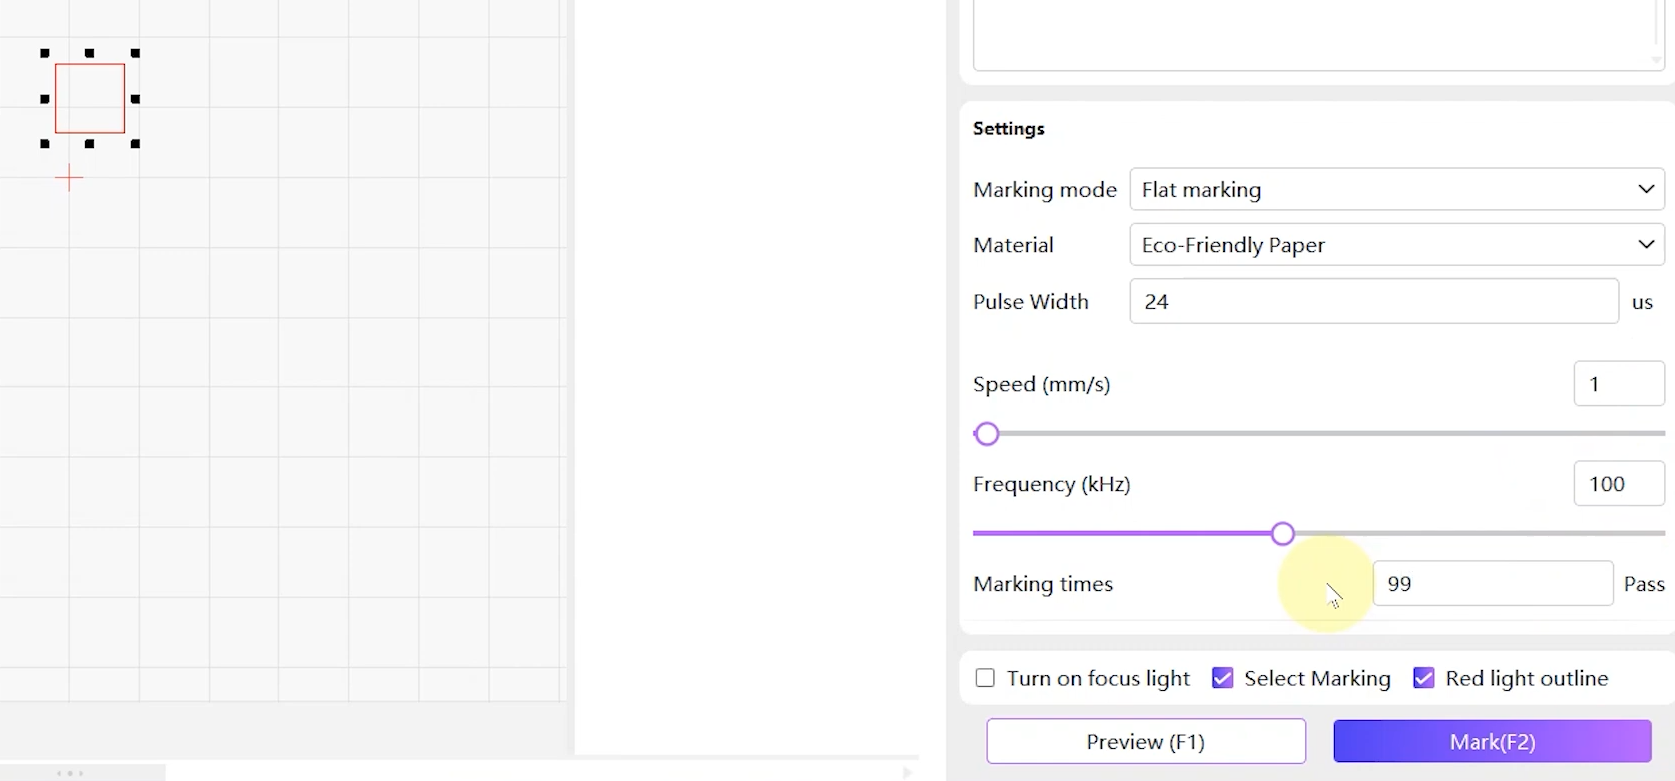
Draw a 10*10mm rectangle and set the parameters as follows: Q-pulse width: 24μs; speed: 1mm/s; frequency: 100kHz; marking passes: 99.
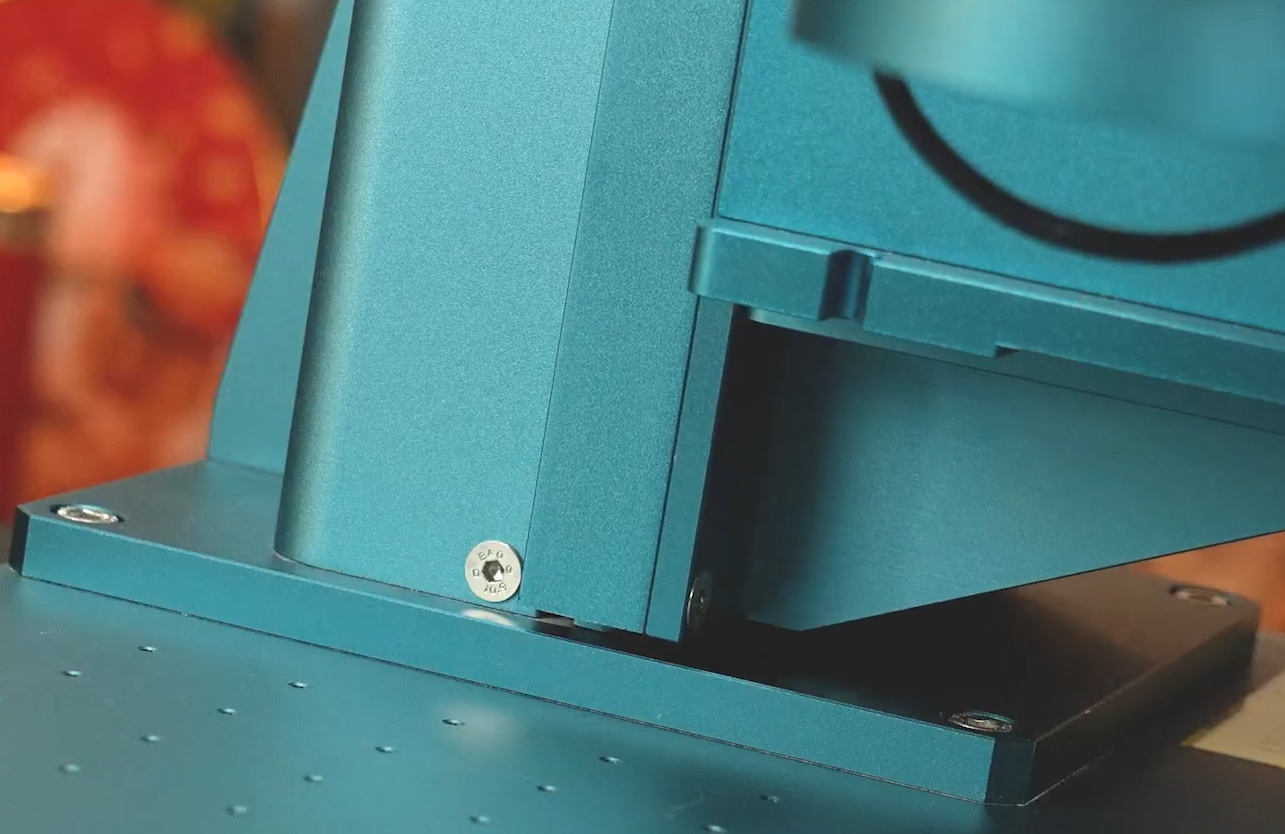
Lower the laser to the bottom position to reduce laser diffuse reflection and prevent the laser from hitting the bottom plate.
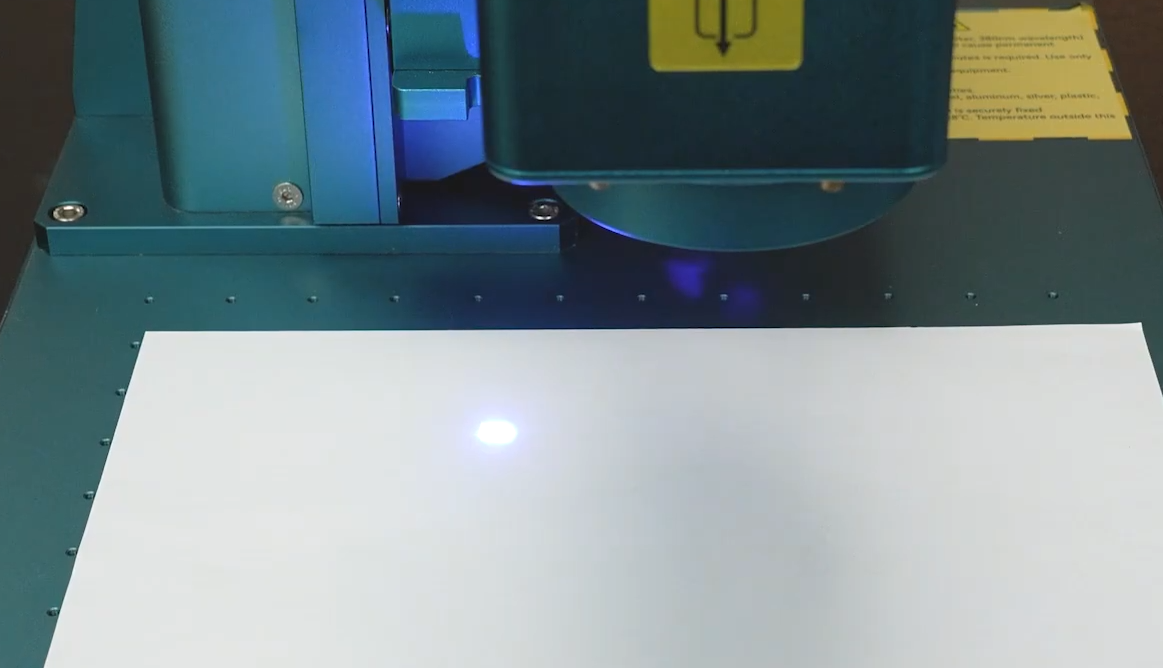
Place the white paper. WARNING: Violet laser shining on white paper will reflect intense blue light. Please prepare eye protection in advance. Using other colored materials will result in dimmer reflected light, but the spot may be hard to see.
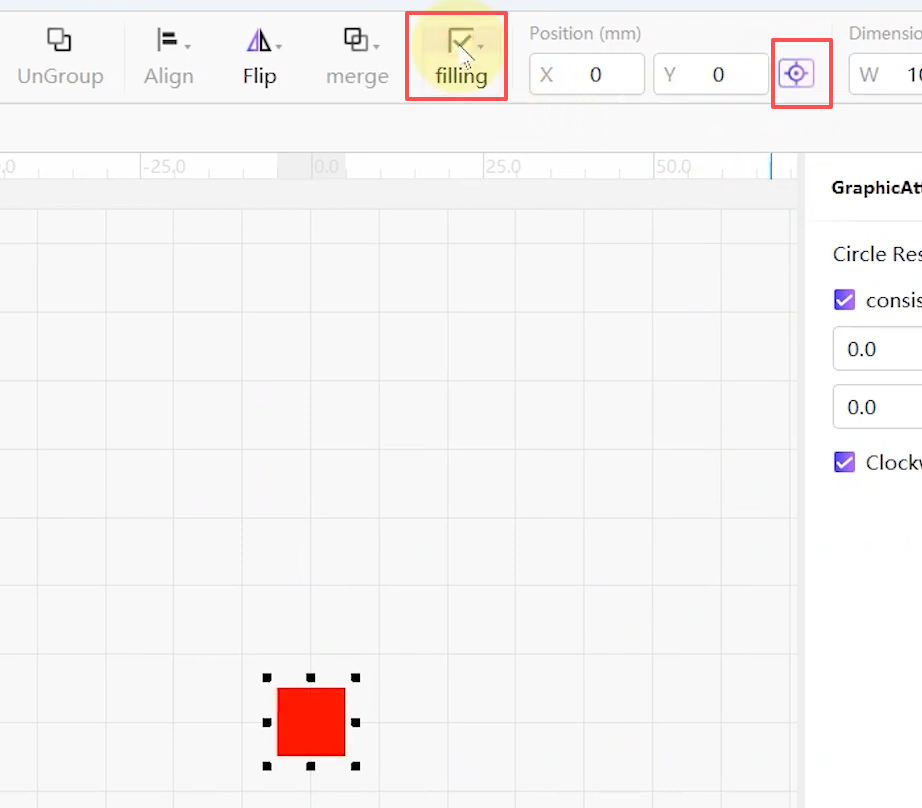
Return to the software, click Center to place the rectangle in the middle of the interface.
Click Preview to check the approximate position of the pattern.
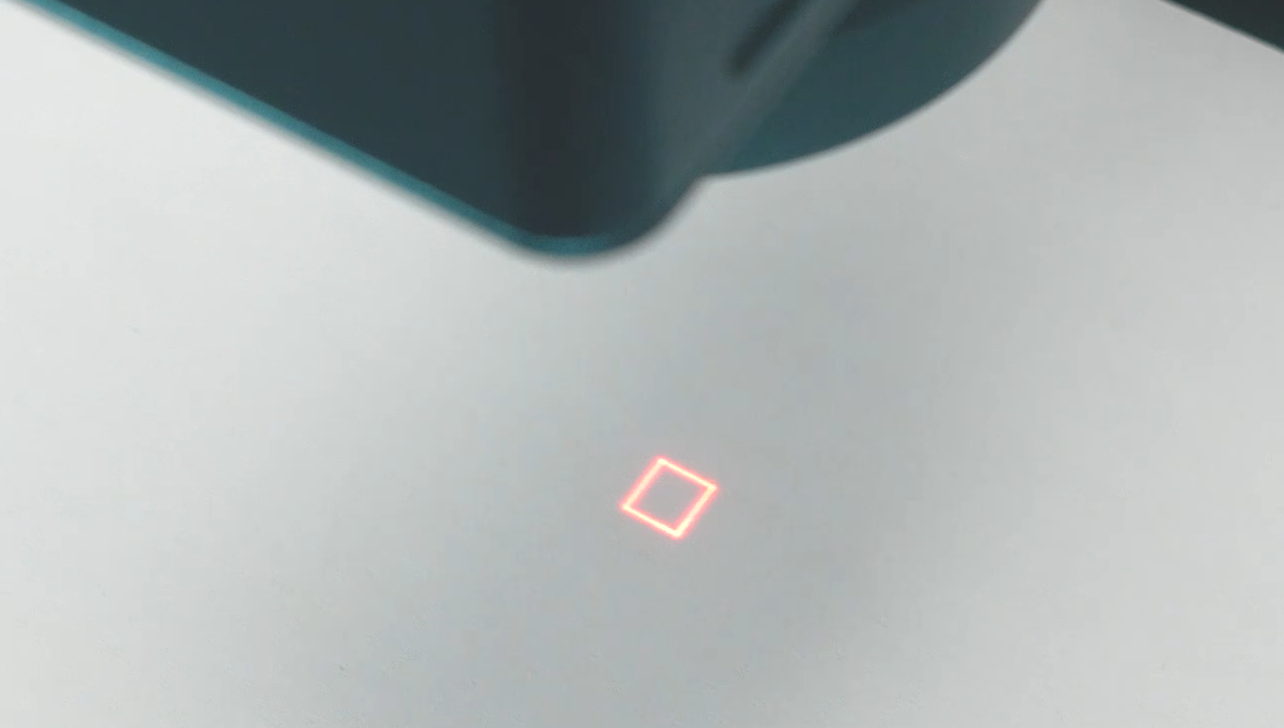
Click Engrave. The machine will emit laser light. Observe the spot on the white material; a normal spot is approximately circular.
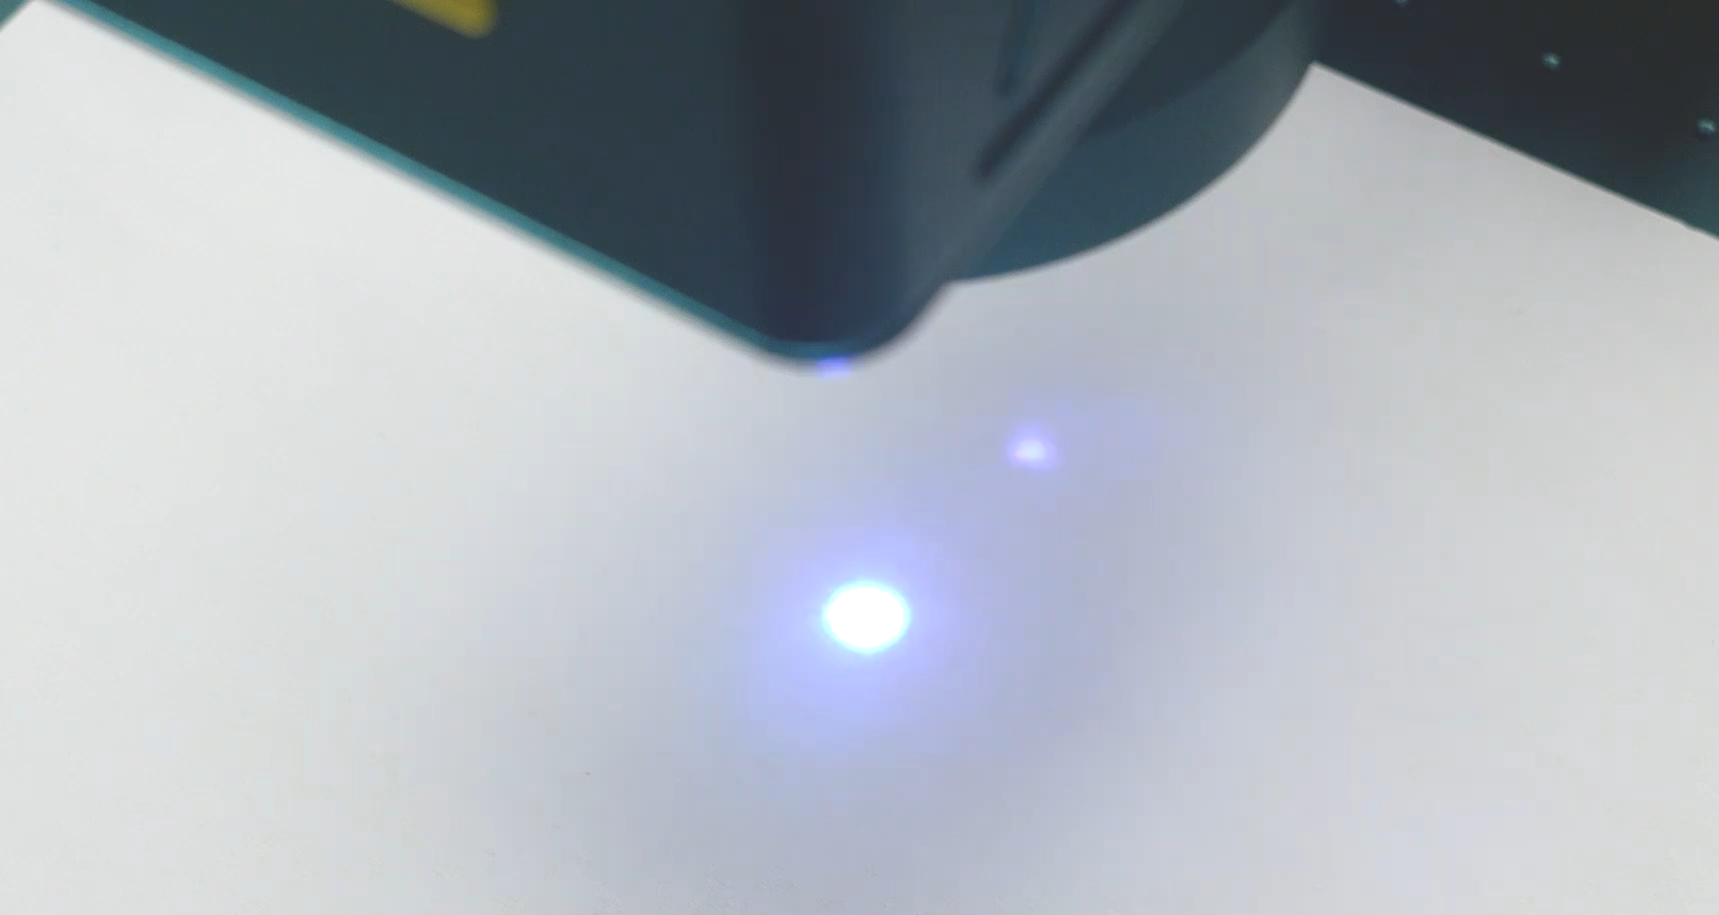
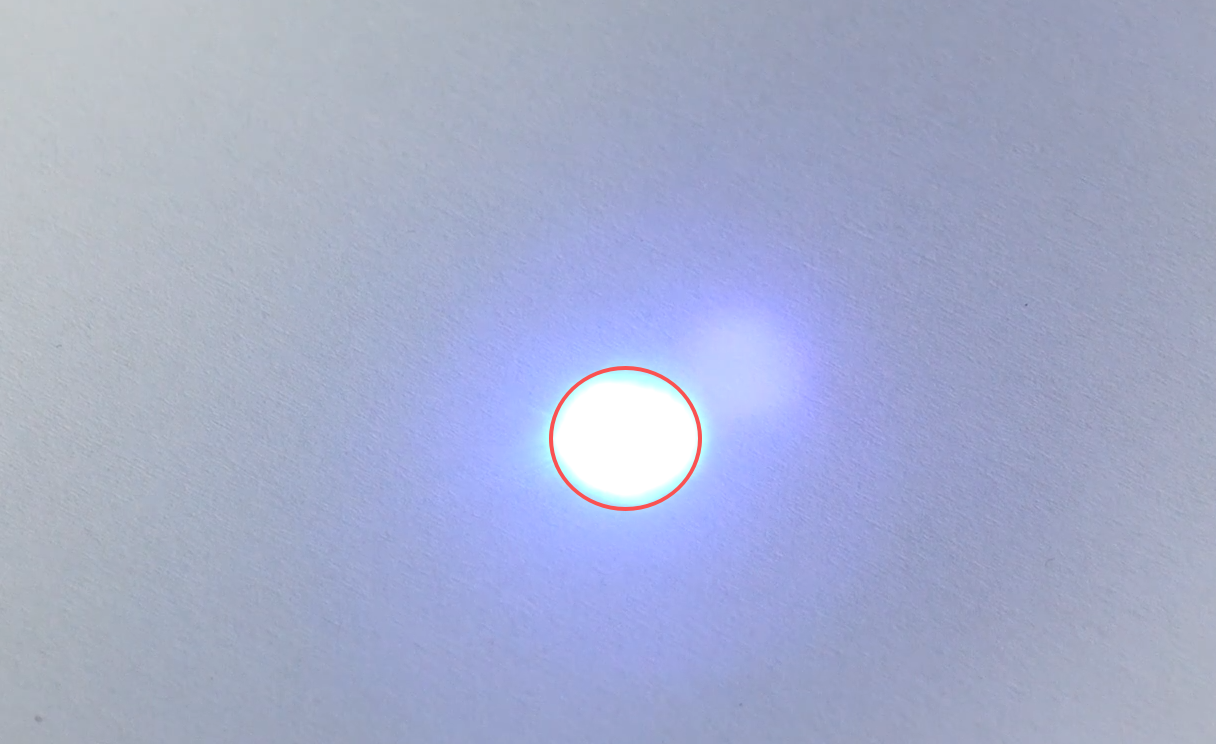
Click Stop Engraving. Move the pattern to the top-left corner in the software, click Preview to confirm the position, then start engraving. Observe the spot on the white material; a normal spot is approximately circular.
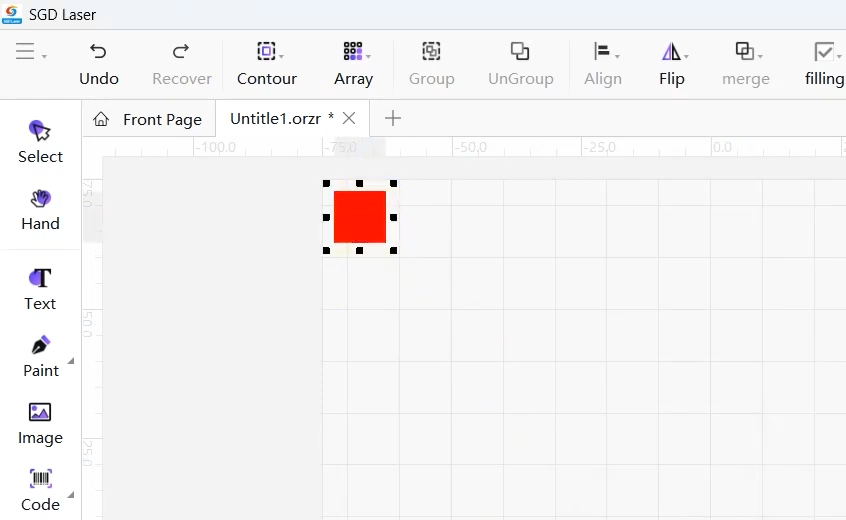
Perform tests at the bottom-left, top-right, and bottom-right positions respectively to check if the spot is defective. If defective, adjust at the defective area.
At this point, you may find the left side of the spot is missing.
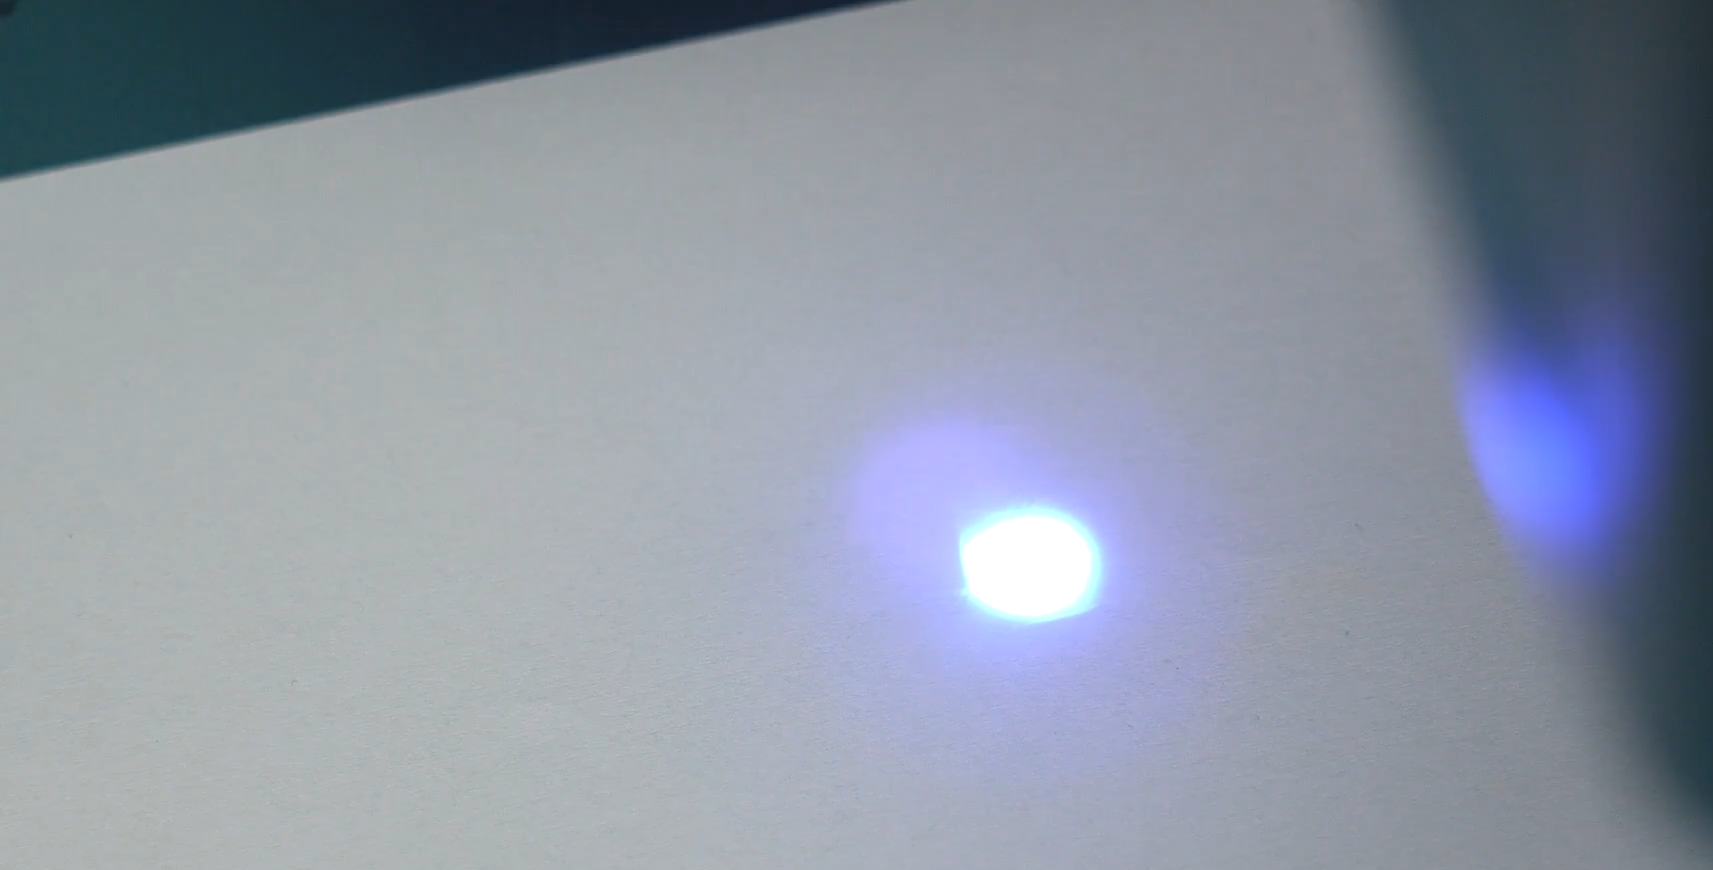
WARNING: Please follow the steps strictly. Do not attempt to touch the laser beam path.
Keep the laser emitting. Place spirit levels on the base plate and the laser galvanometer. Check the bubbles in horizontal and vertical directions to see if the laser galvanometer is level with the machine base plate.
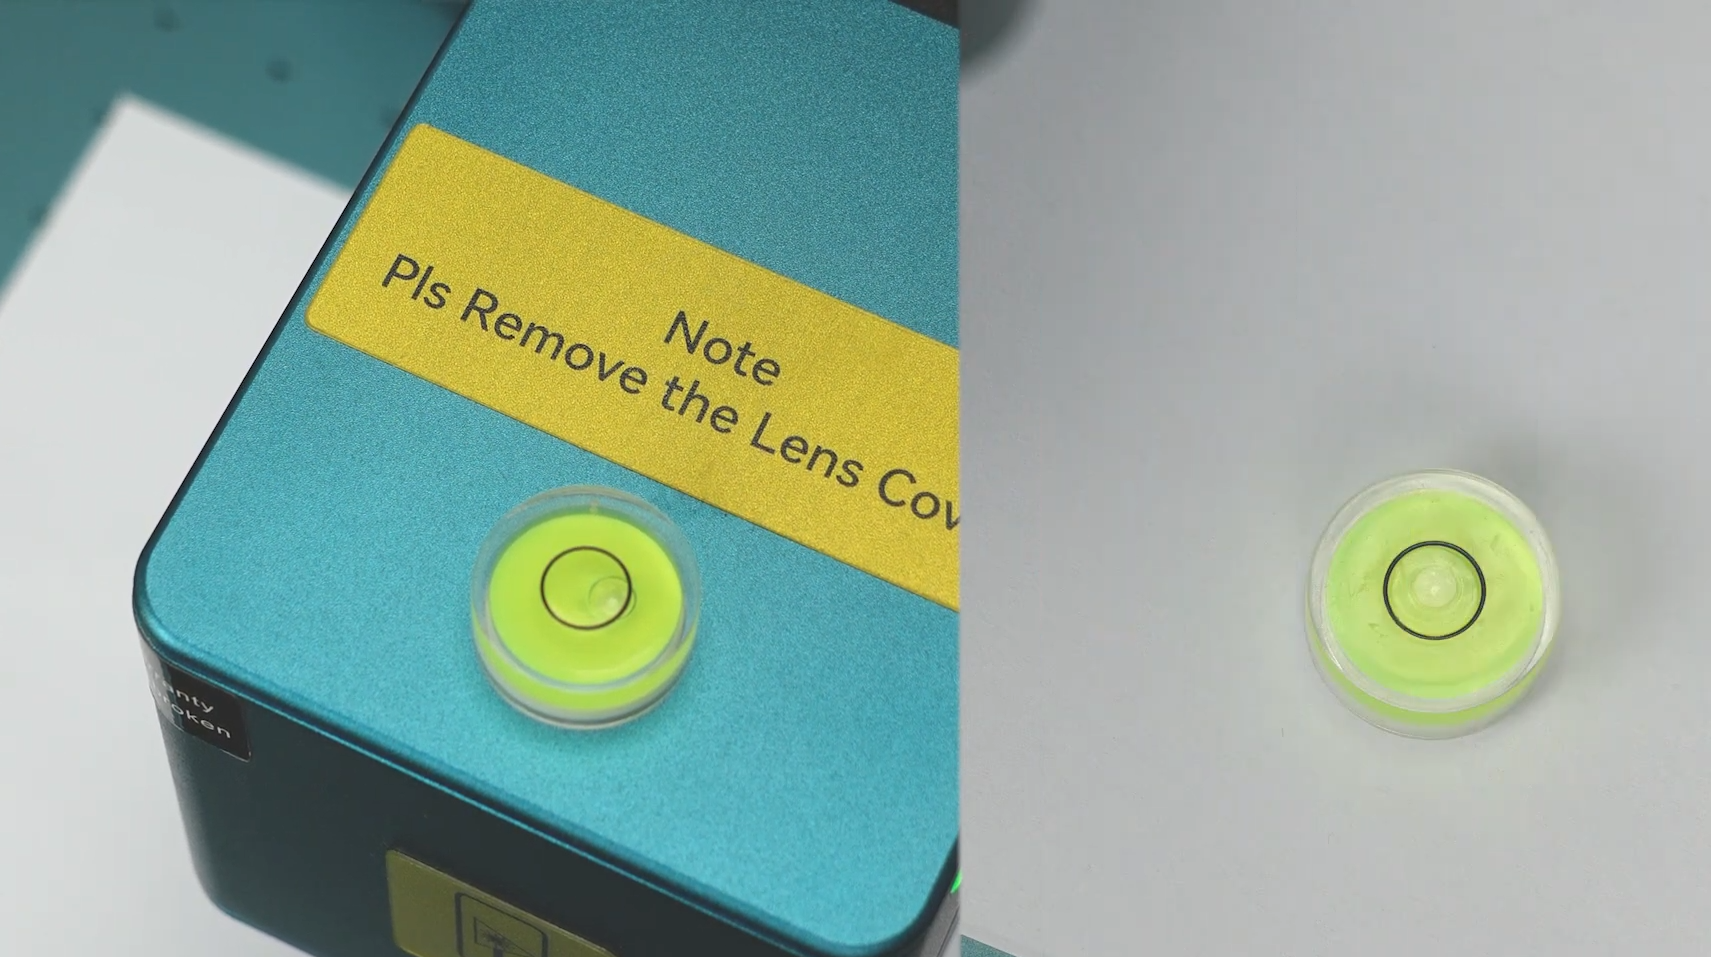
Loosen (but do not remove) the screws of the laser galvanometer. Hold the side of the galvanometer and fine-tune it until it is level with the machine base plate.
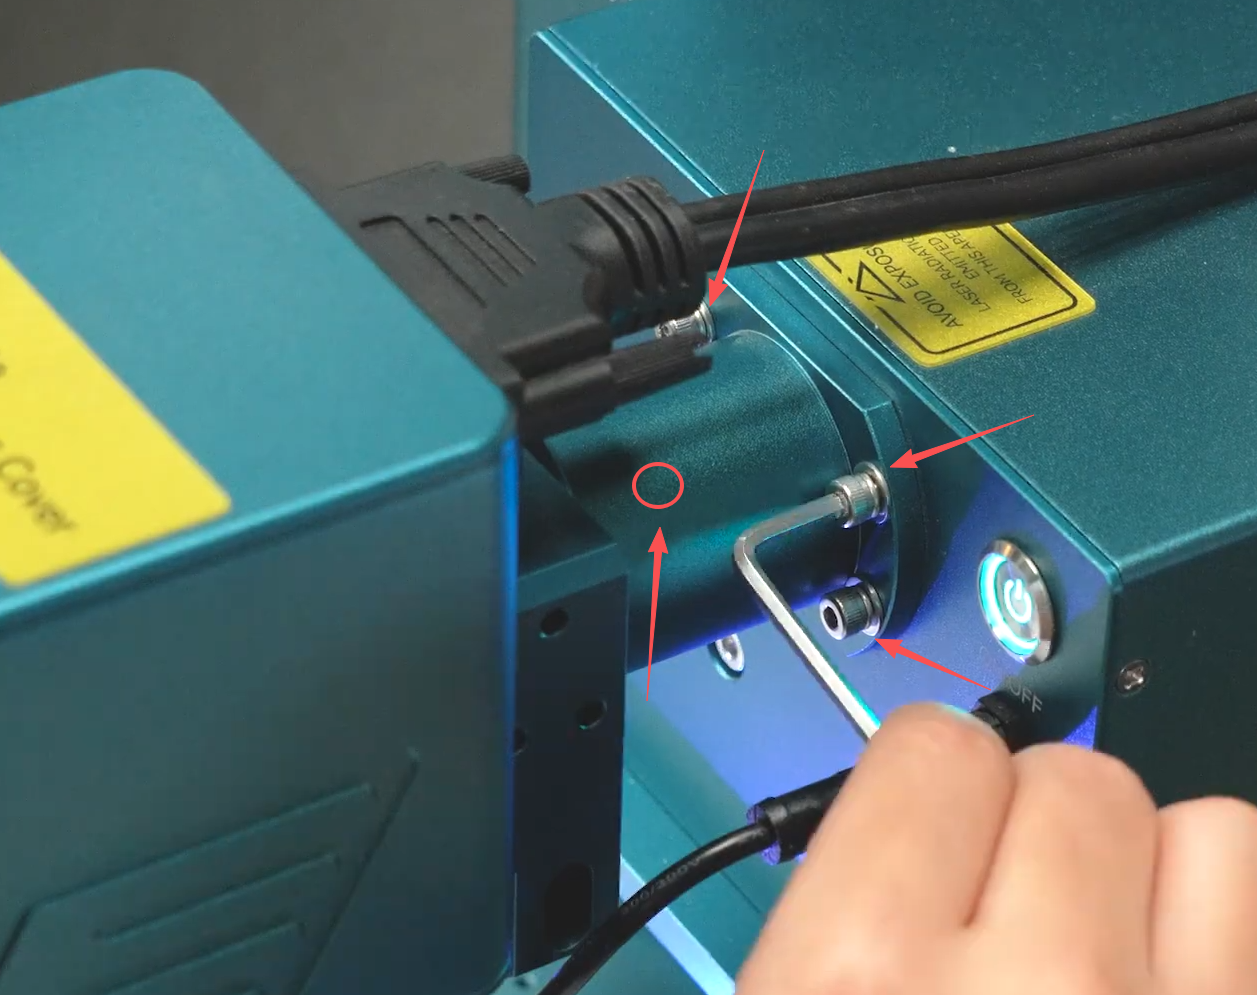
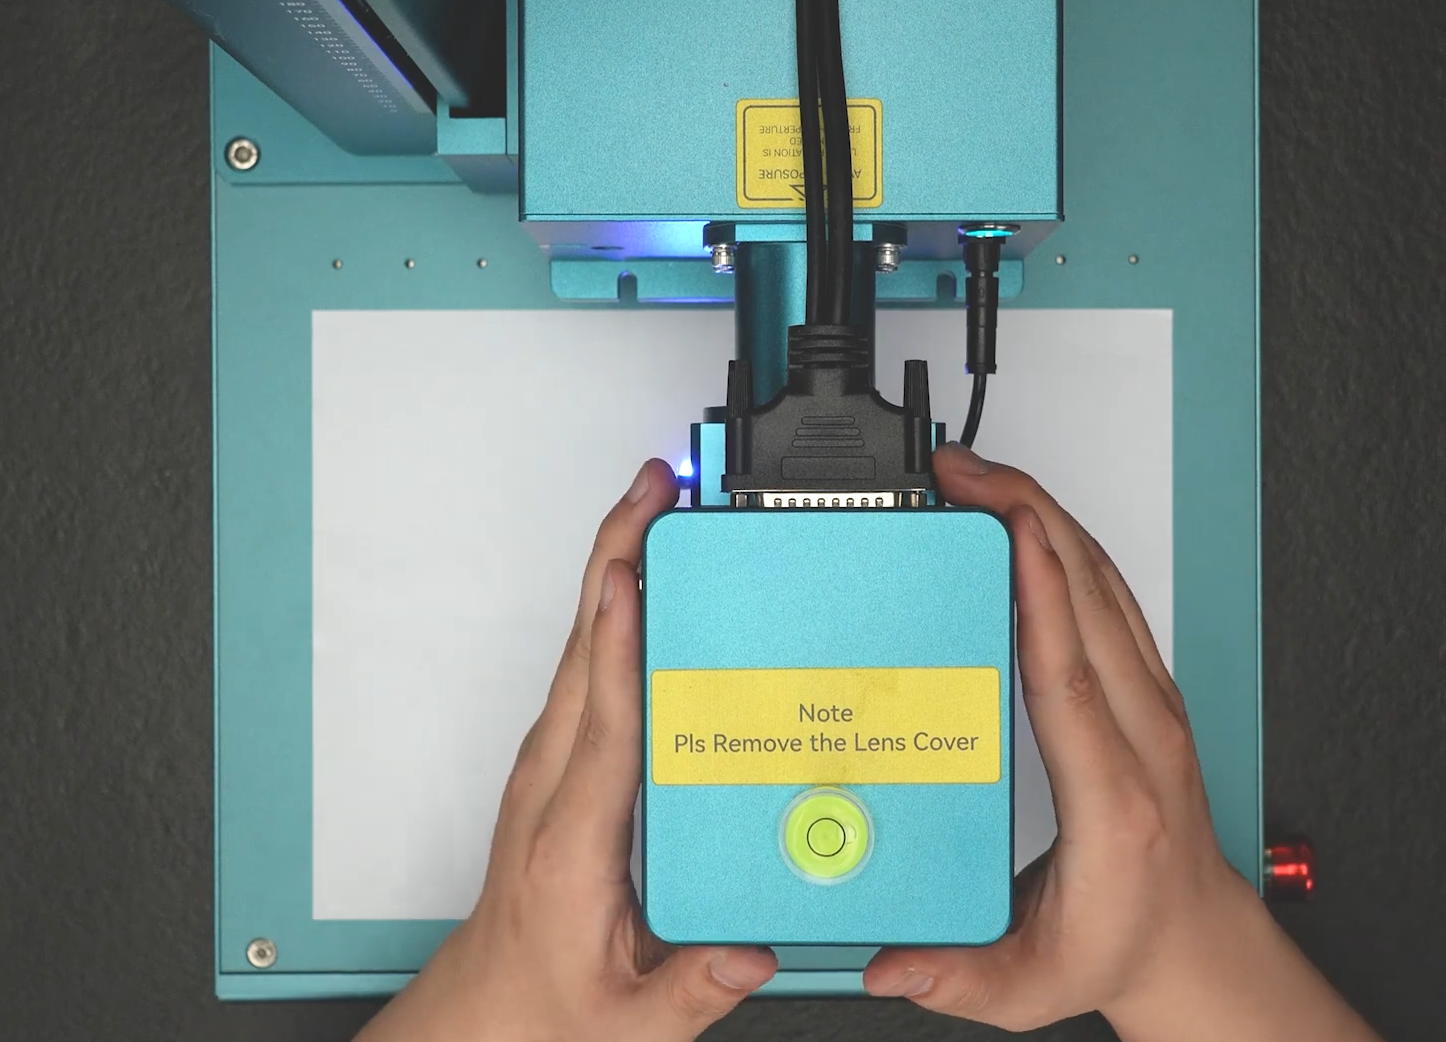
Tighten one screw and check the condition of the spot.
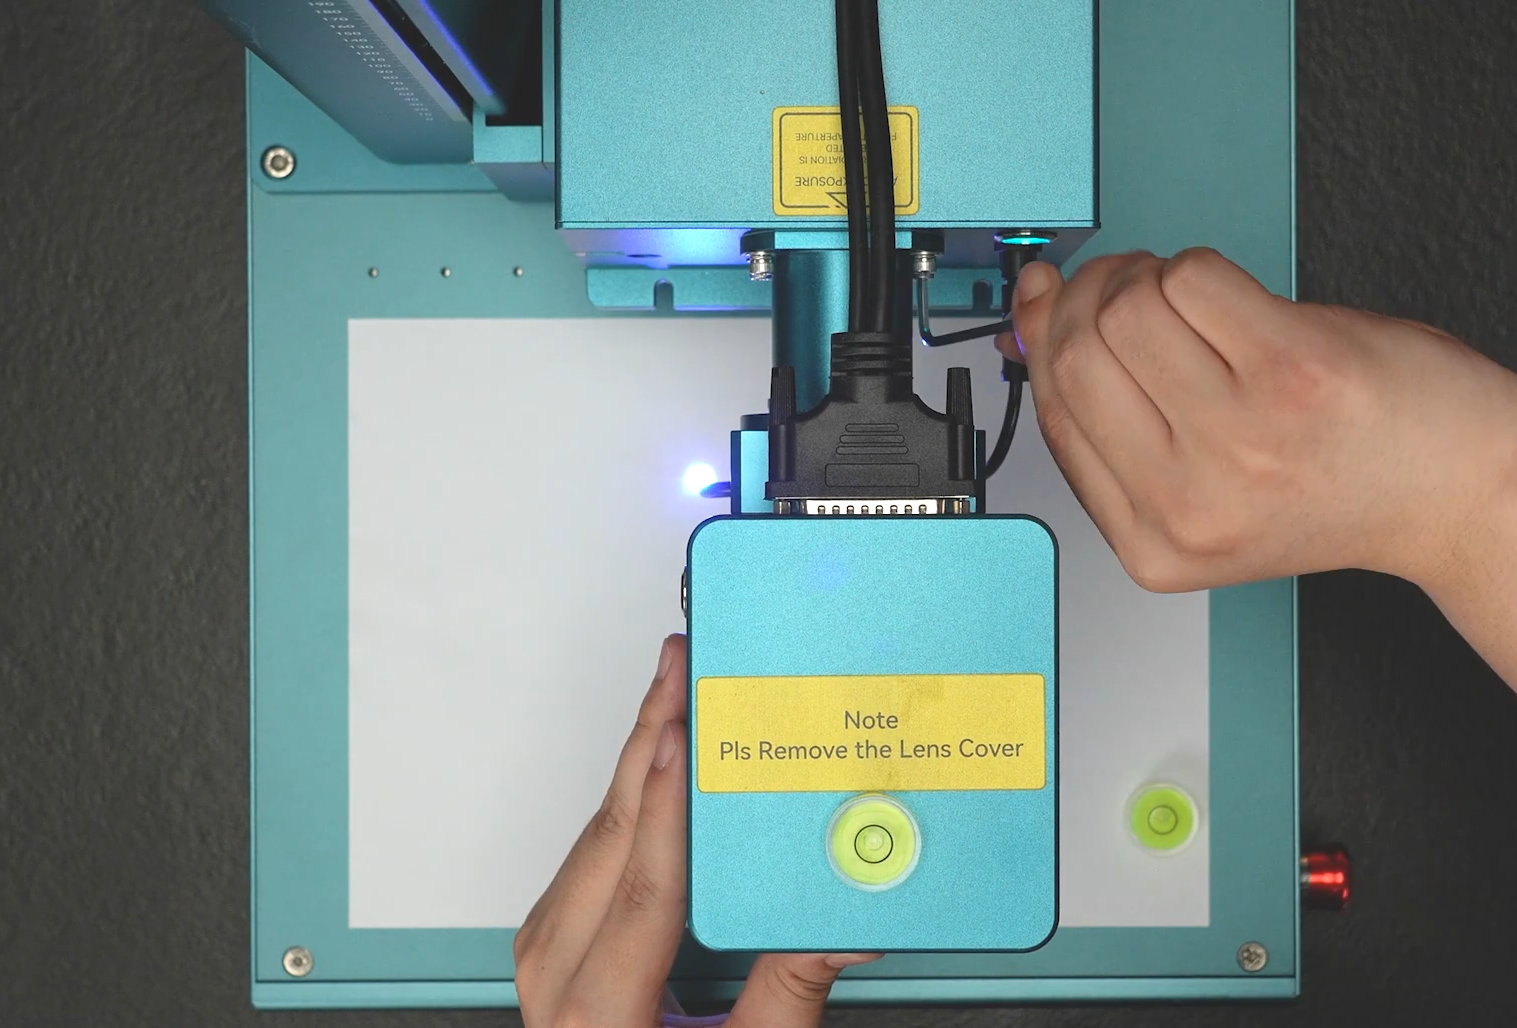
If the spot is normal, tighten the remaining screws, exit engraving mode, and reinstall the F-theta lens. Calibration is complete.
If the spot is still defective, please contact after-sales support at: support@sculpfun3d.com