V5 Unboxing, Installation, and Usage Guide
Video
Text
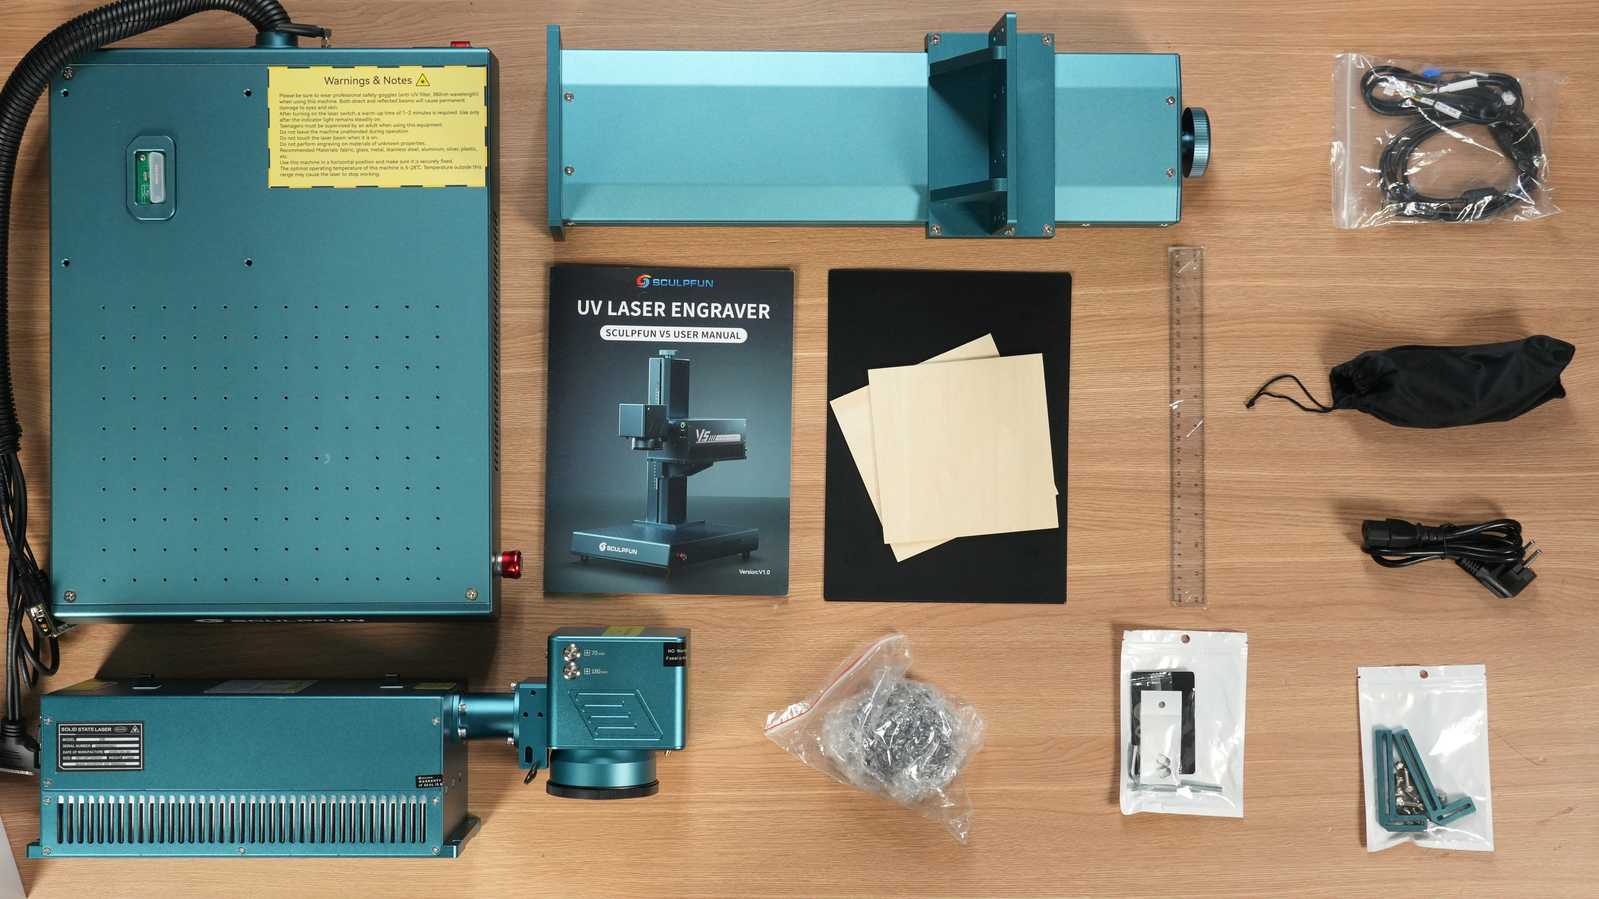
Accessories Display
| Item | Qty |
|---|---|
| Base Component | 1 |
| Elevator Column | 1 |
| Laser | 1 |
| 70*70 Field Lens | 1 |
| 150*150 Field Lens | 1 |
| Level | 2 (Shipped Separately) |
| Tool Kit | 1 (2.5mm, 4mm, 5mm wrenches, dog tags *2) |
| USB Flash Drive | 1 |
| Dongle | 1 |
| Positioning Strip | 2 |
| Screw Pack | 1 (4 each for M3, M5, and M6) |
| Power Cord | 1 |
| Data Cable | 1 |
| Amplifier Cable | 1 |
| Rotation Module Adapter Cable | 1 |
| Instruction Manual | 1 |
| Goggles | 1 |
| Transparent Ruler | 1 |
| Focusing Plate | 5 |
| Linden Board | 2 |
| Calibration Paper | 5 |
| Crystal Column | 2 |
Product Installation
Install the Column
Remove the base, column, and laser.
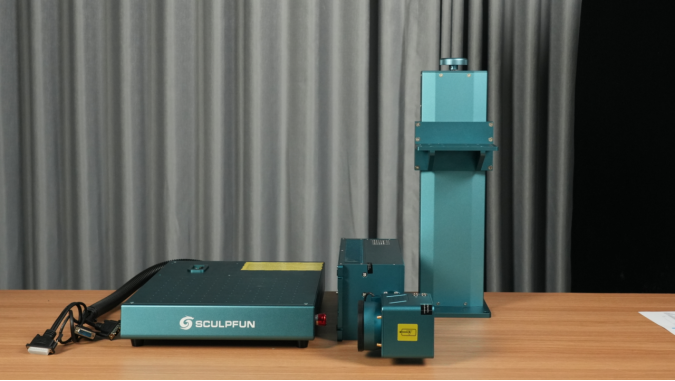
Installing the uprights, pay attention to the groove at the bottom of the uprights, and ensure the markings on the uprights face forward.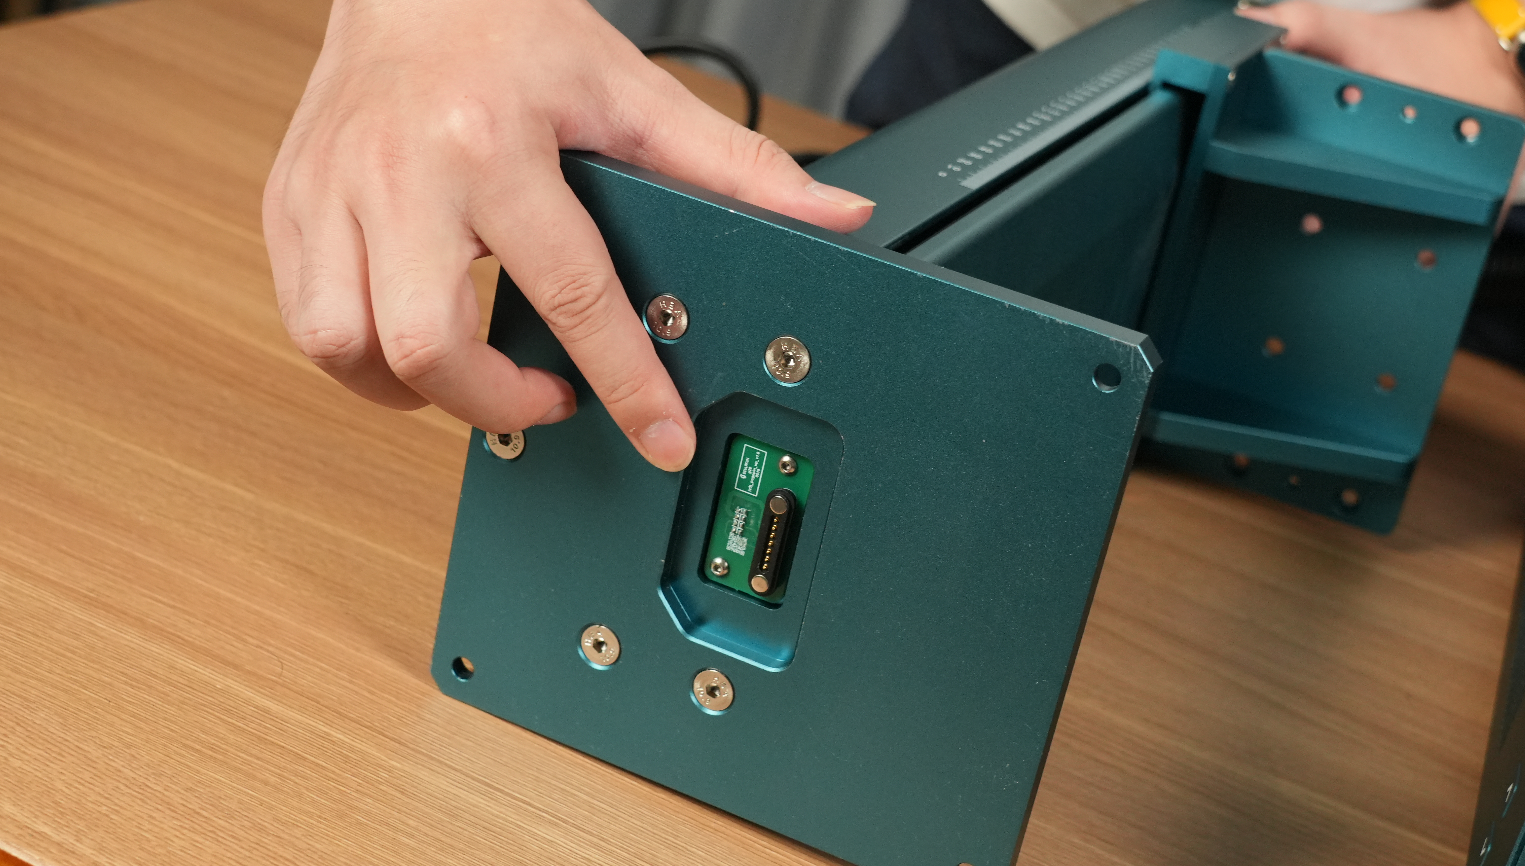
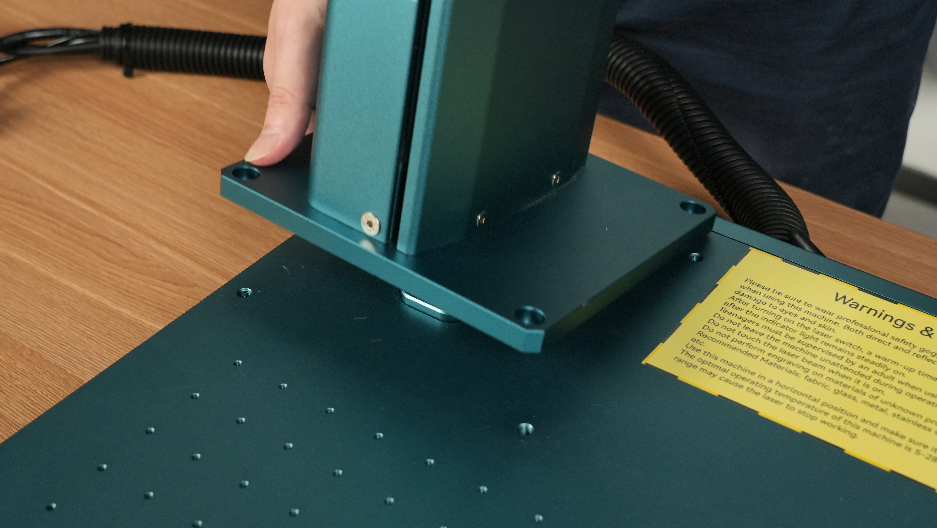
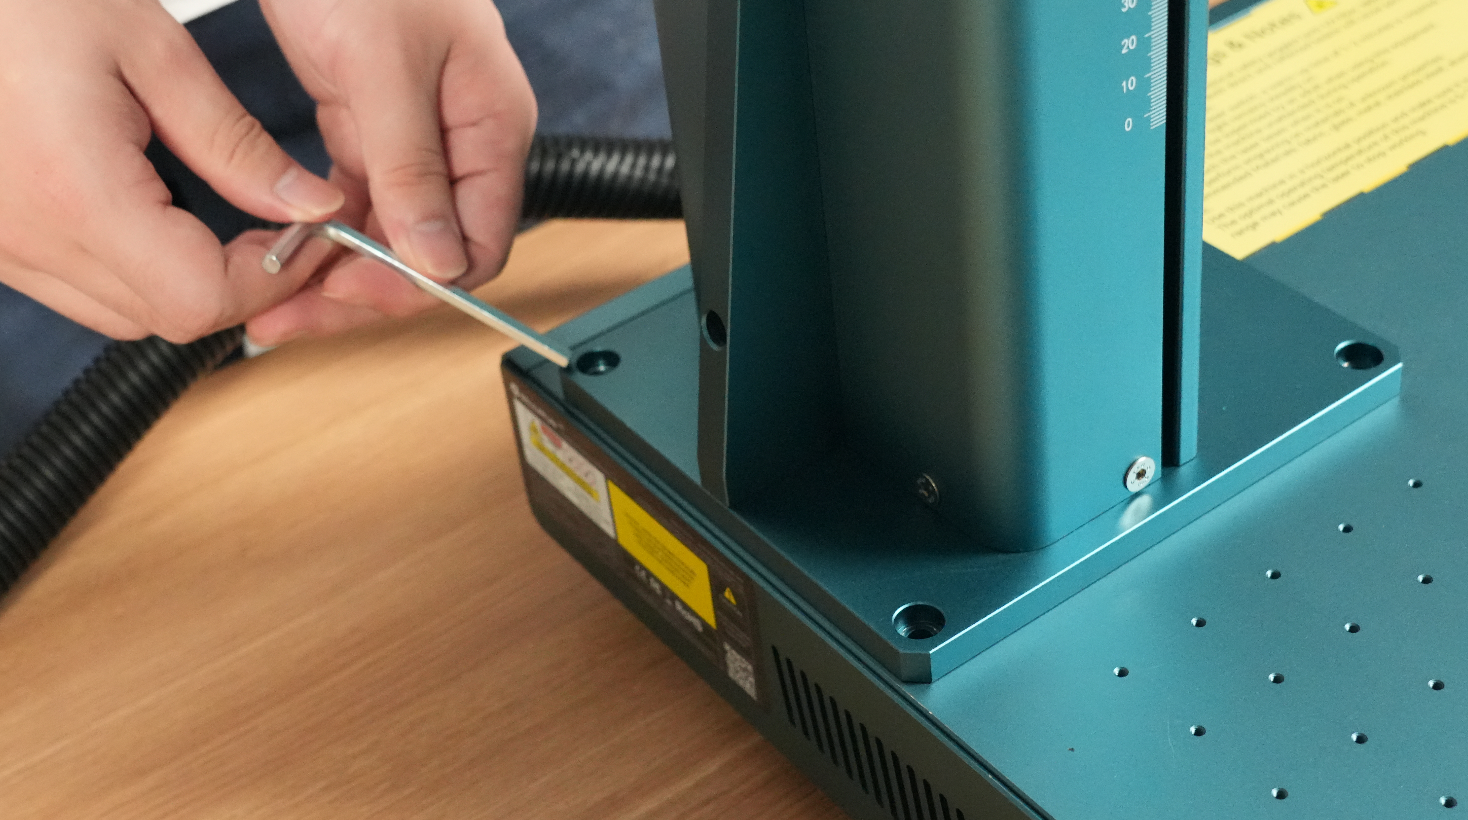
Secure the column to the base using M6 screws.
Install the laser.
Mount the laser on the column, ensuring the laser pin is aligned with the hole on the column.
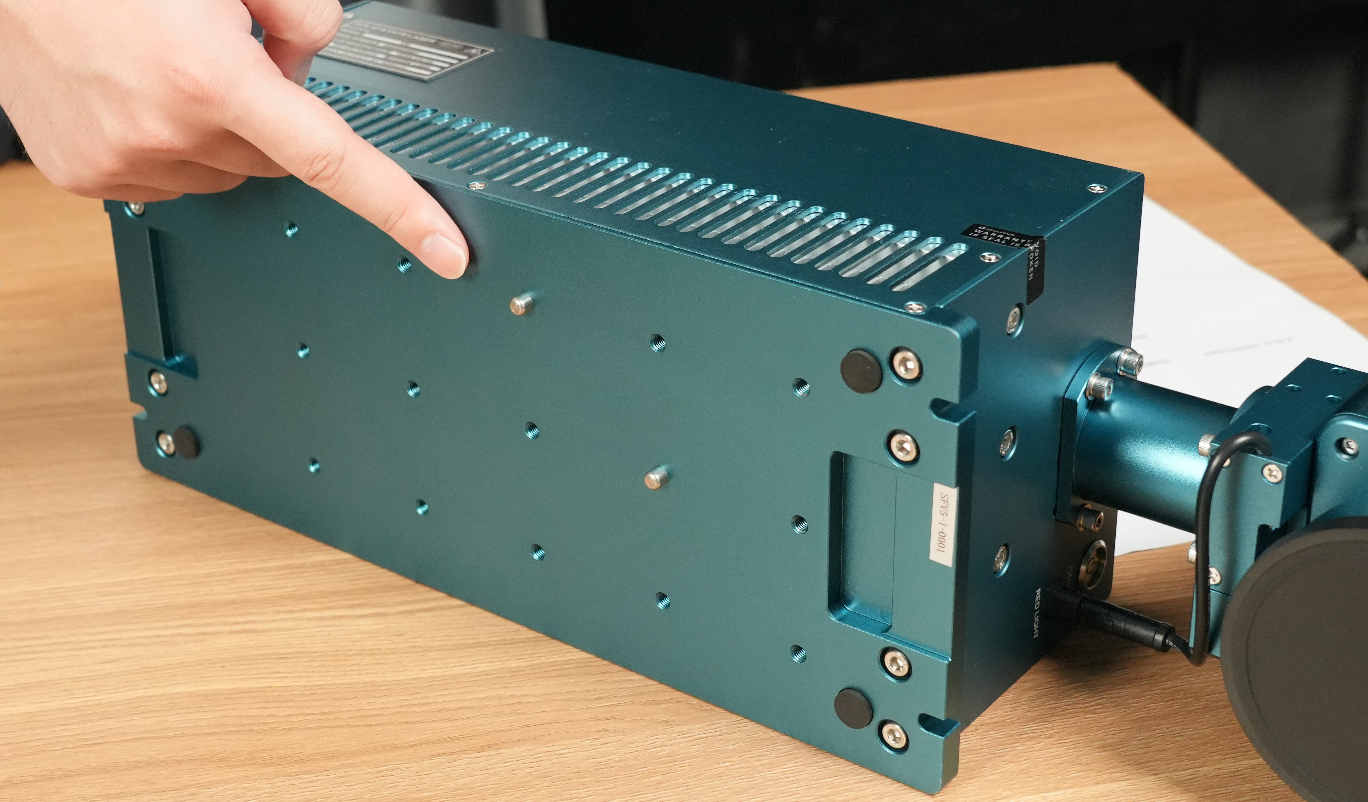
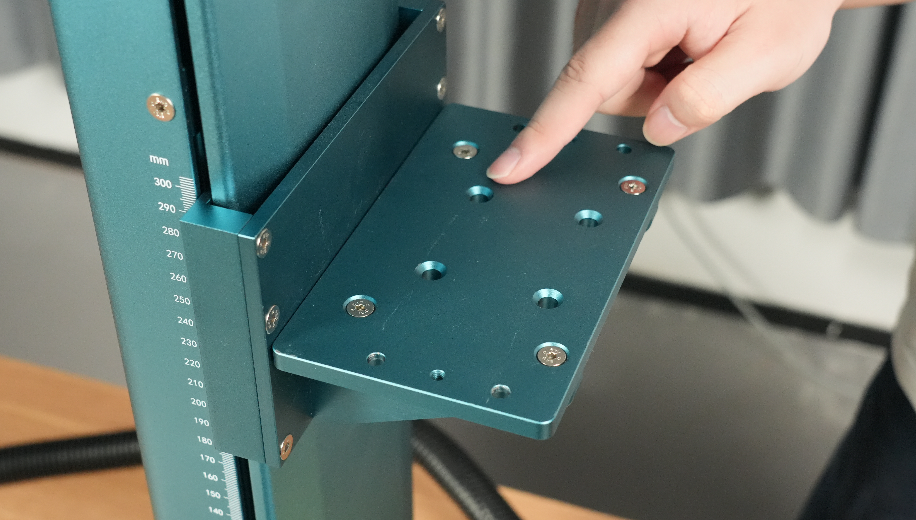
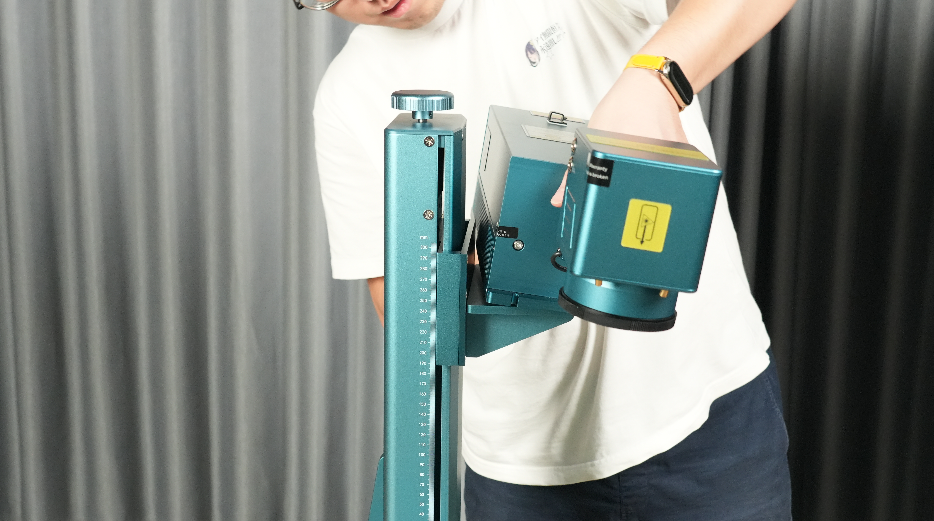
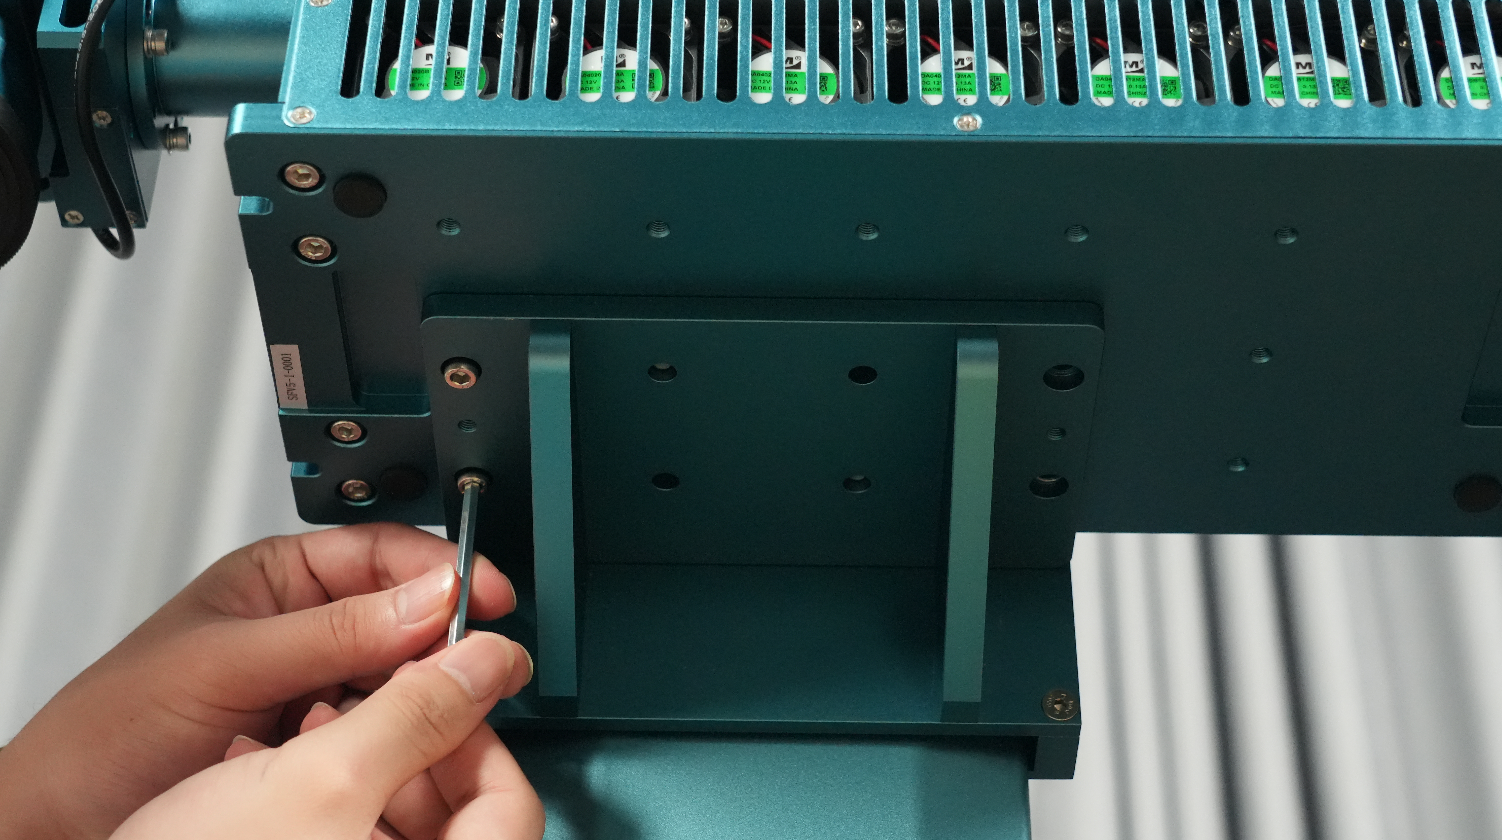
Use M5 screws to connect the laser and the column platform. Do not tighten them temporarily for easy leveling.
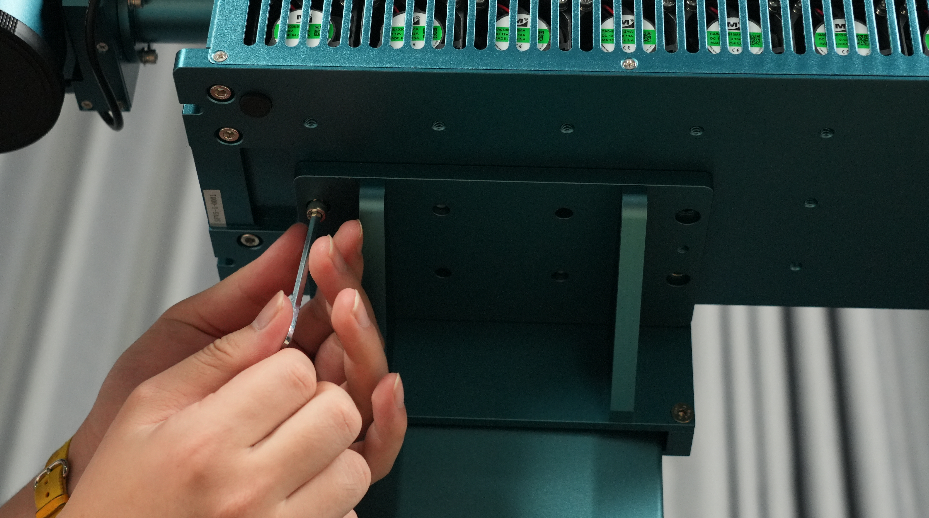
Laser Adjustment
The machine requires adjustment of the laser and base to ensure they are parallel.
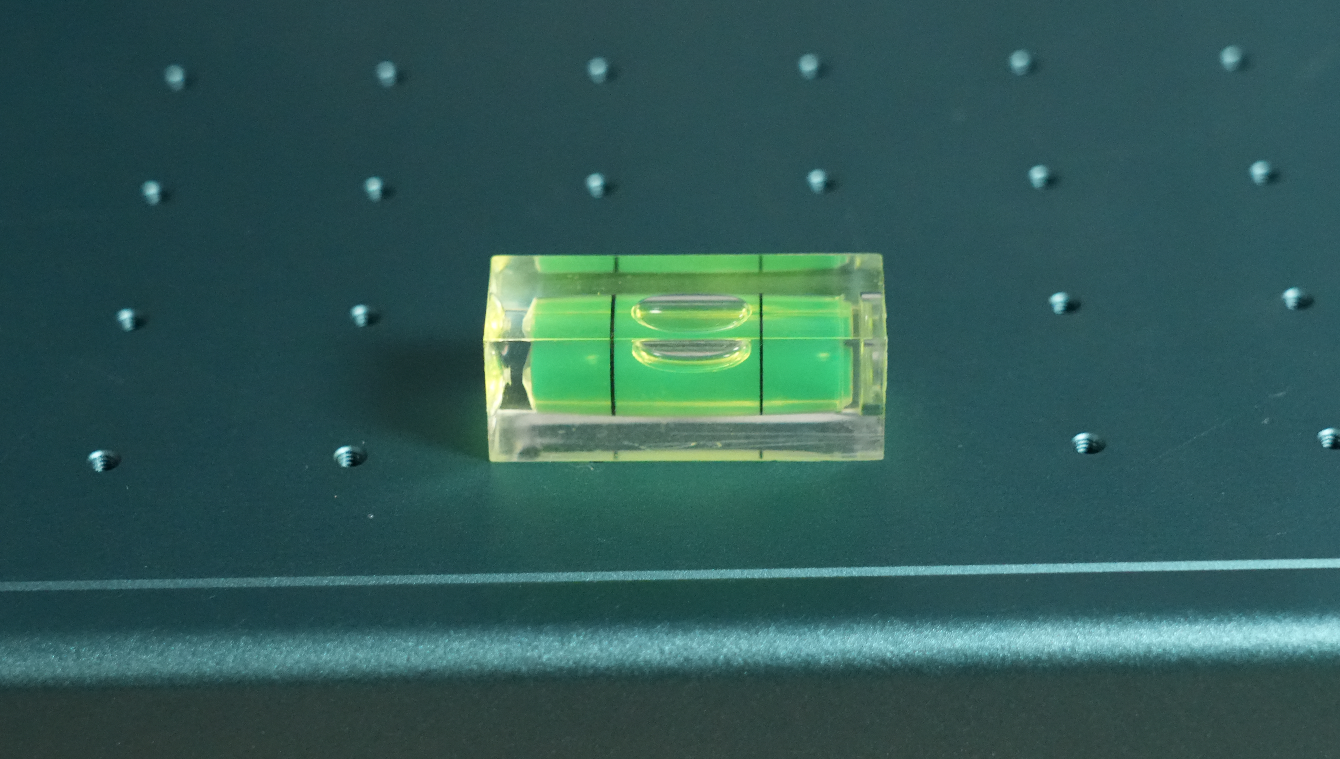
Take out the spirit level from the other package, place one on the laser and the other on the base.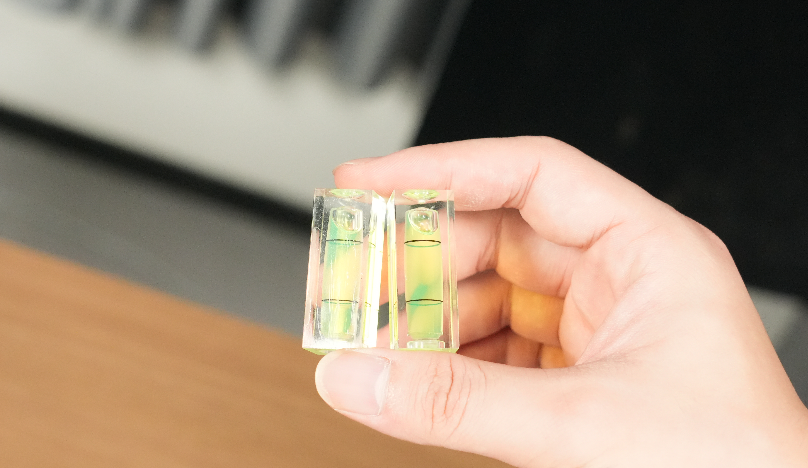
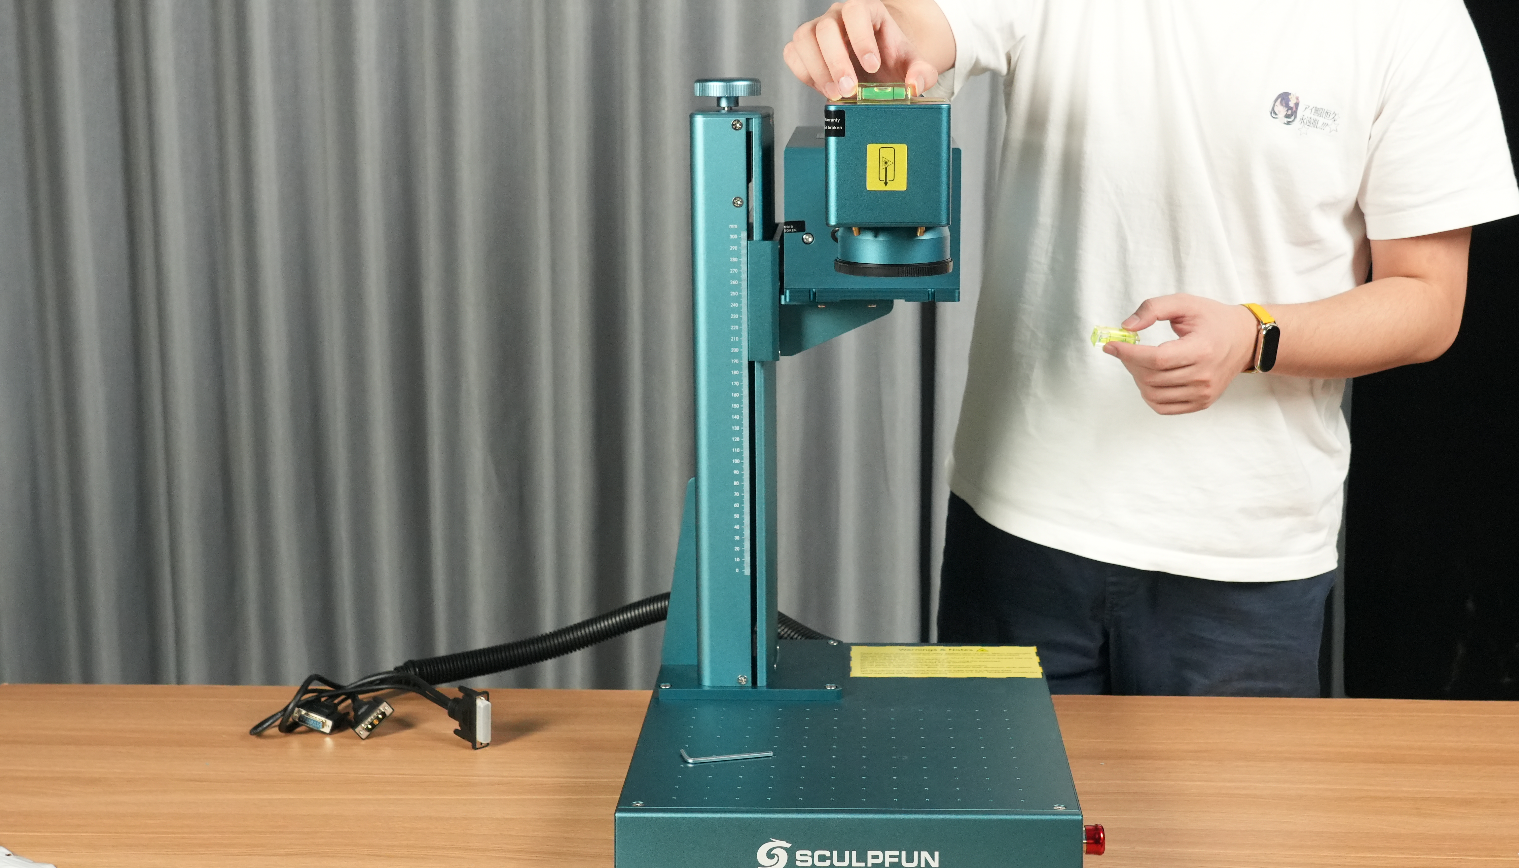
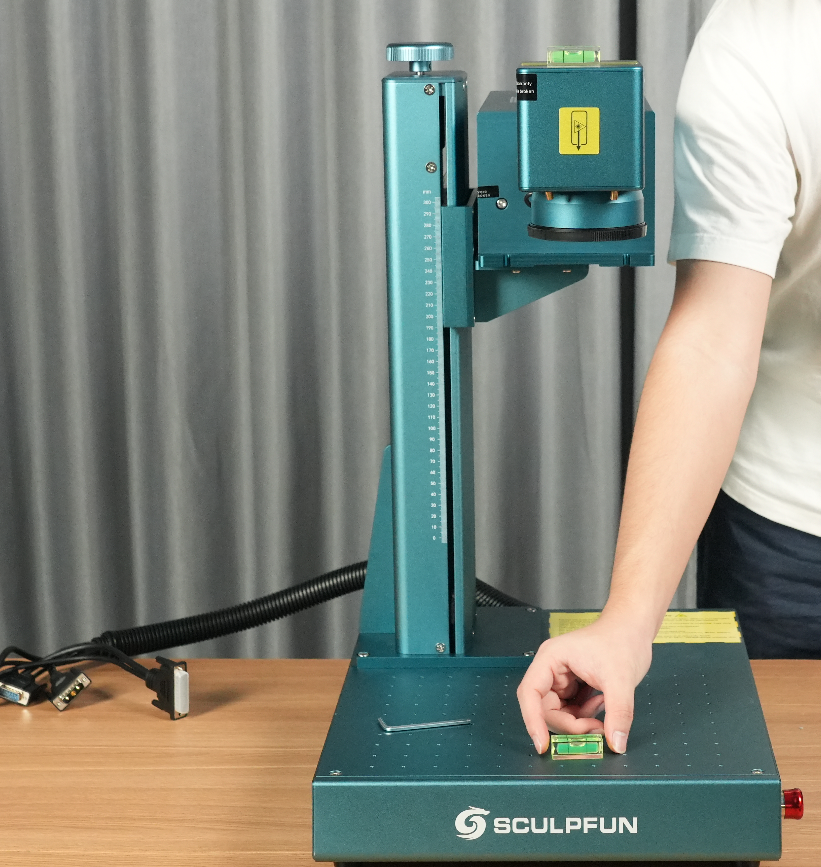
Adjust screw 2 to adjust the front and rear angle of the laser, ensuring that the two level rulers are parallel. At this point, the laser is parallel to the base.
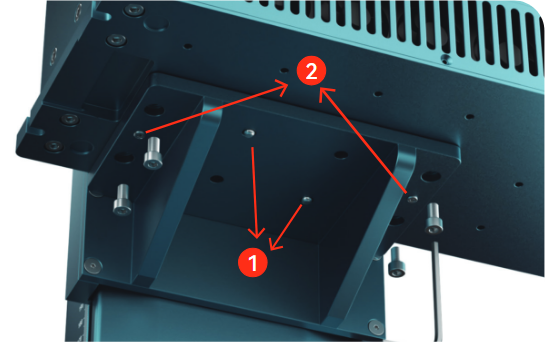
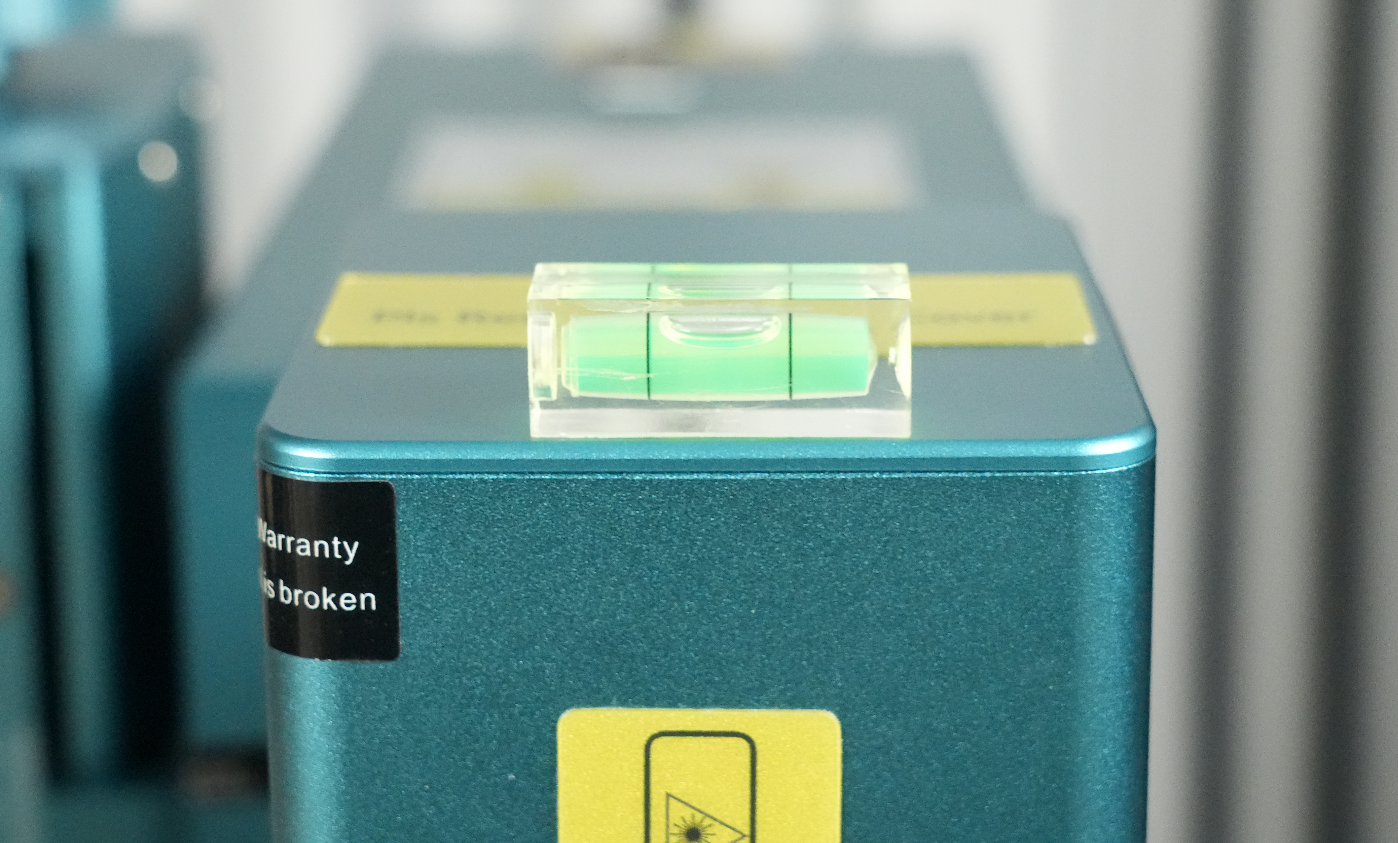
Tighten the M5 screws
Cable Connection
Take out the base cable, identify the ports, and insert it.
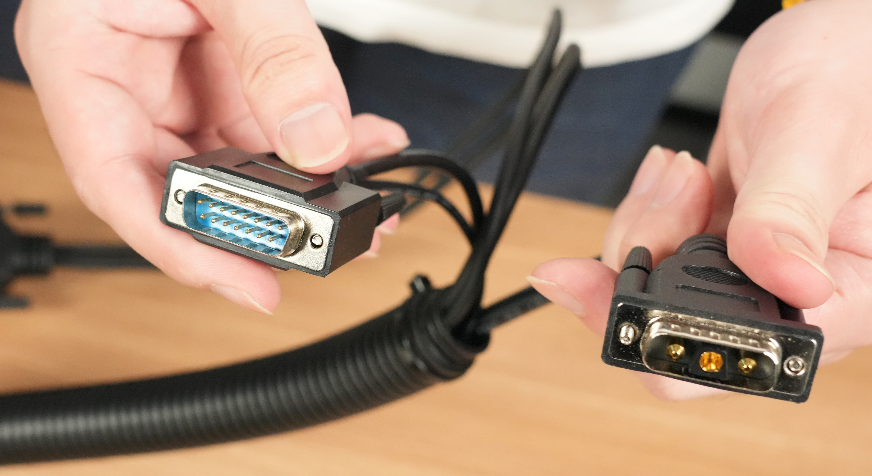
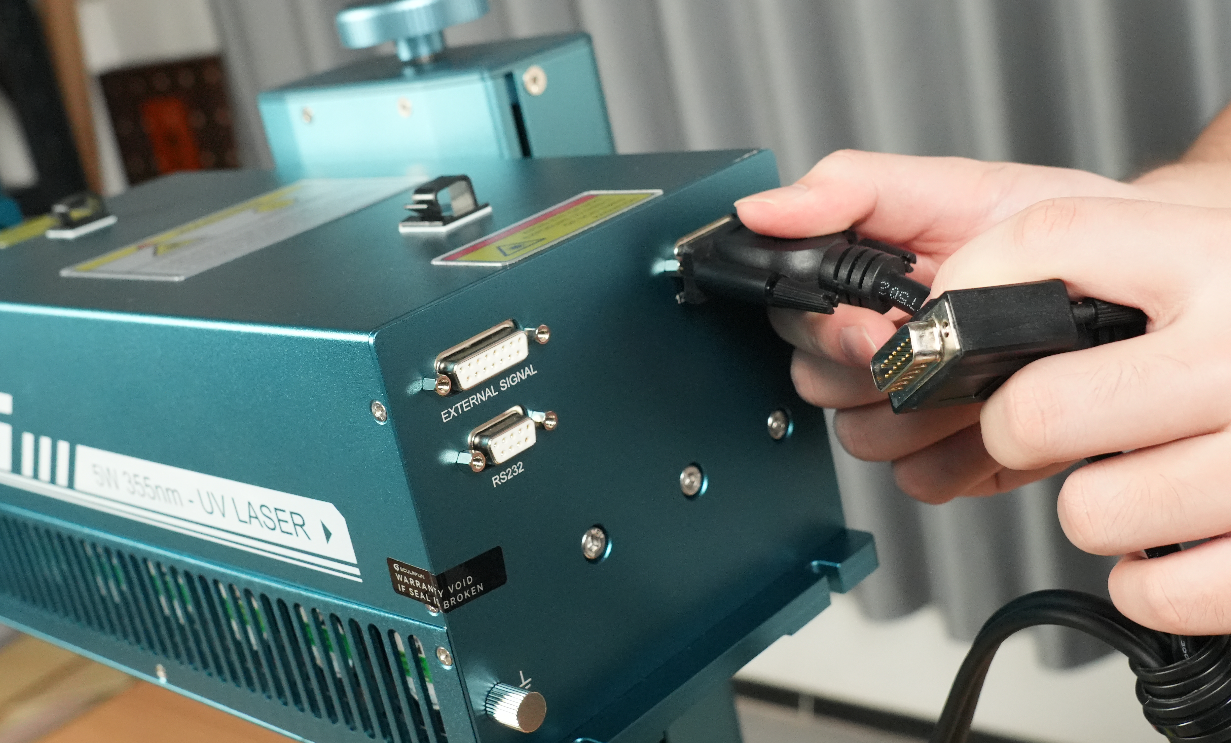
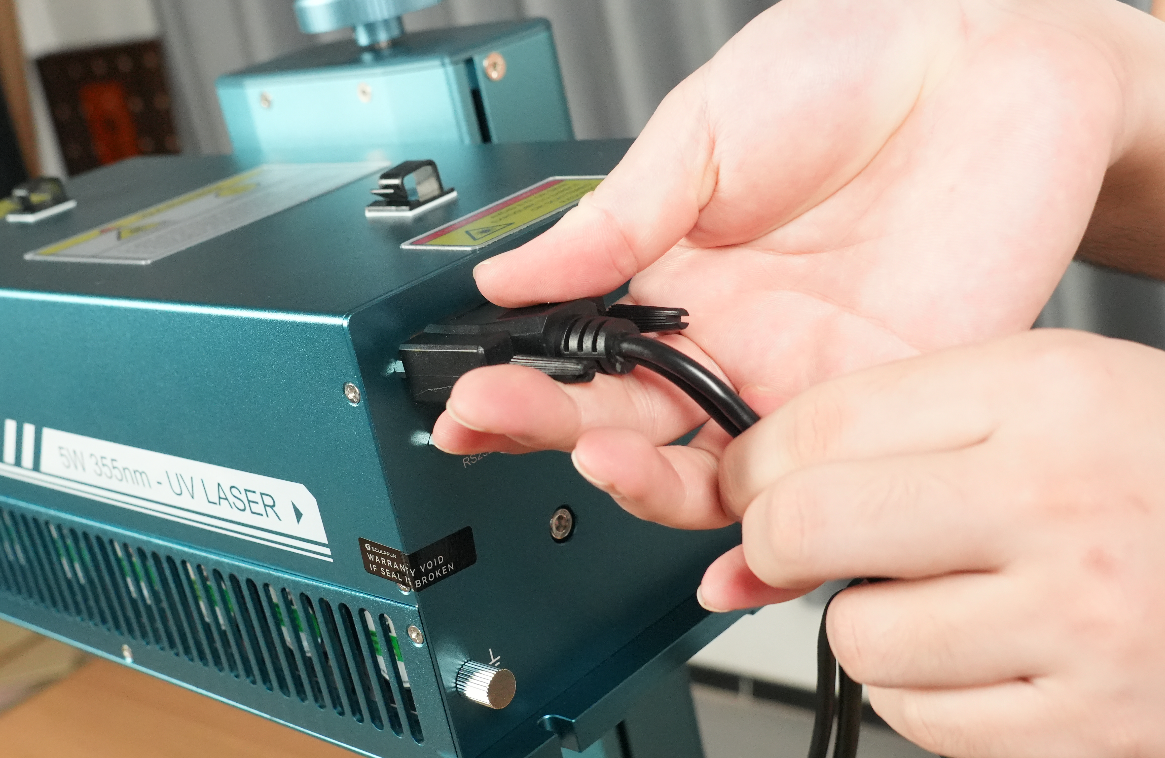
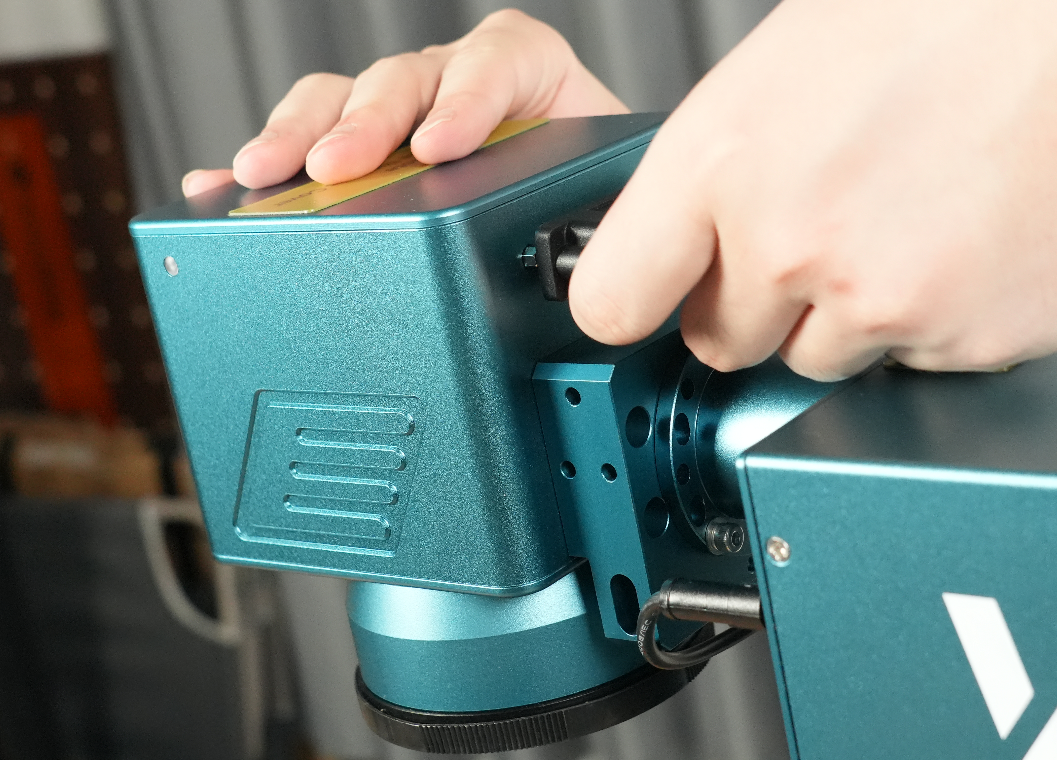
Organize wires
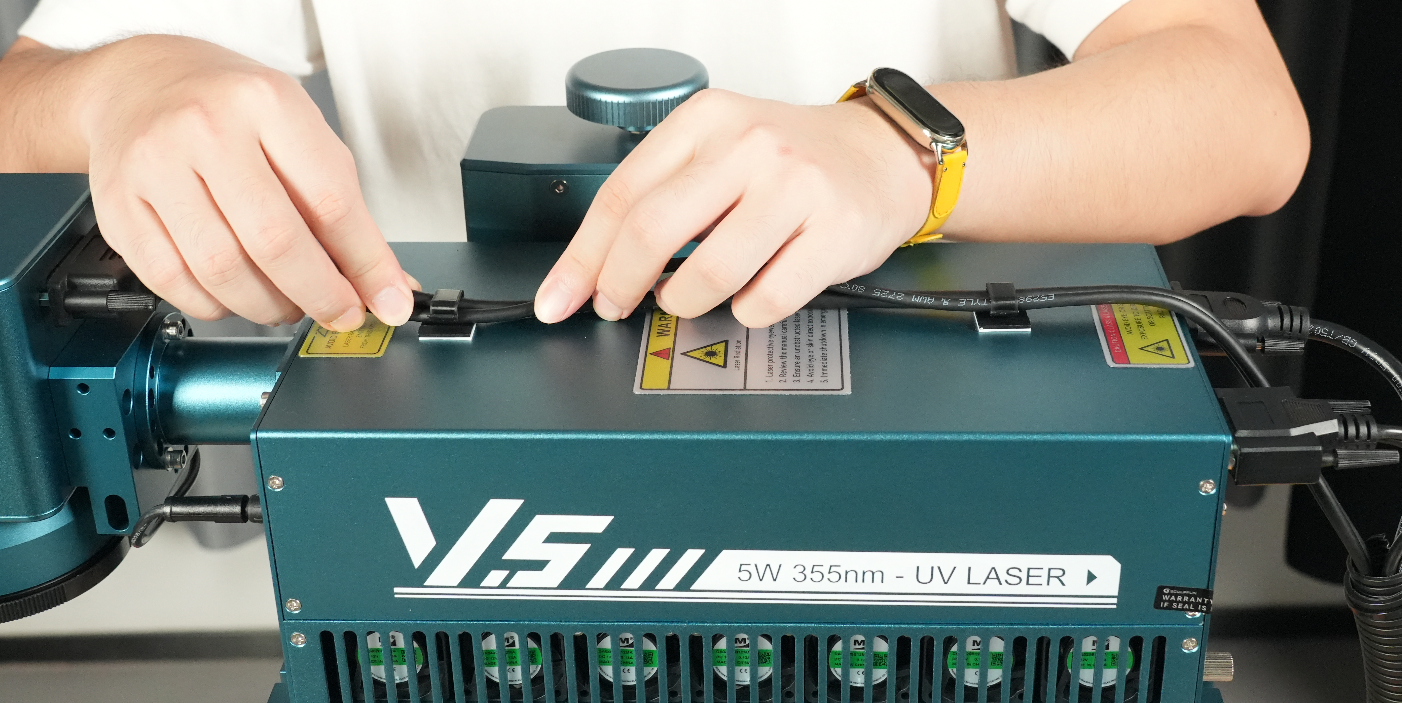
Connect the bottom cable and connector, then connect the data cable to the computer.
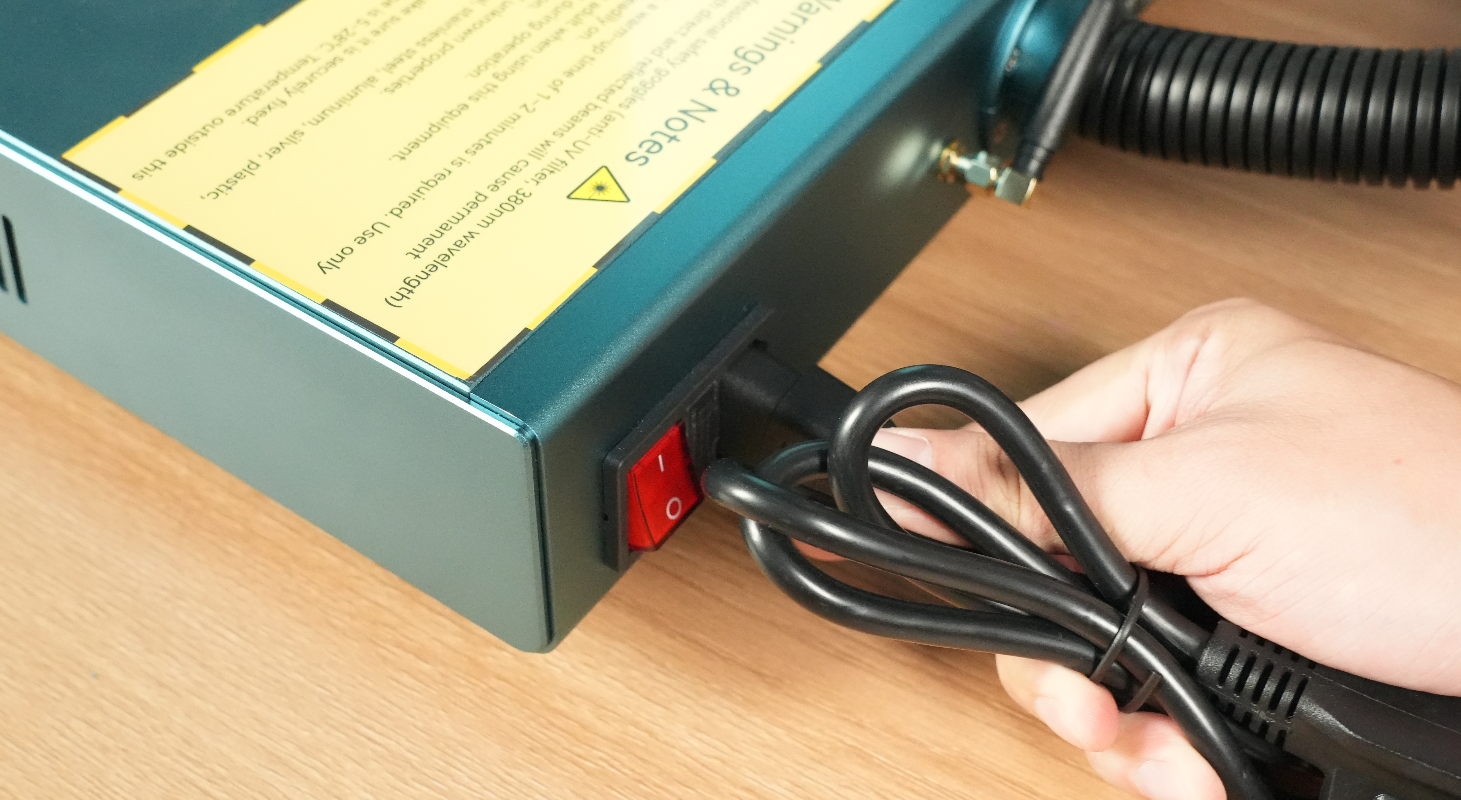
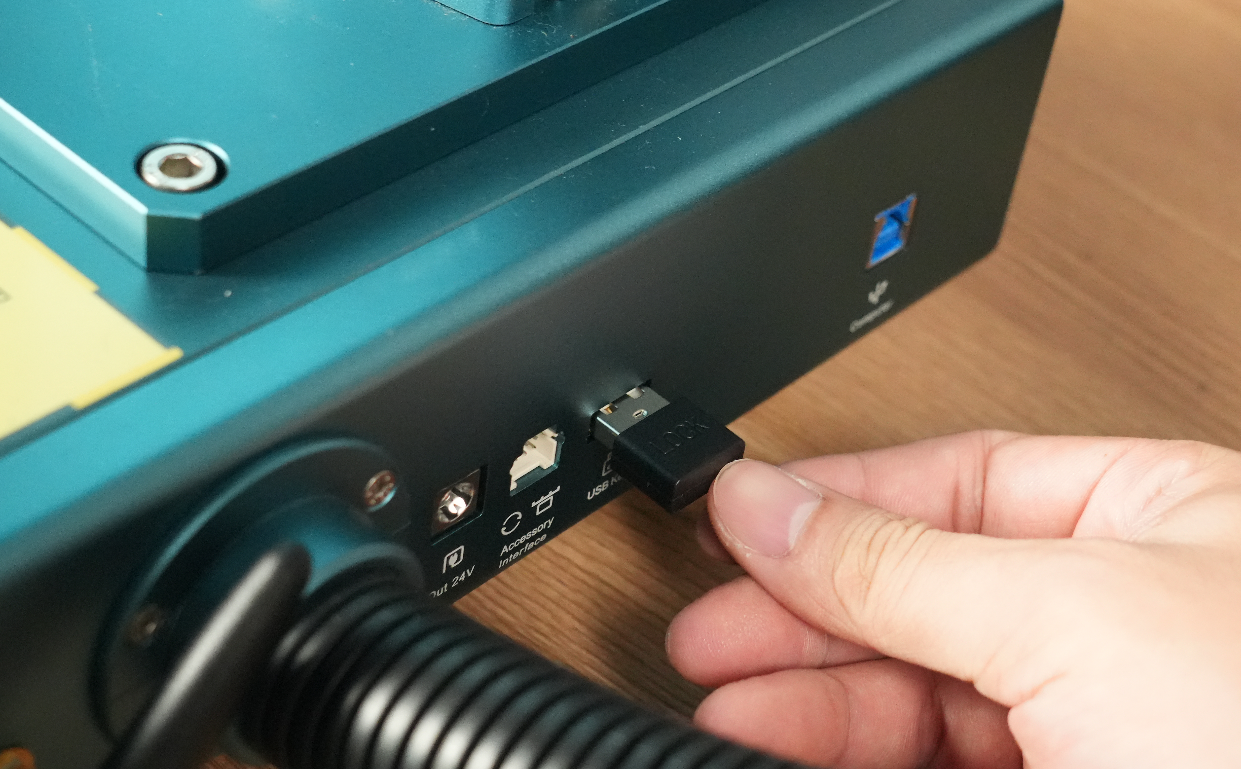
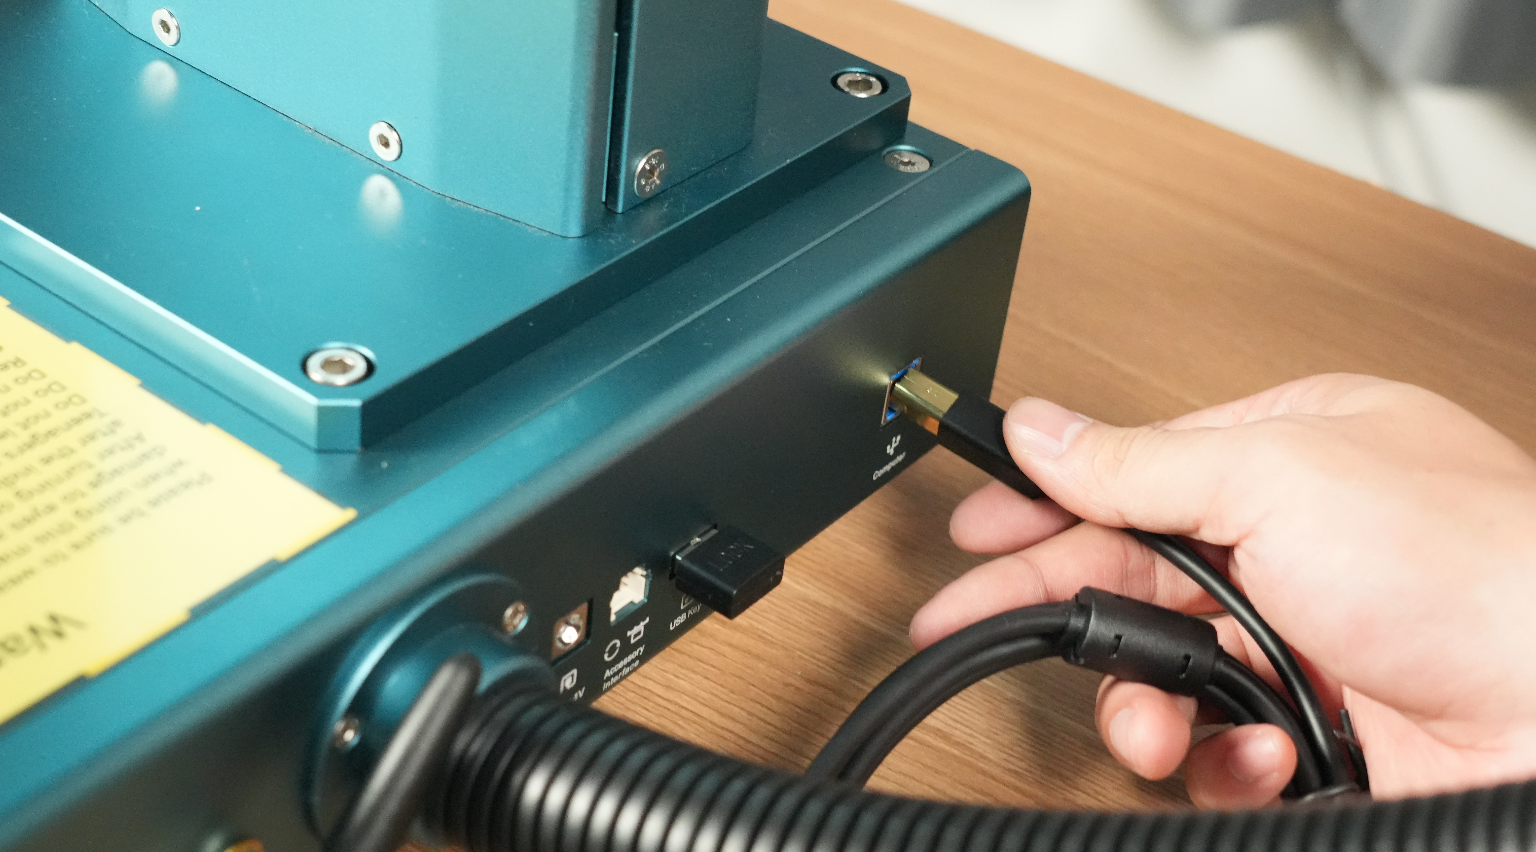
Open the machine
Remove the protective cover from the field lens. The 150mm field lens is installed on the laser by default.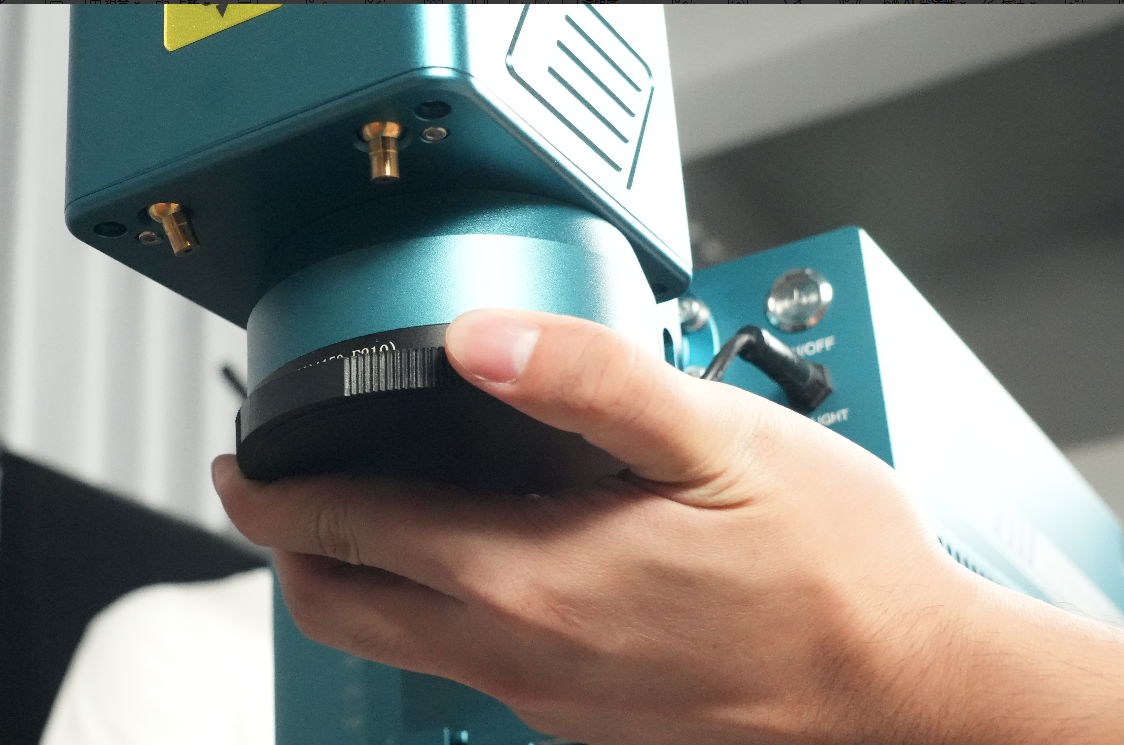
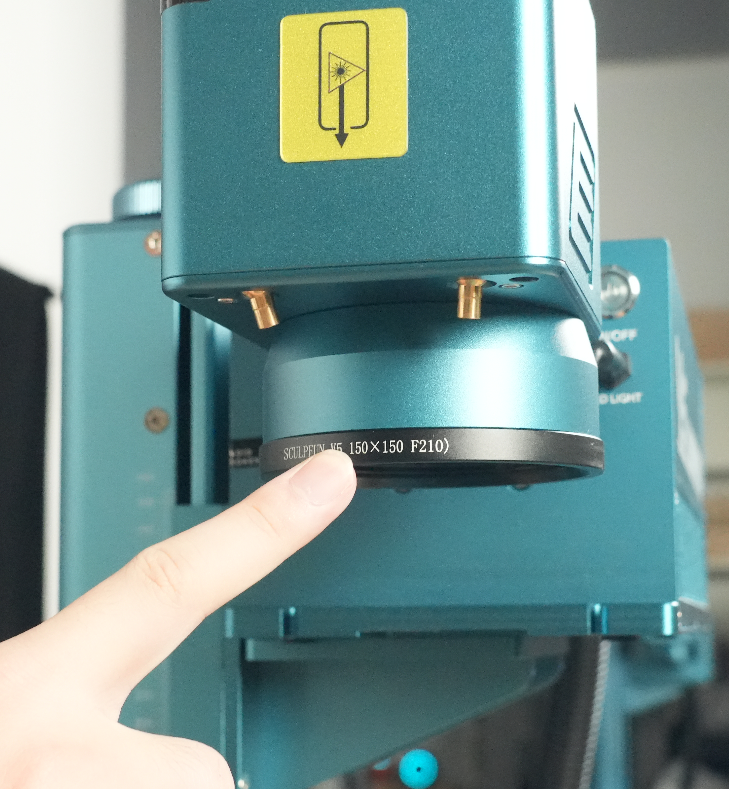
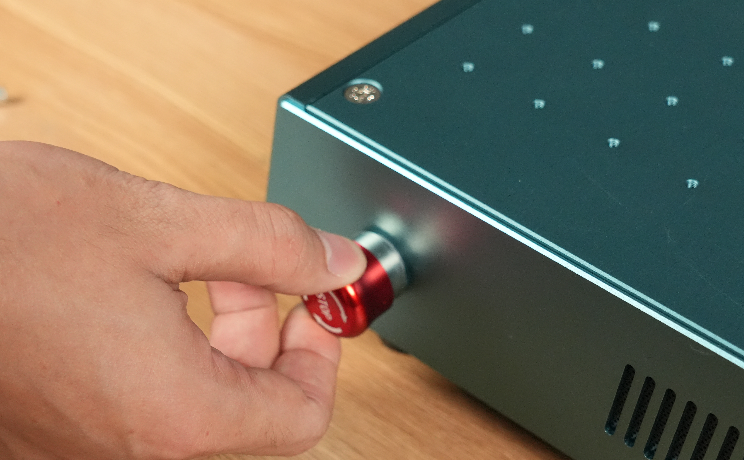
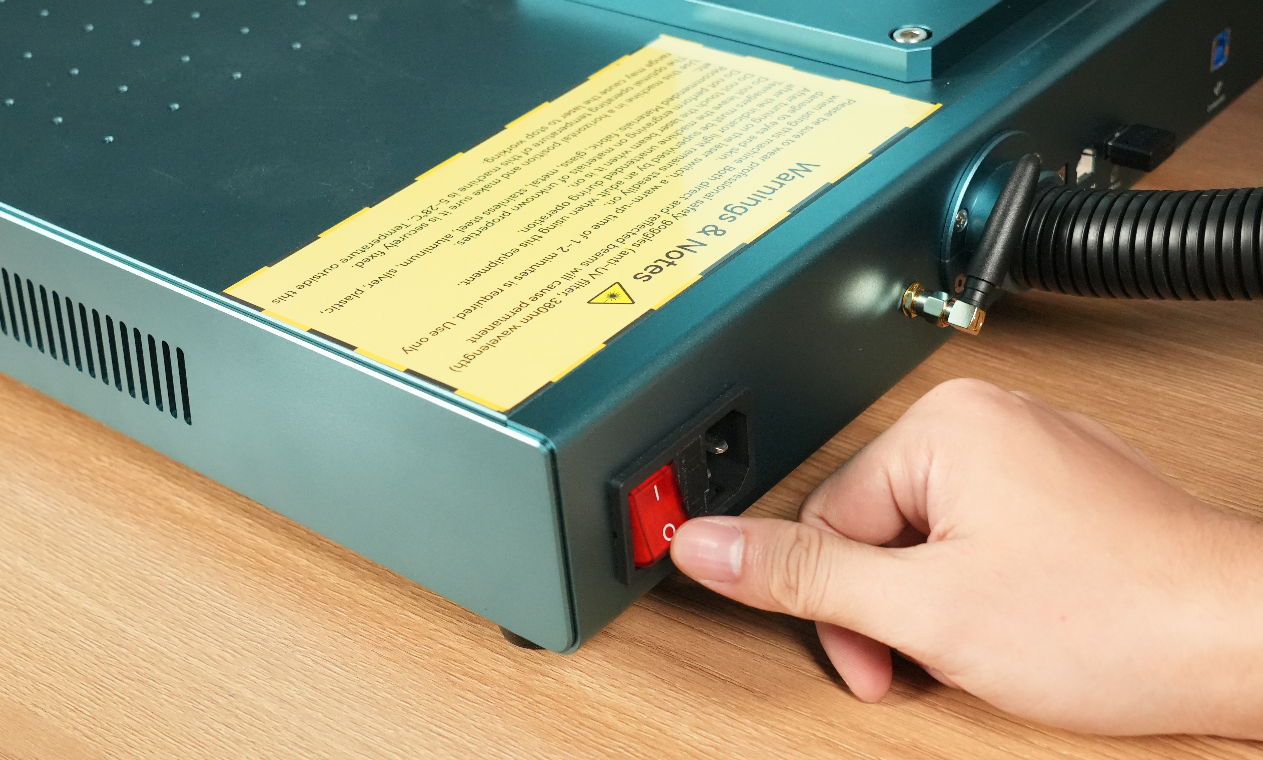
Turn on the emergency stop switch, turn on the power, and press the laser power switch.
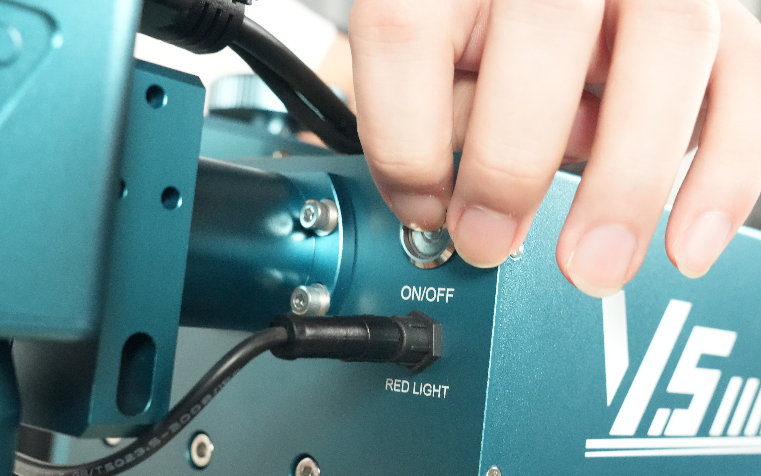
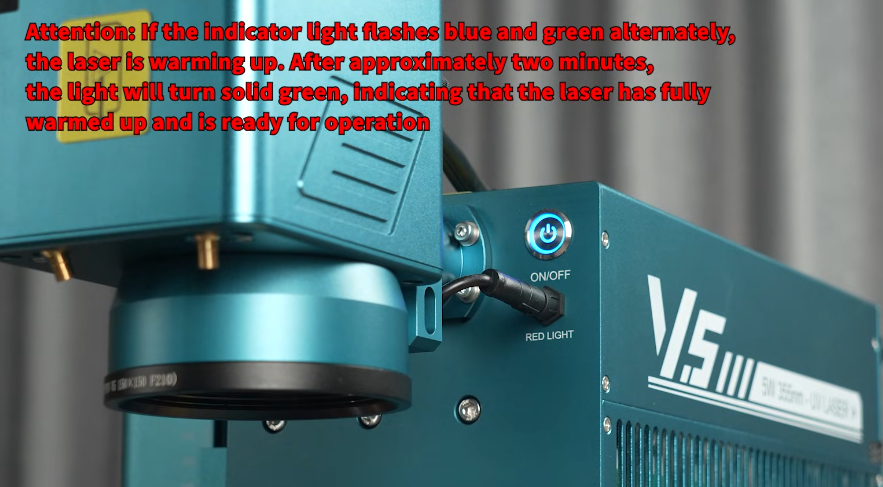
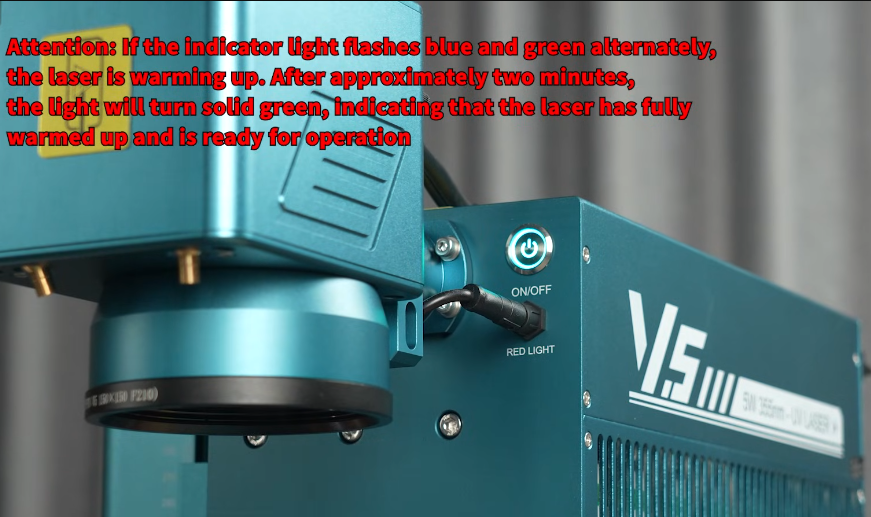
After the laser is turned on, the indicator light flashes blue and green alternately, indicating that the laser is preheating. After two or three minutes, it will turn into a stable color, indicating that the laser has finished preheating and can be used normally.